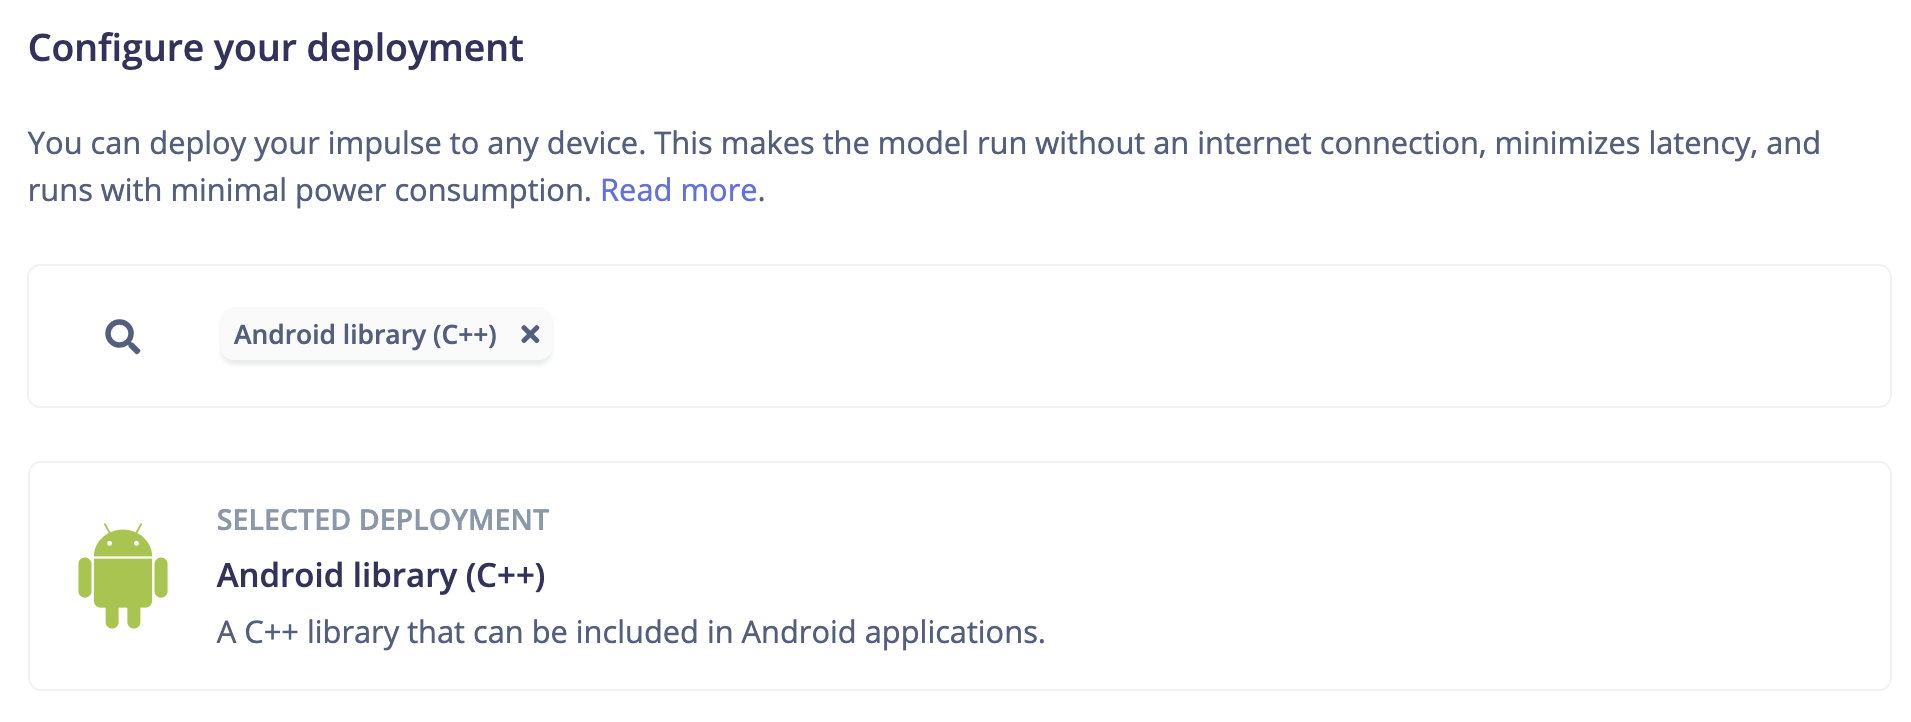
Deploy as Android Library (C++)
CMakeLists.txt automatically links the Edge Impulse SDK, your model, and TensorFlow Lite runtime libraries—making it easier to build and run inference without manual configuration.
This deployment path is built on top of the Android NDK, which enables native C++ code execution inside Android applications.
Our sample repository works with Object detection, Image classification, Audio classification, and Sensor data projects. It also includes a WearOS example for motion data.
Here is a sample of the GMM Cracks demo project running on an Android device, using the camera to detect cracks in concrete.
Android Studio - FOMO-AD - live debugging
Try the example above on your Android device:
To try out an example, we have created an application that you can download and run on your Android device. The APK contains our GMM Cracks demo project to detect cracks in concrete.
Download the GMM Test APK
Prerequisites
Make sure you followed the Visual anomaly detection (FOMO-AD) tutorial, and have a trained impulse, or clone Visual GMM cracks. Also install the following software:Clone the base repository
We created an example repository which contains a sample application for Android, and wearOS which you can use to build on, and experiment using your own impulse. Download the application as a .zip, or import this repository using Git:- WearOS - example_motion_WearOS
- Android - example_camera_inference
- Static Buffer - example_static_buffer Open Android Studio.
Deploy your C++ project
Make sure you have exported your impulse as a C++ library. If you haven’t done this yet, follow the steps in the C++ Library documentation. Ensure that TensorFlow lite is selected, before the C++ library is generated.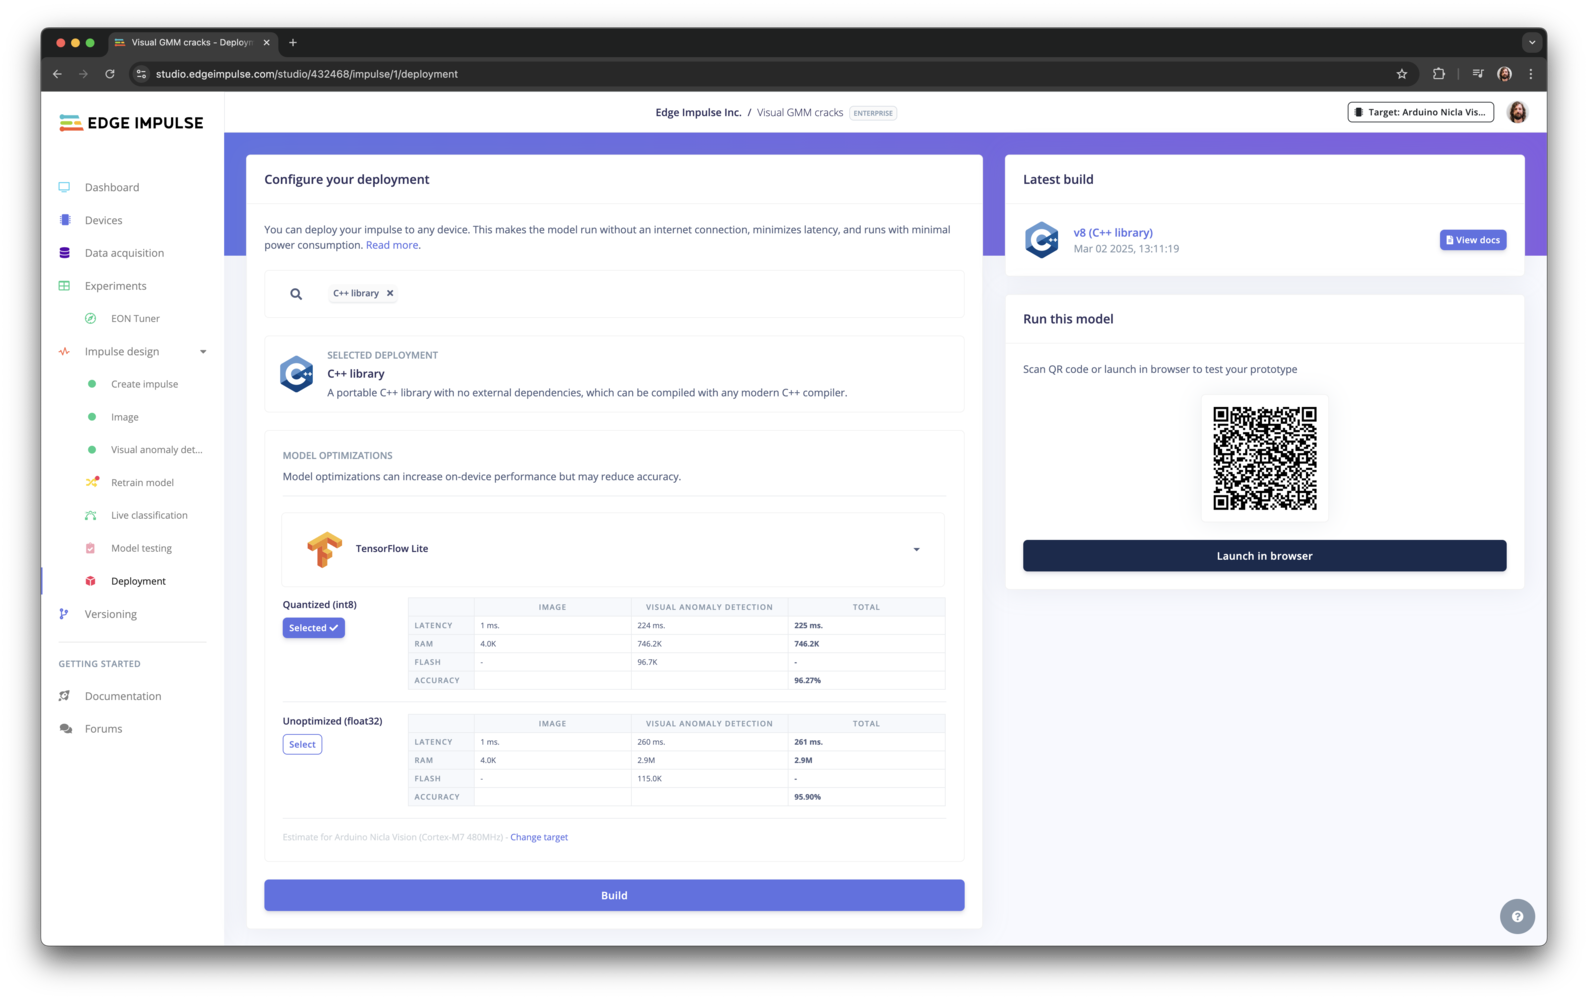
Deploy C++ Library
Import your C++ project
Depending on the example you want to use, import the project into Android Studio:Static buffer
The Static Buffer example is a simple application that uses a static buffer to run the impulse on the device. The application will show the result of the inference on the screen. To get inference to work, we need to add raw data from one of our samples to native-lib.cpp. Head back to the studio and click on Live classification. Then load a validation sample, and click on a row under ‘Detailed result’. Make a note of the classification results, as we want our local application to produce the same numbers from inference.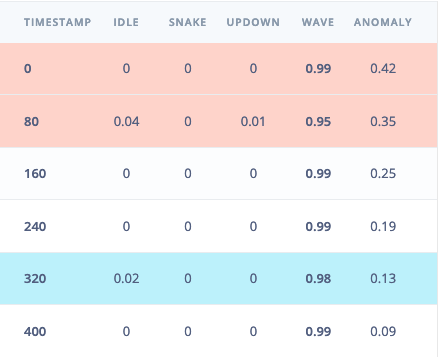
Selecting the row with timestamp '320' under 'Detailed result'.

Static Buffer Inference
Android
The Android example is a simple application that uses the camera to collect data, and run the impulse on the device. The application will show the result of the inference on the screen.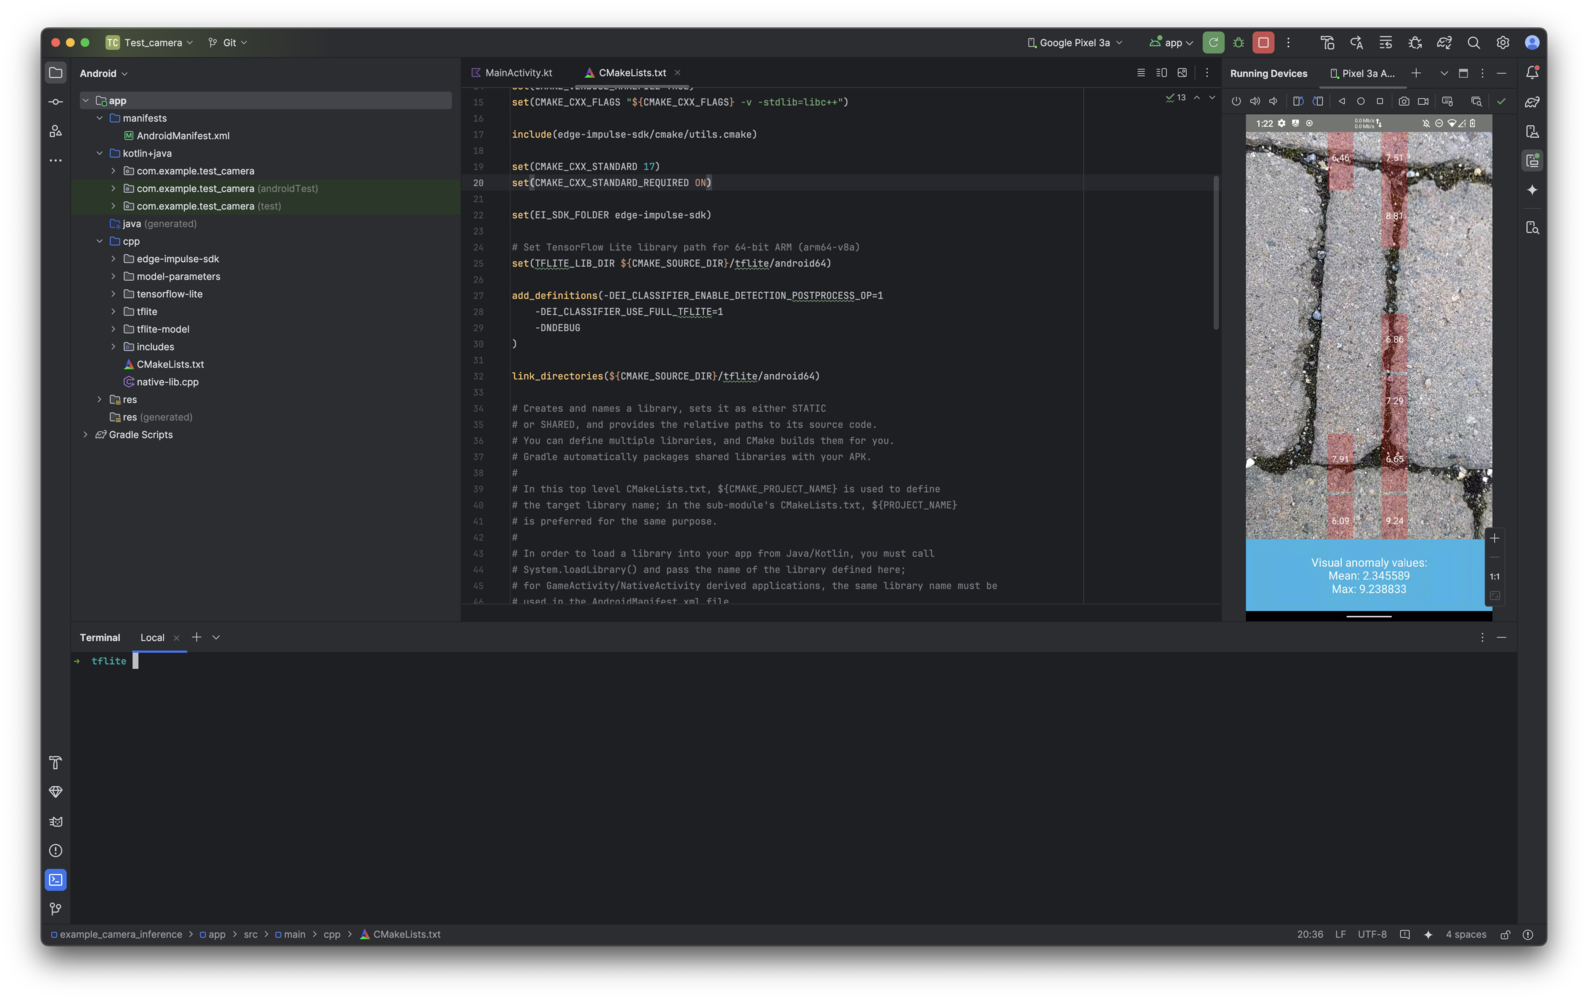
Android GMM Cracks
WearOS
The WearOS example is a simple application that uses the accelerometer sensor to collect data, and run the impulse on the device. The application will show the result of the inference on the screen.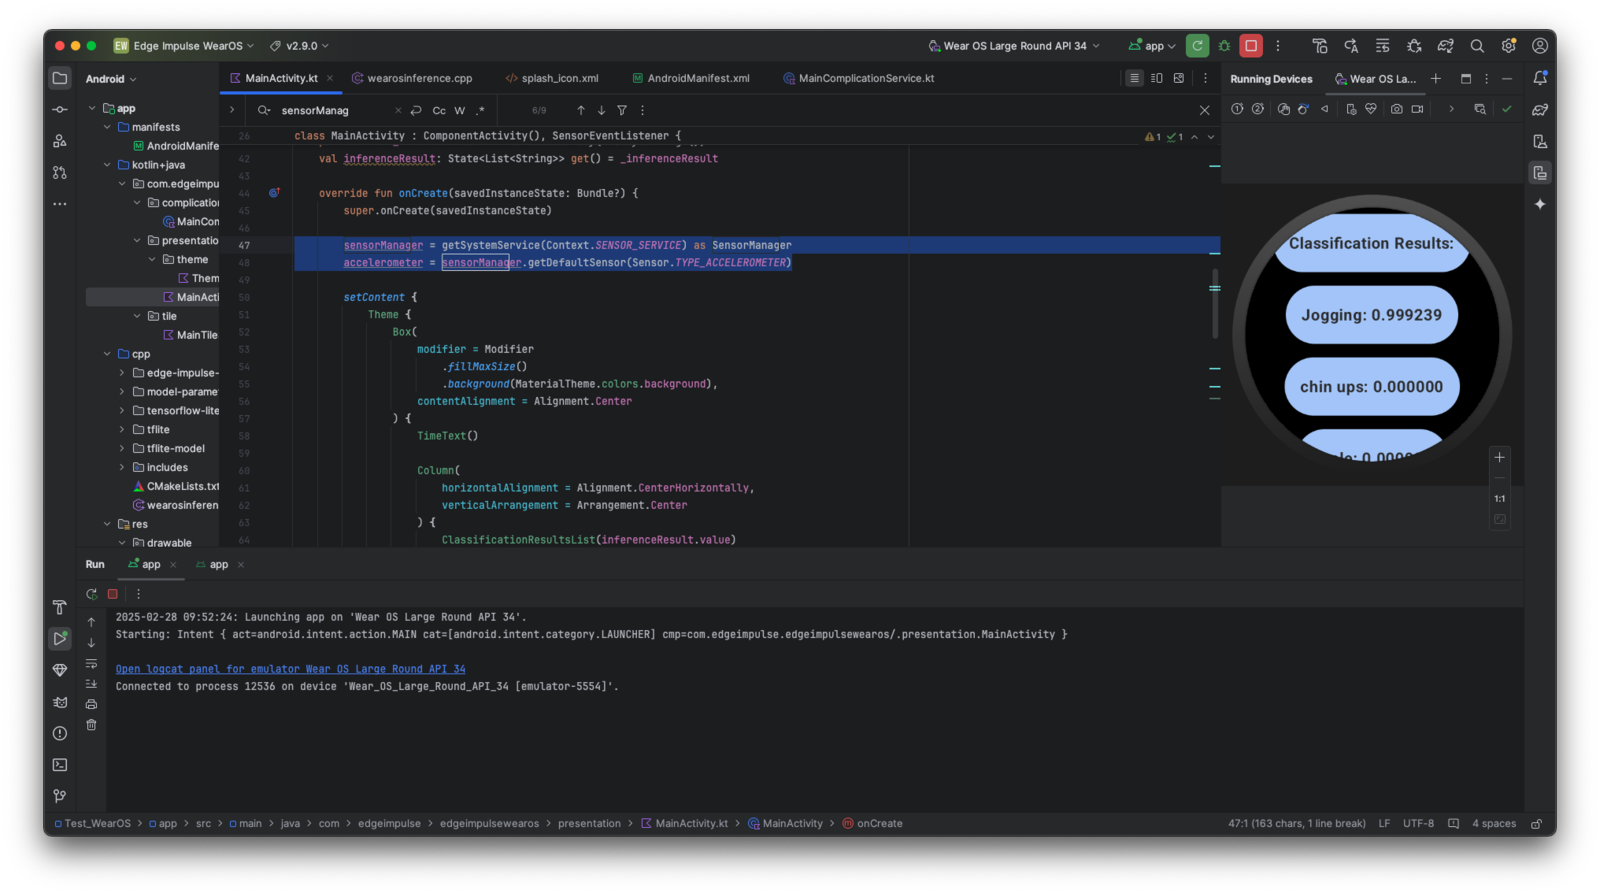
WearOS Motion Inference
Add Edge Impulse C++ files
Unzip your Edge Impulse C++ Library export. Copy these folders into your project’sapp/src/main/cpp/ directory:
edge-impulse-sdk/model-parameters/tflite-model/
Download the TFLite libraries
Run the Windows / Linux / OSX script to fetch resourcesBuilding the application
To build the application, open the project in Android Studio, and click on the ‘Run’ button. This will build the application and deploy it to your Android device.Adding additional sensors
If you want to integrate additional sensors, such as a Gyroscope or Heart Rate Sensor, follow these steps:- Enable the Sensor in the Code In MainActivity.kt, locate the sensor initialization section and uncomment the corresponding lines:
(kotlin)
- Initialize the Sensor in onCreate Inside onCreate(), uncomment and initialize the sensor:
(kotlin)
- Register the Sensor in onResume To start collecting sensor data when the app is active, uncomment the registration logic:
(kotlin)
- Handle Sensor Data in onSensorChanged Modify the onSensorChanged() function to collect new sensor data:
(kotlin)
- Unregister the Sensor in onPause To save battery and improve performance, ensure sensors stop when the app is paused:
(kotlin)