Object tracking
How object tracking works
Object tracking maintains ongoing traces of detected objects across video frames by aligning new detections with existing traces. Each frame, the system matches detections to traces—if a detection matches a trace, the trace is updated; if not, a new trace is started. If a trace doesn’t match any detection, it is closed after a short grace period, allowing for occasional missed detections. This approach enables robust tracking, especially for object counting by monitoring when traces cross defined regions. To align detections and traces, the system uses a cost function based on the overlap (for Bounding Box models) or distance (for Centroid models) between predicted and detected positions. Trace predictions are made using Kalman filters, which help smooth object movement and handle missing detections for short periods. Best for:- Linear, predictable motion (e.g., vehicles on a road, products on a conveyor belt)
- Tracking to facilitate counting, where a stable detection of unique objects crossing a line or region is required
- Objects with sharp, sudden changes in direction
- Highly random or erratic motion with overlapping objects (e.g., bouncing balls, swarming insects)
- Tracking where smoothness of motion around an entire scene is critical
Configuring object tracking
1. Enabling object tracking
To enable the Object Tracking feature:- Open your Edge Impulse project.
- Go to the Dashboard.
- Scroll down to ‘Administrative zone’ and enable Post-processing / object tracking.
- Click Save experiments.
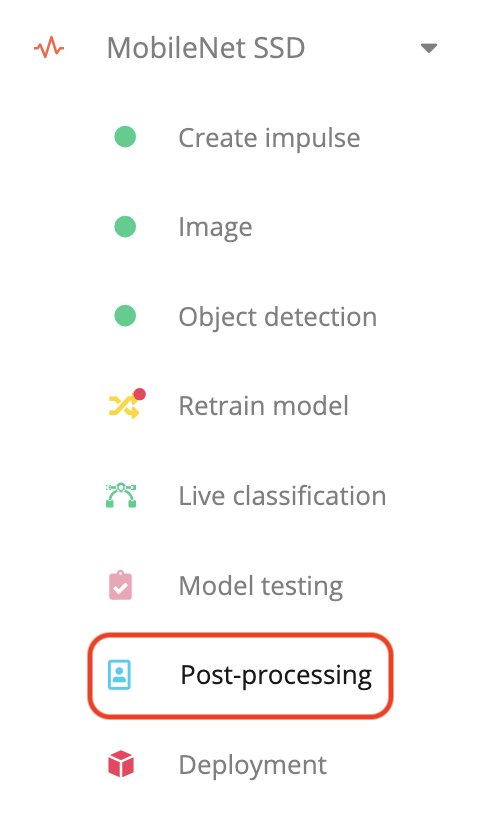
Post-processing in the navigation bar
2. Uploading data
To configure object tracking you’ll need to upload one or more video files of representable scenes. E.g. a video of your production line if you want to track products on a conveyor belt; or a video of people walking around if you’re building intruder detection systems. This data does not need to be labeled. Frames are squashed before running inference. For the most representative results, use the same aspect ratio as your impulse, for example if your model input is 320x320 with “fit-short” as the resize type you should crop your video to this aspect ratio before uploading. To upload this data, go to Data acquisition > Post-processing; and click the upload icon. We support video files in the most common formats, but there’s a 100MB file size limit.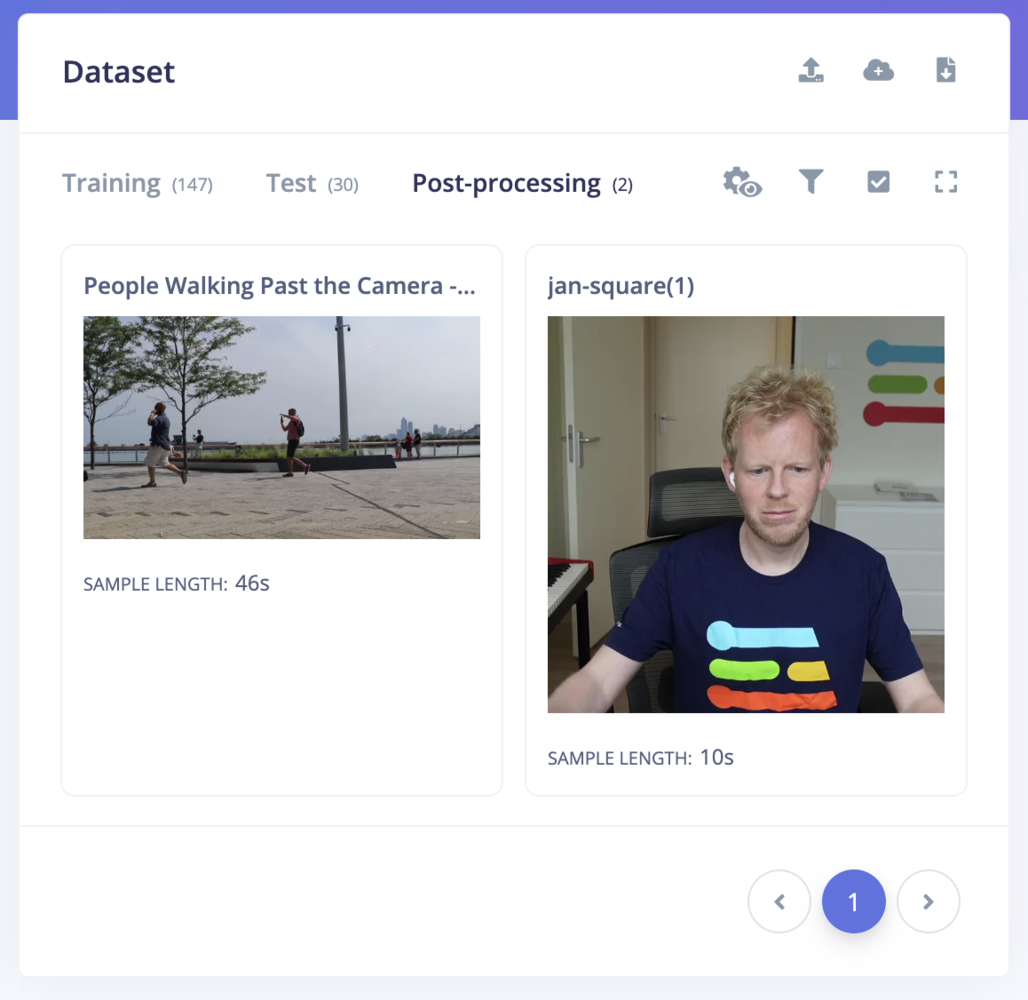
Post-processing dataset
3. Tuning object tracking parameters
After you’ve uploaded your data you can go to Post-processing (in the left navigation bar). This UI allows you to quickly iterate over all object tracking parameters to find the perfect configuration for your specific use case. This UI can also be used to see raw bounding box predictions overlaid onto your videos, which is a great way to assert model performance.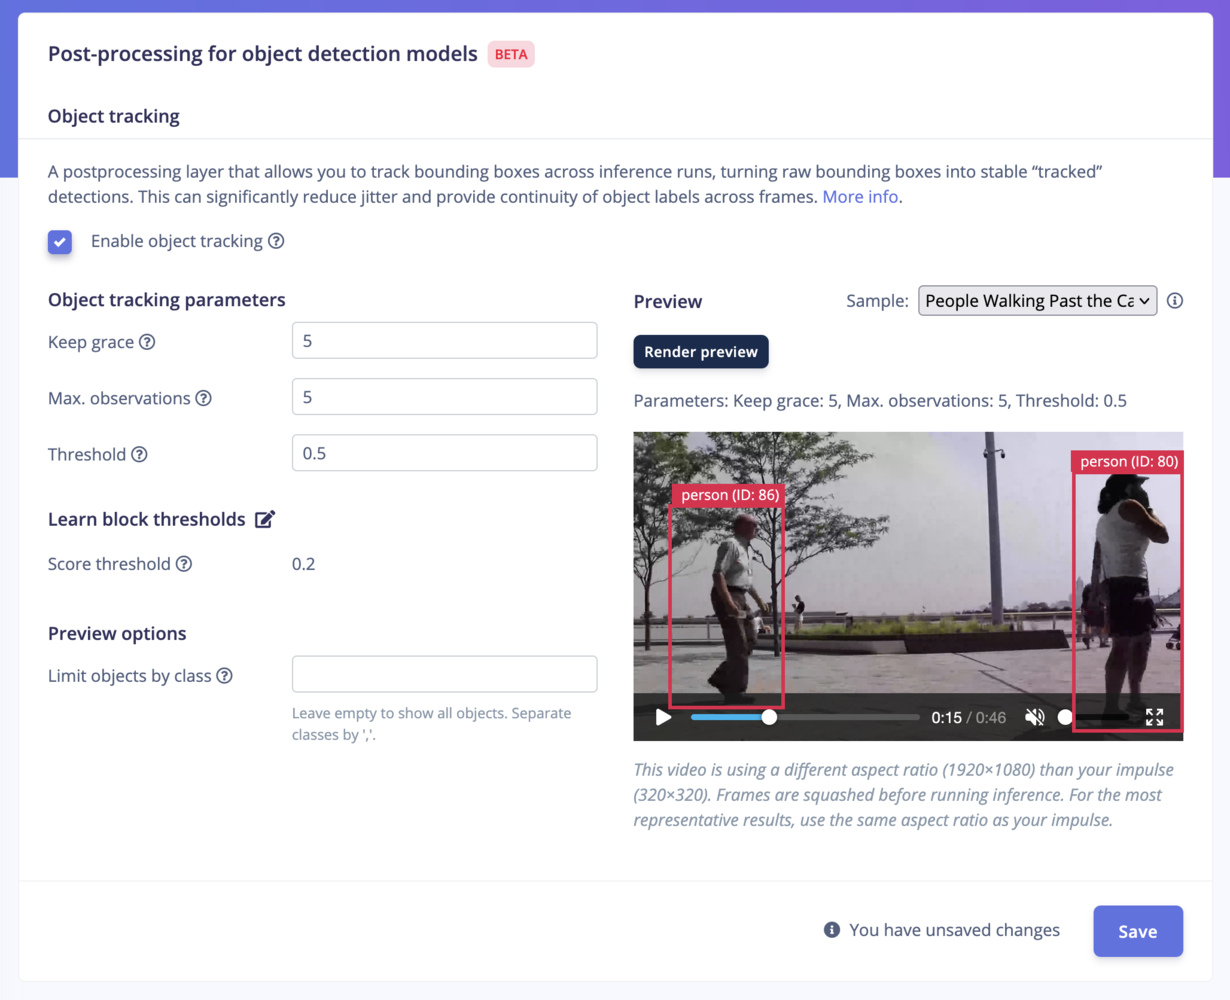
Object tracking Configuration - mobile client
Object tracking parameter descriptions
It is important to consider the target framerate of the camera on your deployed device when configuring these parameters. If you’re experimenting with a 30fps video here, make sure you’re limiting your on-device framerate to 30fps and vice versa.- Keep Grace: The number of frames an object is kept for after it disappears (i.e., is not detected). This allows for brief occlusions or missed detections without immediately ending the object’s trace.
- Max. observations: The maximum number of observations (detections) to use for matching and maintaining stable tracking of an object. Higher values can help smooth out noise but may increase latency.
- Threshold: The matching threshold for associating detections with existing traces:
- For centroid-based models (like FOMO): the Euclidean distance (in pixels) between centroids.
- For bounding box models (like MobileNetV3): the Intersection over Union (IoU) threshold between bounding boxes to decide if objects are the same between frames. Here is a visualisation of the overlap:
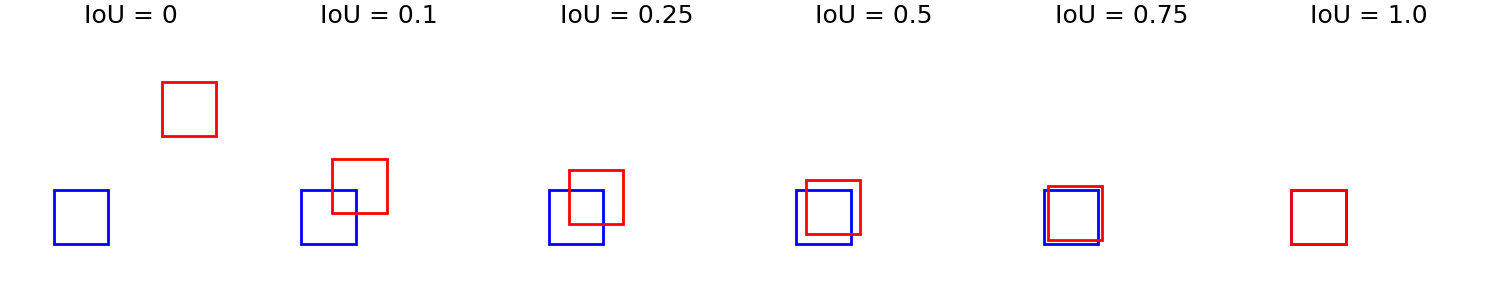
IoU Threshold Parameter Visualisation
4. Deploying your model
Once you’ve configured object tracking, all deployments (Linux, Mobile, EON Compiler, C++ library, WebAssembly, etc.) that contain an Object Detection block will automatically include the object tracking postprocessing layer. 🚀Re-configuring object tracking thresholds at runtime
Object tracking Configuration - mobile client
Linux CLI
Useedge-impulse-linux-runner --model-file <model.eim>.
- The runner’s interactive console (and web UI via
http://localhost:PORT) now includes configurable tracking thresholds (click the ‘gear’ icon).
Mobile client
If you’re running your impulse in the Edge Impulse mobile client, you can configure thresholds in the UI as well (click the ‘gear’ icon).Node.js SDK
In the Node.js SDK, there is a new function to set these thresholds at runtime:Code deployments (C++)
For C++ library deployments, you can configure thresholds inmodel-parameters/model_variables.h (name may vary based on your project’s generated files). A typical configuration might look like:
set_threshold_postprocessing.
Comparing object tracking vs. standard object detection
A simple way to see the difference between raw bounding boxes and tracked bounding boxes:Standard object detection vs object tracking
Terminal 1:
Terminal 2:
http://localhost:9200 and http://localhost:9201 in two separate browser windows and observe the difference in bounding box stability.
You’ll see smoother, more persistent bounding boxes with object tracking enabled.
Accessing tracked objects in the inference output
C++ libraries
WebAssembly
EIM files
When reading inference metadata from an EIM file, look under theobject_tracking field to retrieve tracked objects.