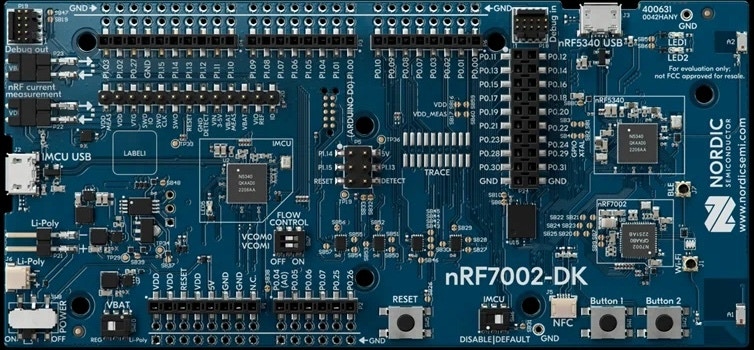
The Nordic Semiconductor nRF7002 DK is the development kit for the nRF7002 WiFi 6 companion IC. The kit contains everything you need to get started with your development on a single board. It features an nRF5340 multiprotocol System-on-a-Chip (SoC) as a host processor for the nRF7002 - and it is now supported by Edge Impulse.
The nRF7002 is a Wi-Fi 6 companion IC, providing seamless connectivity and Wi-Fi-based locationing (SSID sniffing of local Wi-Fi hubs). It is designed to be used alongside Nordic’s existing nRF52 and nRF53 Series Bluetooth SoCs, and nRF91 Series cellular IoT Systems-in-Package (SiPs). The nRF7002 can also be used in conjunction with non-Nordic host devices.
With its integration with Edge Impulse, you will be able to sample raw data, build models, and deploy trained machine learning models directly from the studio. As the nRF7002 DK does not have any built-in sensors, we recommend pairing this development board with the X-NUCLEO-IKS02A1 shield (with a MEMS accelerometer).
If you don’t have access to the X-NUCLEO-IKS02A1 shield, you can use our data forwarder to capture data from any other sensor, and then follow the Run on Zephyr-based Nordic Semiconductor development boards tutorial to run your impulse. Or, you can modify the example firmware (based on nRF Connect) to interact with other accelerometers or PDM microphones that are supported by Zephyr.
The Edge Impulse firmware for this development board is open source and hosted on GitHub: edgeimpulse/firmware-nordic-nrf7002dk.
Installing dependencies
To set this device up in Edge Impulse, you will need to install the following software:
- Edge Impulse CLI.
- On Linux:
- GNU Screen: install for example via
sudo apt install screen.
- Install J-Link for your device.
- Note that for the nRF7002 DK, the required J-Link version is V7.94e
Connecting to Edge Impulse
With all the software in place it’s time to connect the development board to Edge Impulse.
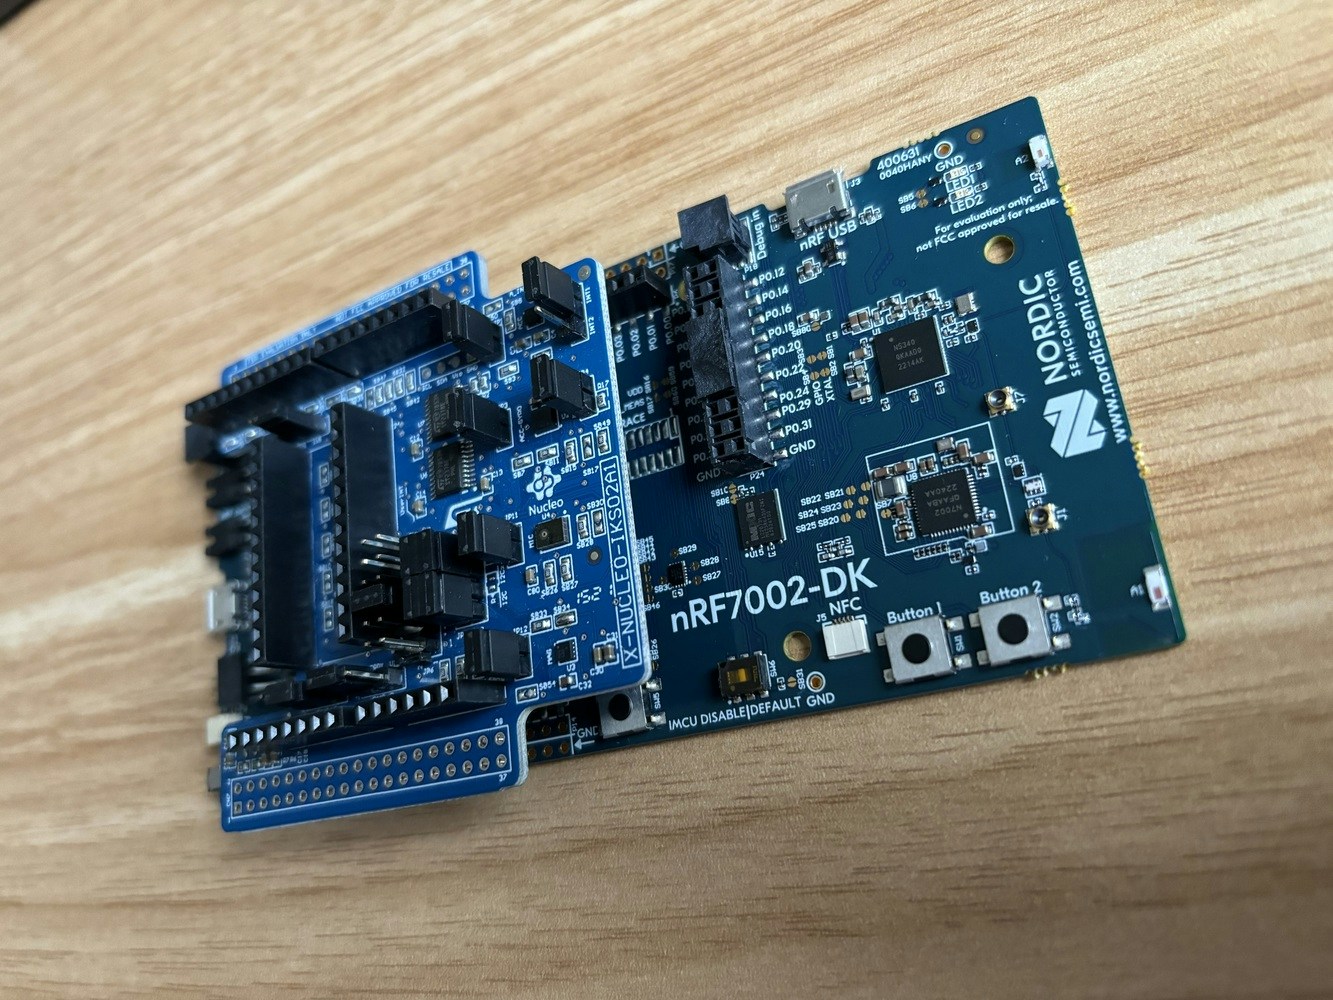
1. Plugging in the X-NUCLEO-IKS02A1 MEMS expansion shield
Remove the pin header protectors on the nRF7002 DK and plug the X-NUCLEO-IKS02A1 shield into the development board.
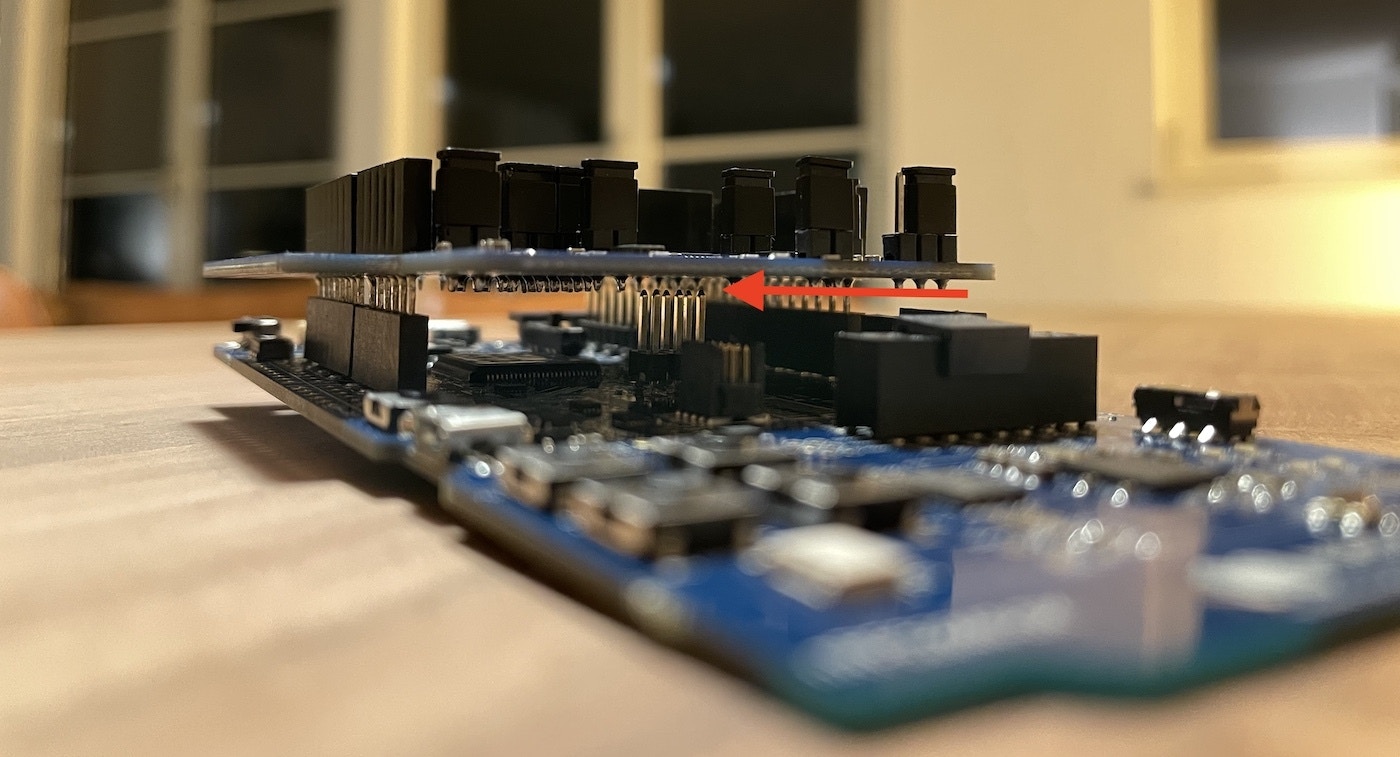
Note: Make sure that the shield does not touch any of the pins in the middle of the development board. This might cause issues when flashing the board or running applications.
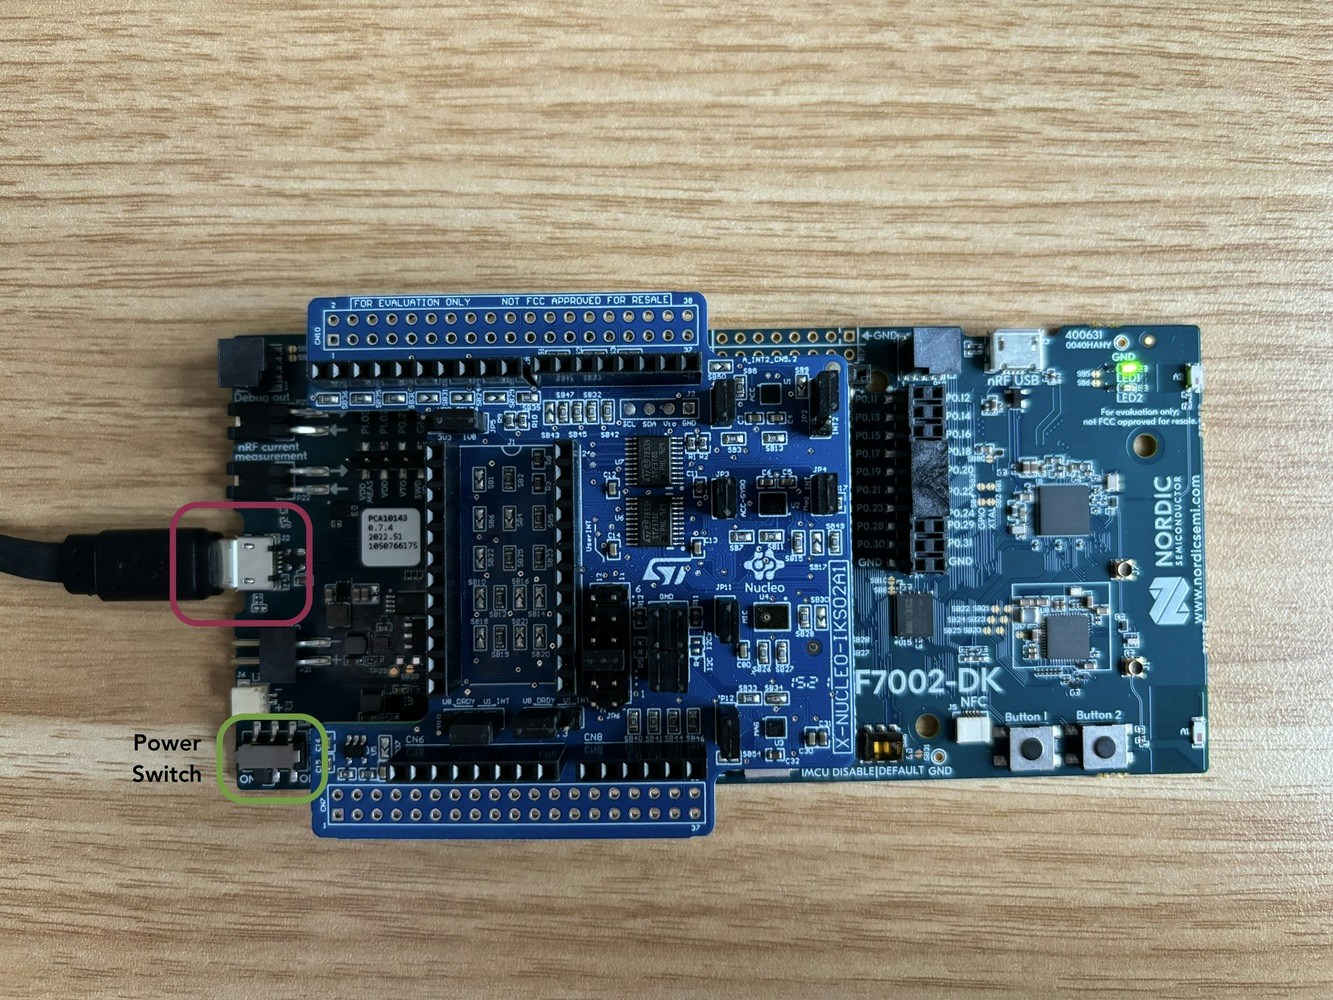
2. Connect the development board to your computer
Use a micro-USB cable to connect the development board to your computer. There are two USB ports on the development board, use the one on the short side of the board. Then, set the power switch on the bottom left to ‘on’.
3. Update the firmware
The development board does not come with the right firmware yet. To update the Firmware + Networking Component:
Firmware + Networking Component This firmware contains both the application and the networking core firmware component.
- The development board is mounted as a USB mass-storage device (like a USB flash drive), with the name
JLINK. Make sure you can see this drive.
- Download the latest Edge Impulse firmware.
- Install and open the nRF Connect for Desktop and go to the Programmer application
- Drag and drop the
nrf7002-dk-full.hex firmware from the downloaded zip in this Programmer application (this firmware contains both application and networking core firmware).
- Click “Erase & Write” and wait for device to boot up.
4. Connecting to Edge Impulse Studio
From a command prompt or terminal, run:
This starts a wizard which asks you to log in and choose an Edge Impulse project. If you want to switch projects run the command with --clean.
The nRF5340 DK exposes multiple UARTs. If prompted, choose the bottom one:
? Which device do you want to connect to? (Use arrow keys)
  /dev/tty.usbmodem0010507661753 (SEGGER)
❯ /dev/tty.usbmodem0010507661751 (SEGGER)
5. Setting up WiFI connection
Once the nRF7002 DK is connected to a project in your profile, it will prompt to setup a WiFi connection:
? To which project do you want to connect this device? USERNAME / Project-1
  Setting device ID... OK
  Setting upload host in device... OK
  Configuring remote management settings... OK
  Configuring API key in device... OK
  Configuring HMAC key in device... OK
? WiFi is not connected, do you want to set up a WiFi network now? (Y/n)
? WiFi is not connected, do you want to set up a WiFi network now? Yes
Scanning WiFi networks... OK
? Select WiFi network (Use arrow keys)
❯ SSID: Vodafone-174C, Security: WPA2-PSK (1),RSSI: -52 dBm
  SSID: Vodafone-7047, Security: WPA2-PSK (1),RSSI: -67 dBm
  SSID: Vodafone-174C, Security: WPA2-PSK (1),RSSI: -72 dBm
  SSID: FRITZ!Box 7590 SH, Security: WPA2-PSK (1),RSSI: -73 dBm
  SSID: FRITZ!Repeater 1200, Security: WPA2-PSK (1),RSSI: -78 dBm
  SSID: Vodafone-7047, Security: WPA2-PSK (1),RSSI: -85 dBm
[SER] Verifying whether device can connect to remote management API...
[SER] Device is not connected to remote management API, will use daemon
[WS ] Connecting to wss://remote-mgmt.edgeimpulse.com
[WS ] Connected to wss://remote-mgmt.edgeimpulse.com
? What name do you want to give this device? nRF7002-dk

[WS ] Device "nRF7002-dk" is now connected to project "Project-1". To connect to another project, run `edge-impulse-daemon --clean`.
[WS ] Go to https://studio.edgeimpulse.com/studio/252393/acquisition/training to build your machine learning model!
6. Verify that the device is connected
That’s all! Your device is now connected to Edge Impulse. To verify this, go to your Edge Impulse project, and click Devices. The device will be listed here.
Since your device is now connected via WiFi, you should be able to disconnect the daemon and collect your sensor data over the WiFi connection.
7. Flashing your model
When using the nRF7002 DK, you will not be able to connect to the Nordic nRF Edge Impulse app on your phone. The best way to flash your model is by navigating to the Deployment tab of your project in the studio on your PC and downloading the built firmware from there. You can follow the instructions in this section of the Nordic docs to flash the model onto your device.
8. Inferencing
The default firmware for the nRF7002 DK provided above, ships with a default motion detection model. This model is created from the Tutorial: Continuous motion recognition and it’s corresponding Edge Impulse project. To see the inferencing results of this model, reconnect the the device to your computer with a USB cable and run:
edge-impulse-run-inference
Inferencing settings:
	Interval: 16.0000ms.
	Frame size: 375
	Sample length: 2000.00 ms.
	No. of classes: 4
Starting inferencing in 2 seconds...
Predictions (DSP: 25 ms., Classification: 0 ms., Anomaly: 0 ms.):
    idle: 	0.996094
    snake: 	0.000000
    updown: 	0.000000
    wave: 	0.000000
    anomaly score: -0.375301
Next steps: building a machine learning model
With everything set up you can now build your first machine learning model with this tutorial:
Looking to connect different sensors? The Data forwarder lets you easily send data from any sensor into Edge Impulse.
Troubleshooting
Failed to flash
If your board fails to flash new firmware (a FAIL.txt file might appear on the JLINK drive) you can also flash using nrfjprog.
- Install the nRF Command Line Tools.
- Flash new firmware via:
nrfjprog --program path-to-your.bin -f NRF53 --sectoranduicrerase