- BHI260AP motion sensor system with integrated AI.
- BMM150 magnetometer.
- BMP390 pressure sensor.
- BME688 4-in-1 gas sensor with AI and integrated high-linearity, as well as high-accuracy pressure, humidity and temperature sensors.
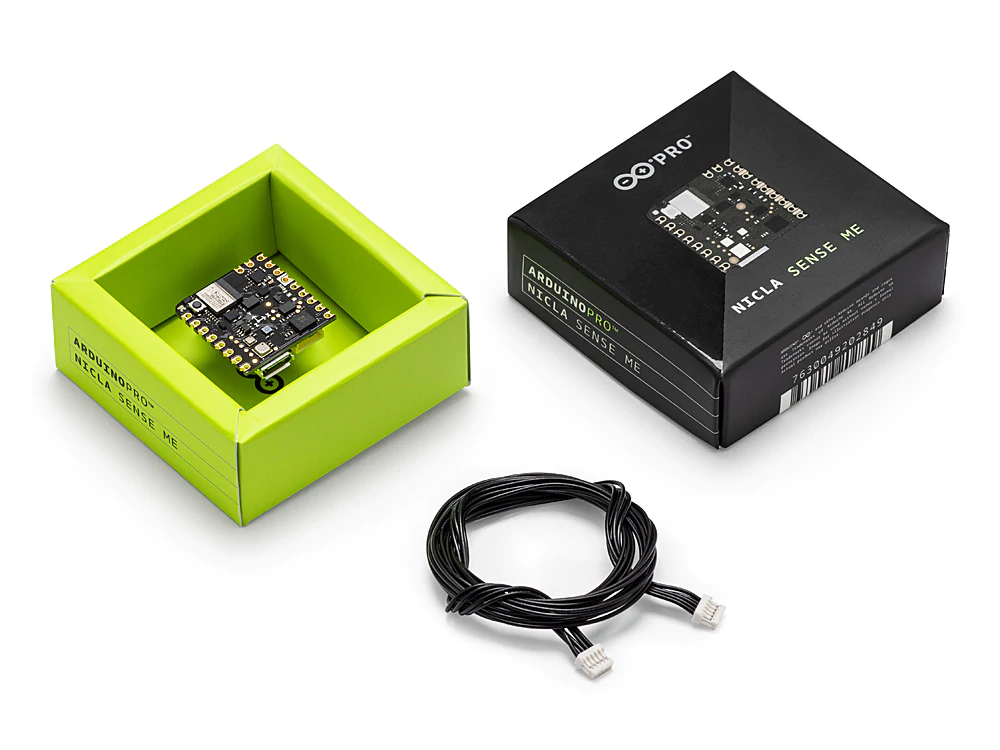
Arduino Nicla Sense ME
Installing dependencies
To set this device up in Edge Impulse, you will need to install the following software:- Edge Impulse CLI.
- Arduino CLI.
- Here’s an instruction video for Windows.
- The Arduino website has instructions for macOS and Linux.
- On Linux:
- GNU Screen: install for example via
sudo apt install screen.
- GNU Screen: install for example via
Connecting to Edge Impulse
With all the software in place it’s time to connect the development board to Edge Impulse.1. Connect the development board to your computer
Use a micro-USB cable to connect the development board to your computer.2. Update the firmware
The development board does not come with the right firmware yet. To update the firmware:- Download the latest Edge Impulse ingestion sketch.
-
Open the
nicla_sense_ingestion.inosketch in a text editor or the Arduino IDE. -
For data ingestion into your Edge Impulse project, at the top of the file, select 1 or multiple sensors by un-commenting the defines and select a desired sample frequency (in Hz). For example, for the Environmental sensors:
-
Then, from your sketch’s directory, run the Arduino CLI to compile:
-
Then flash to your Nicla Sense using the Arduino CLI:
- Wait until flashing is complete, and press the RESET button once to launch the new firmware.
3. Data forwarder
From a command prompt or terminal, run:nicla_sense_ingestion.ino sketch). If you want to switch projects/sensors run the command with --clean. Please refer to the table below for the names used for each axis corresponding to the type of sensor:
Note: These exact axis names are required to run the Edge Impulse Arduino library deployment example applications for the Nicla Sense without any changes.
Else, when deploying the model, you will see an error like the following:
eiSensors nicla_sensors[] (near line 70) in the sketch example to add your custom names. e.g.:
4. Verifying that the device is connected
That’s all! Your device is now connected to Edge Impulse. To verify this, go to your Edge Impulse project, and click Devices. The device will be listed here.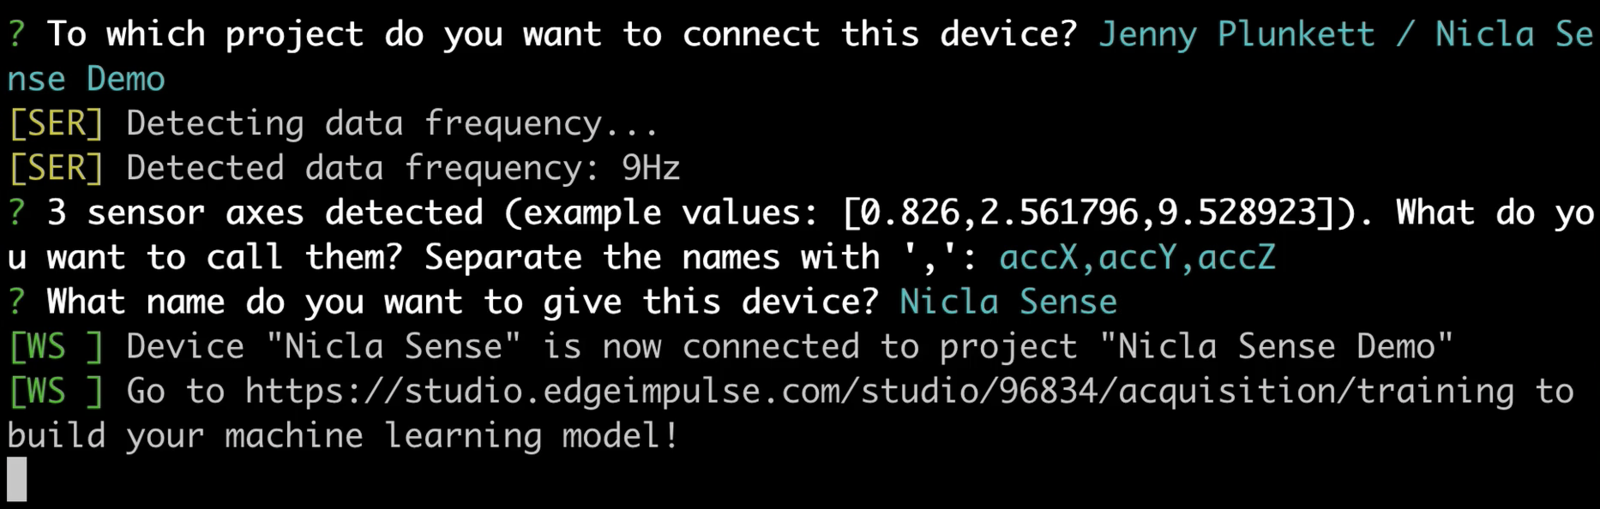
Configuring the data forwarder for the Nicla Sense.
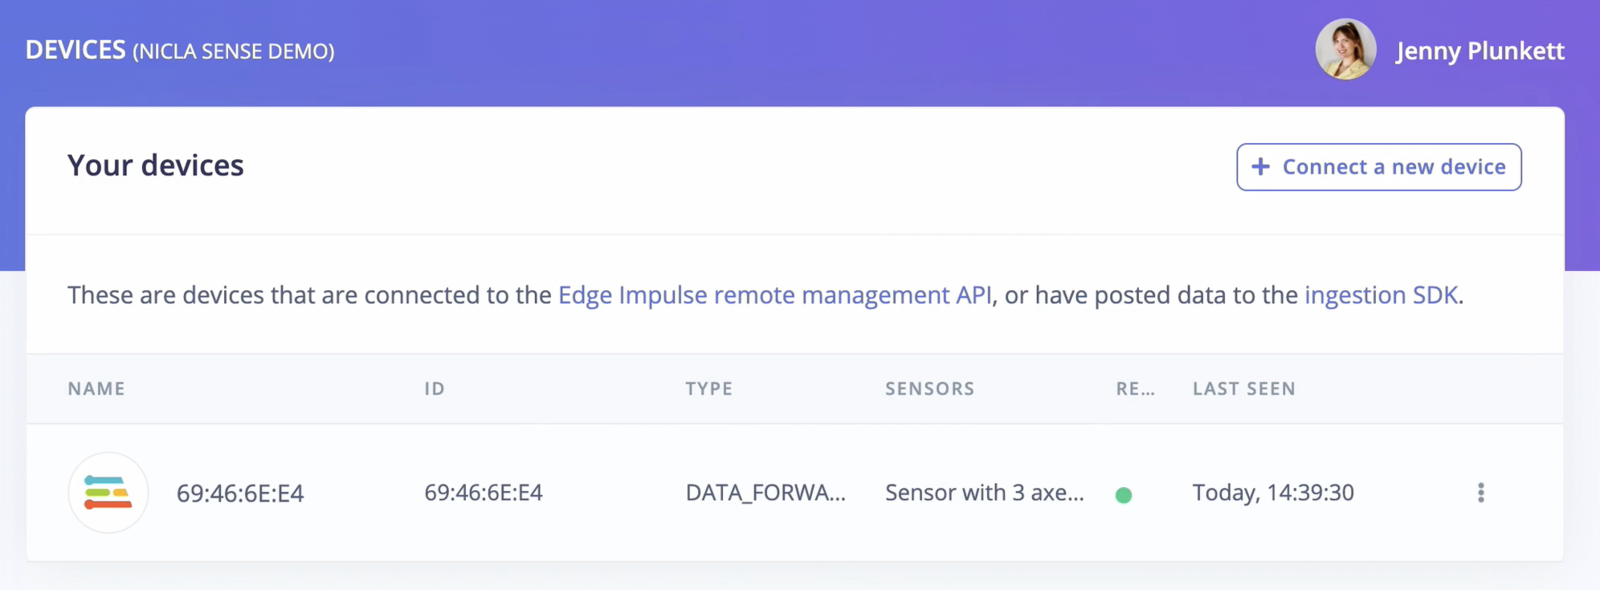
The Nicla Sense Data forwarder in the Devices tab.
Next steps: building a machine learning model
With everything set up you can now build your first machine learning model with the Edge Impulse continuous motion recognition tutorial. Looking to connect different sensors? Use thenicla_sense_ingestion sketch and the Edge Impulse Data forwarder to easily send data from any sensor on the Nicla Sense into your Edge Impulse project.