Prerequisites
- Edge Impulse CLI
- Arduino CLI
- Download/clone the firmware source code for your hardware:
Naming your classesThe NDP chip expects one and only negative class and it should be the last in the list. For instance, if your original dataset looks like:
yes, no, unknown, noise and you only want to detect the keyword ‘yes’ and ‘no’, merge the ‘unknown’ and ‘noise’ labels in a single class such as z_openset (we prefix it with ‘z’ in order to get this class last in the list).Exporting Syntiant library
Go to the Deployment page of your project and select the Syntiant library option for either NDP101 (Syntiant TinyML) or NDP120 (Arduino Nicla Voice):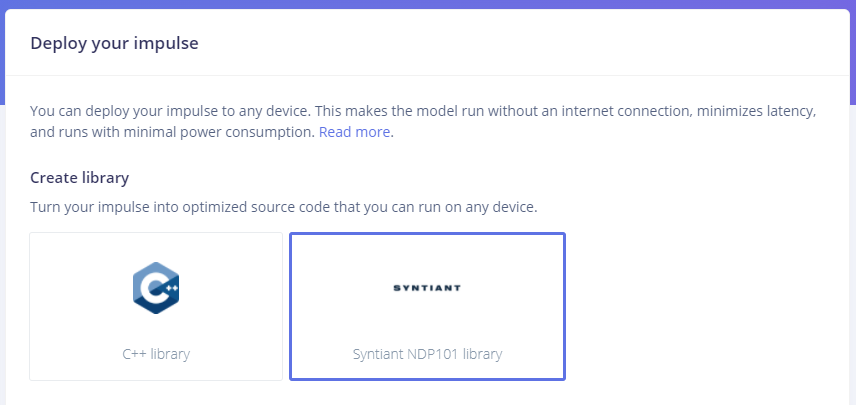
Export to Syntiant NDP101 library for custom model development
Customizing and compiling the source code
For Syntiant TinyML
You can add your custom logic to the main Arduino sketch by customizing the on_classification_changed() function. By default this function contains the following code to activate LEDs based on “stop” and “go” classes:For Arduino Nicla Voice
Open the src/ei_syntiant_ndp120.cpp file and look at the match_event() function. We can customize the code as follows to activate LEDs based on “stop” and “go” classes:Compiling the source code
Once you’ve added your own logic, to compile and flash the firmware run:- Windows
update_libraries_windows.bat(Syntiant TinyML only)arduino-win-build.bat --buildfor audio support (add--with-imuflag for IMU support)arduino-win-build.bat --flash
- Linux and Mac
./arduino-build.sh --buildfor audio support (add--with-imuflag for IMU support)./arduino-build.sh --flash
Deploying your impulse
On Syntiant TinyML
Once you’ve compiled the Arduino firmware:- Take the .bin file output by Arduino and rename it to firmware.ino.bin.
- Replace the firmware.ino.bin from our default firmware (our default firmware can be downloaded from here)
- Replace the ei_model*.bin file in our default firmware by the one from the Syntiant library.
- Launch the script for your OS to flash the board
On Arduino Nicla Voice
Once you’ve compiled the Arduino firmware:- Take the .elf file output by Arduino and rename it to firmware.ino.elf.
- Replace the firmware.ino.elf from our default firmware (our default firmware can be downloaded from here)
- Replace the ei_model.synpkg file in our default firmware by the one from the Syntiant library.
- Launch the script for your OS to flash the board