Two variants of this boardThere are two variants of this board, the B-L475E-IOT01A1 (US region) and the B-L475E-IOT01A2 (EU region) - the only difference is the sub-GHz radio. Both are usable in Edge Impulse.
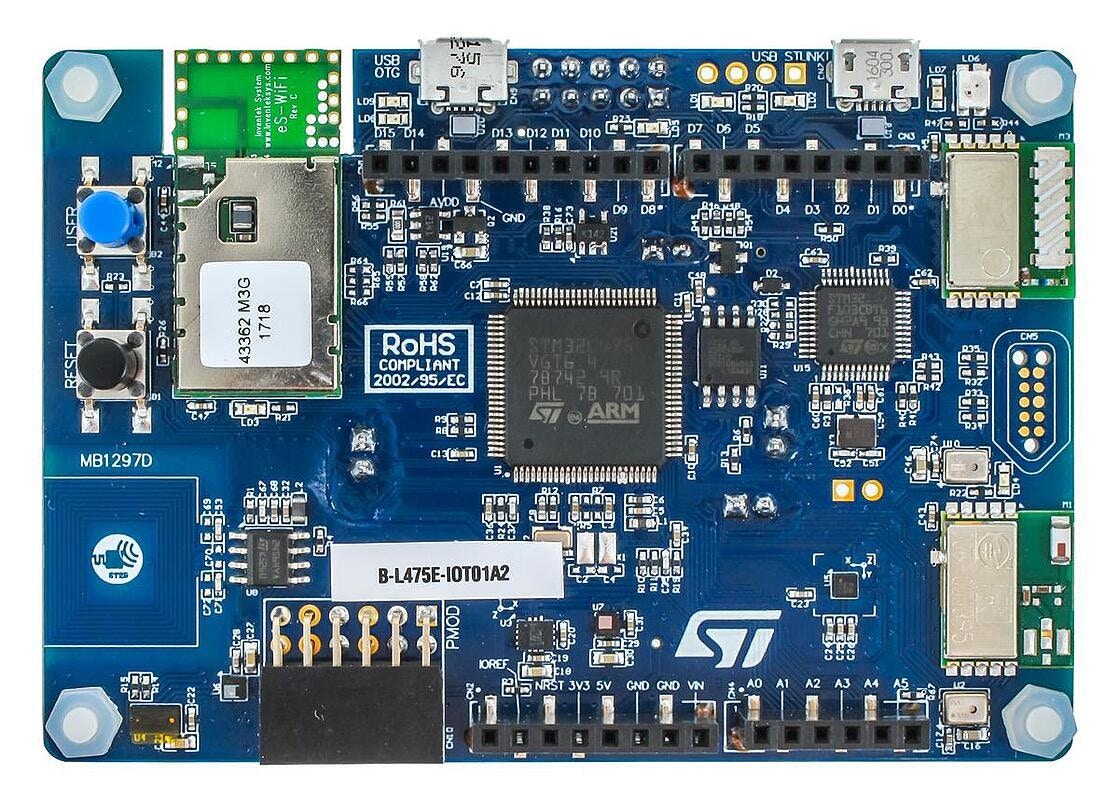
ST B-L475E-IOT01A development board
Installing dependencies
To set this device up in Edge Impulse, you will need to install the following software:- Edge Impulse CLI).
- On Windows:
- ST Link - drivers for the development board. Run
dpinst_amd64on 64-bits Windows, ordpinst_x86on 32-bits Windows.
- ST Link - drivers for the development board. Run
- On Linux:
- GNU Screen: install for example via
sudo apt install screen.
- GNU Screen: install for example via
Connecting to Edge Impulse
With all the software in place it’s time to connect the development board to Edge Impulse.1. Connect the development board to your computer
Use a micro-USB cable to connect the development board to your computer. There are two USB ports on the development board, use the one the furthest from the buttons.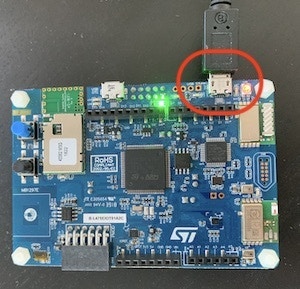
2. Update the firmware
The development board does not come with the right firmware yet. To update the firmware:- The development board is mounted as a USB mass-storage device (like a USB flash drive), with the name
DIS_L4IOT. Make sure you can see this drive. - Download the latest Edge Impulse firmware.
- Drag the
DISCO-L475VG-IOT01A.binfile to theDIS_L4IOTdrive. - Wait until the LED stops flashing red and green.
3. Setting keys and WiFi credentials
From a command prompt or terminal, run:--clean.
Alternatively, recent versions of Google Chrome and Microsoft Edge can collect data directly from your development board, without the need for the Edge Impulse CLI. See this blog post for more information.
4. Verifying that the device is connected
That’s all! Your device is now connected to Edge Impulse. To verify this, go to your Edge Impulse project, and click Devices. The device will be listed here.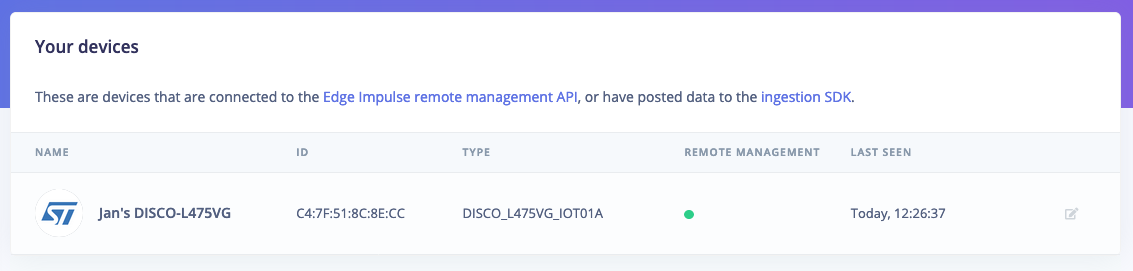
Device connected to Edge Impulse.
Next steps: building a machine learning model
With everything set up you can now build your first machine learning model with these tutorials: Looking to connect different sensors? The Data forwarder lets you easily send data from any sensor into Edge Impulse.Troubleshooting
Unable to set up WiFi with ST B-L475E-IOT01A development board
If you experience the following error when attempting to connect to a WiFi network:My device is not responding, and nothing happens when I attempt to update the firmware
If the LED does not flash red and green when you copy the.bin file to the device and instead is a solid red color, and you are unable to connect the device with Edge Impulse, there may be an issue with your device’s native firmware.
To restore functionality, use the following tool from ST to update your board to the latest version:
I don’t see the DIS_L4IOT drive, or cannot connect over serial to the board (Linux)
You might need to set up udev rules on Linux before being able to talk to the device. Create a file named/etc/udev/rules.d/50-stlink.rules and add the following content: