




WARNING: This notebook will add and delete data in your Edge Impulse project, so be careful! We recommend creating a throwaway project when testing this notebook.Note that you might need to refresh the page with your Edge Impulse project to see the samples appear.
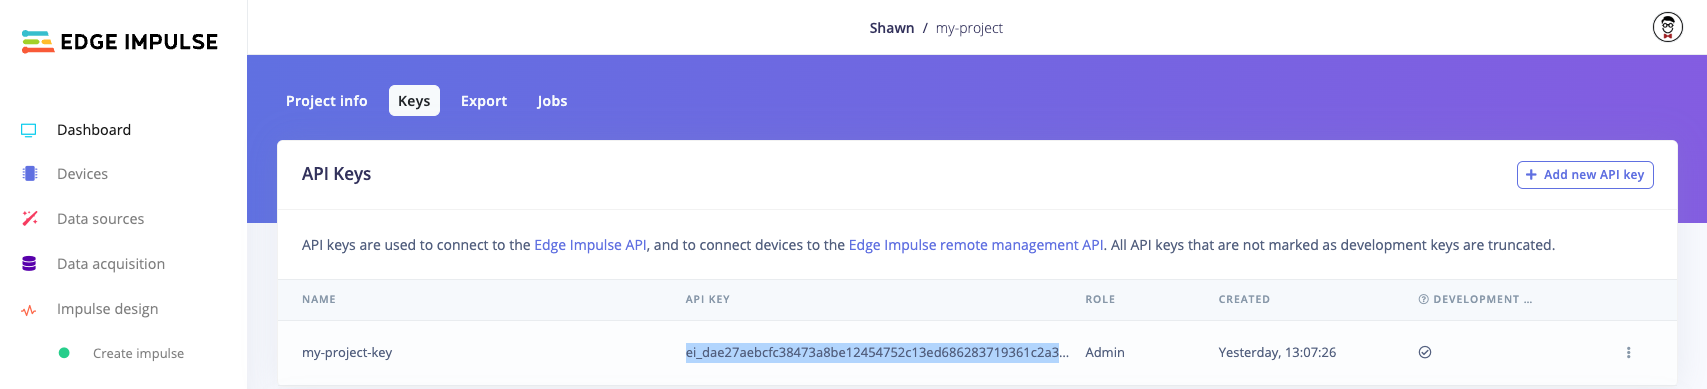
Copy API key from Edge Impulse project
ei.API_KEY value in the following cell:
Upload directory
You can upload all files in a directory using the Python SDK. Note that you can set the category, label, and metadata for all files with a single call. If you want to use a different label for each file setlabel=None in the function call and name your files with <label>.<name>.<ext>. For example, wave.01.csv will have the label wave when uploaded. See here for more information.
The following file formats are allowed: .cbor, .json, .csv, .wav, .jpg, .png, .mp4, .avi.
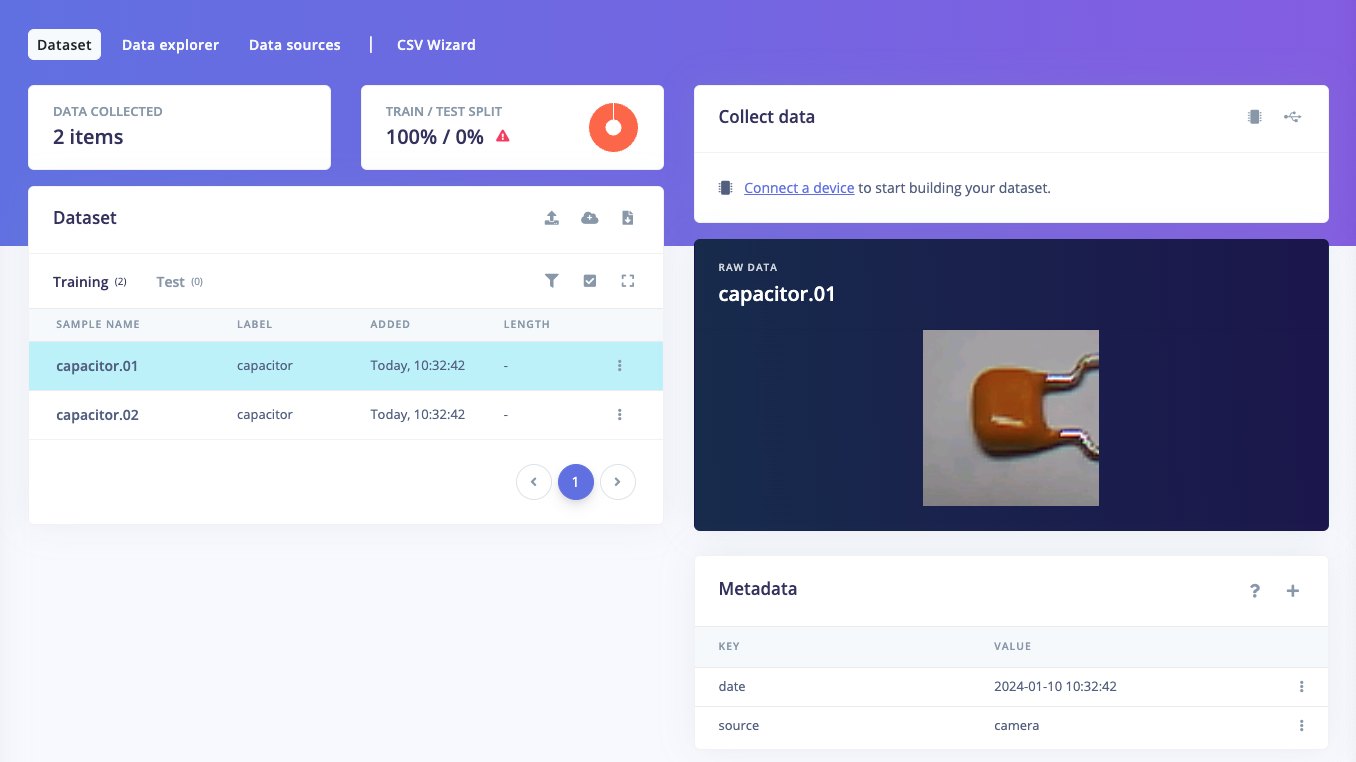
Images uploaded to Edge Impulse project
Download files
You can download samples from your Edge Impulse project if you know the sample IDs. You can get sample IDs by calling theei.data.get_sample_ids() function, which allows you to filter IDs based on filename, category, and label.
Delete files
If you know the ID of the sample you would like to delete, you can call thedelete_sample_by_id() function. You can also delete all the samples in your project by calling delete_all_samples().
Upload folder for object detection
For object detection, you can put bounding box information (following the Edge Impulse JSON bounding box format) in a file named info.labels in that same directory.Important! The annotations file must be named exactly info.labels

Images uploaded to Edge Impulse project
Upload individual CSV files
The Edge Impulse ingestion service accepts CSV files, which we can use to upload raw data. Note that if you configure a CSV template using the CSV Wizard, then the expected format of the CSV file might change. If you do not configure a CSV template, then the ingestion service expects CSV data to be in a particular format. See here for details about the default CSV format.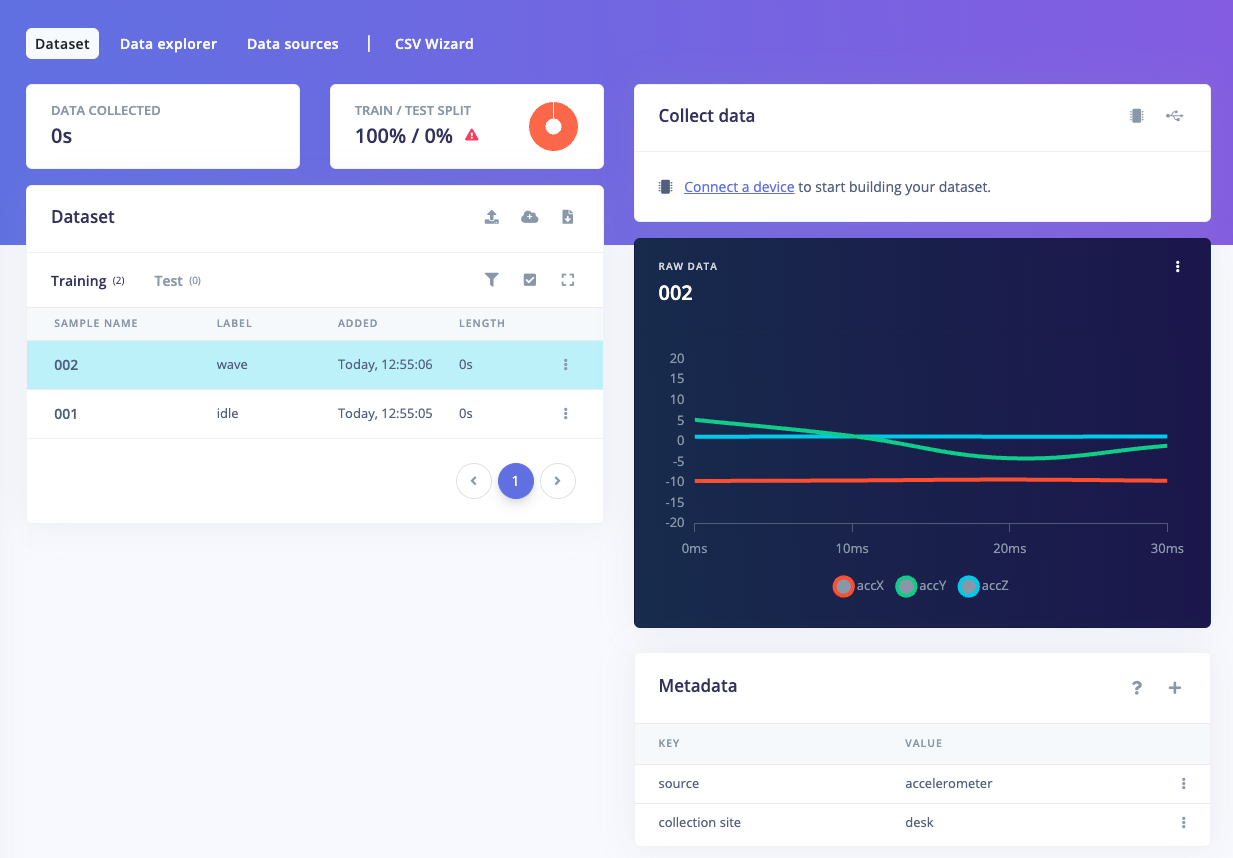
Copy API key from Edge Impulse project
Upload JSON data directly
Another way to upload data is to encode it in JSON format. See the data acquisition format specification for more information on acceptable key/value pairs. Note that thesignature value can be set to 0.
The raw data must be encoded in an IO object. We convert the dictionary objects to a BytesIO object, but you can also read in data from .json files.
Copy API key from Edge Impulse project
Upload NumPy arrays
NumPy is powerful Python library for working with large arrays and matrices. You can upload NumPy arrays directly into your Edge Impulse project. Note that the arrays are required to be in a particular format, and must be uploaded with required metadata (such as a list of labels and the sample rate).
Important! NumPy arrays must be in the shape (Number of samples, number of data points, number of sensors)
If you are working with image data in NumPy, we recommend saving those images as .png or .jpg files and using upload_directory().
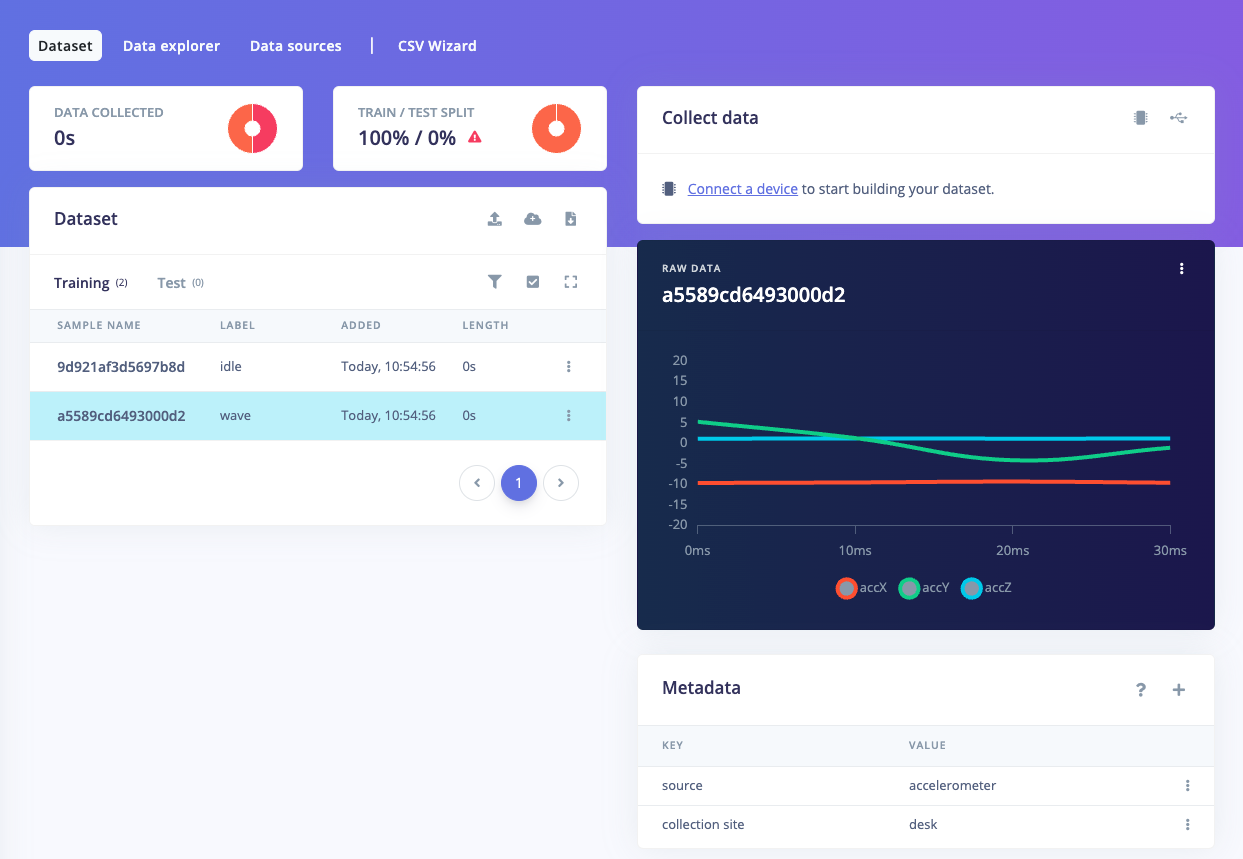
Copy API key from Edge Impulse project
Upload pandas (and pandas-like) dataframes
pandas is popular Python library for performing data manipulation and analysis. The Edge Impulse library supports a number of ways to upload dataframes. We will go over each format. Note that several other packages exist that work as drop-in replacements for pandas. You can use these replacements so long as you import that with the namepd. For example, one of: