- Powered by Qualcomm QCS6490/QCS5430 SoC
- 1 Kryo Gold plus up to 2.7 GHz
- 3 Kryo Gold at 2.4 GHz
- 4 Kryo Sliver at 1.9 GHz
- Andreo VPU 633 4K30 encode/Decode
- Andreo GPU 643, OpenGL ES3.2/OpenCL 2.0
- 12 TOPs NPU for AI applications
- Onboard LPDDR5 8GB, 8533MT/s
- 1x MIPI-DSI x4, 1x DP and 1x eDP1.4 for Displays
- 1x USB3.2 Gen1, 1x USB2.0, 2x PCIe Gen3.0 x1, 1x PCIe Gen3.0 x2, 2x I2S, 4x
- 4wire UART, 3x SPI,39x GPIO, 4x I2C, 2x MIPI-CSI x4
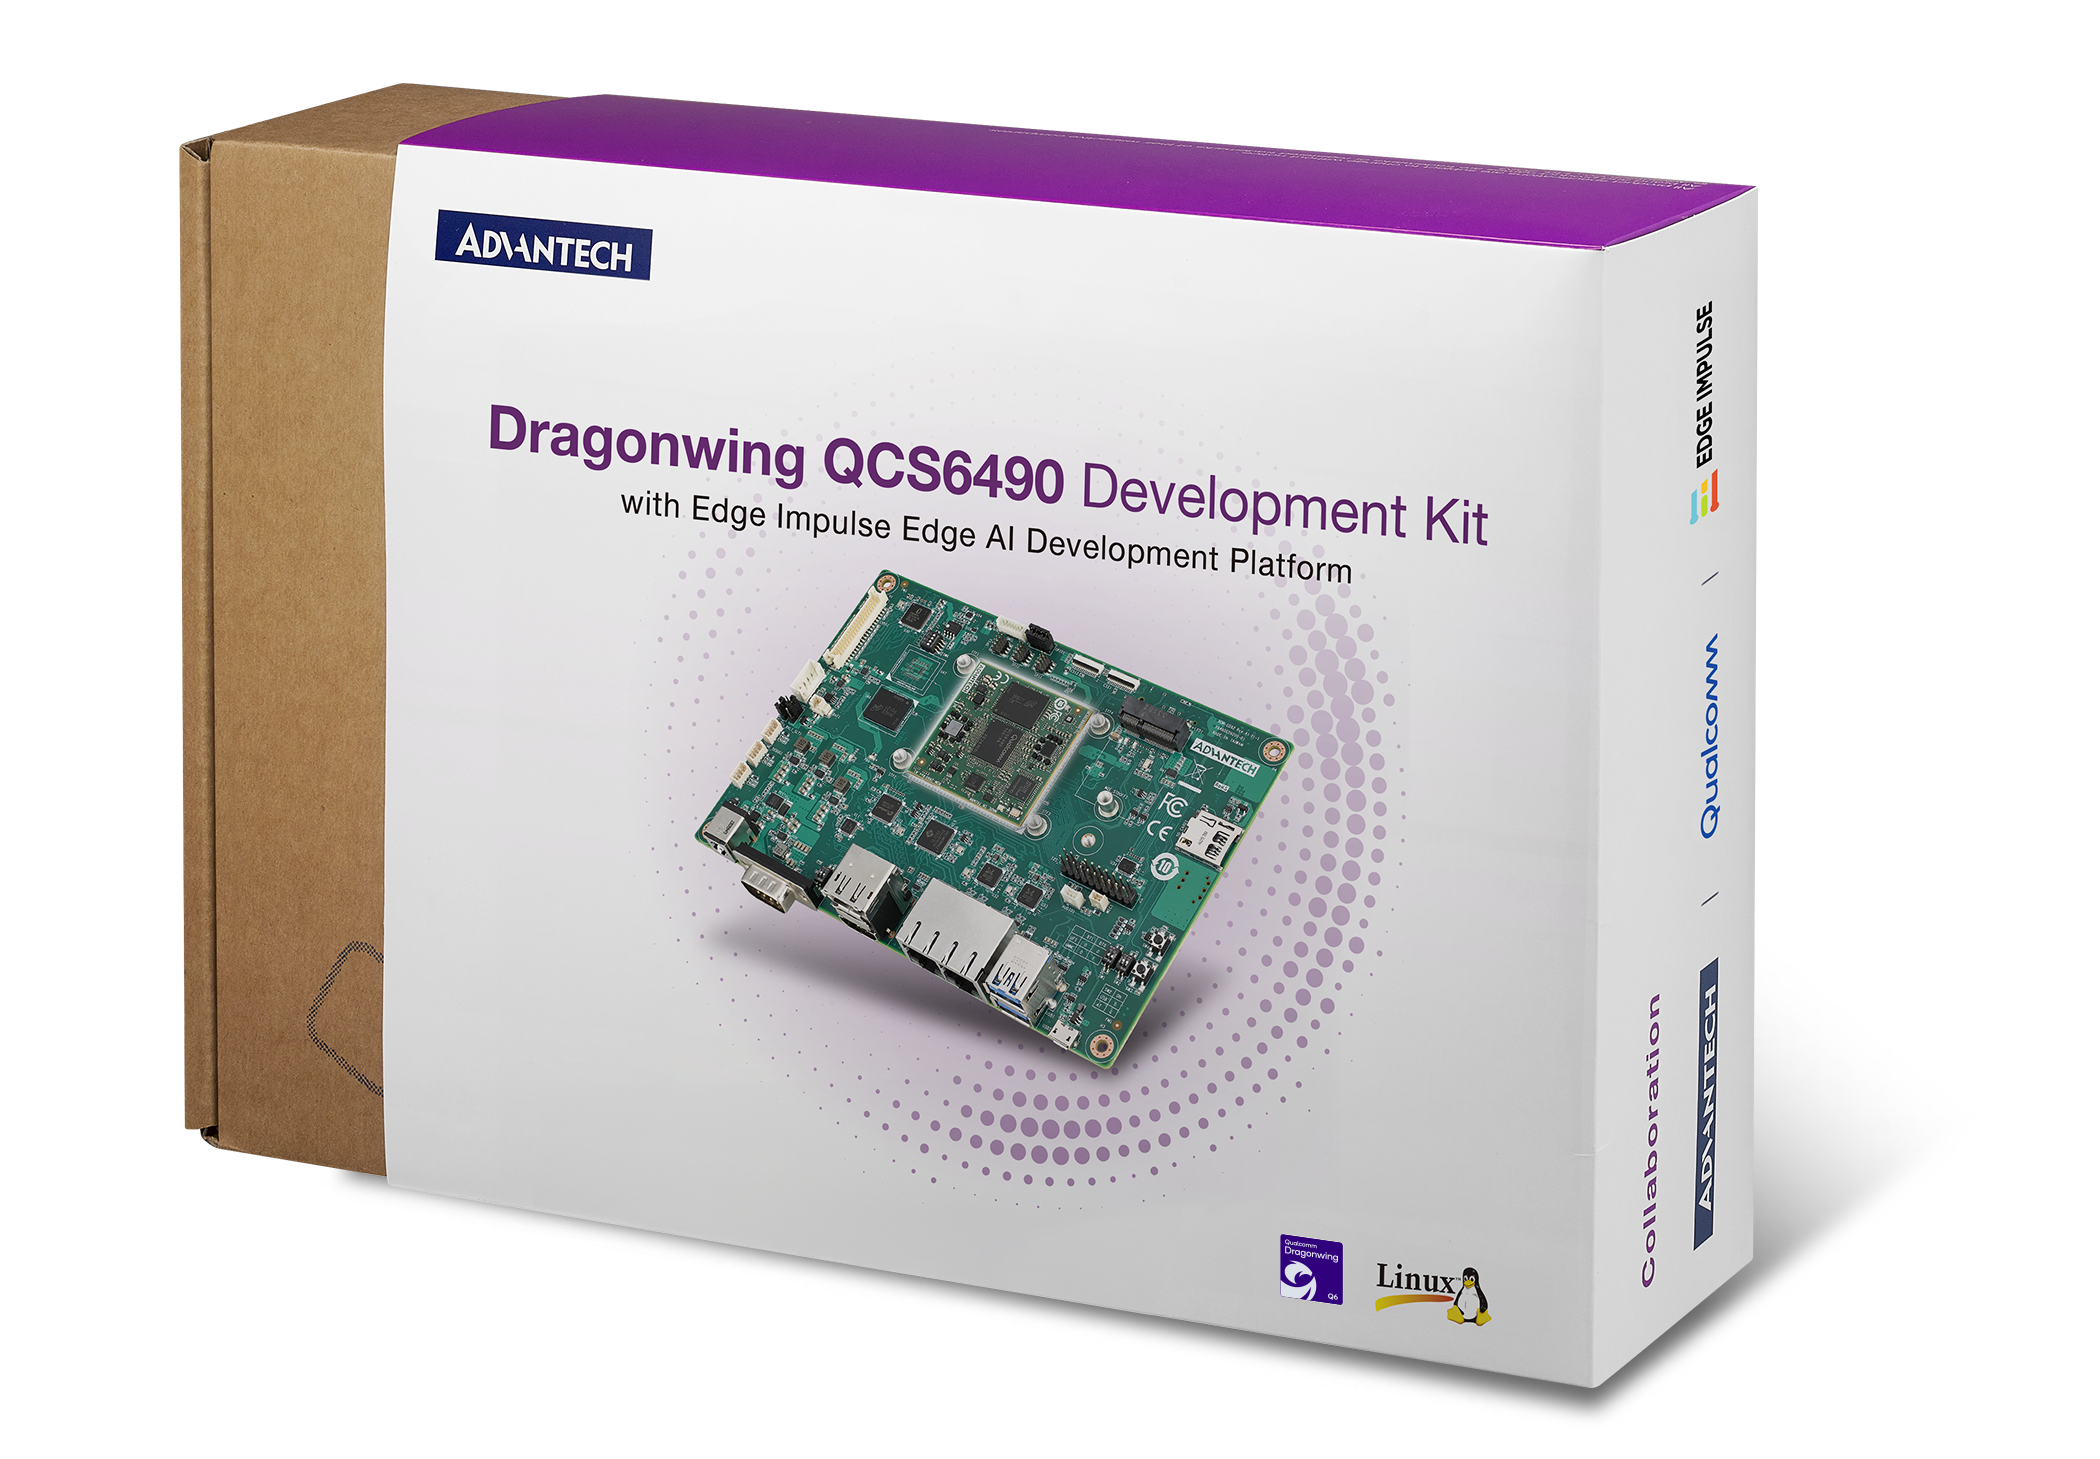
Advantech AOM-2721 Dev Kit
Setting Up Your Advantech AOM-2721 OSM
0. Preface
The AOM-2721 OSM is typically the primary module in a complete system. In this documentation, we will use the Advantech AOM-2721 Dev Kit as the sample AOM-2721 OSM.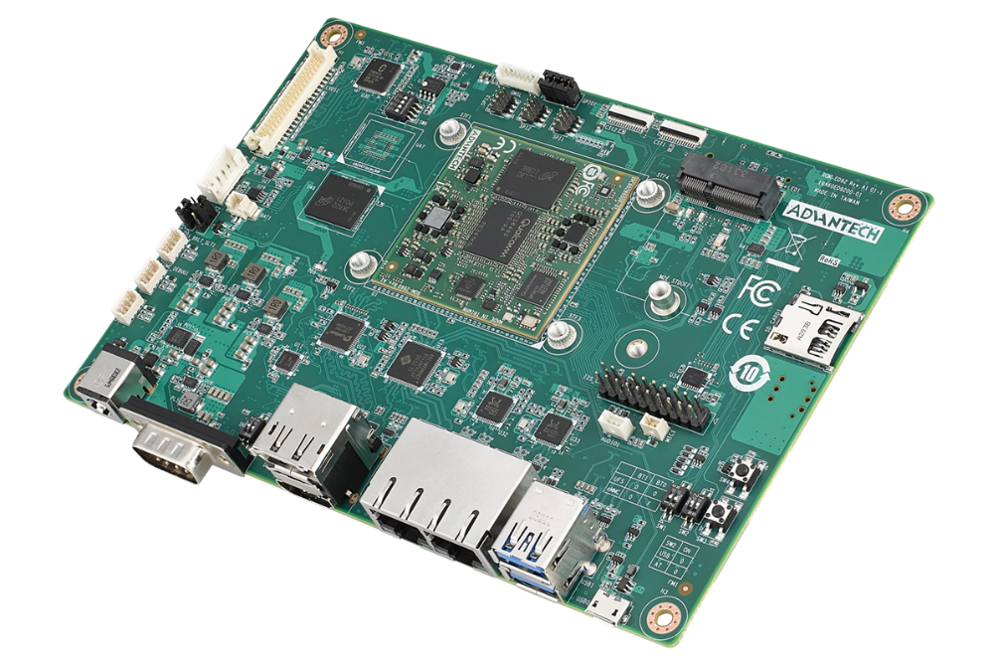
Advantech AOM-2721 OSM within the AOM-2721 Dev Kit
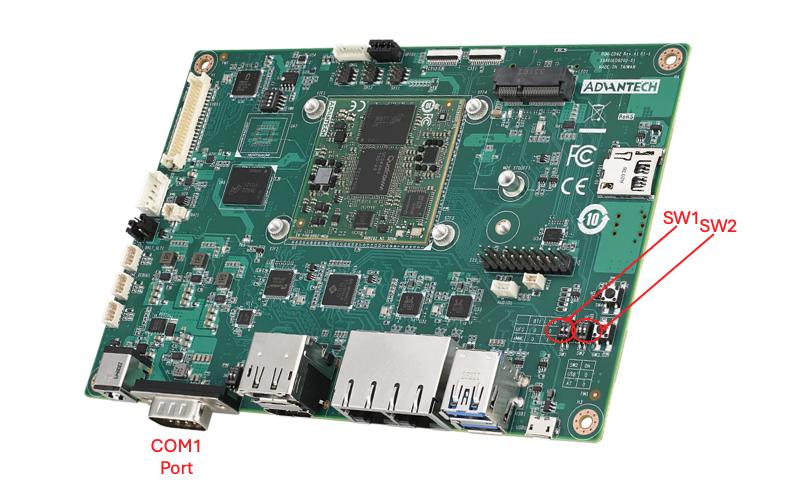
Locations of Advantech AOM-2721 OSM COM1 Port and Switches
1. (OPTIONAL) Flashing your AOM-2721 OSM
Your actual device containing the AOM-2721 OSM may already ship with a running yocto-based image flashed into it. If so, you can optionally proceed to step 3). If you want to flash your device, you will need to follow the instructions located here Official Yocto images created by Advantech for the AOM-2721 OSM can be found here Once flashed, proceed to step 3) below.2. (OPTIONAL) Building your own Yocto image for your AOM-2721 OSM
Some may want to actually fully build their own Yocto image for their AOM-2721 OSM. In this case, please refer to the following instructions located here to setup a Yocto build host and build a compatible Yocto image for your AOM-2721.2. Starting up your AOM-2721 OSM and connecting to the Internet
- Install the Edge Impulse CLI on your computer.
- Connect power to the back of the AOM-2721 OSM.
- Connect the COM1 serial port to your host computer’s USB port via a SERIAL-TO-USB converter:

Locations of Advantech AOM-2721 OSM COM1 Port and Switches
- Open a serial connection between your host computer and the board.
You can do this directly using the Edge Impulse CLI by running the following command from your command prompt or terminal:
- Press the power button and the device should begin to boot up.
-
After 30-60 seconds you should see a login prompt in your serial terminal. Log in with:
- Username:
root - Password
oelinux123
- Username:
-
Next, set up a network connection, either:
- Connect an Ethernet cable.
- Or, if you want to connect over WiFi:
- Qualcomm Linux <1.3: edit the wpa_supplicant.conf.
- Qualcomm Linux 1.3: use nmcli.
After connecting the board to the internet, reboot it. This will refresh the system clock (through the NTP), resolving an issue with invalid certificates when installing the Edge Impulse CLI.
-
If you want to continue setting up over ssh (so you can unplug the device from your computer), find your IP address via:
Then log in via ssh (password:
oelinux123):
3. Installing the Edge Impulse Linux CLI
On the AOM-2721 OSM, install the Edge Impulse CLI and other dependencies via:4. Connecting to Edge Impulse
With all dependencies set up, run:--clean argument.
5. Verifying that your device is connected
That’s all! Your device is now connected to Edge Impulse. To verify this, go to your Edge Impulse project, and click Devices. The device will be listed there.Next steps: building a machine learning model
With everything set up you can now build your first machine learning model with these tutorials:- Responding to your voice
- Recognize sounds from audio
- Adding sight to your sensors
- Object detection
- Visual anomaly detection with FOMO-AD
Profiling your models
To profile your models for the Advantech AOM-2721 OSM:- Make sure to select the Qualcomm Dragonwing AOM-2721 OSM as your target device. You can change the target at the top of the page near your user’s logo.
- Head to your Learning block page in Edge Impulse Studio.
- Click on the Calculate performance button.
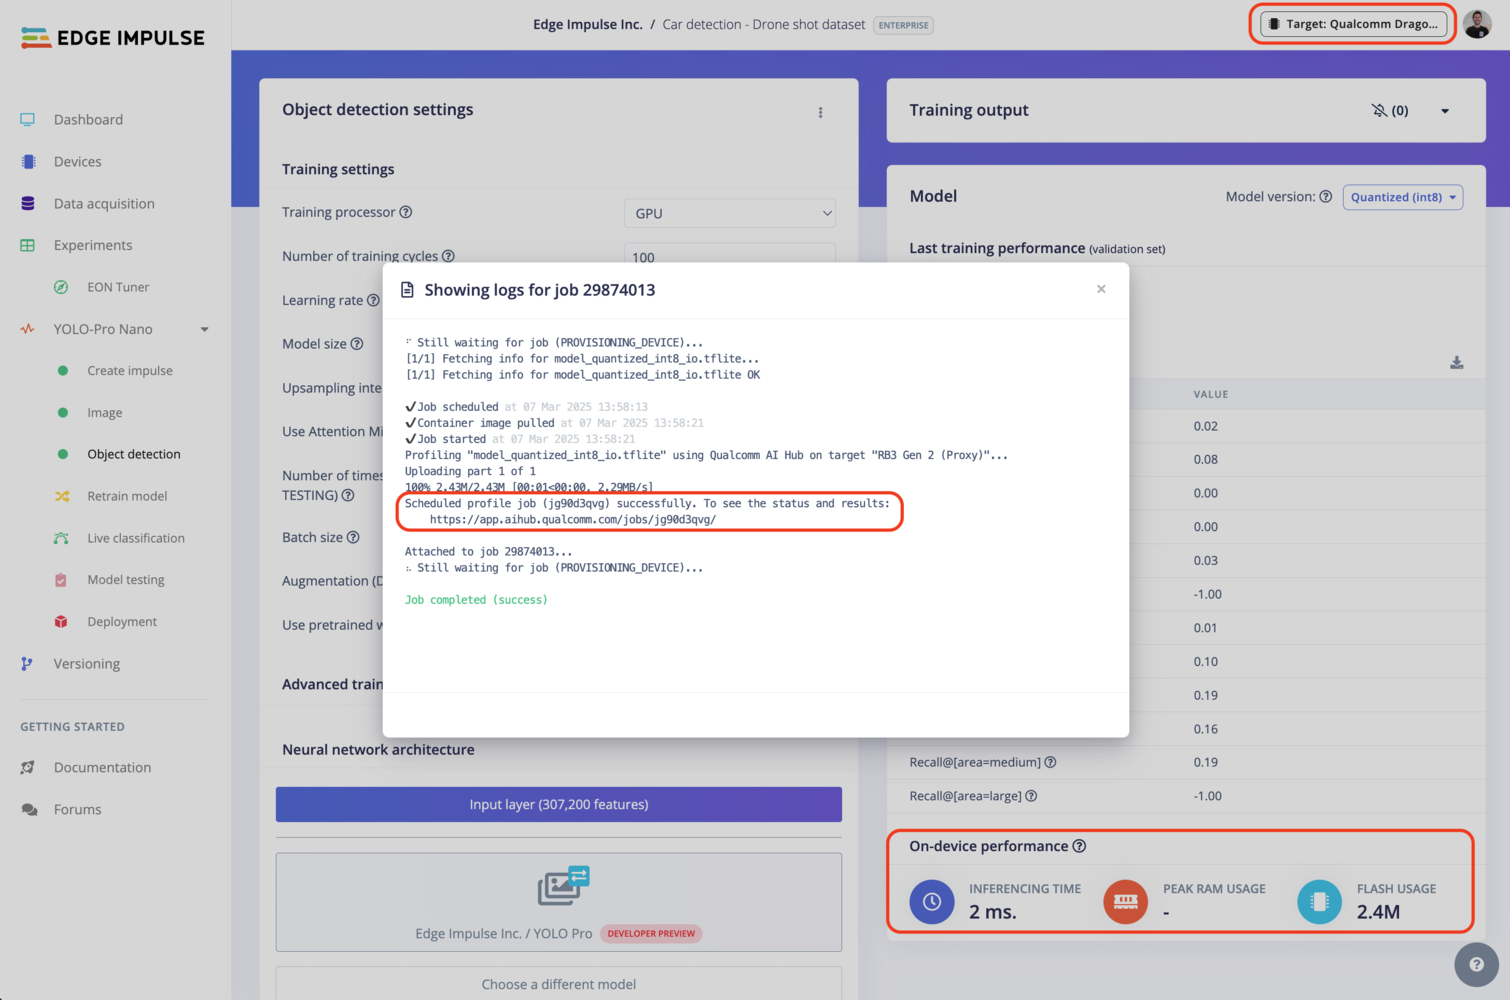
Qualcomm profiling using Qualcomm AI Hub
Deploying back to device
Using the Edge Impulse Linux CLI
To run your impulse locally on the AOM-2721 OSM, open a terminal and run:--clean to switch projects).
Alternatively, you can select the Linux (AARCH64 with Qualcomm QNN) option in the Deployment page.
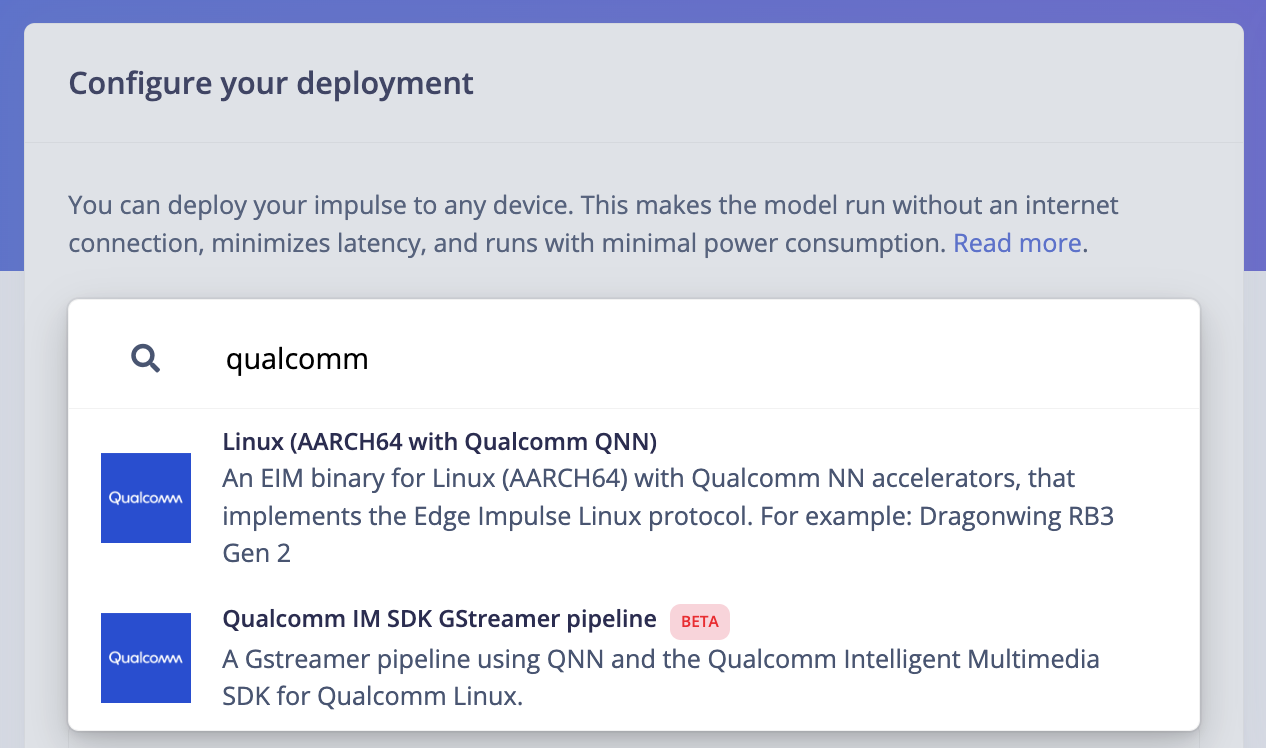
Qualcomm deployment options
.eim model that you can run on your board with the following command:
Using the Edge Impulse Linux Inferencing SDKs
Our Linux SDK has examples on how to integrate the.eim model with your favourite programming language.
You can download either the quantized version and the float32 versions but Qualcomm NN accelerator only supports quantized models. If you select the float32 version, the model will run on CPU.
Using the IM SDK GStreamer option
When selecting this option, you will obtain a.zip folder. We provide instructions in the README.md file included in the compressed folder.
See more information on Qualcomm IM SDK GStreamer pipeline.
Image model?
If you have an image model then you can get a peek of what your device sees by being on the same network as your device, and finding the ‘Want to see a feed of the camera and live classification in your browser’ message in the console. Open the URL in a browser and both the camera feed and the classification are shown: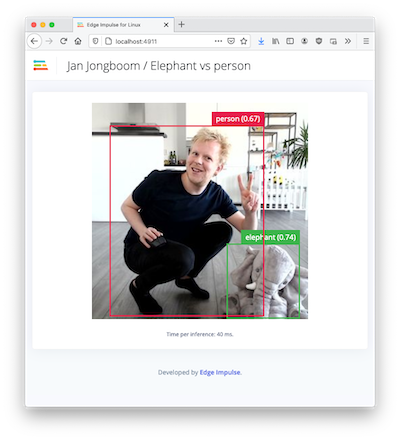
Live feed with classification results