Intro
In this project I am not going to explore or research a new TinyML use-case, rather I’ll focus on how we can reuse or extend Edge Impulse Public projects for a different microcontroller. Manivannan Sivan had created a project Gesture Recognition for Patient Communication which is a wearable device running a tinyML model to recognize gesture patterns and send a signal to a mobile application via BLE. Check out his work for more information. In this project, I am going to walk you through how you can clone his Public Edge Impulse project, deploy to a SiLabs Thunderboard Sense 2 first, test it out, and then build and deploy to the newer SiLabs xG24 device instead.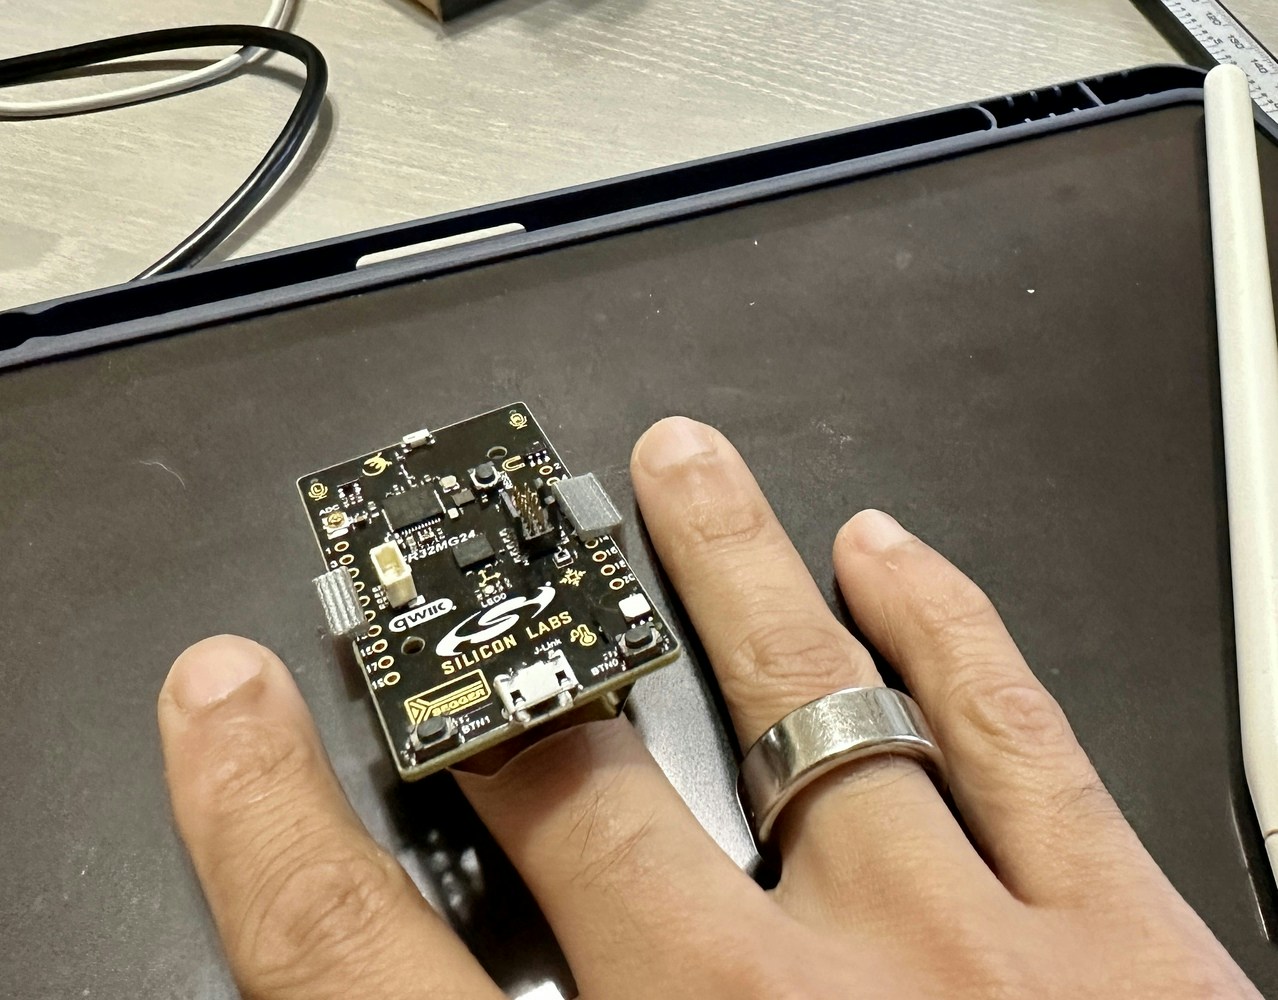
Installing Dependencies
Before you proceed further, there are few other software packages you need to install.- Edge Impulse CLI - Follow this link to install necessary tooling to interact with the Edge Impulse Studio.
- Simplicity Studio 5 - Follow this link to install the IDE
- Simplicity Commander - Follow this link to install the software. This will be required to flash firmware to the xG24 board.
- LightBlue - This is a mobile application. Install from either Apple Store or Android / Google Play. This will be required to connect the board wirelessly over Bluetooth.
Clone And Build
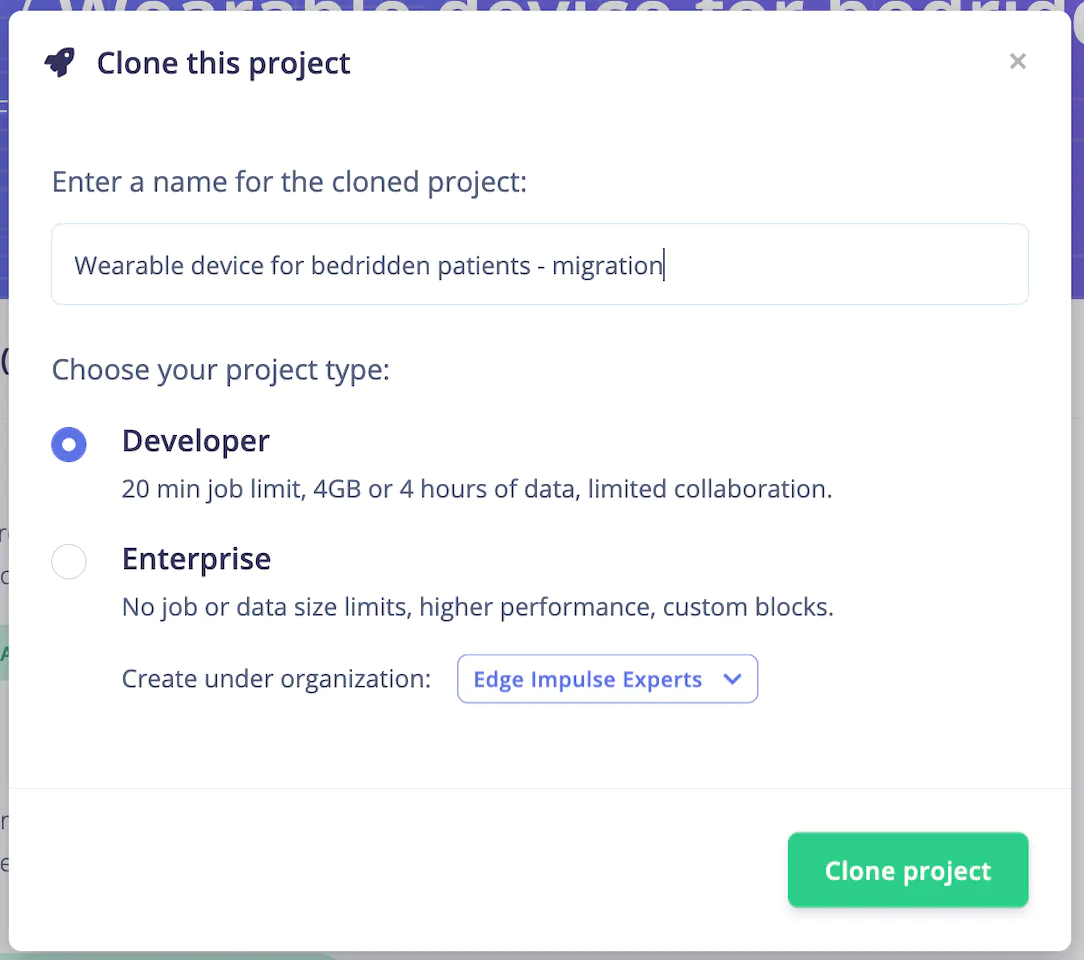
If you don’t have an Edge Impulse account, signup for free and log into Edge Impulse. Then visit the below Public Project to get started. https://studio.edgeimpulse.com/public/147925/latest Click on the “Clone” button at top-right corner of the page.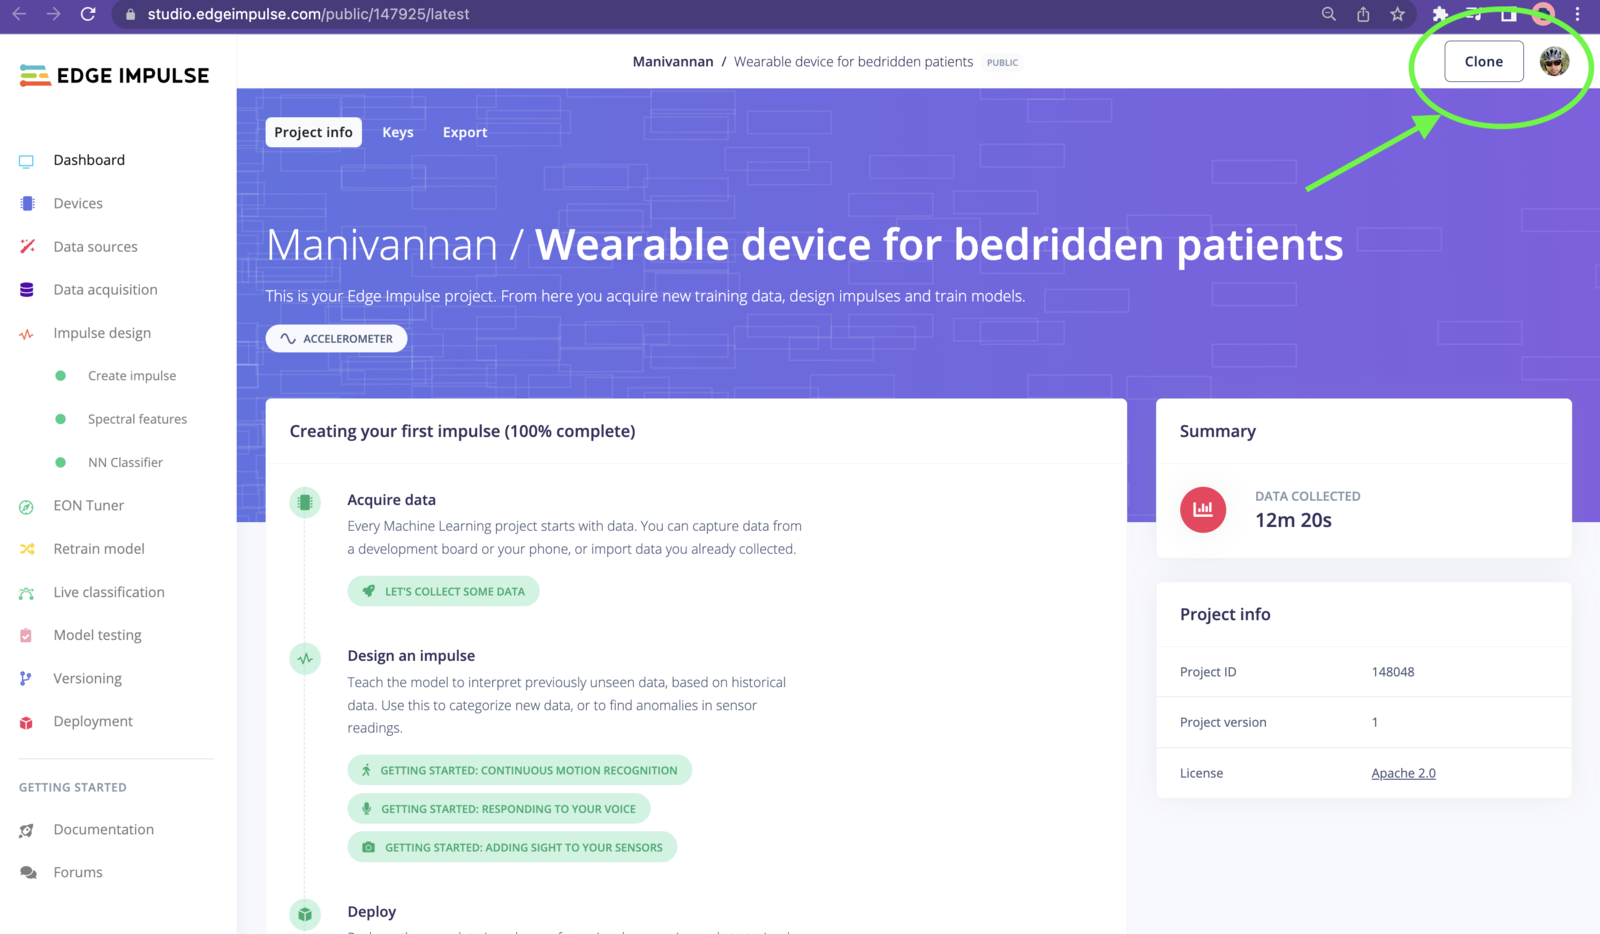
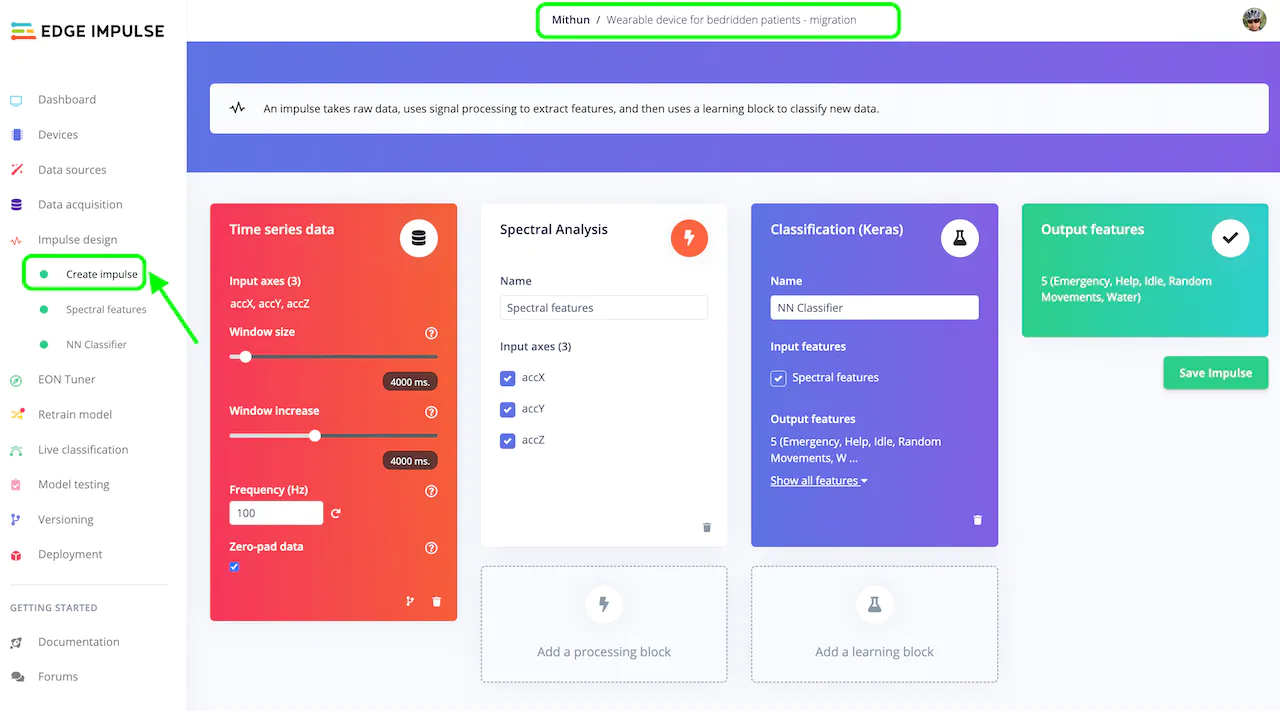
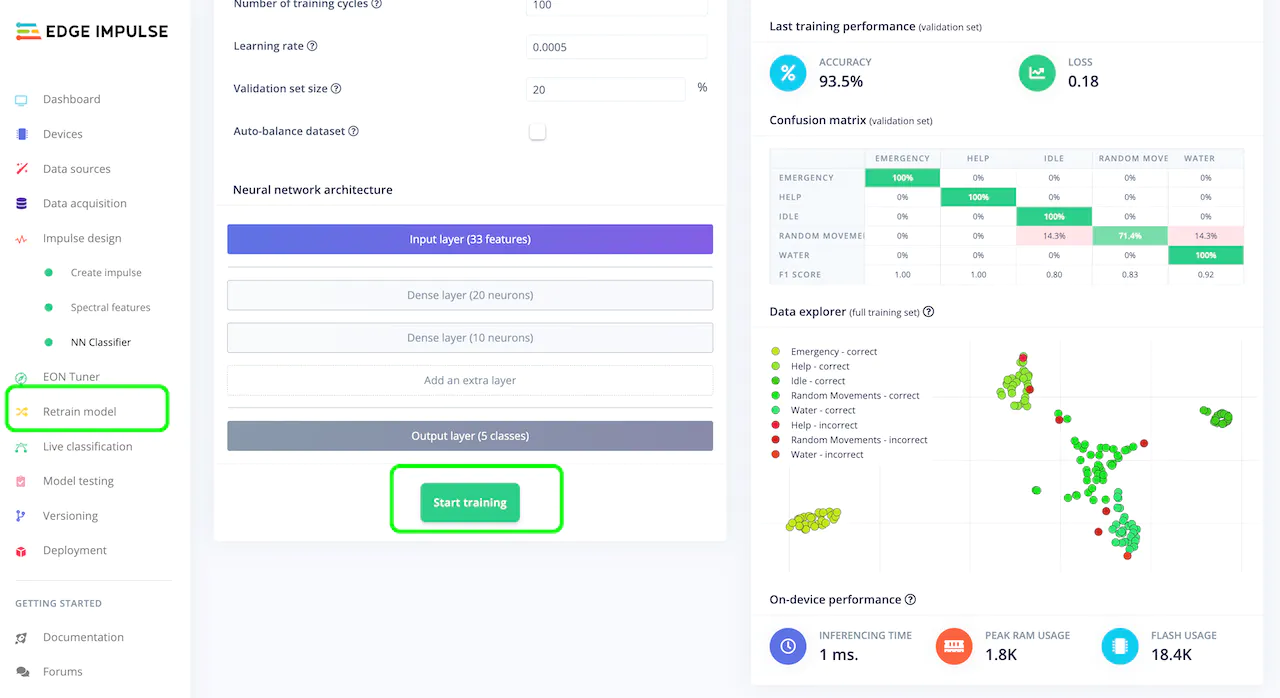
Deploy And Test
When you are done retraining, navigate to the “Deployment” page from the left menu, select “SiLabs Thunderboard Sense 2” under “Build firmware”, then click on the “Build” button, which will build your model and download a.bin file used to flash to the board.
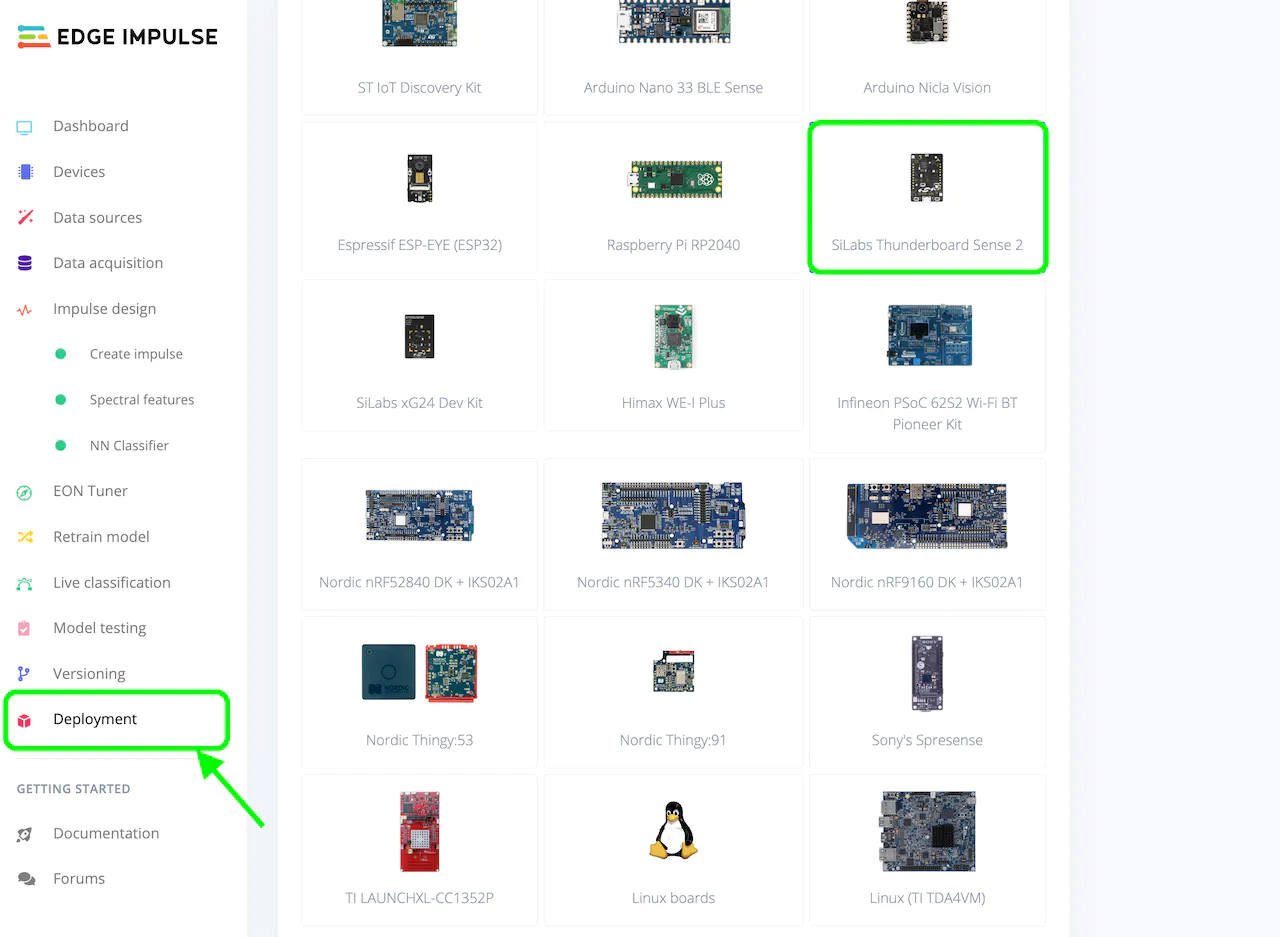
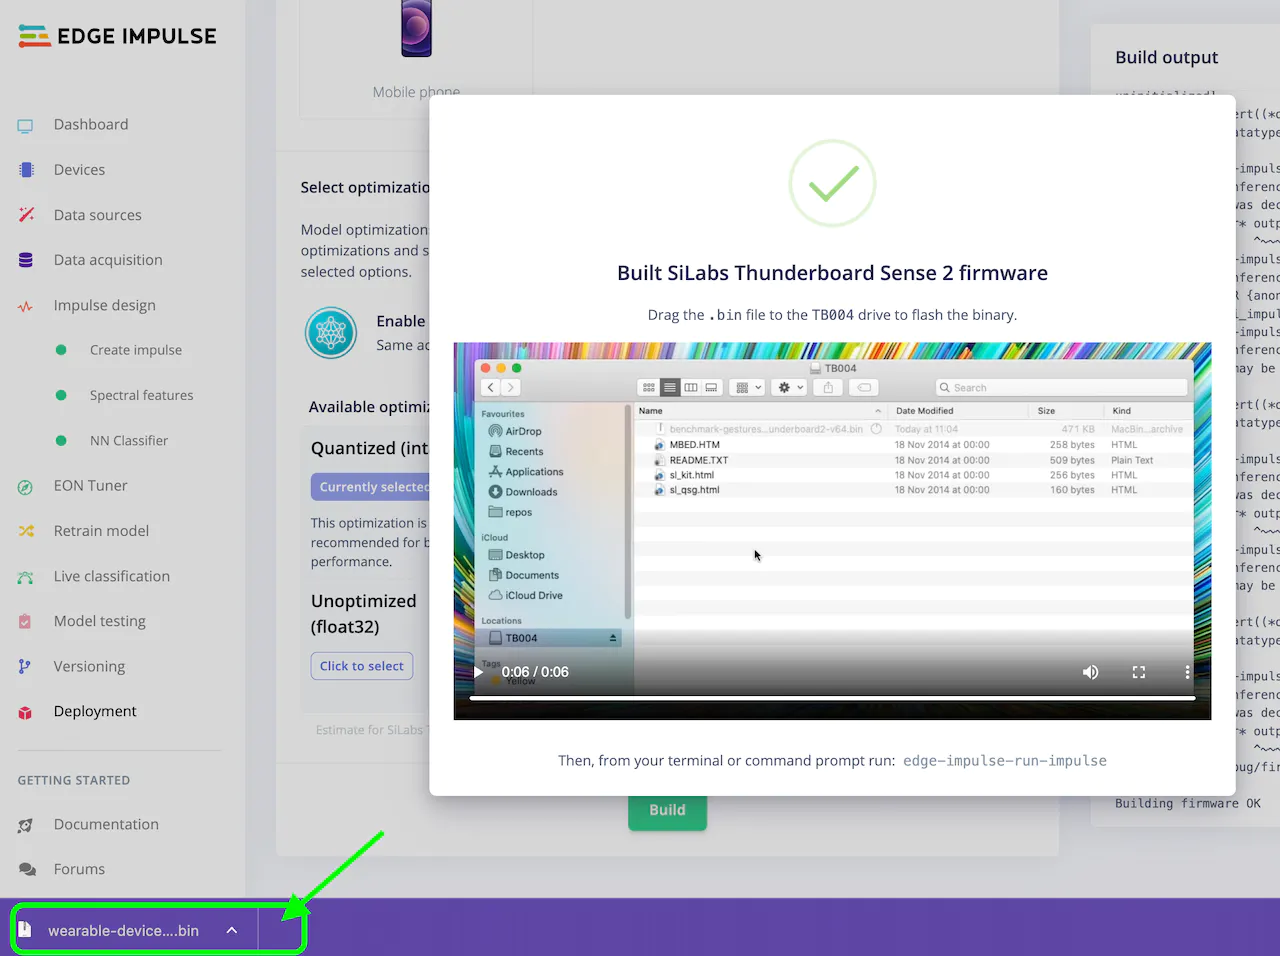
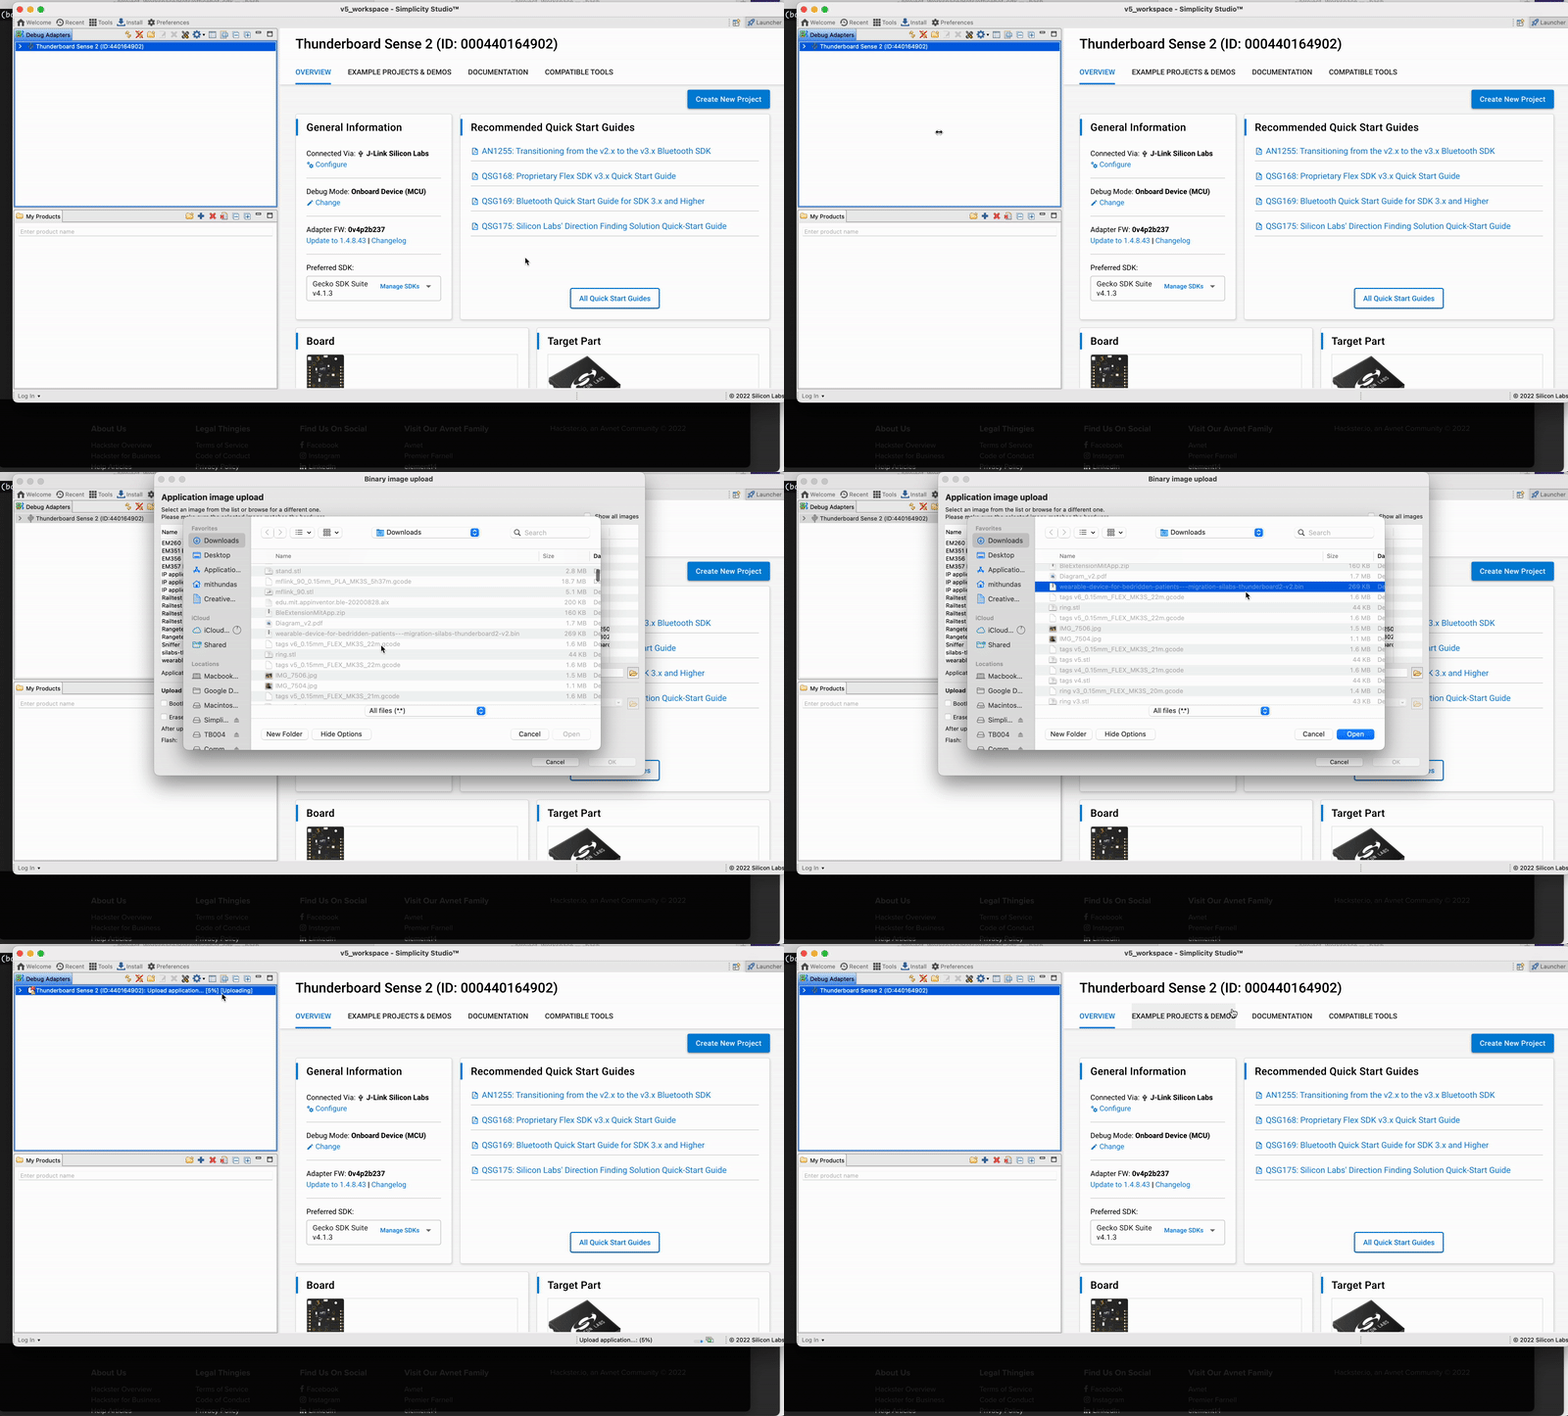
TB004 appear. Drag and drop the .bin file downloaded in the previous step to the drive. If you see any errors like below, you’ll need to use “Simplicity Studio 5” to flash the application, instead.

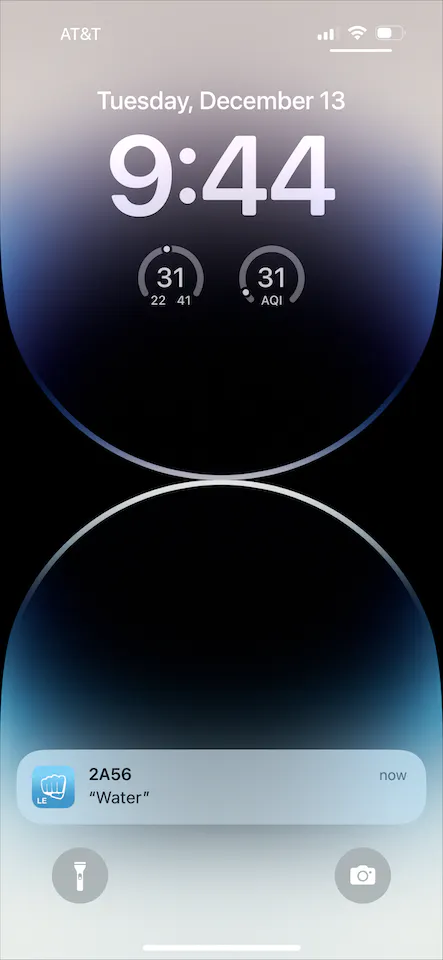
1 to the characteristic to start the inference on the board. Checkout the .gif for how to do it on an xG24:

Deploy To the xG24 Dev Kit
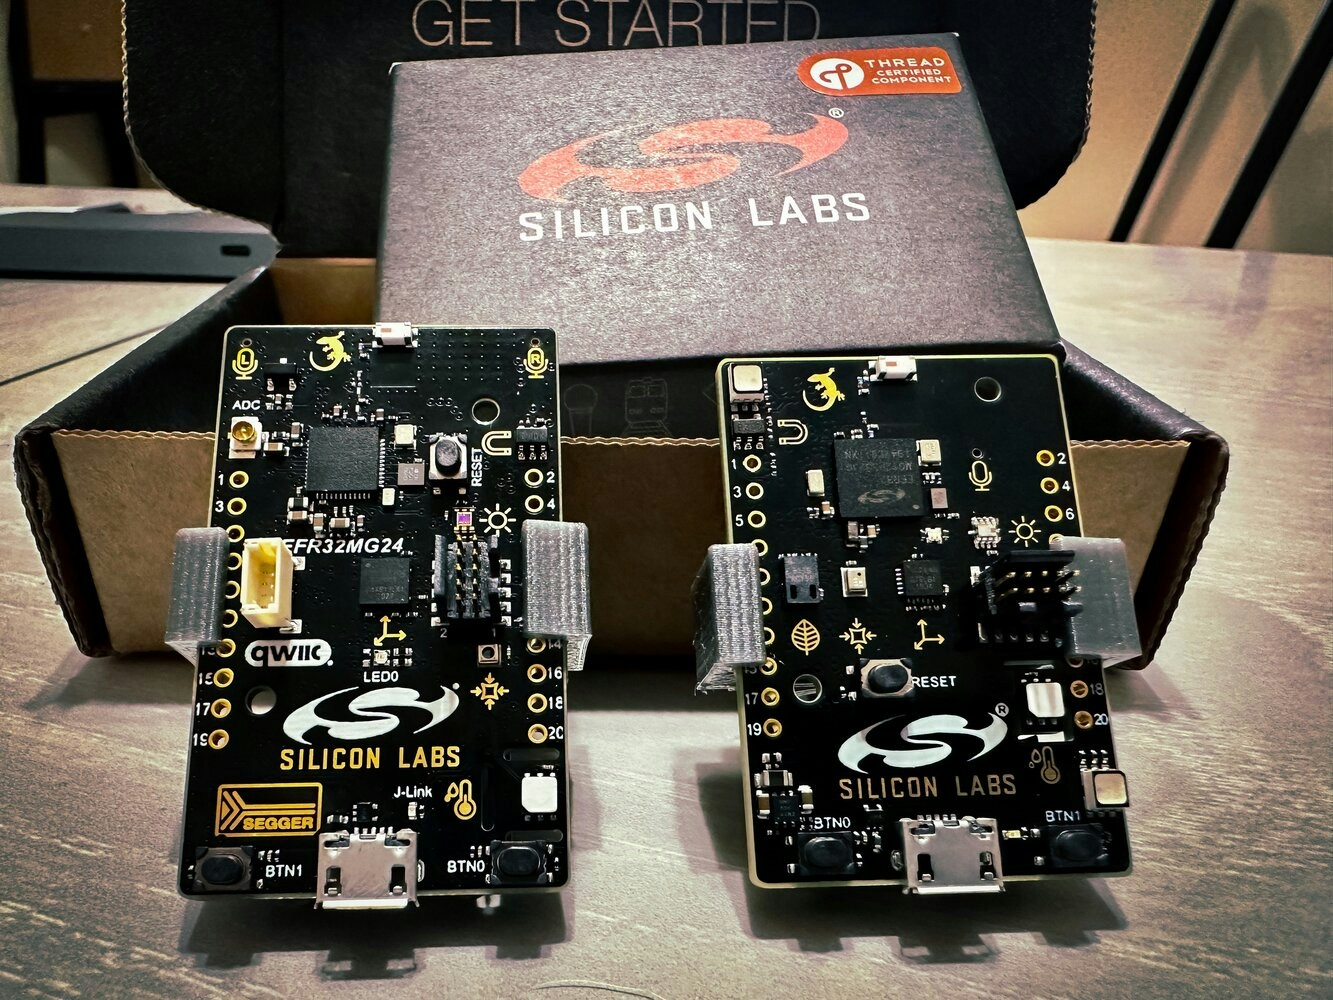
Now, we will explore how we can deploy the same model to the newer Silabs xG24 hardware instead. Keep in mind that there are some upgrades and differences between the Thunderboard Sense 2 and the xG24, and the not all of the sensors themselves are identical (some are though). For this project specifically, the original work done by Manivannan recorded data from the Thunderboard’s IMU, but the xG24 has a 6-axis IMU. So, we should recollect new data to take advantage of this and ensure our data is applicable. If your use-case is simple enough that new data won’t data won’t be needed, the sensor you are using is identical between the boards, or that your data collection and model creation steps built a model that is still reliable you might be able to skip this. If your data is indeed simple enough, you can deploy the model straight to an xG24 without making any changes to the model itself. You only need to revisit the “Deployment” tab in the Edge Impulse Studio, select “SiLabs xG24 Dev Kit” under Build firmware, and Build. For the sake of demonstration we will give it a try in this project, though as mentioned the upgrade from 3-axis to 6-axis data really should be investigated, but the sensor itself is identical between the boards so our data should still be valid. We’ll give it a try.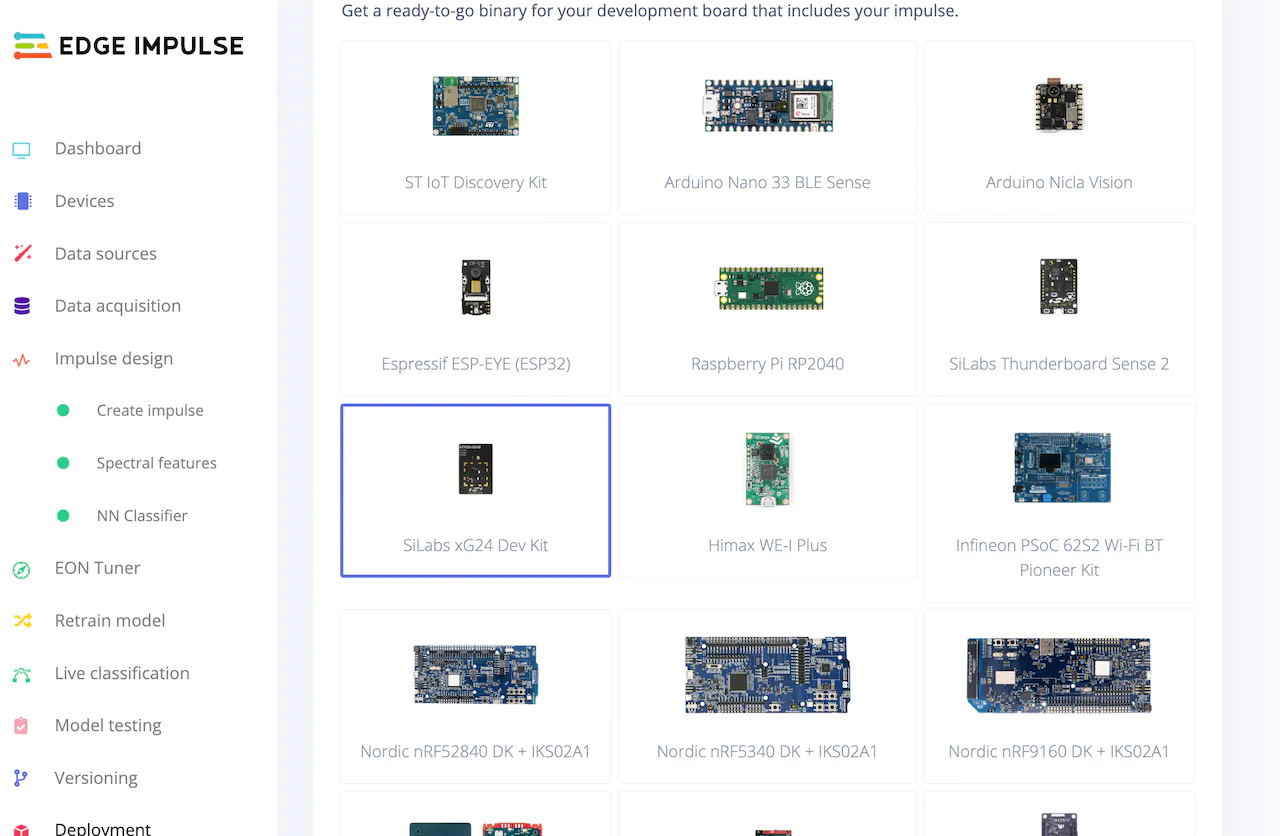
.hex file and instructions.

.hex file to the xG24 as shown before, or use Simplicity Commander. You can read more about Commander here.
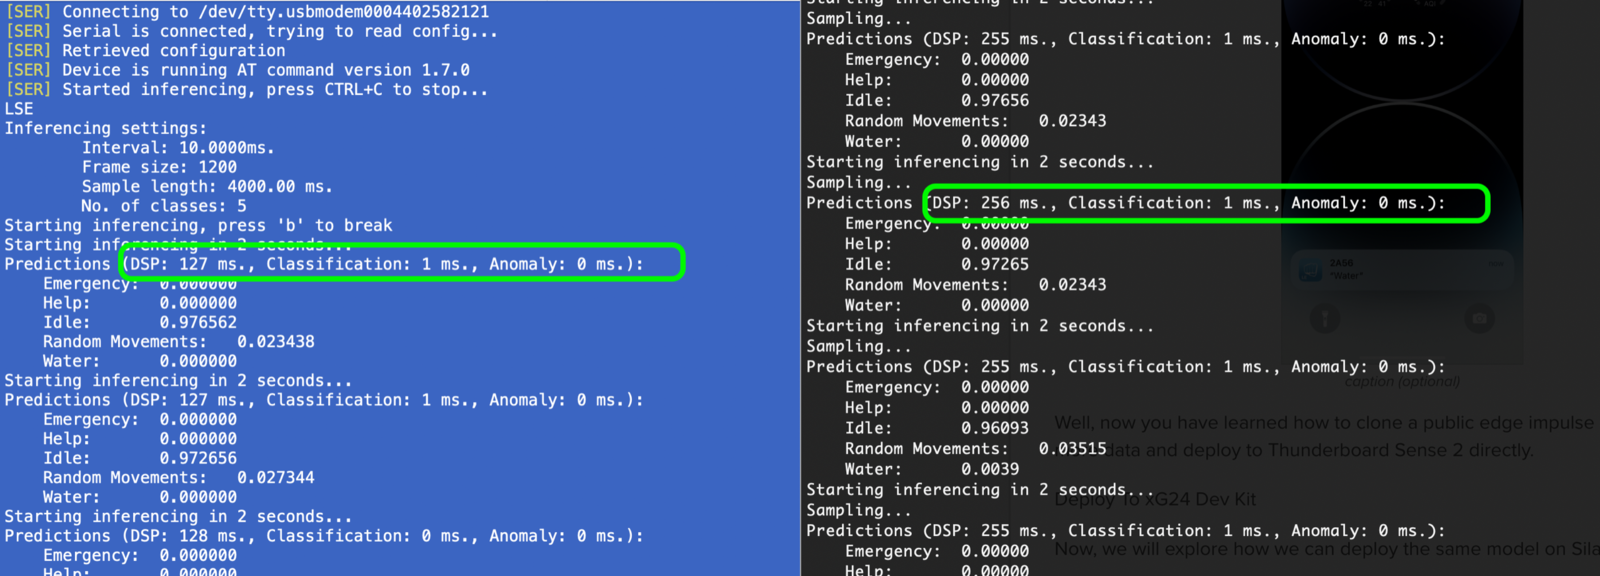
Once the flashing is done, again use the LightBlue app to connect to your board, and test gestures once again as you did for the Thunderboard Sense 2.

