Project Demo
Project Repo
https://www.adammiltonbarker.com/projects/downloads/AI-Patient-Assistance.zipIntroduction
Solution
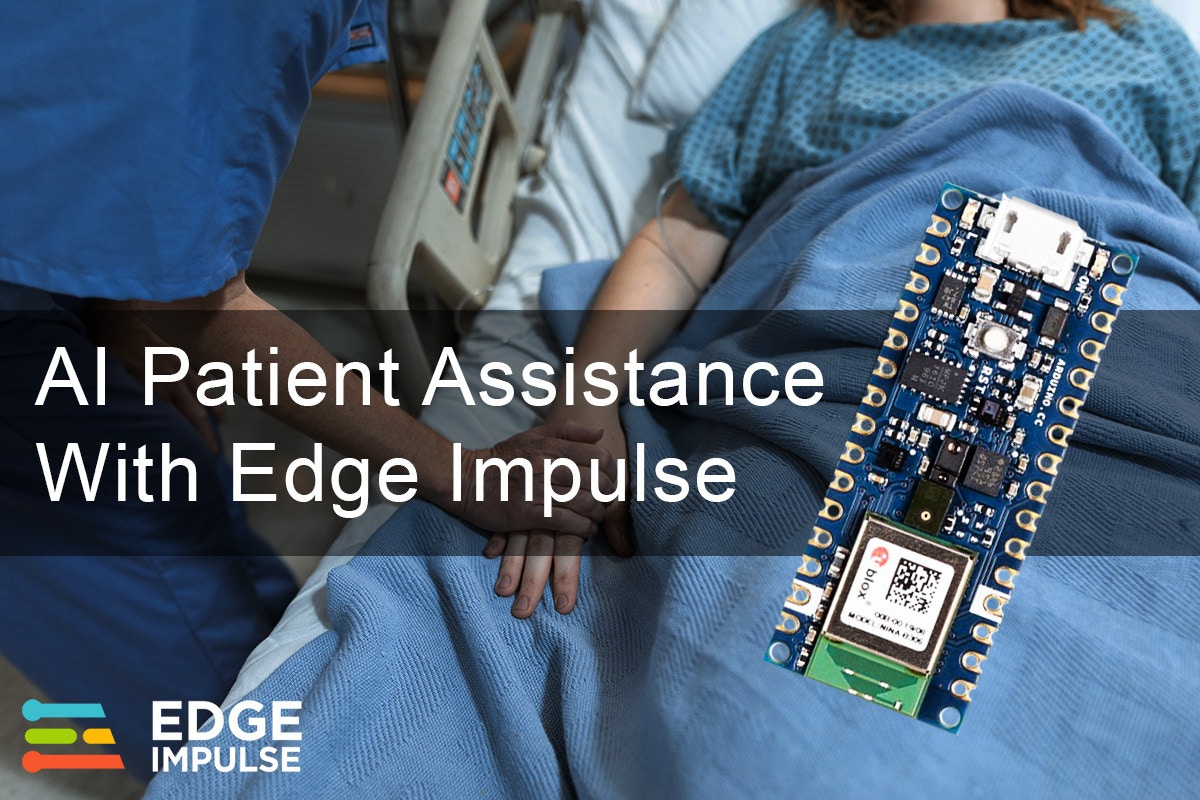
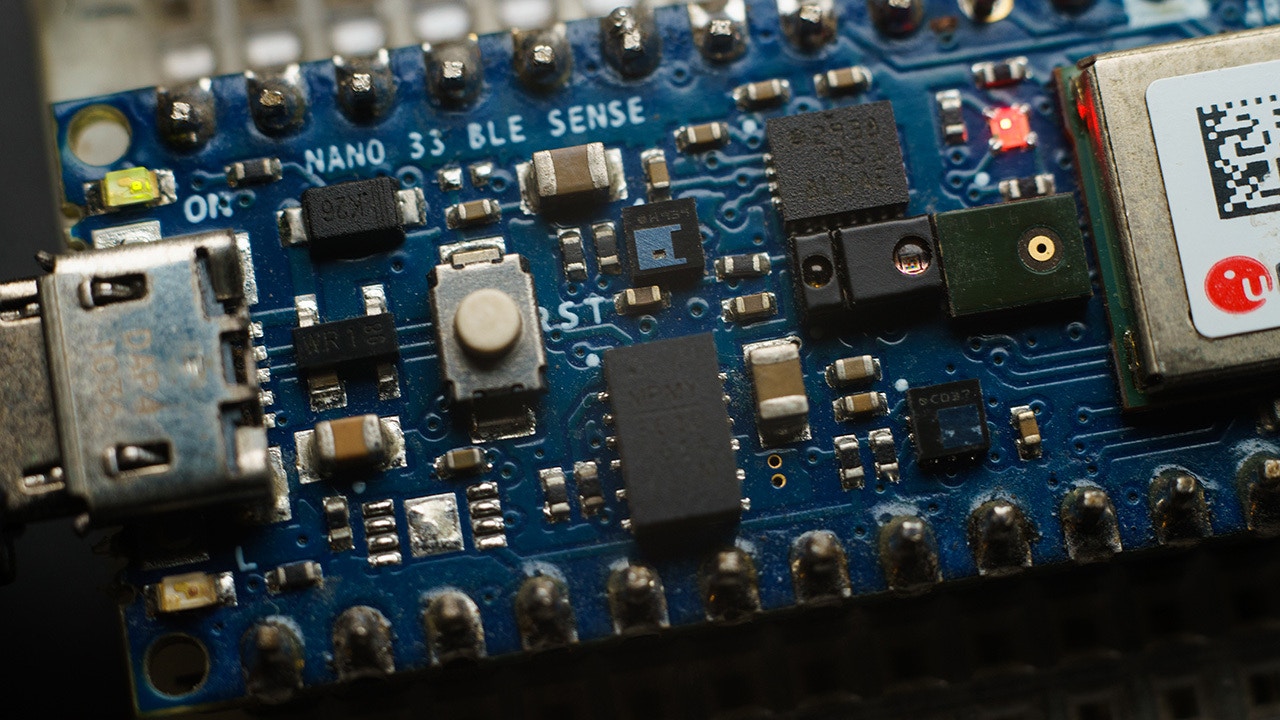
A well known field of Artificial Intelligence is voice recognition. These machine learning and deep learning models are trained to recognize phrases or keywords, and combined with the Internet of Things can create fully autonomous systems that require no human interaction to operate. As technology has advanced, it is now possible to run voice recognition solutions on low cost, resource constrained devices. This not only reduces costs considerably, but also opens up more possibilities for innovation. The purpose of this project is to show how a machine learning model can be deployed to a low cost IoT device (Arduino Nano 33 BLE SENSE), and used to notify staff when a patient needs their help. The device will be able to detect three keywords Doctor, Nurse, and Help. The device also acts as a BLE peripheral, BLE centrals/masters such as a central server for example, could connect and listen for data coming from the device. The server could then process the incoming data and send a message to hospital staff or sound an alarm.Hardware
- Arduino Nano 33 BLE Sense Buy
Platform
- Edge Impulse Visit
Software
Project Setup
Head over to Edge Impulse and create your account or login. Once logged in you will be taken to the project selection/creation page.Create New Project
Your first step is to create a new project. From the project selection/creation you can create a new project.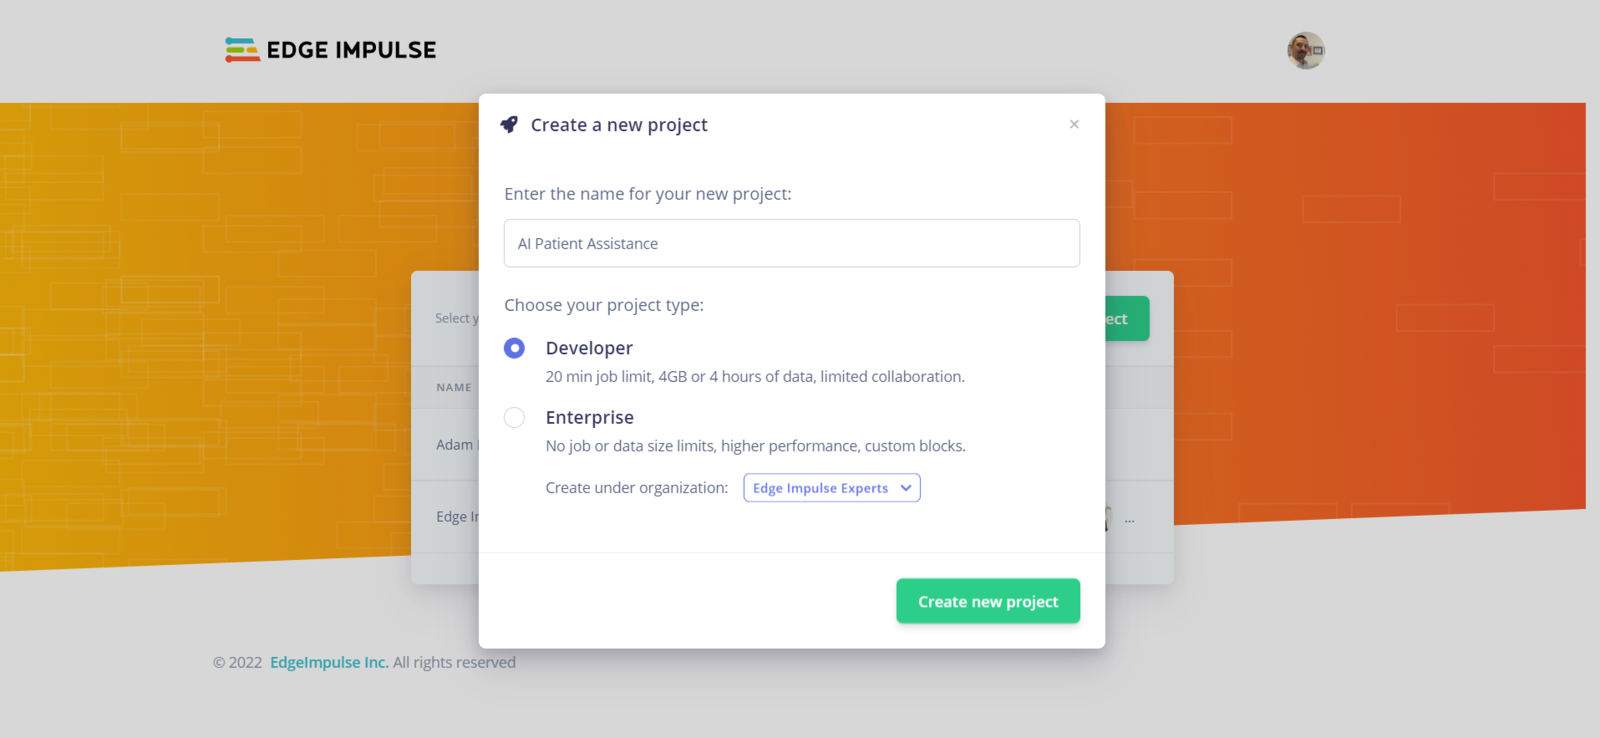
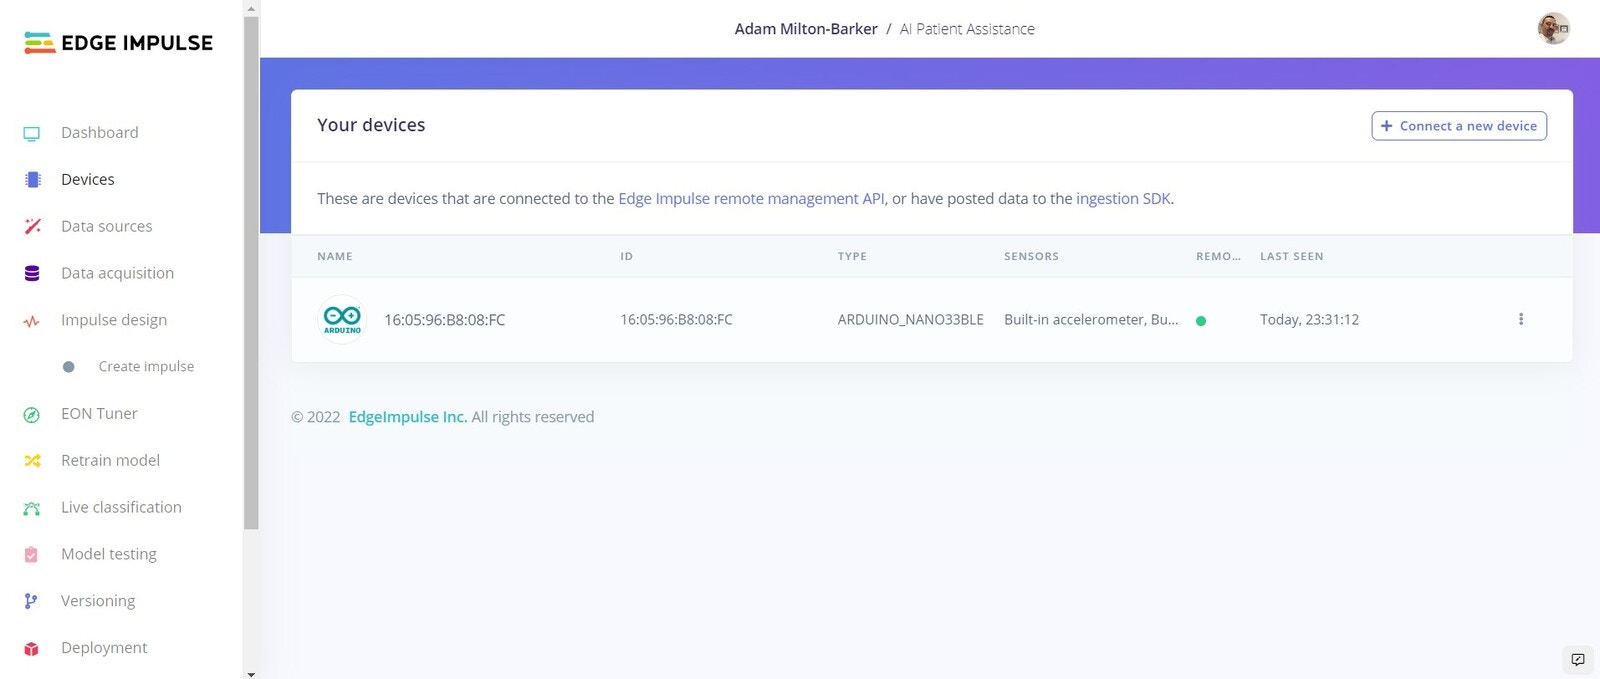
Connect Your Device
flash_windows.bat, flash_mac.command or flash_linux.sh.
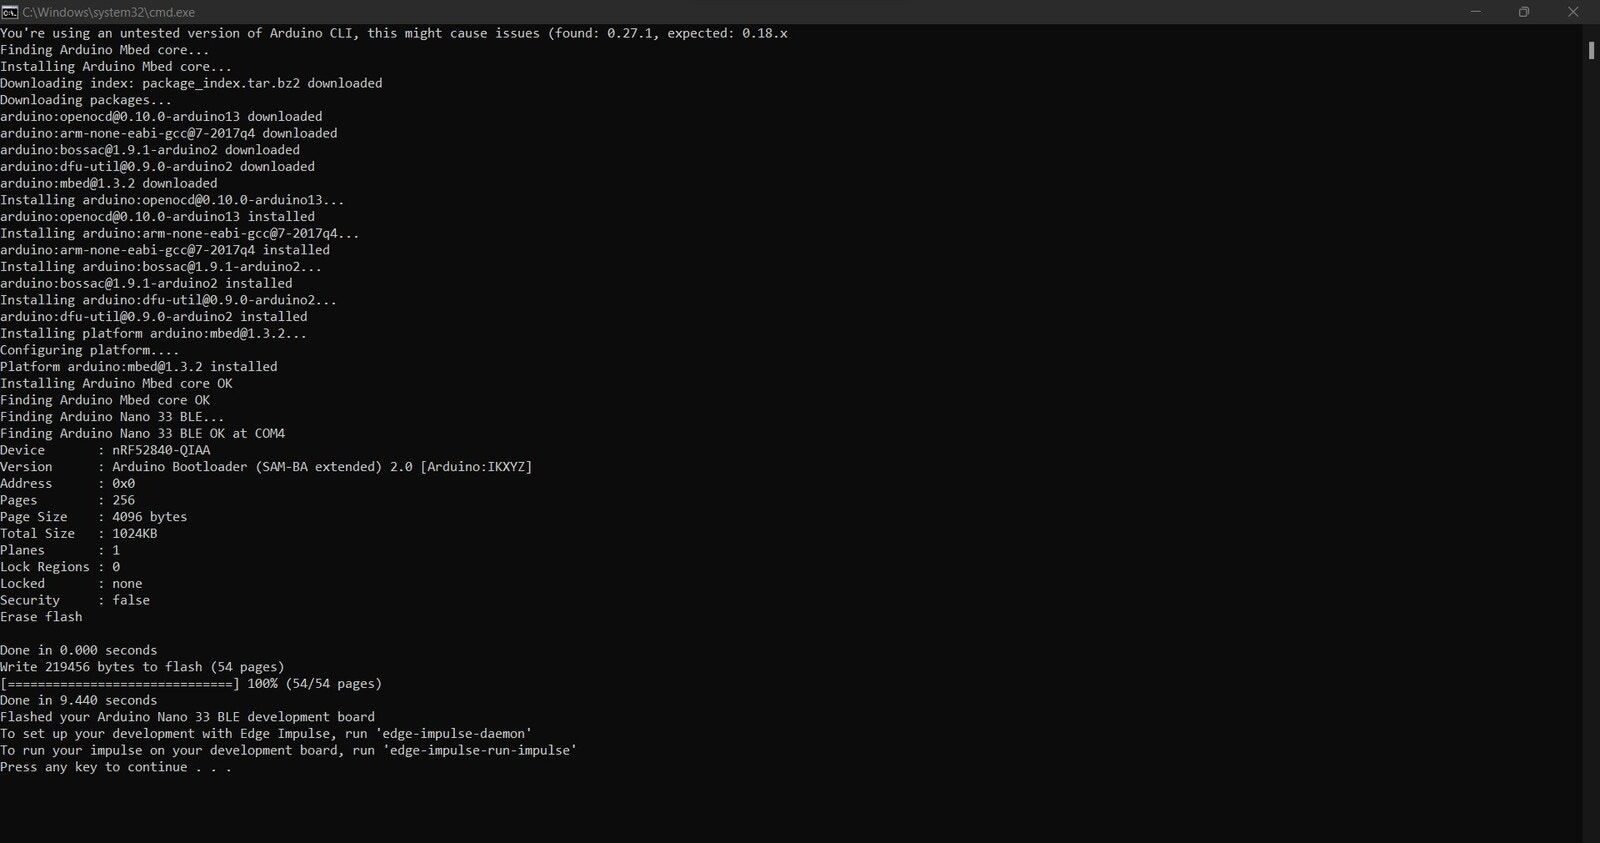
edge-impulse-daemon
If you are already connected to an Edge Impulse project, use the following command:
edge-impulse-daemon --clean
Follow the instructions to log in to your Edge Impulse account.
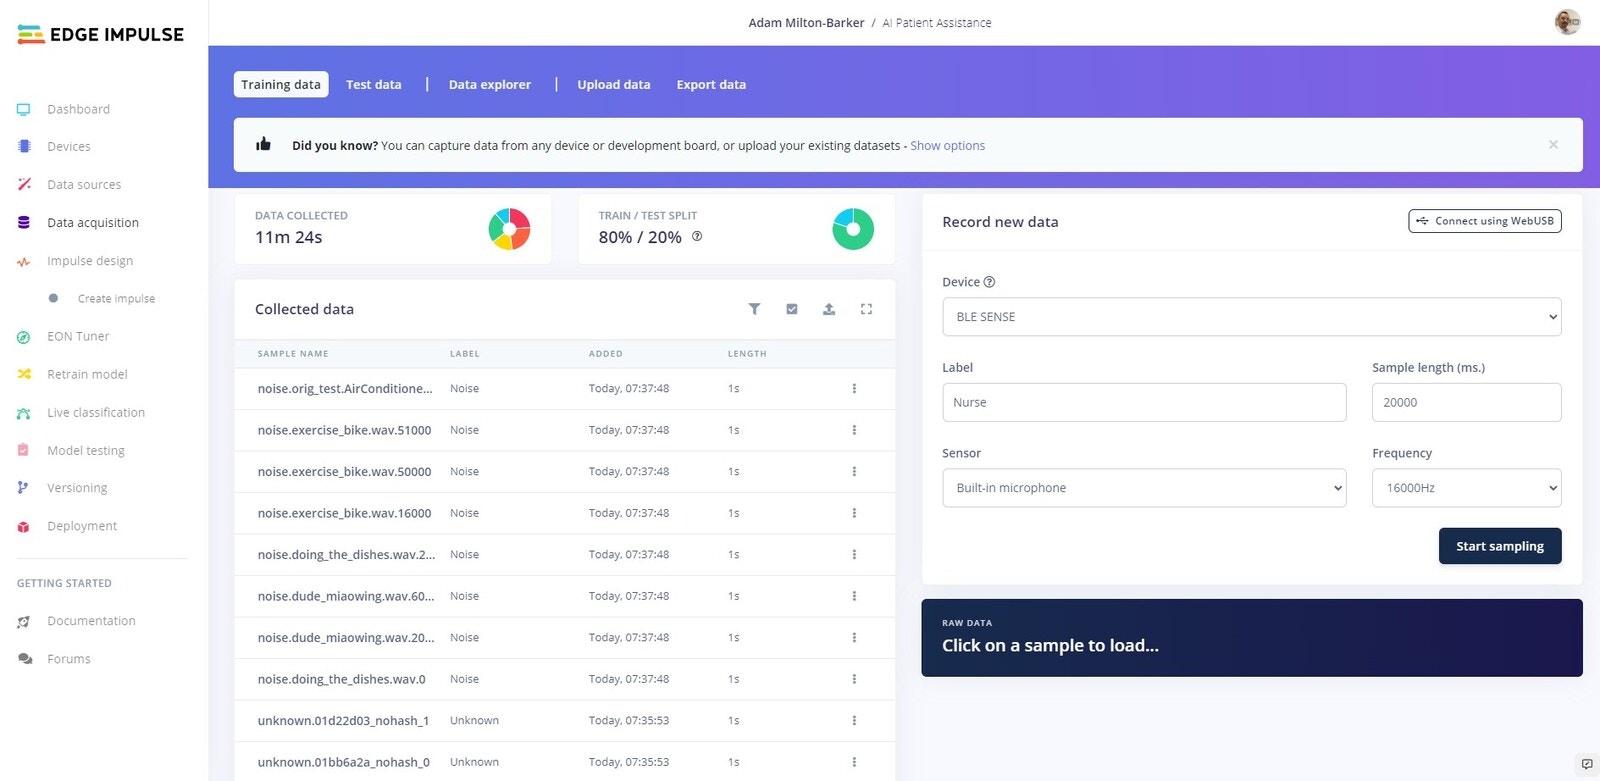
Data Acquisition
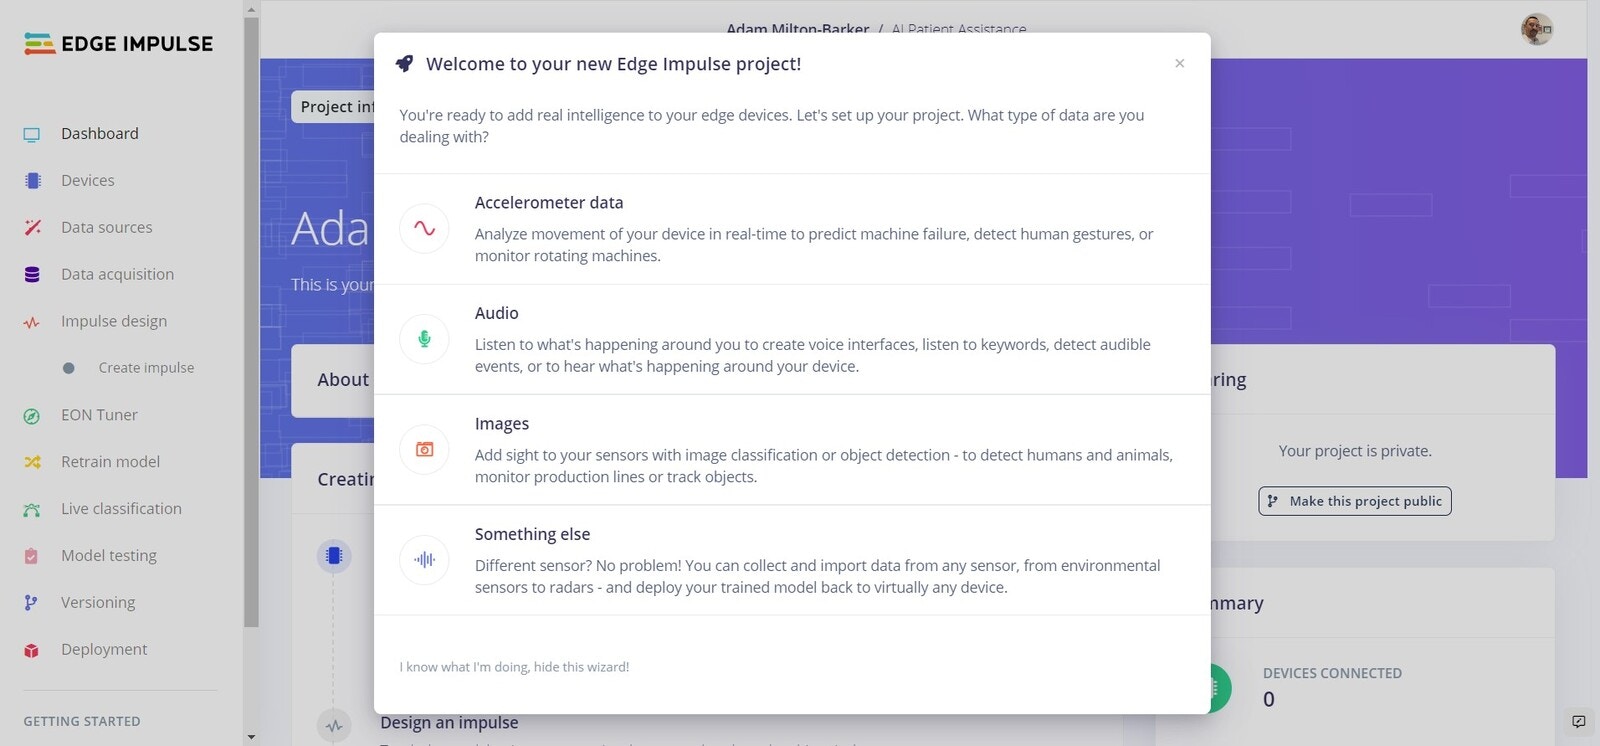
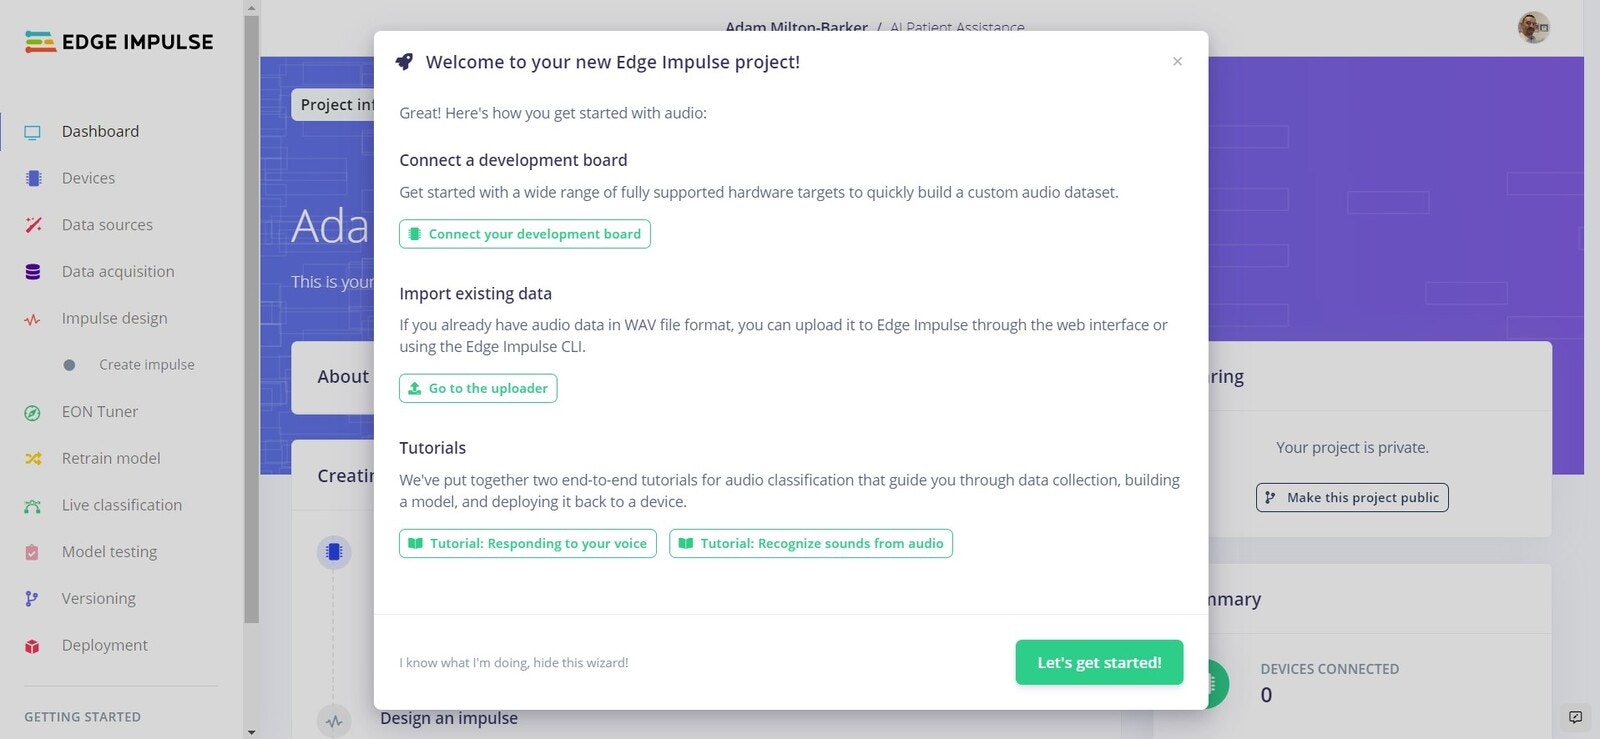
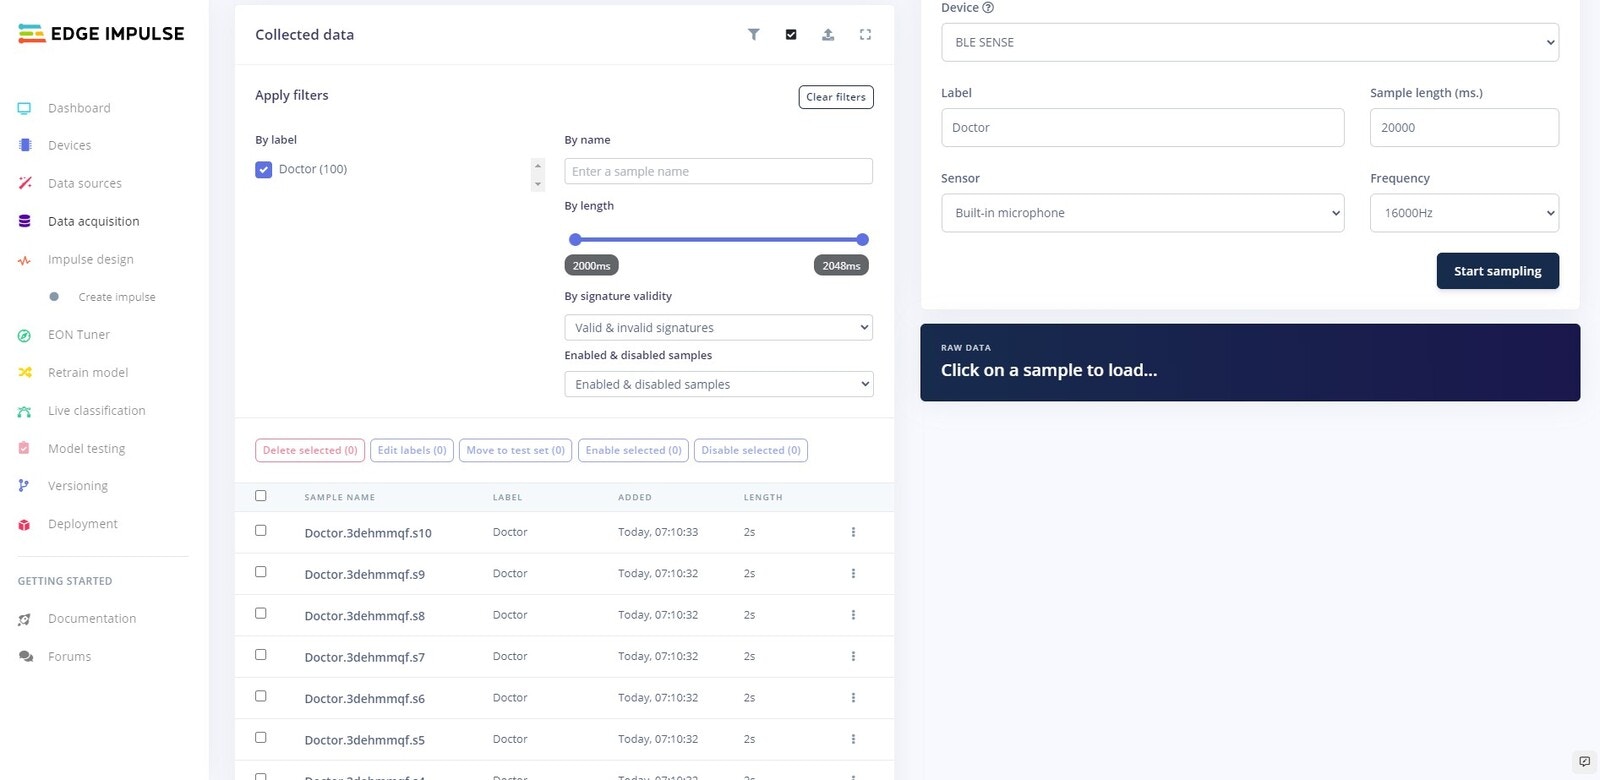
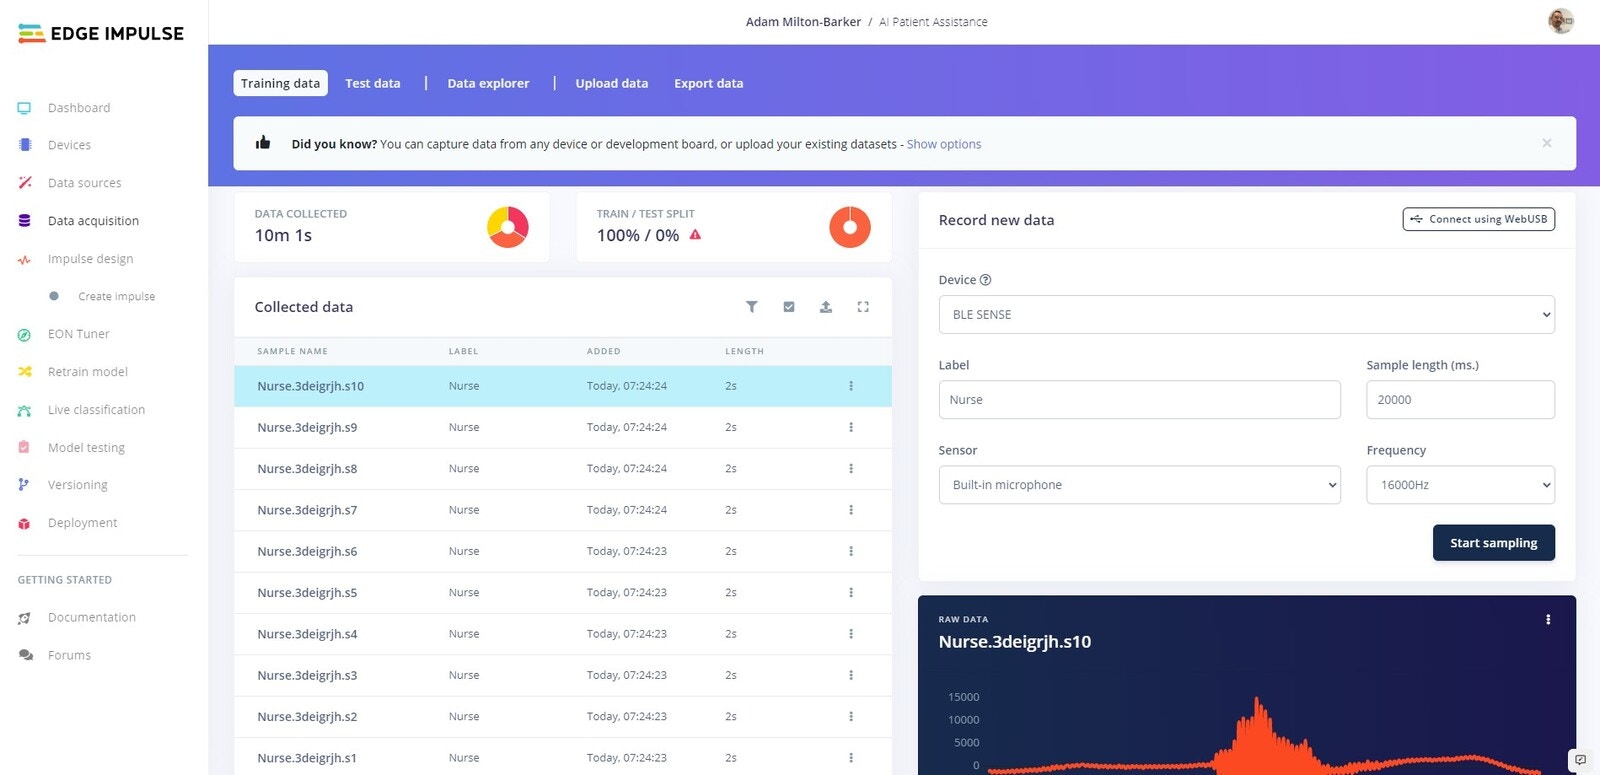
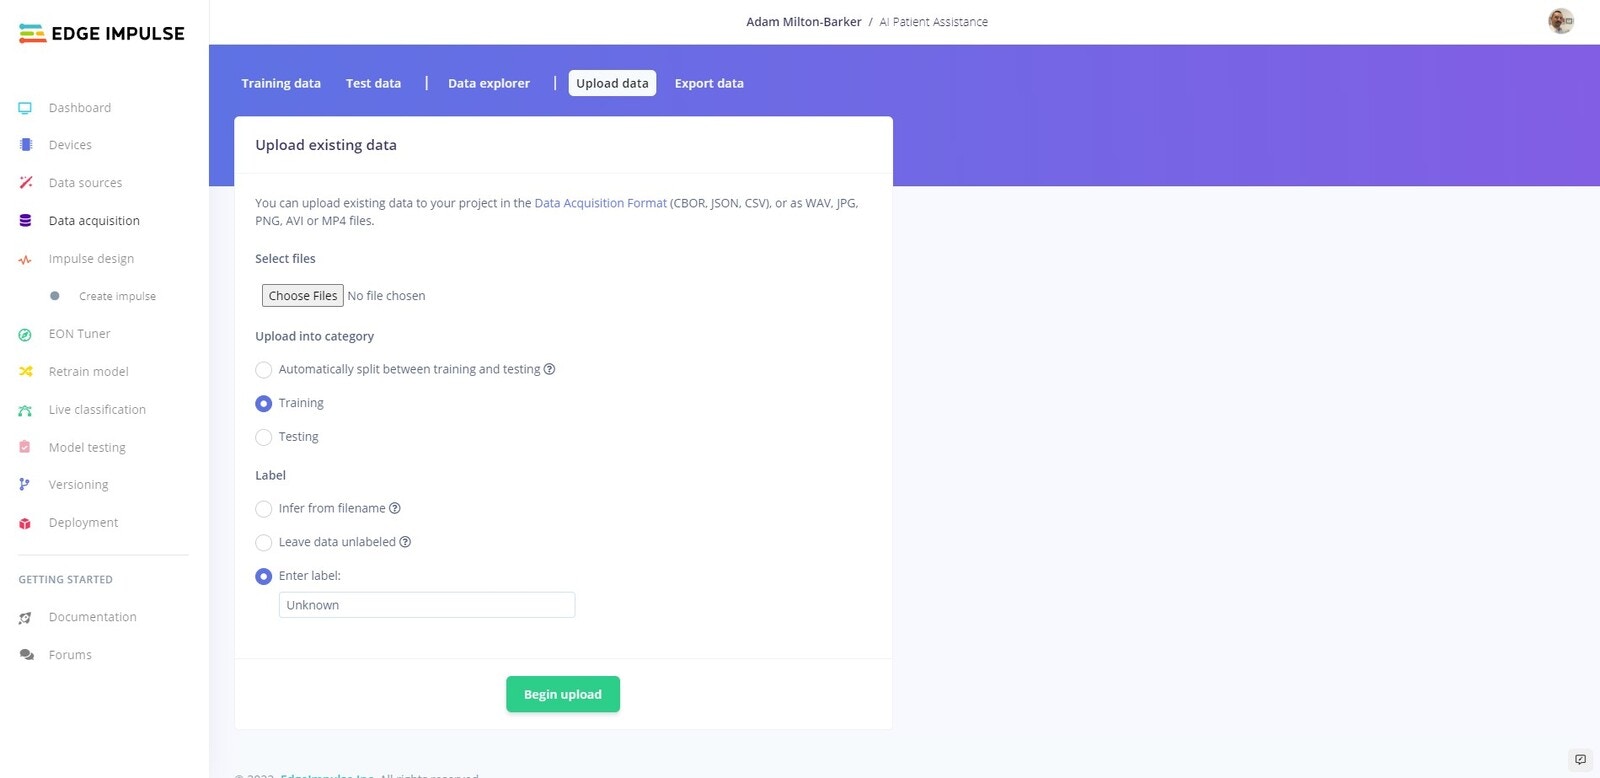
We are going to create our own dataset, using the built in microphone on the Arduino Nano 33 BLE Sense. We are going to collect data that will allow us to train a machine learning model that can detect the words/phrases Doctor, Nurse, and Help. We will use the Record new data feature on Edge Impulse to record 15 sets of 10 utterances of each of our keywords, and then we will split them into individual samples. Ensuring your device is connected to the Edge Impulse platform, head over to the Data Acquisition tab to continue.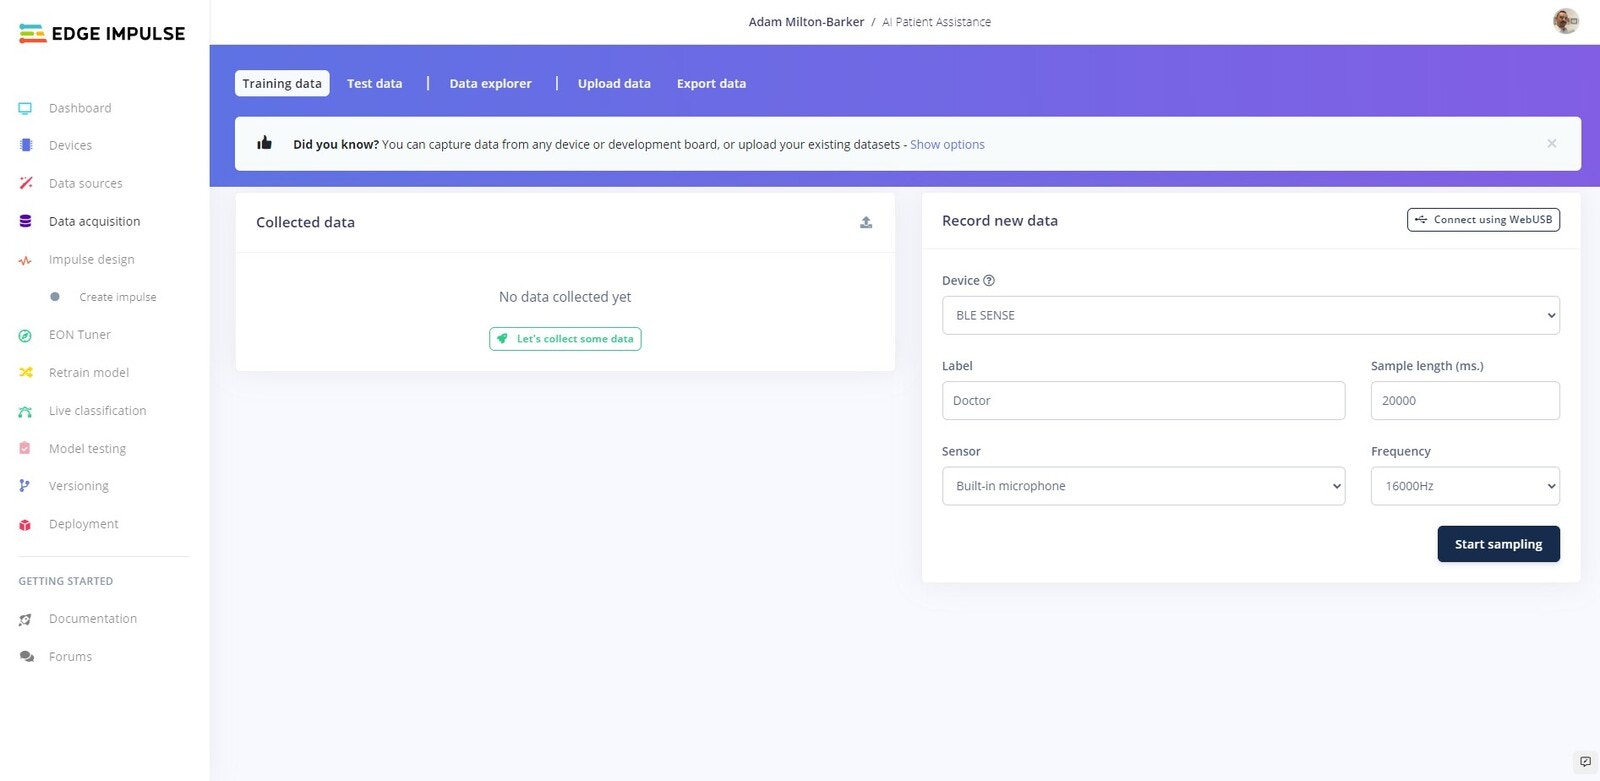
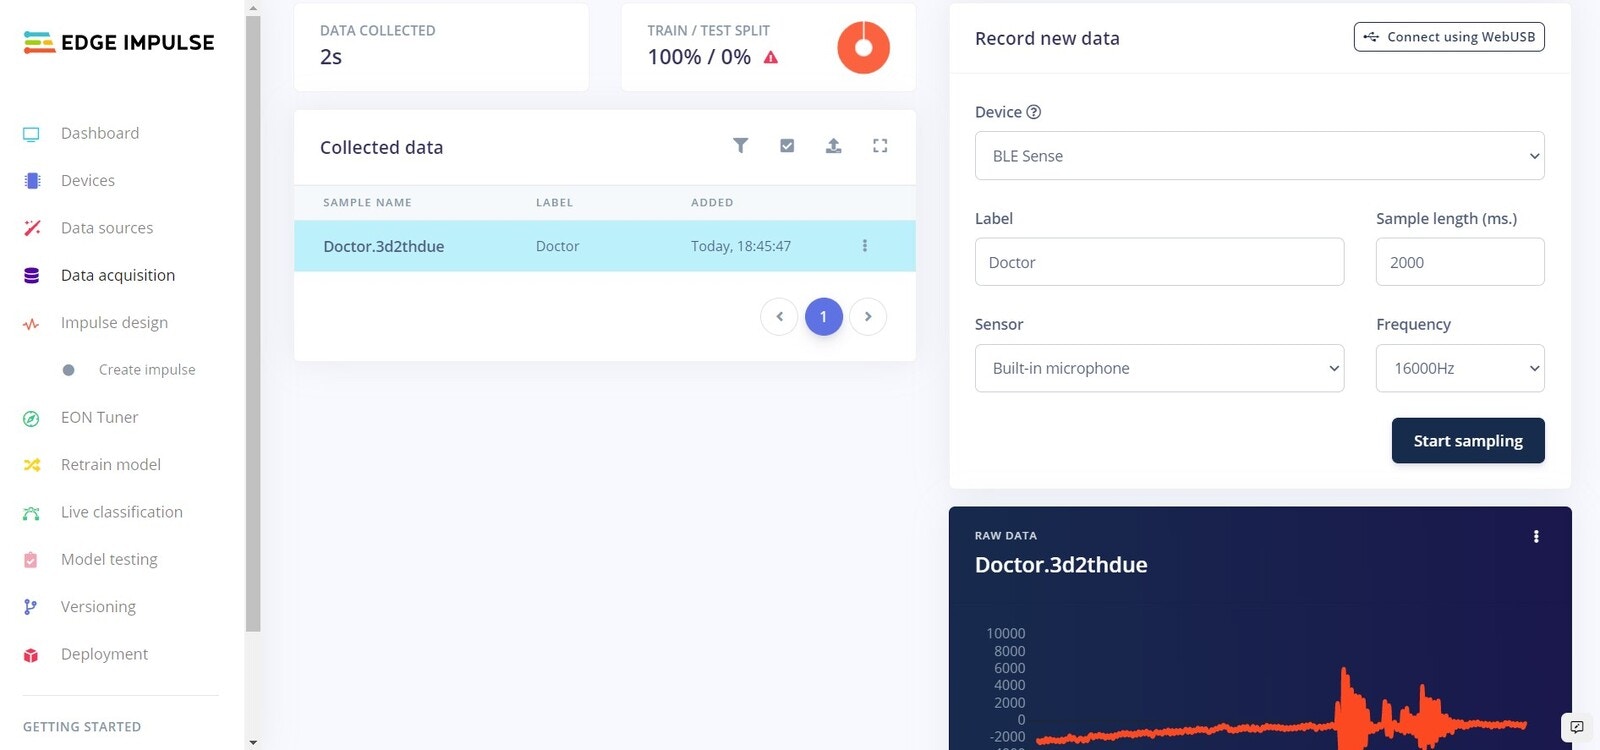
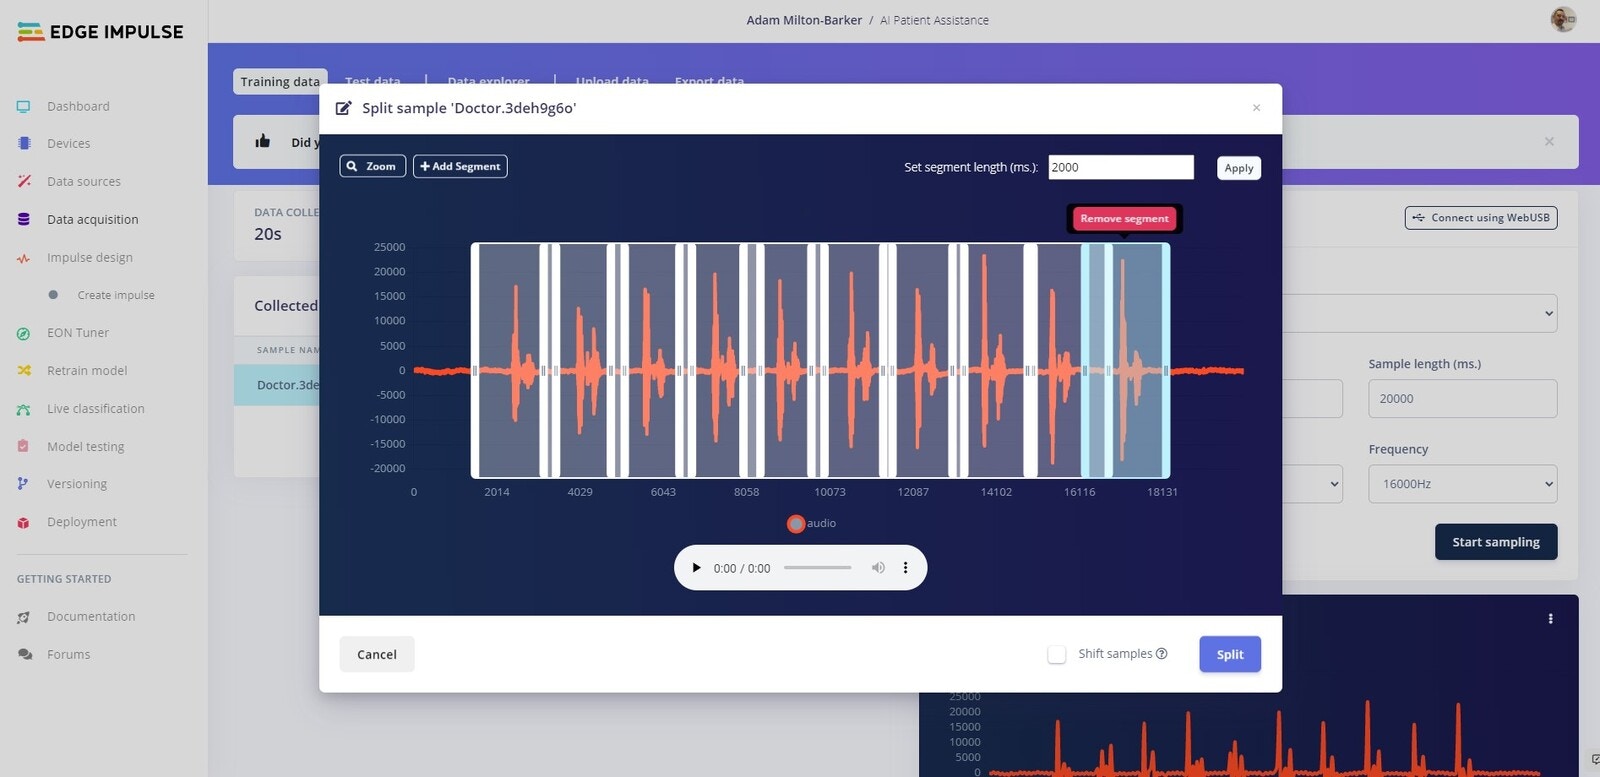
Split Dataset
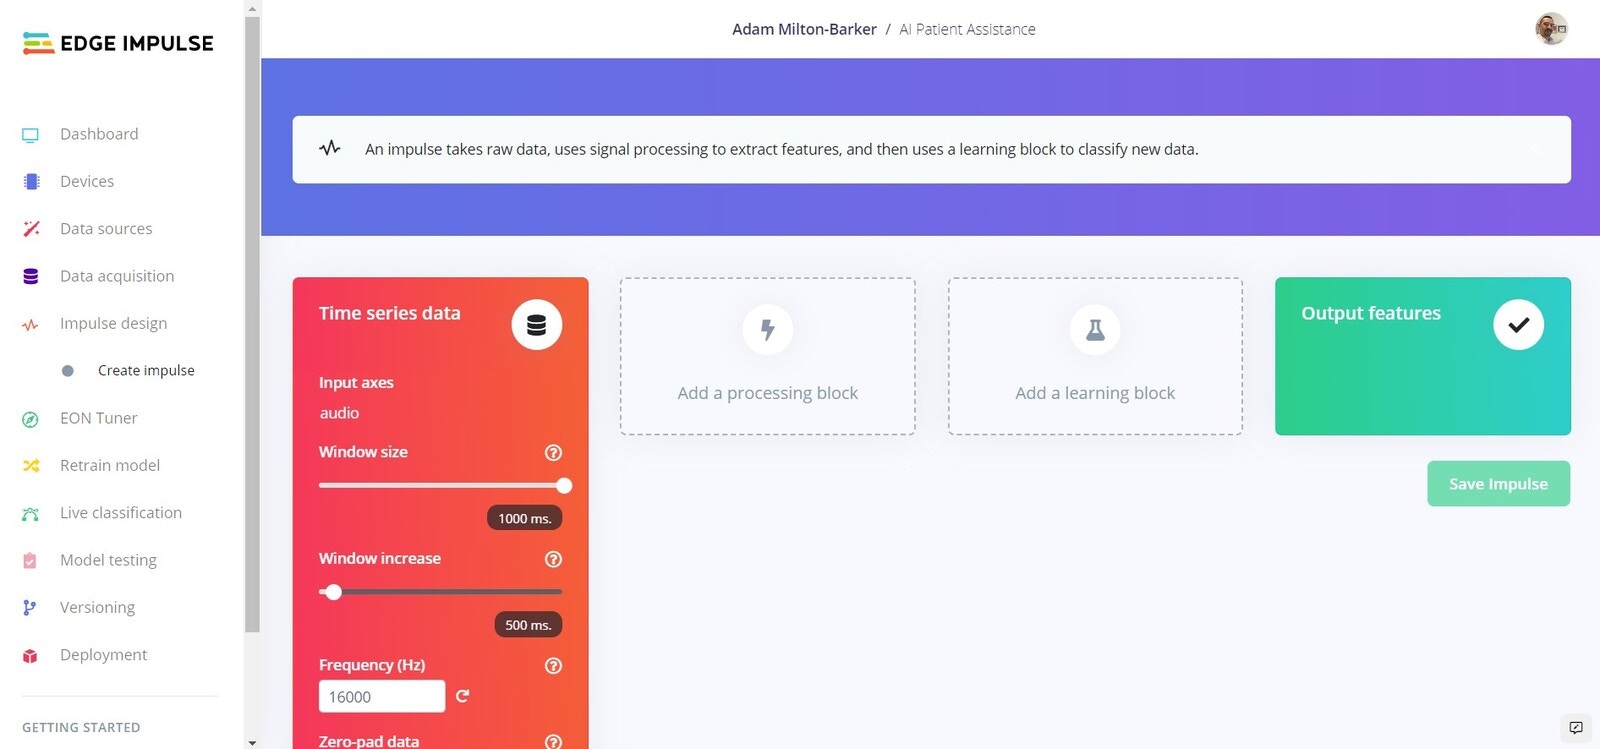
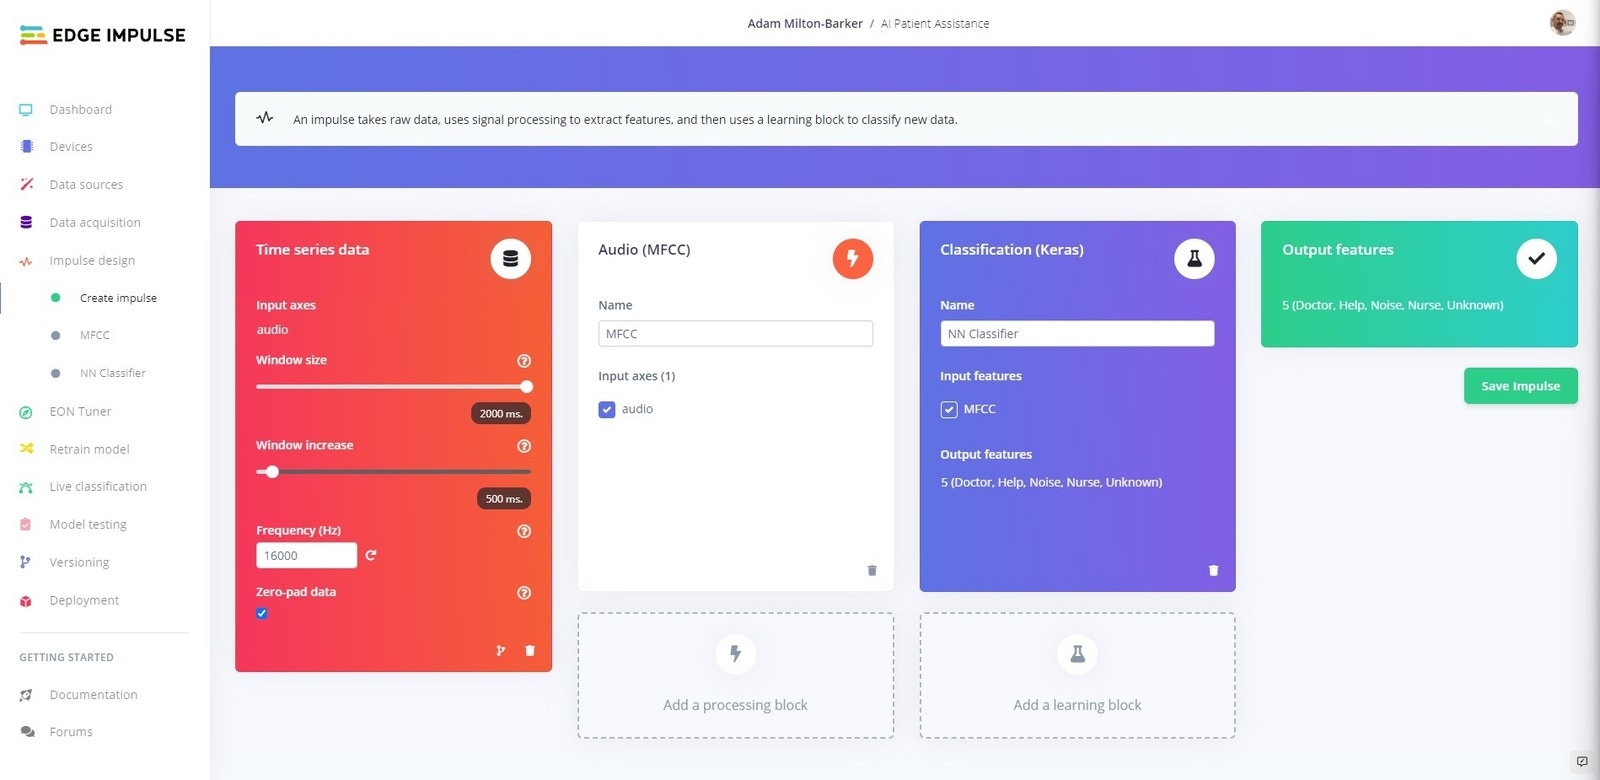
Create Impulse
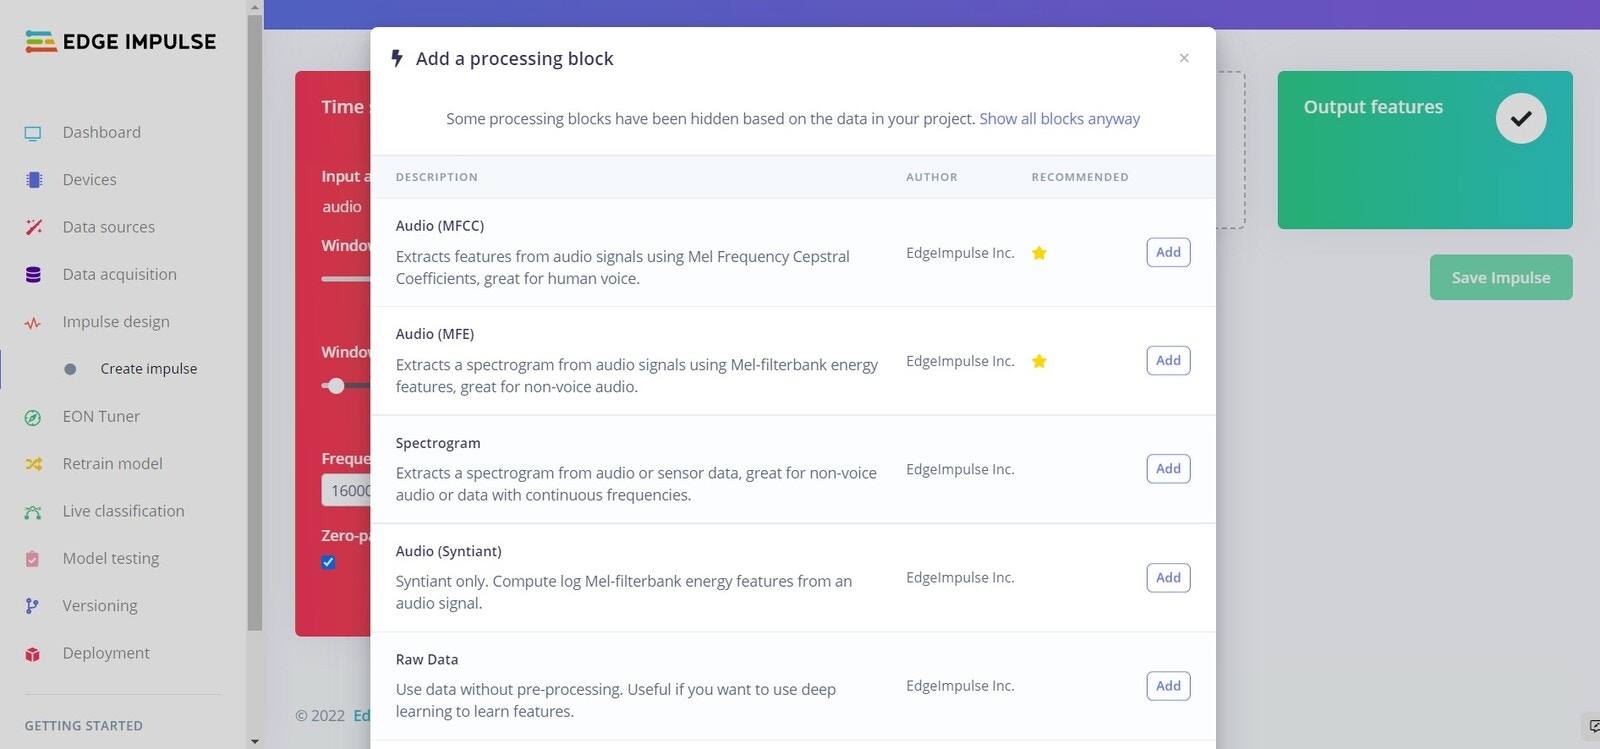
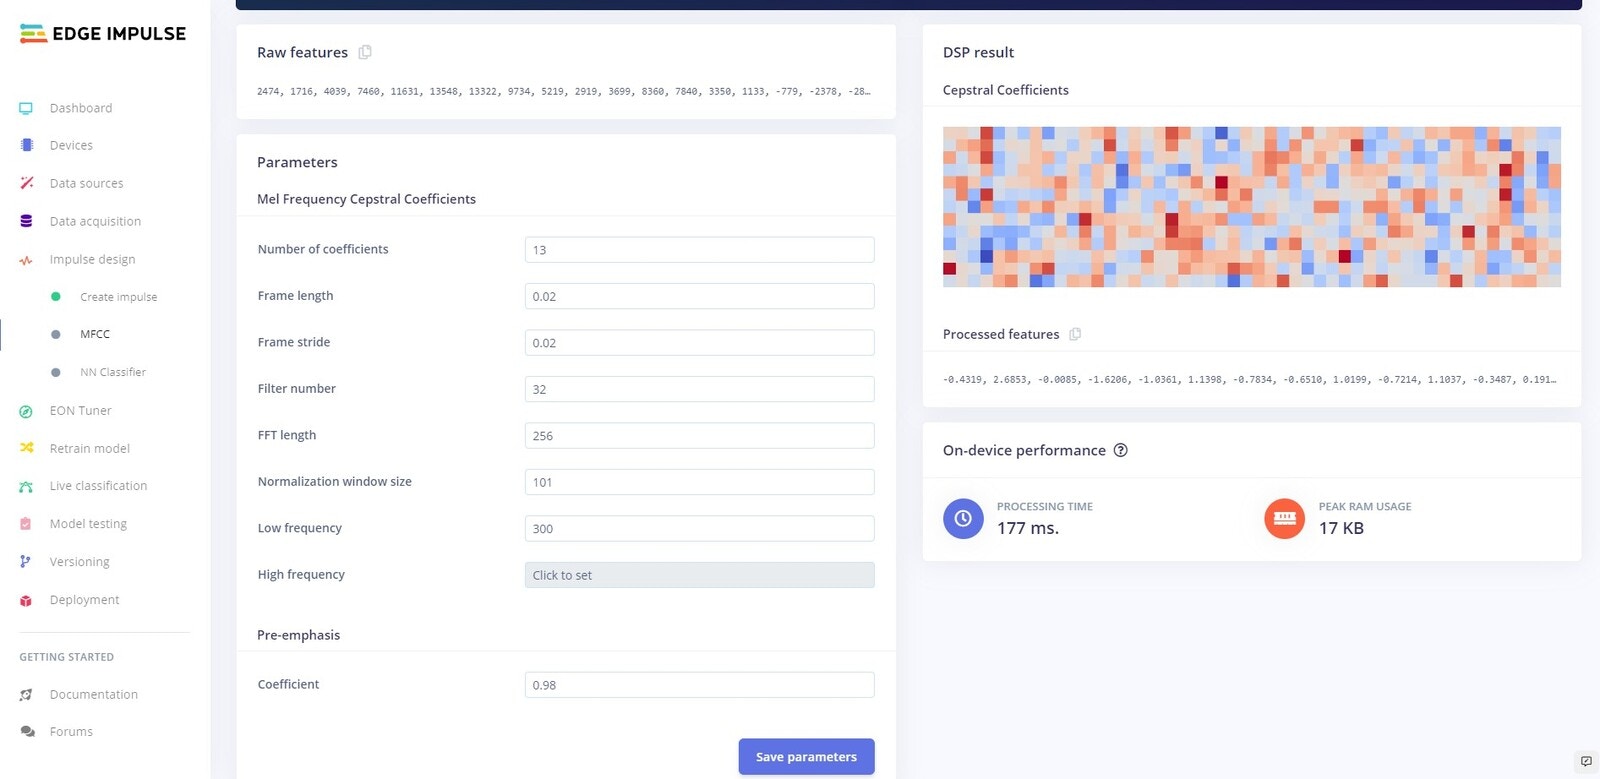
MFCC Block
Parameters
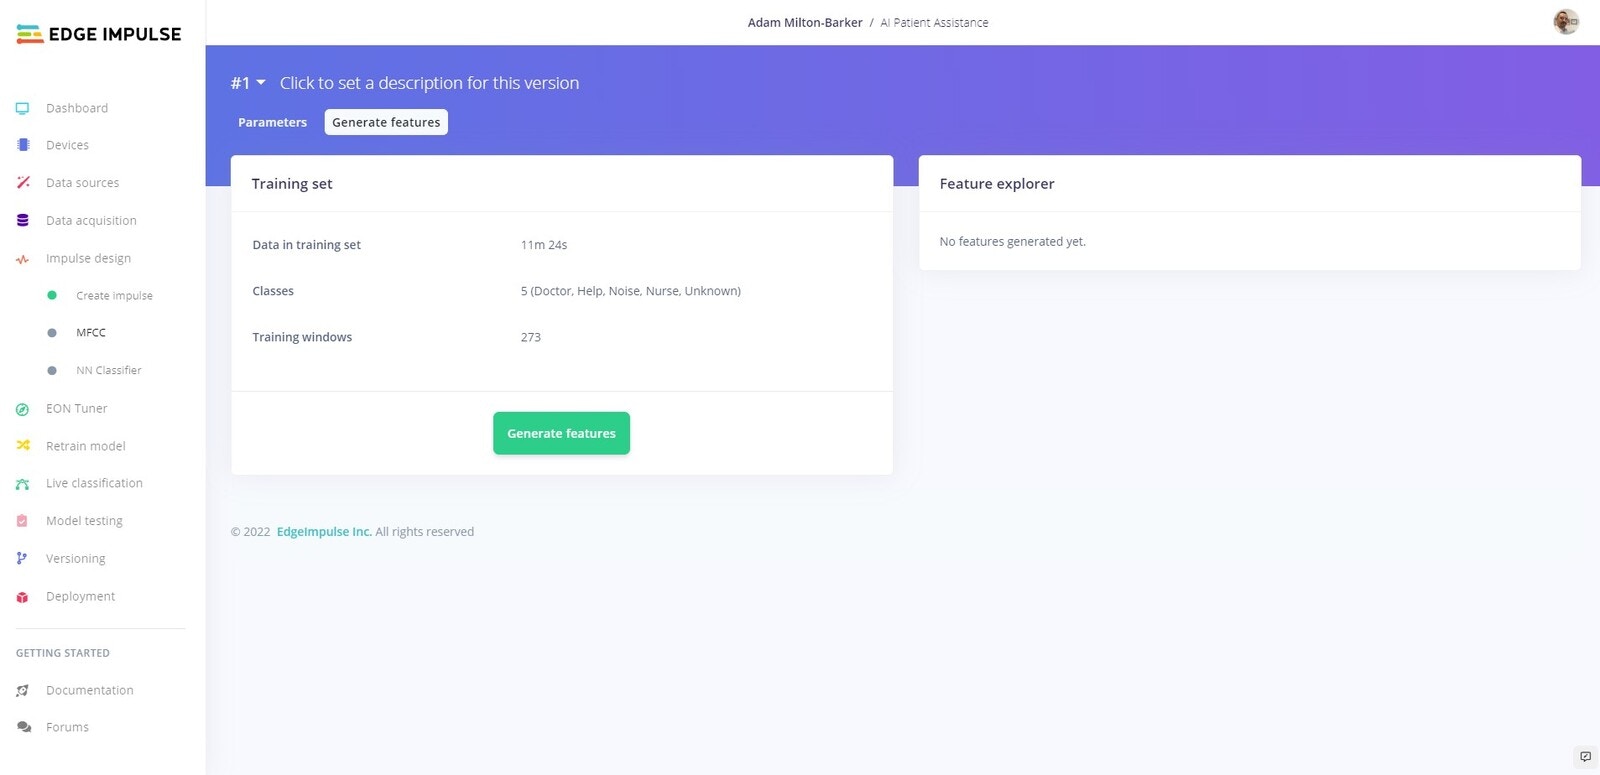
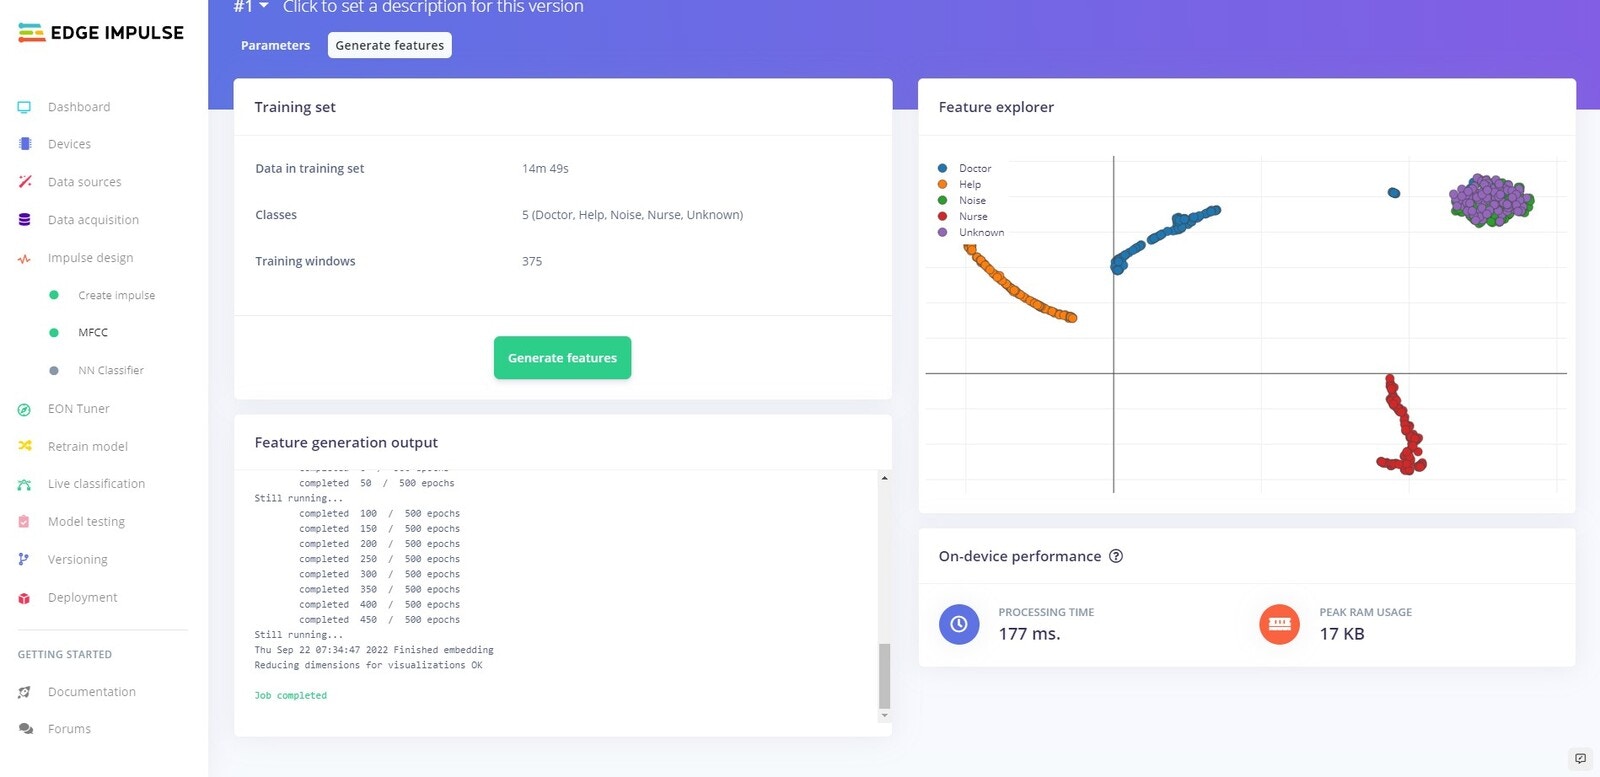
Generate Features
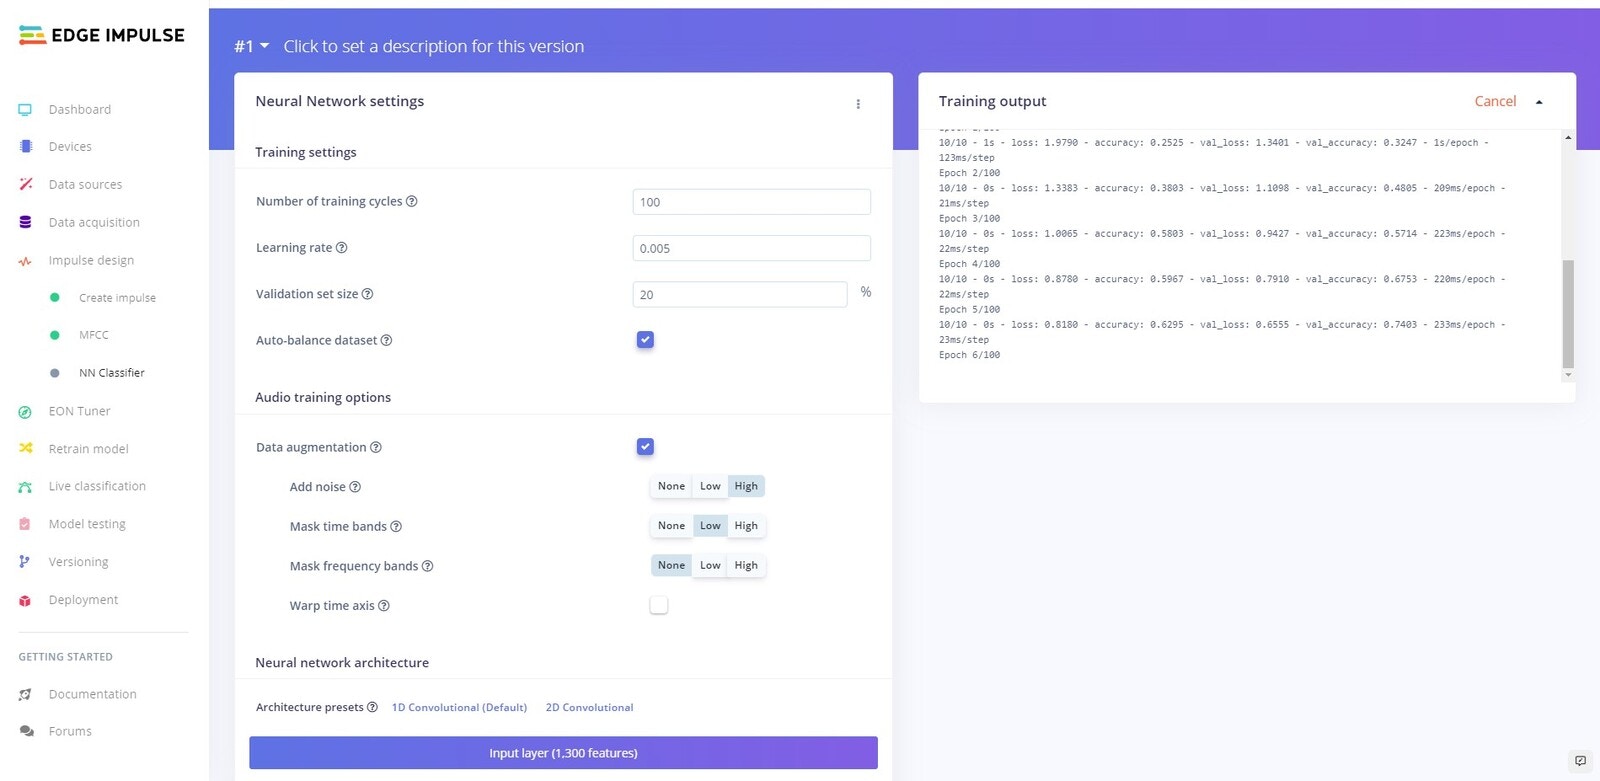
Training

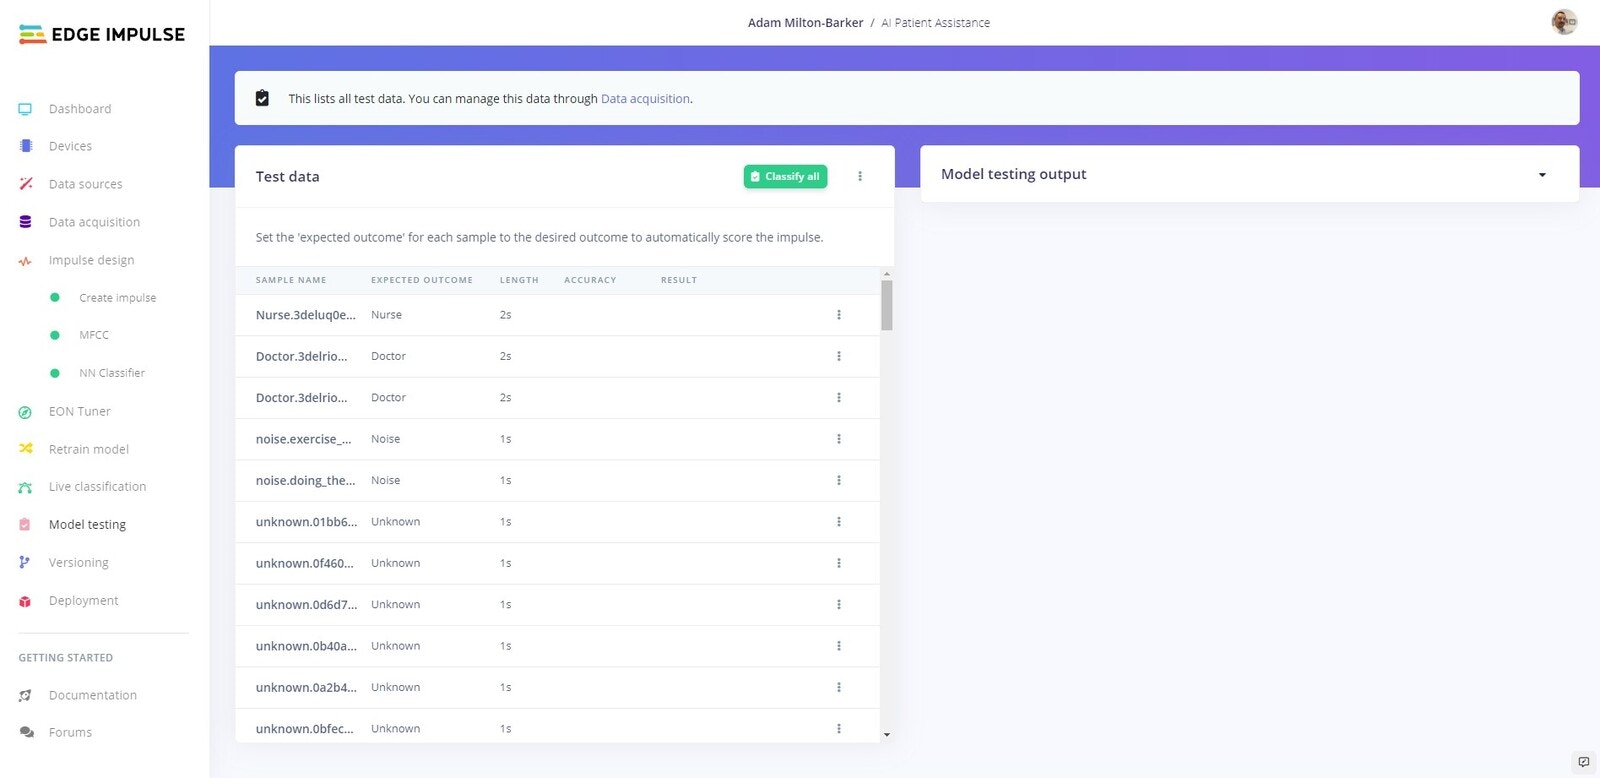
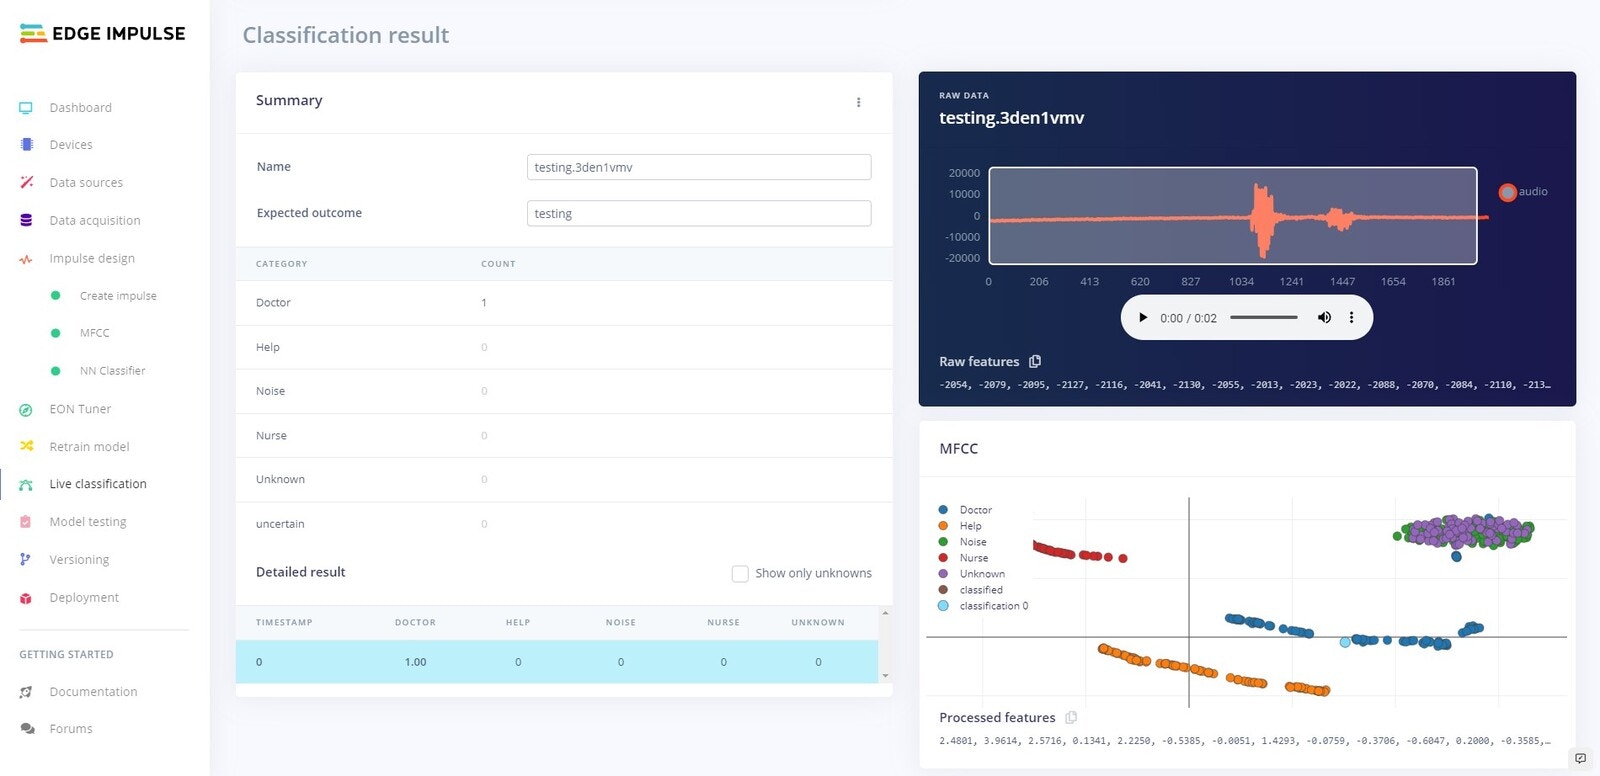
Testing
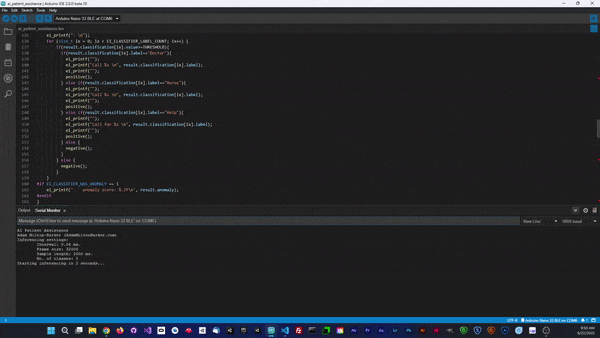
Platform Testing

On Device Testing
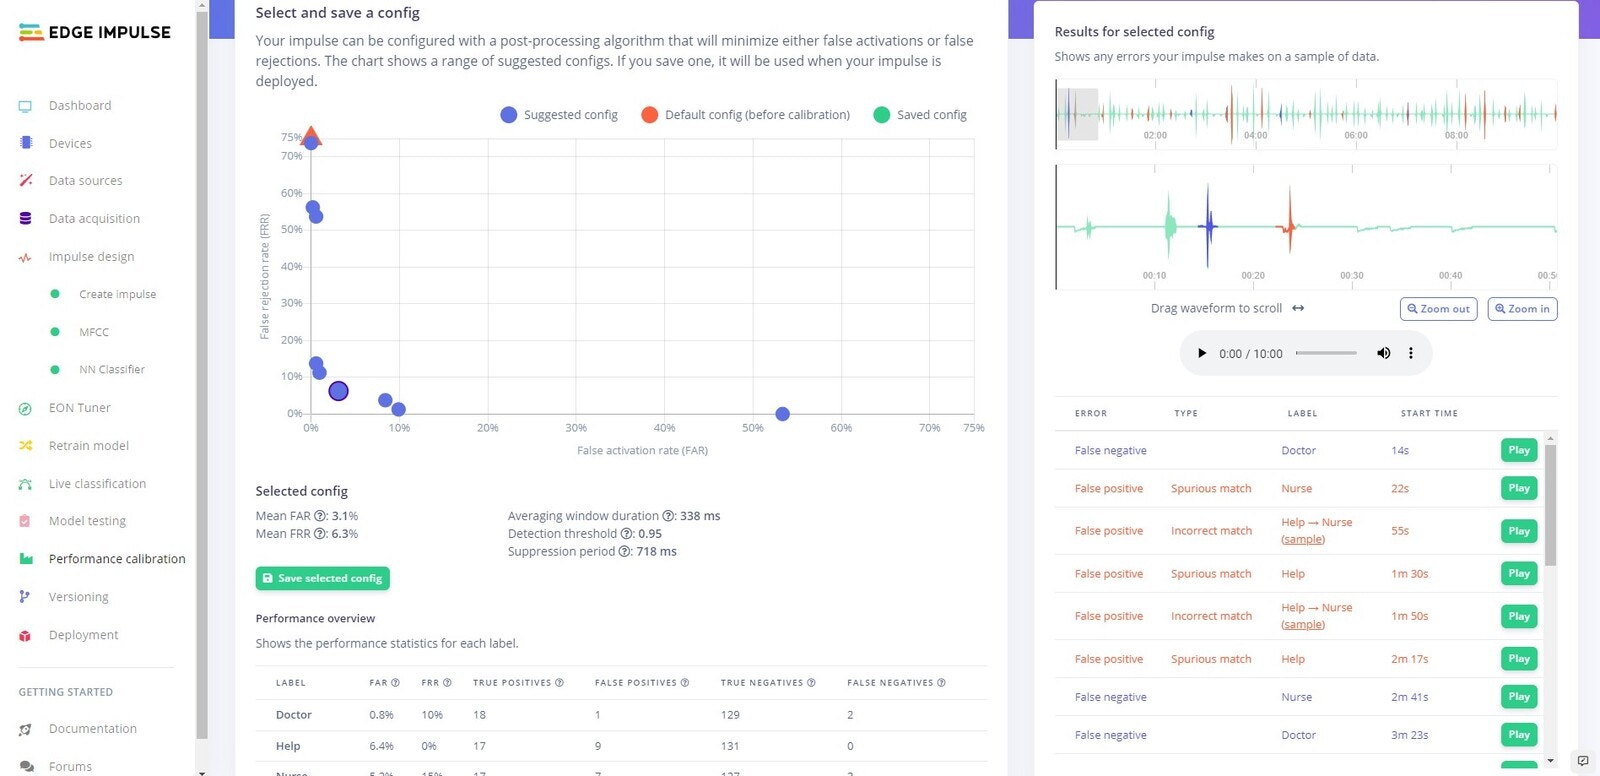
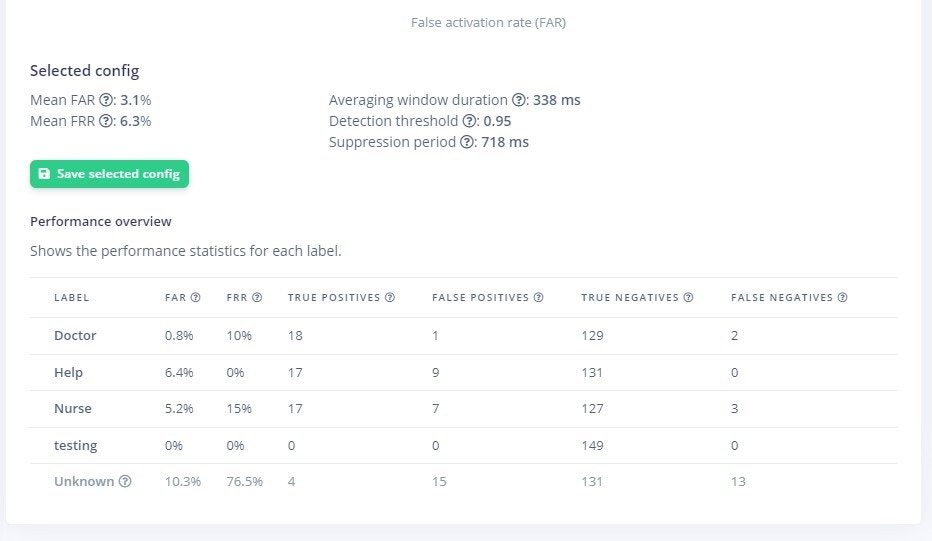
Performance Calibration


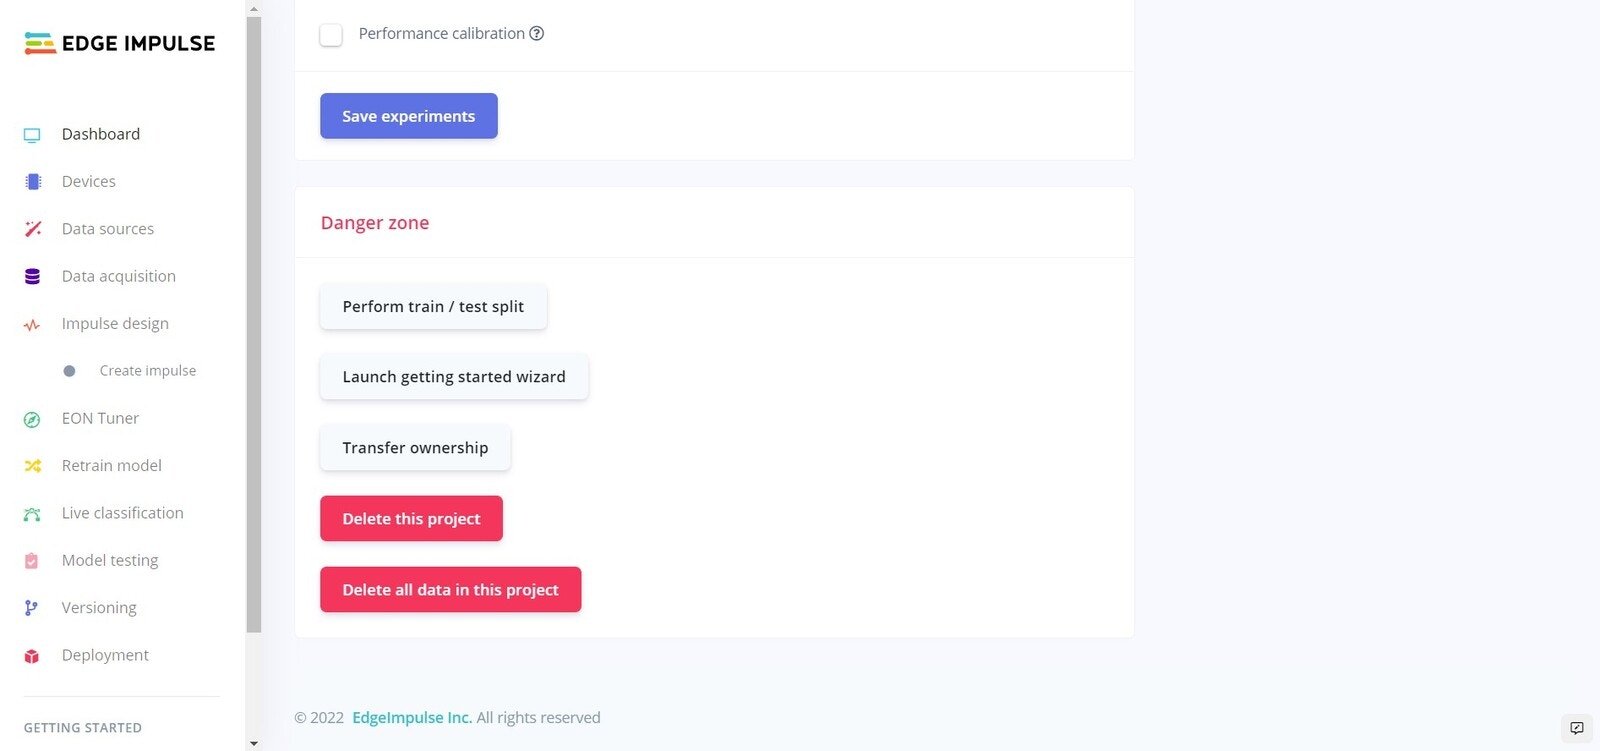
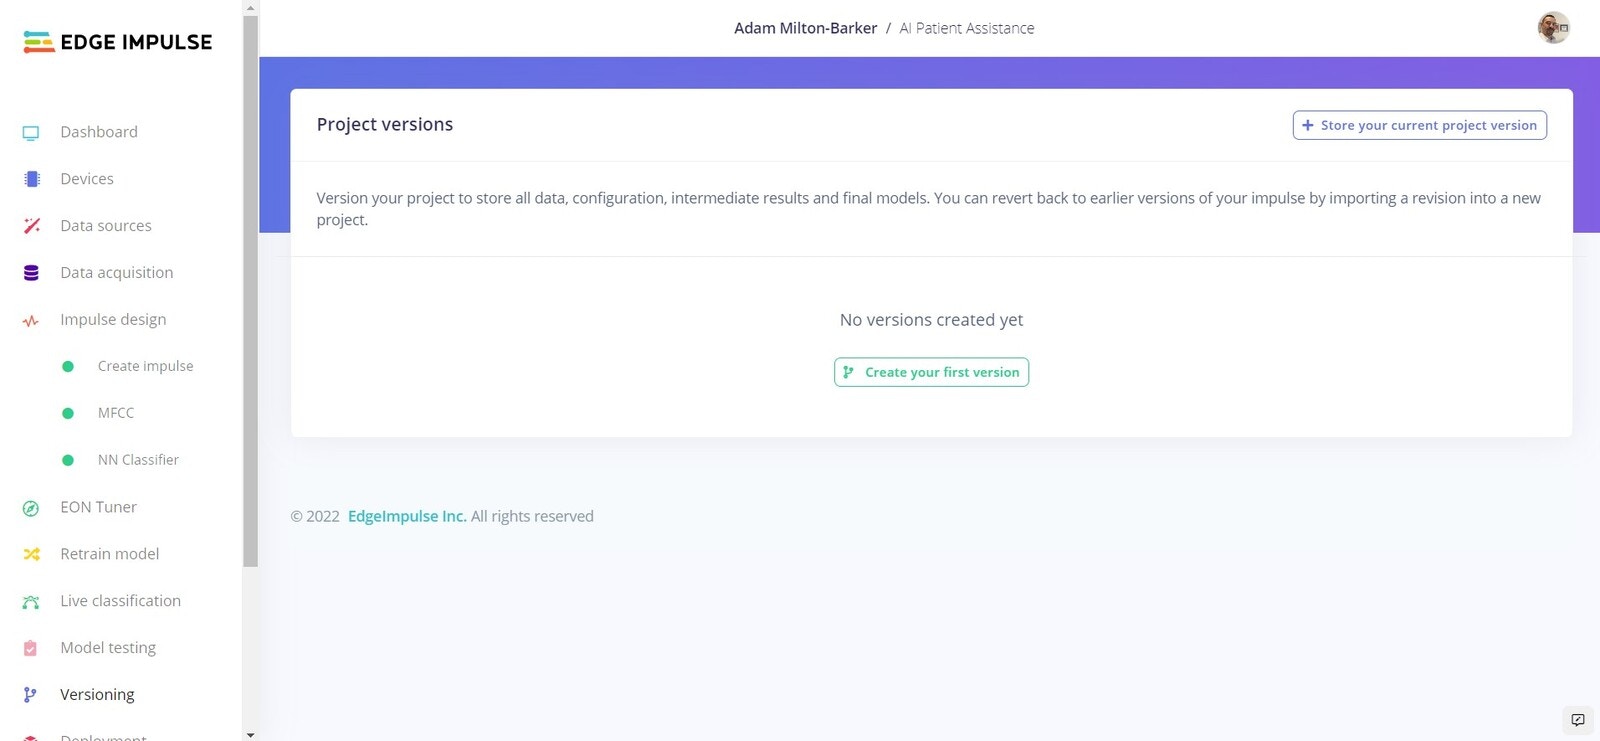
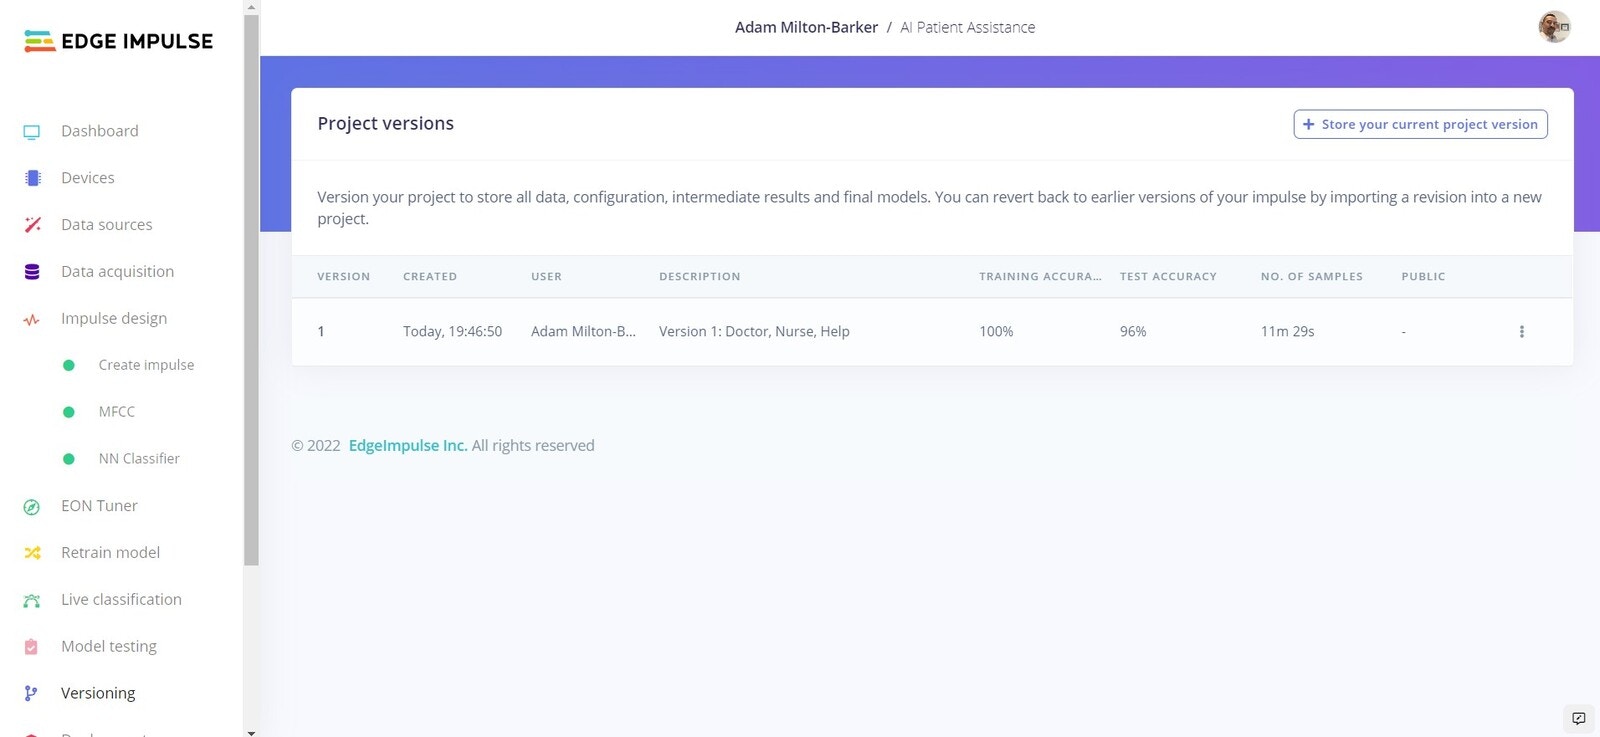
Versioning
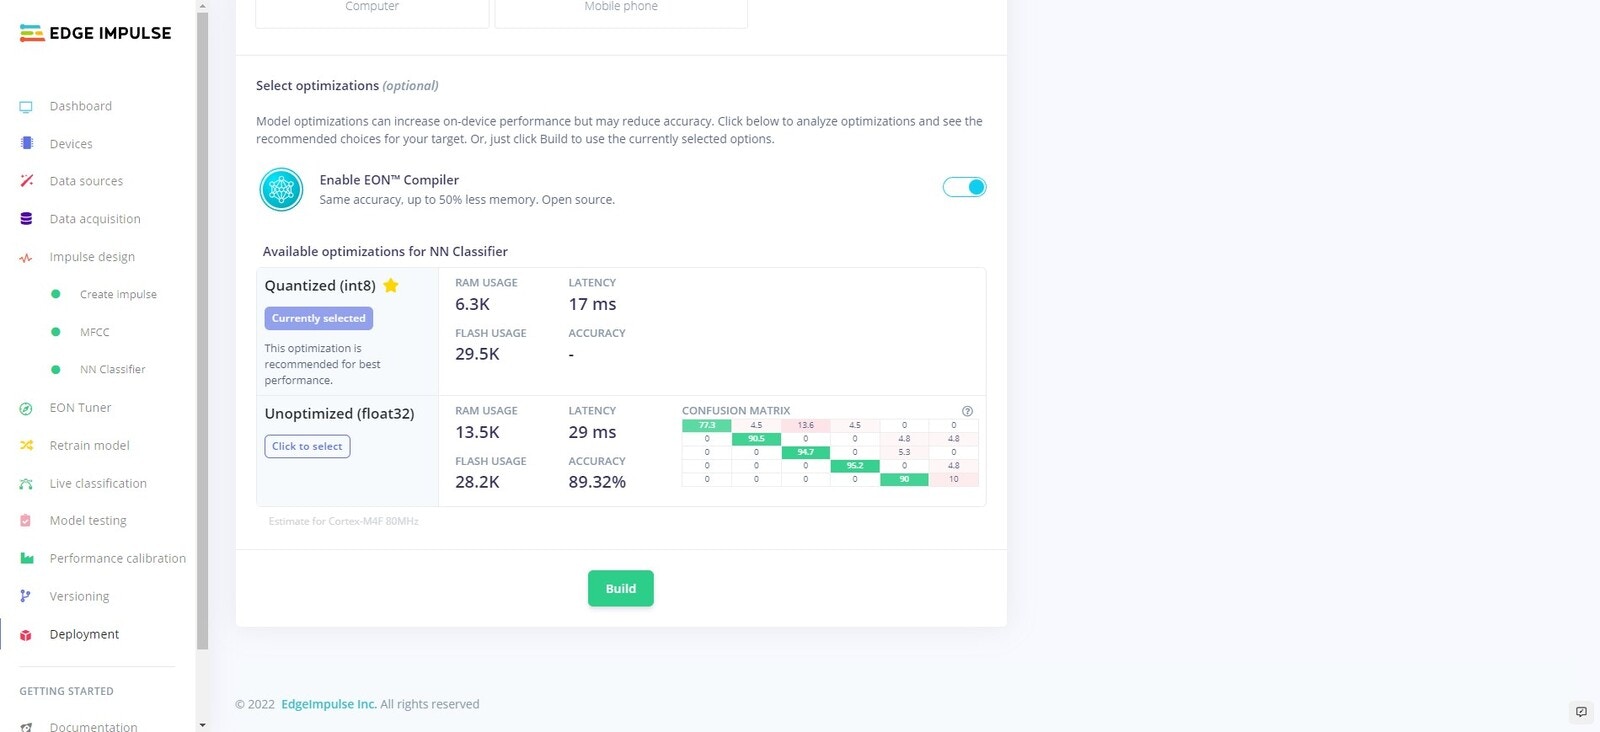
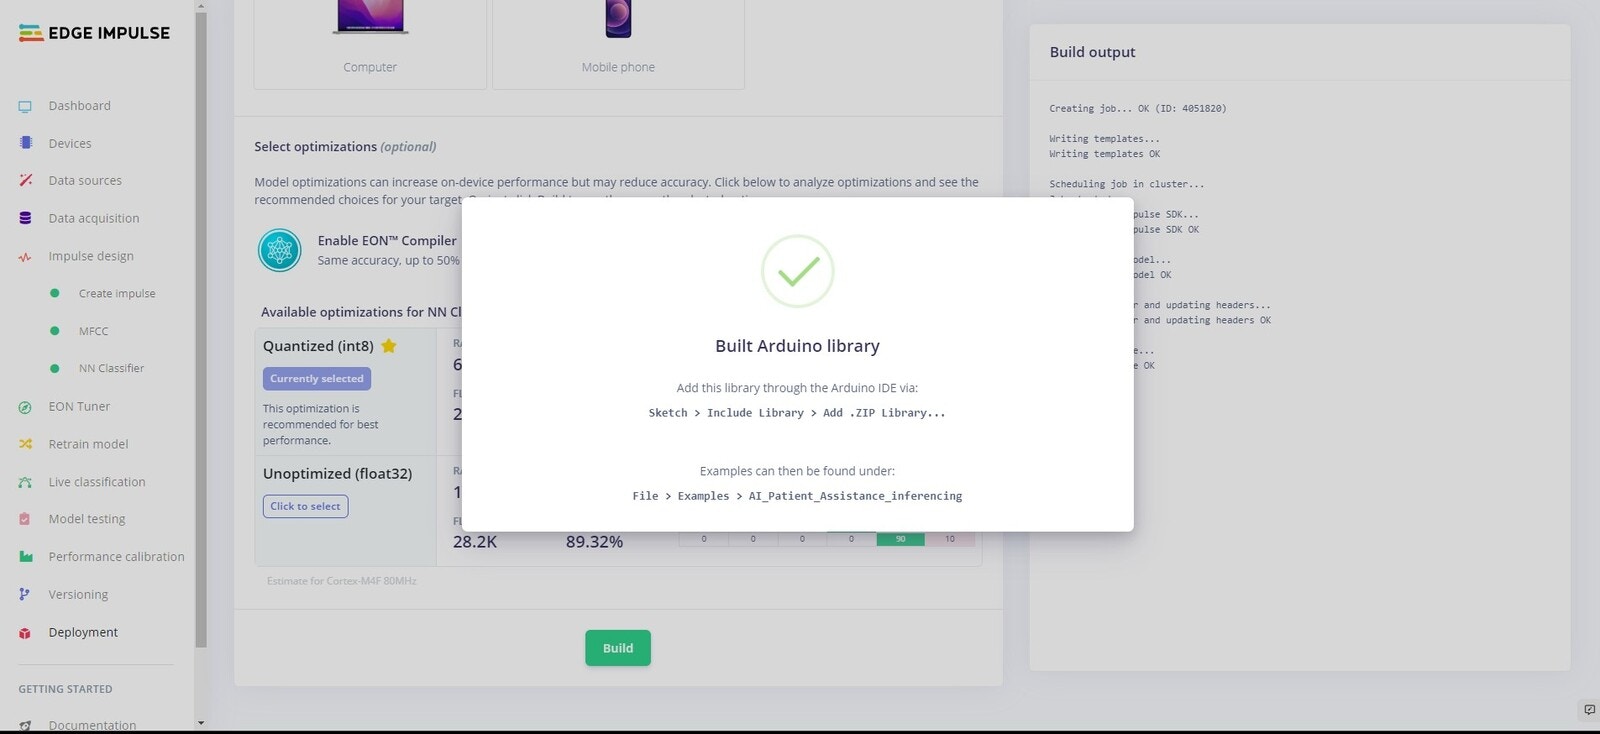
Deployment
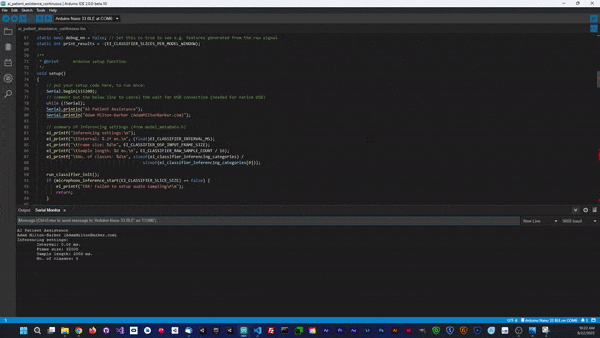
Now we will deploy an Arduino library to our device that will allow us to run the model directly on our Arduino Nano 33 BLE Sense.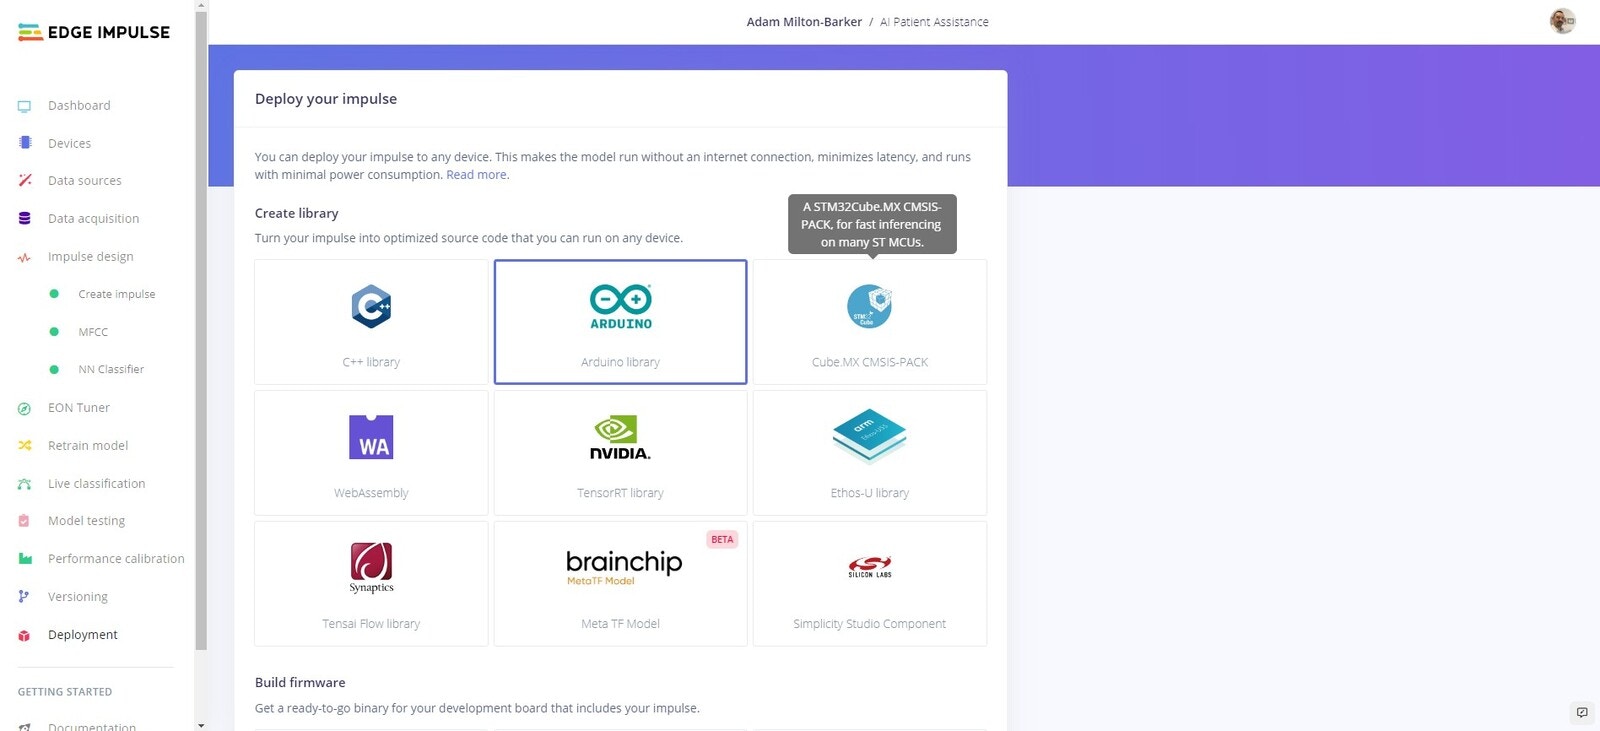

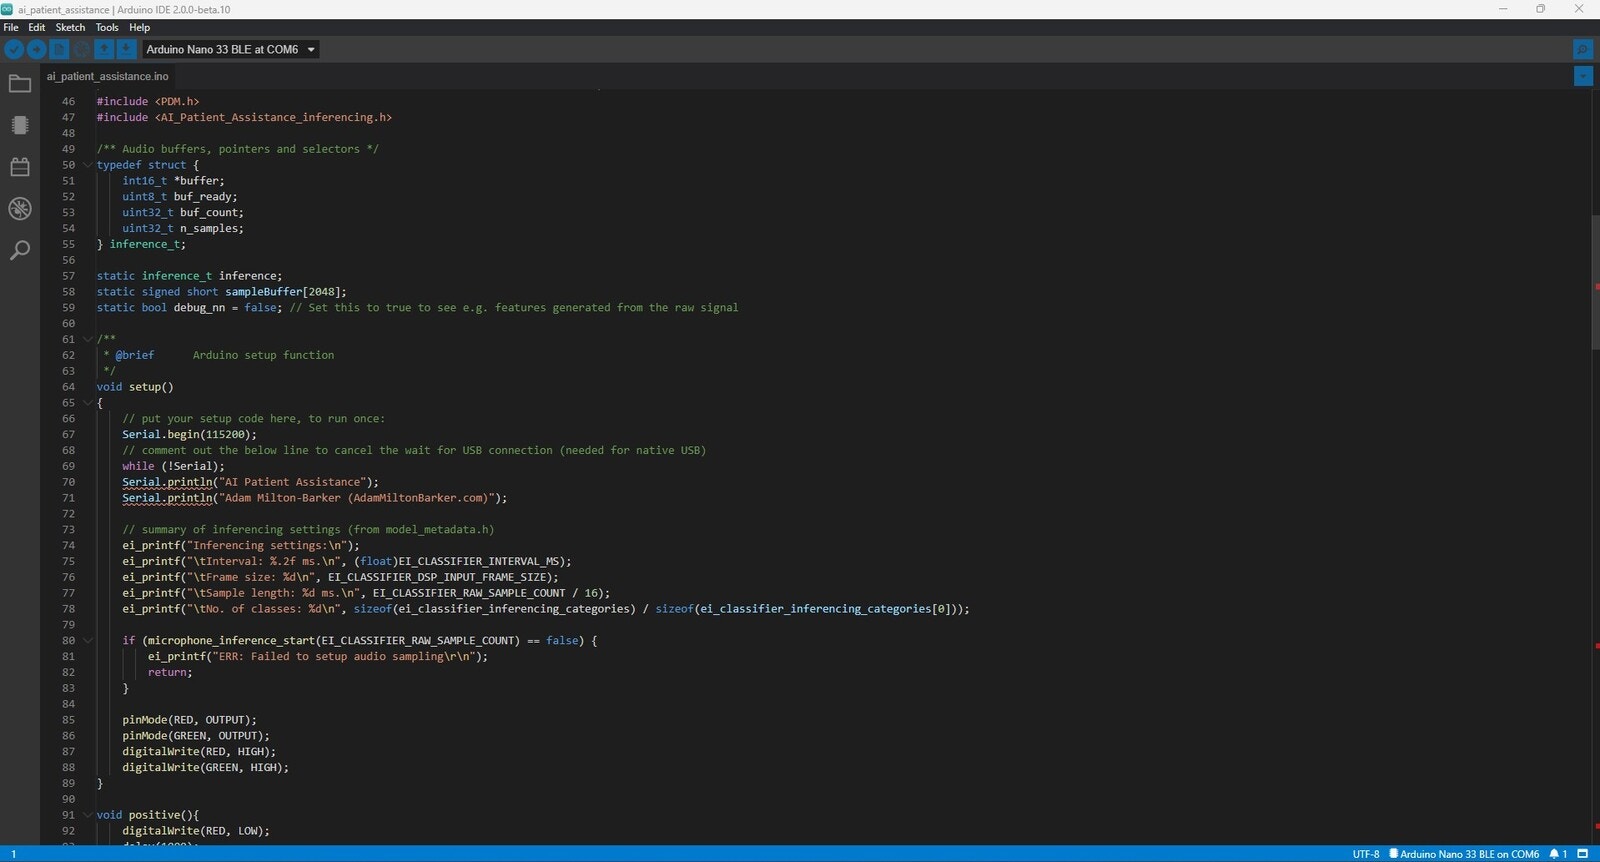
Arduino IDE
Non-Continuous Classification
Continuous Classification
BLE
This program acts as a BLE peripheral which basically advertises itself and waits for a central to connect to it before pushing data to it. In this case our central/master is a smart phone, but in the real world this would be a BLE enabled server that would be able to interact with a database, send SMS, or forward messages to other devices/applications using a machine to machine communication protocol such as MQTT.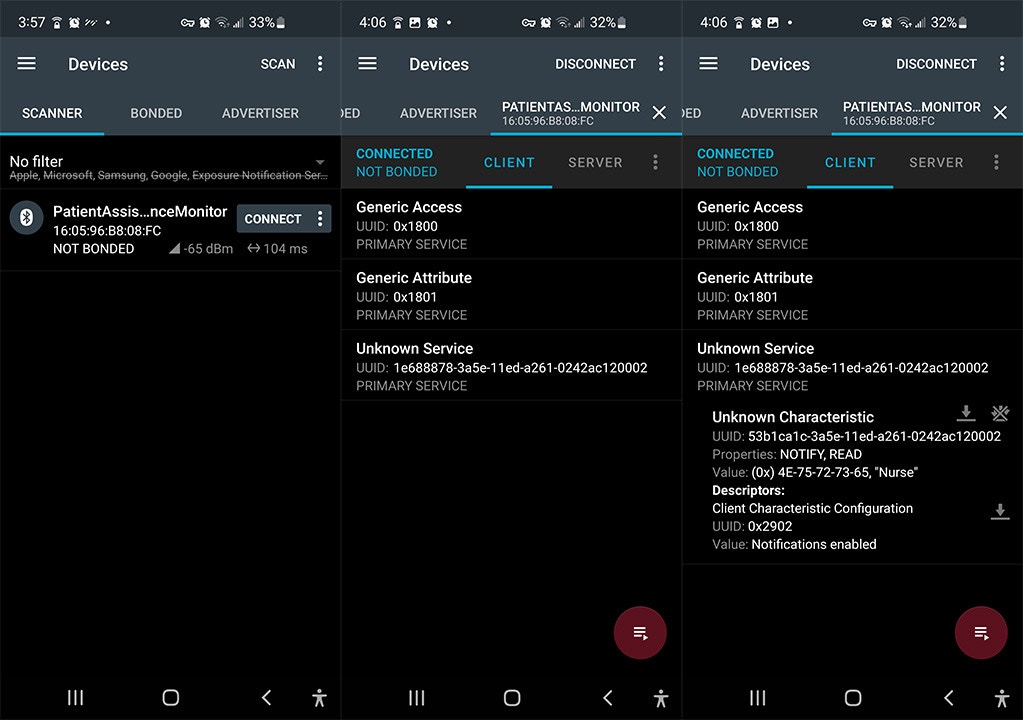
Conclusion
Here we have created a simple but effective solution for detecting specific keywords that can be part of a larger automated patient assistance system. Using a fairly small dataset we have shown how the Edge Impulse platform is a useful tool in quickly creating and deploying deep learning models on edge devices. You can train a network with your own keywords, or build off the model and training data provided in this tutorial. Ways to further improve the existing model could be:- Record more samples for training
- Record samples from multiple people