Intro
Analog gauges are often used in industrial settings to measure various process variables such as pressure, temperature, and flow. In many cases, analog gauges are preferred over digital gauges because most analog gauges mounted on old machinery cannot be easily replaced or it would be too costly to do so. However, they have several disadvantages, such as requiring visual inspection by a human operator for reading them and the difficulty of integrating them into digital systems to automate tasks. Computer Vision and Machine Learning can be used to overcome these disadvantages by retrofitting analog gauges with digital readouts. Computer Vision systems can automatically take readings from analog meters and displays, eliminating the need for manual reading and recording. In addition, this method provides real-time continuous monitoring of analog values, allowing for more accurate trending and analysis, reducing maintenance times, and enabling defining alerts to prevent failures.Our Solution
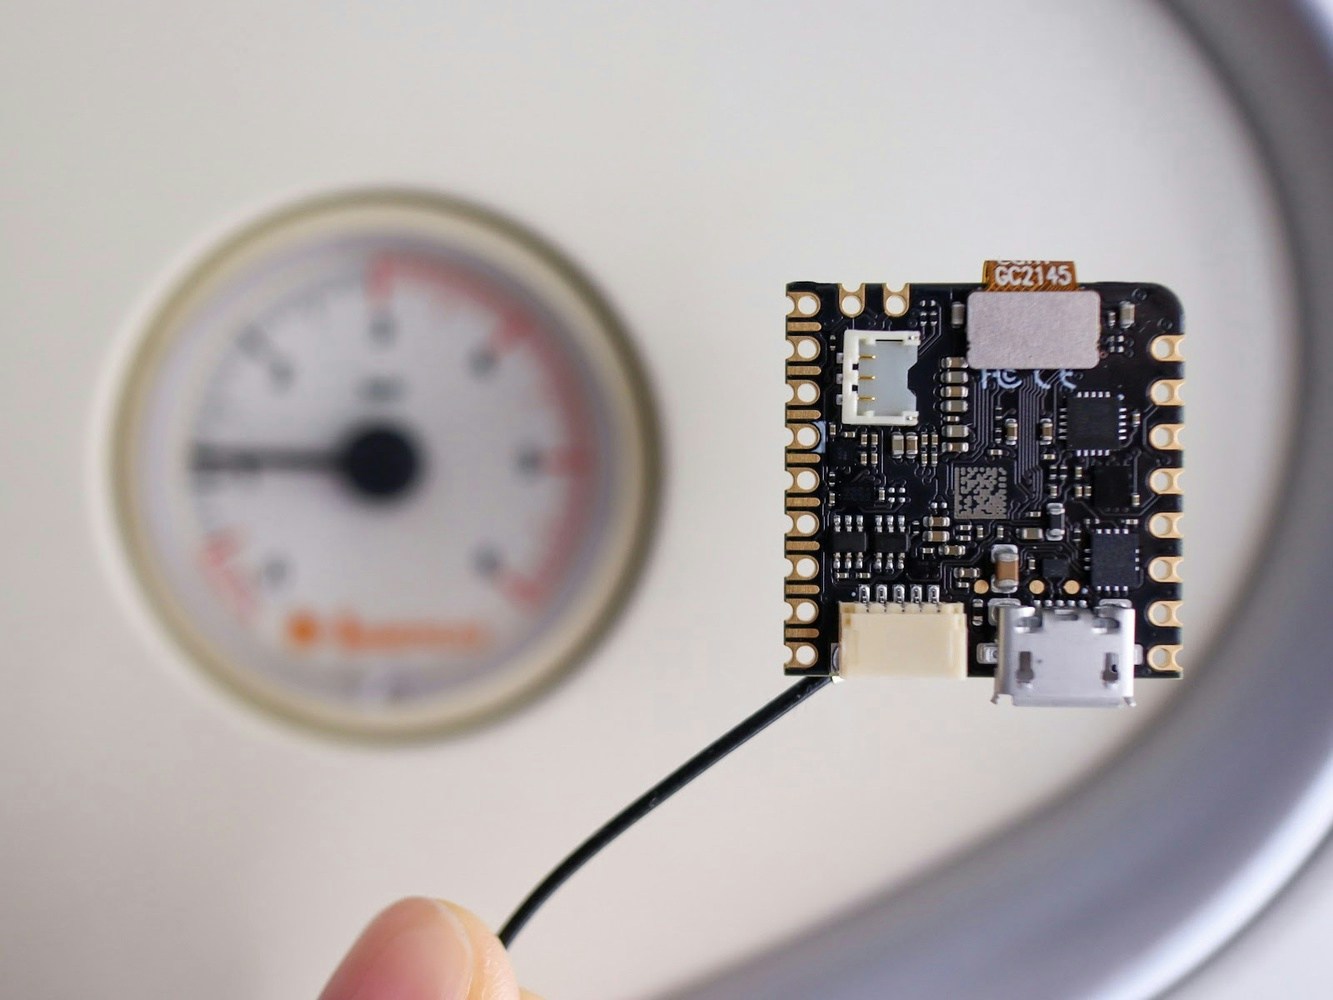
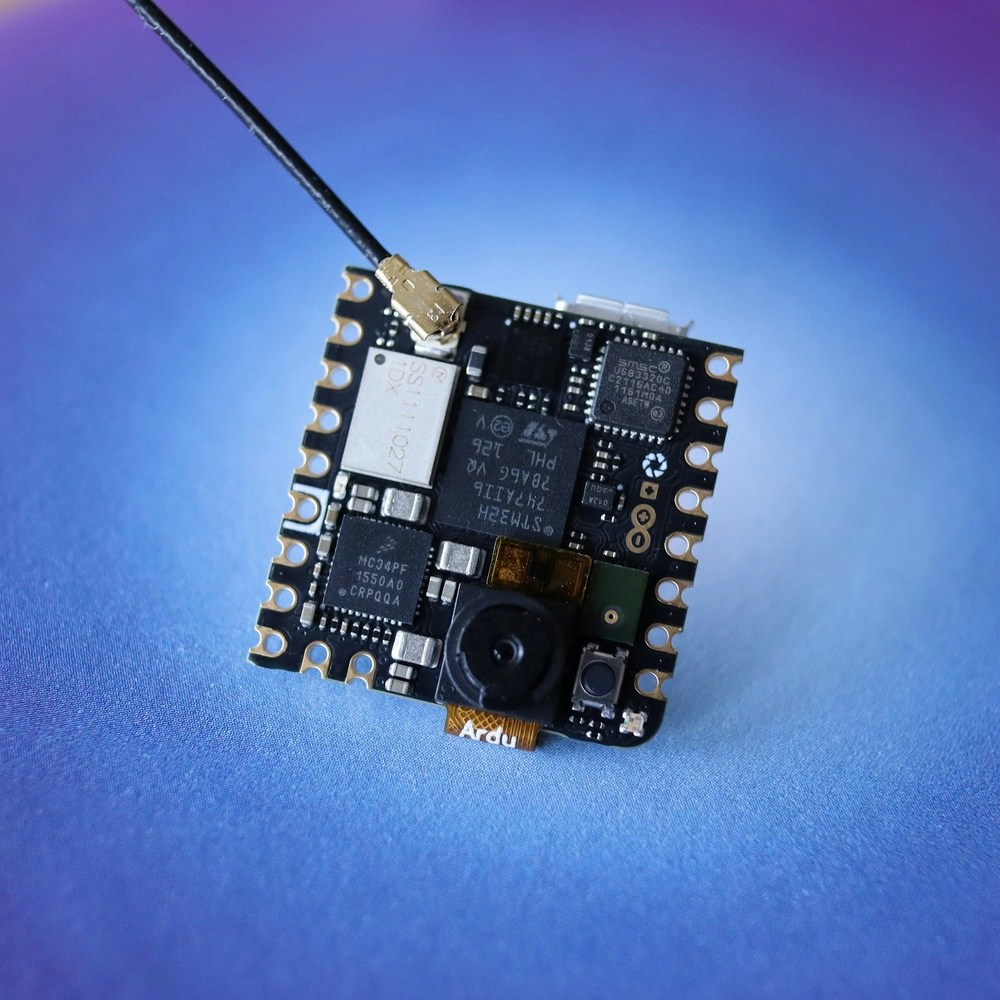
In this tutorial we’ll show you how you can use Computer Vision and Machine Learning to read the boiler pressure gauge on a heating system. We’ll use the Arduino Nicla Vision camera to capture the training data and run the ML model, and the Edge Impulse platform to build, train and deploy an image classification model. Nicla Vision is the perfect match for this use case, as it has a powerful processor with a 2MP color camera that supports TinyML and can easily be integrated into Edge Impulse. It also offers WiFi and Bluetooth Low Energy connectivity so you can send your data to the cloud without having to use another development board. And all of these features are packed on a really tiny board!Hardware requirements
- Arduino Nicla Vision
- Micro USB Cable
Software requirements
- Edge Impulse account
- OpenMV IDE
Hardware Setup
Software Setup
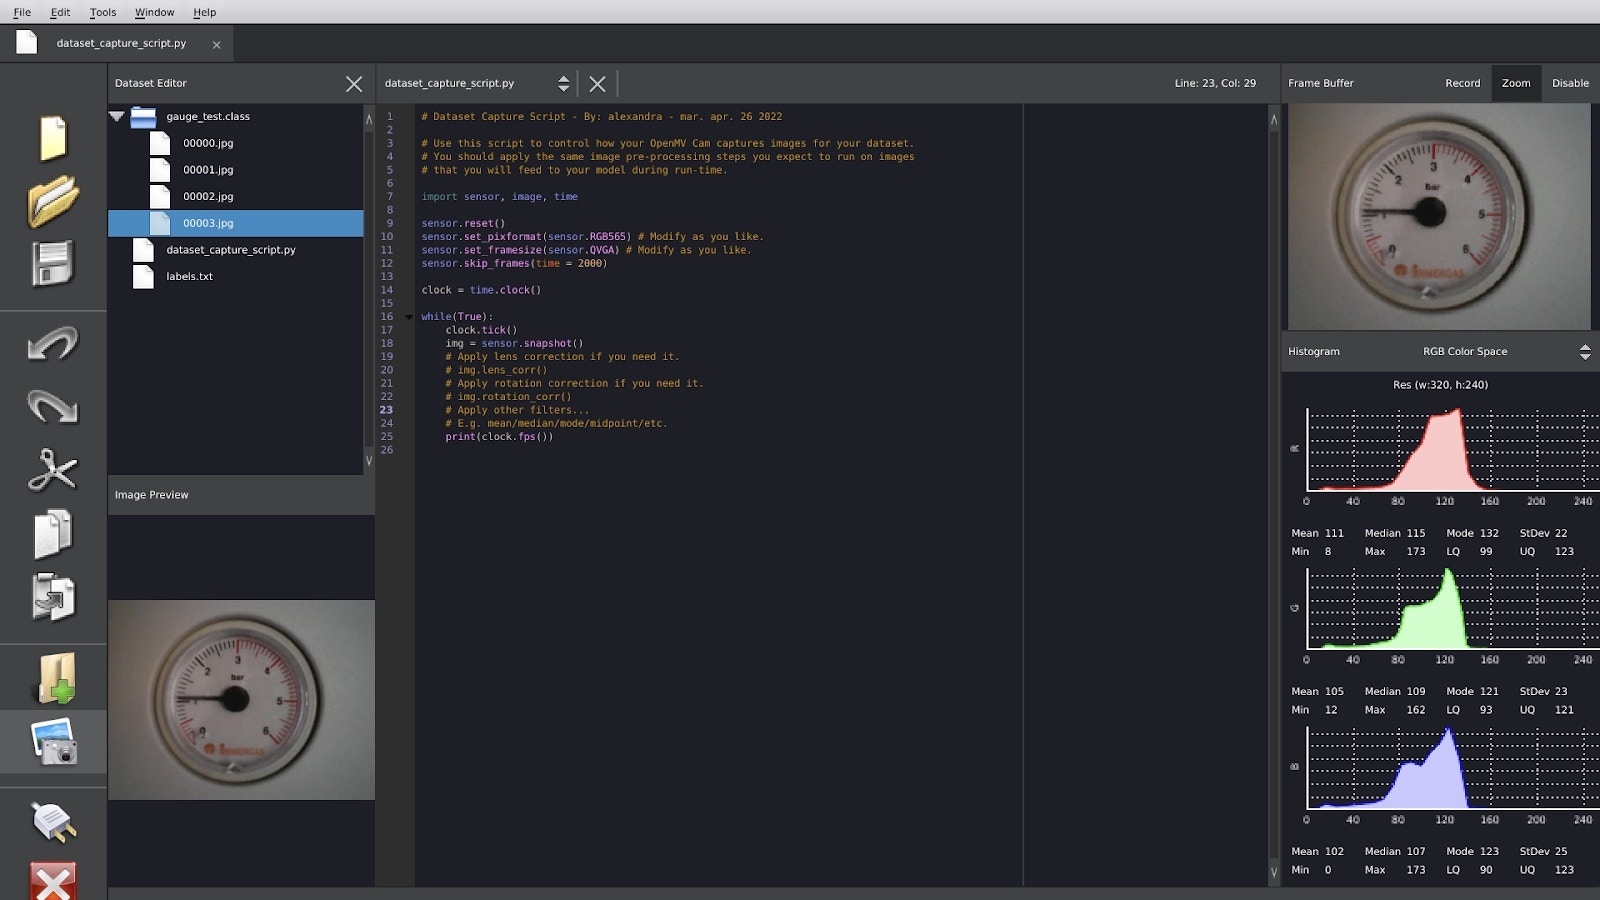
Start by installing the OpenMV IDE and creating an Edge Impulse account if you haven’t already.Data Collection
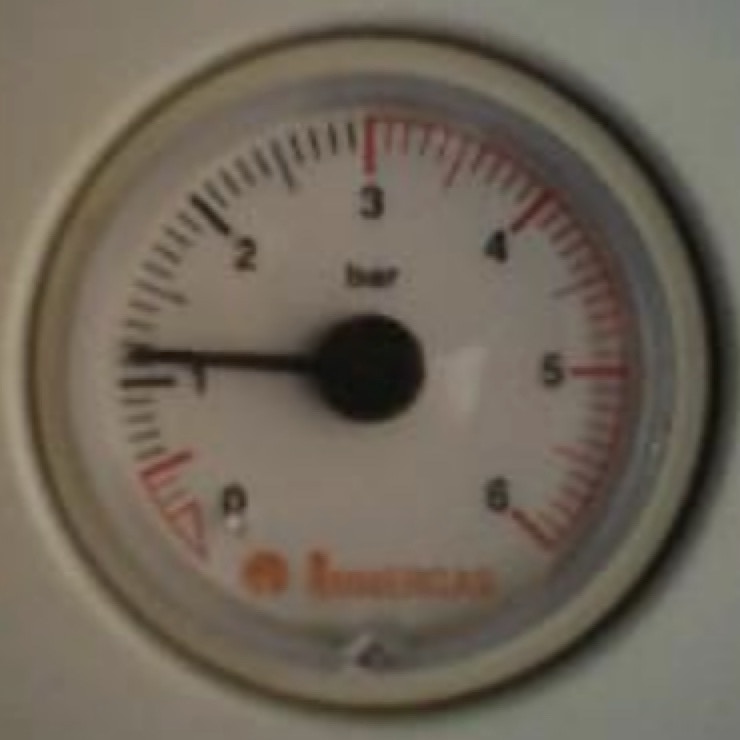
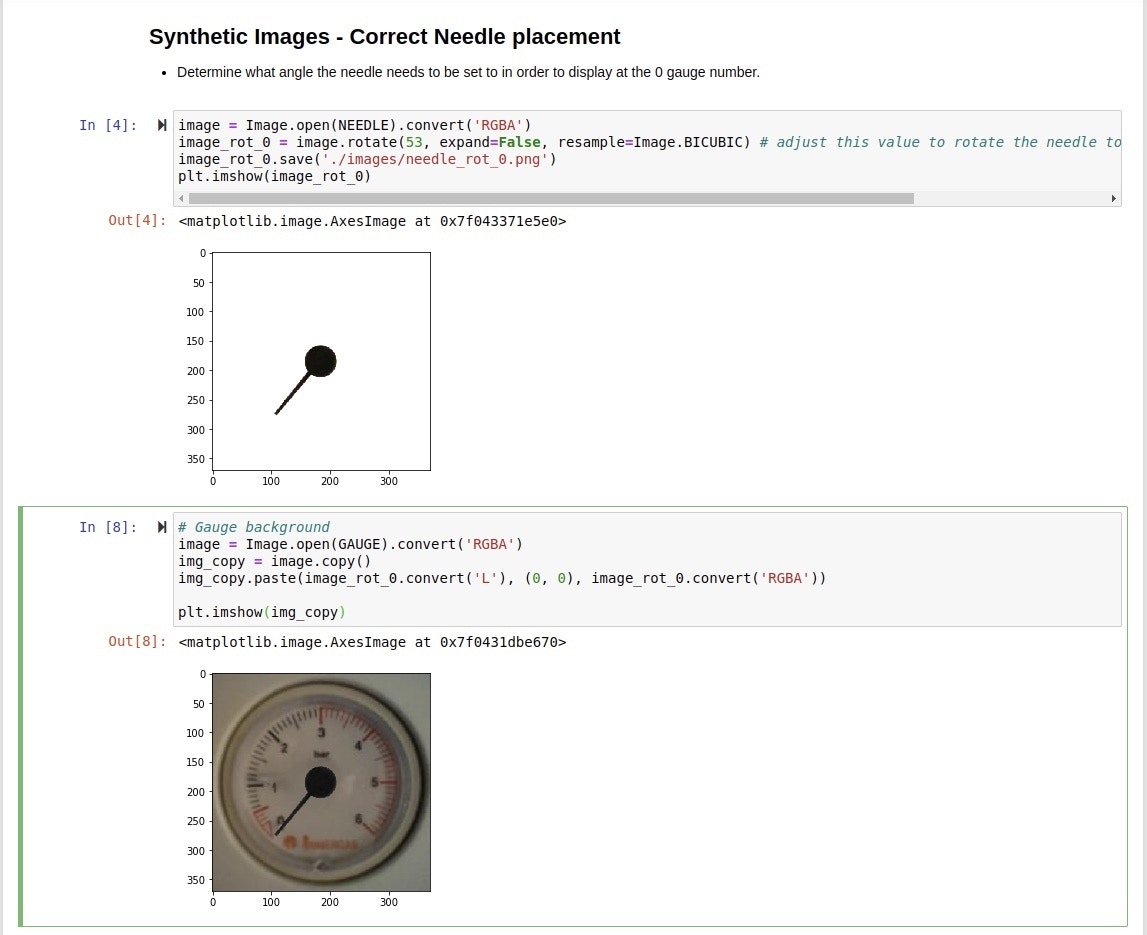
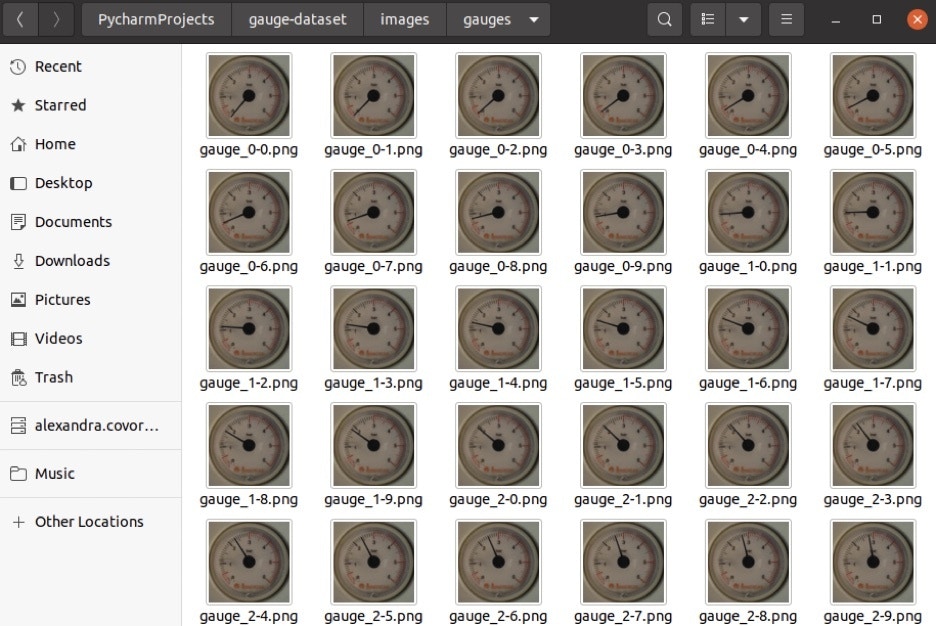
In order to train the model to detect when the pressure is abnormal, we’ll define three possible categories: low, normal, and high, as seen in the picture below. Since we cannot take pictures of the gauge with the needle in all possible positions, we’ll generate the images dataset using Python. OCI Labs provides some great code for this and we’ve adapted it for our use case.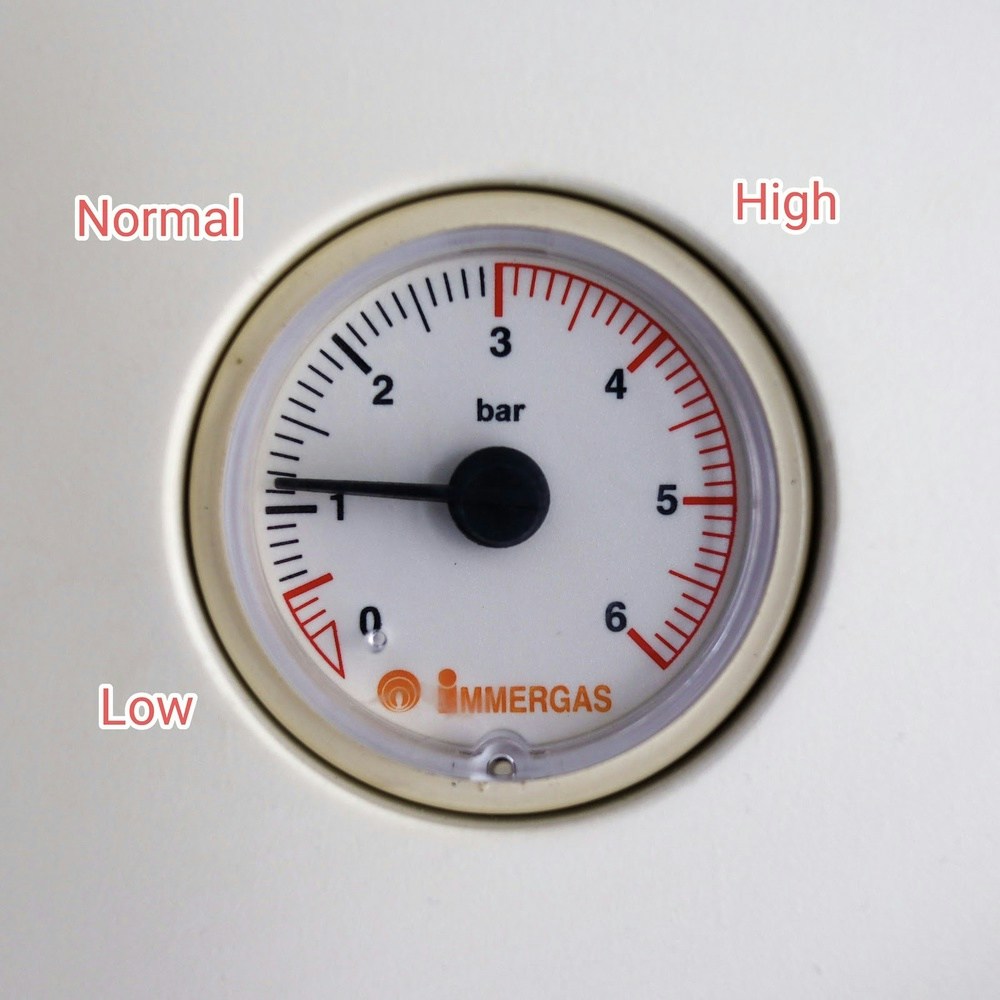
Creating the impulse
Now we can create the Impulse. Go to Impulse Design and set the image size to 96x96px, add an Image processing block, and a Transfer Learning block. We won’t train a model built from scratch, but rather make use of the capabilities of a pre-trained model and retrain its final layers on our dataset, saving a lot of precious time and resources, this process being called transfer learning. The only constraint of using this method is that we have to resize the images from our dataset to the size of the images the model was initially trained on, so either 96x96px or 160x160px. We chose to use 96x96px images because the Nicla Vision board only has available 1MB RAM and 2MB Flash memory. The output features will be our categories, meaning the labels we’ve previously defined (high, low, and normal).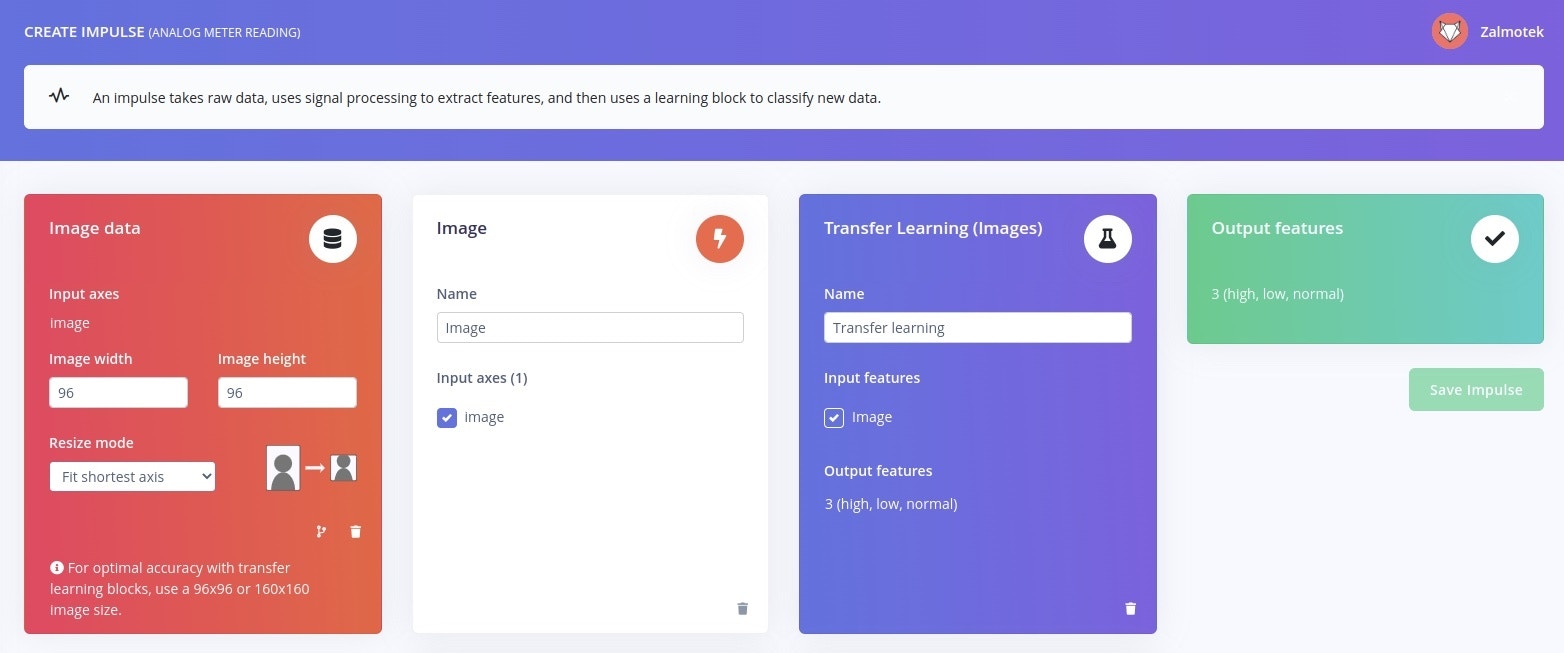
Generating features
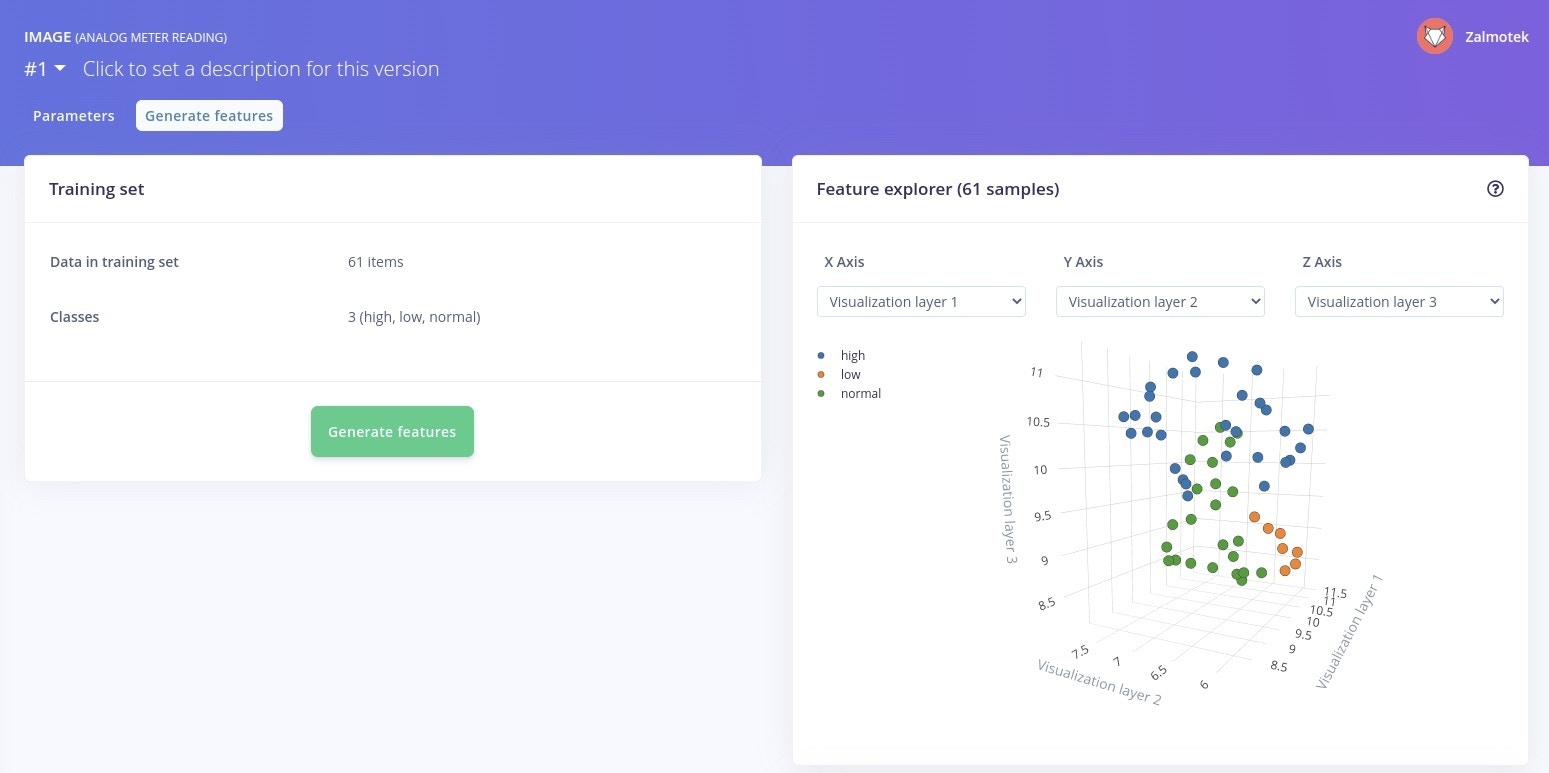
Now go to the Image menu in the Impulse Design menu and click on Save Parameters and Generate Features. This will resize all the images to 96x96px and optionally change the color depth to either RGB or Grayscale. We chose the default mode, RGB. You’ll also be able to visualize the generated features in the Feature explorer, clustered based on similarity. A good rule of thumb is that clusters that are well separated in the feature explorer will be easier to learn for the machine learning model.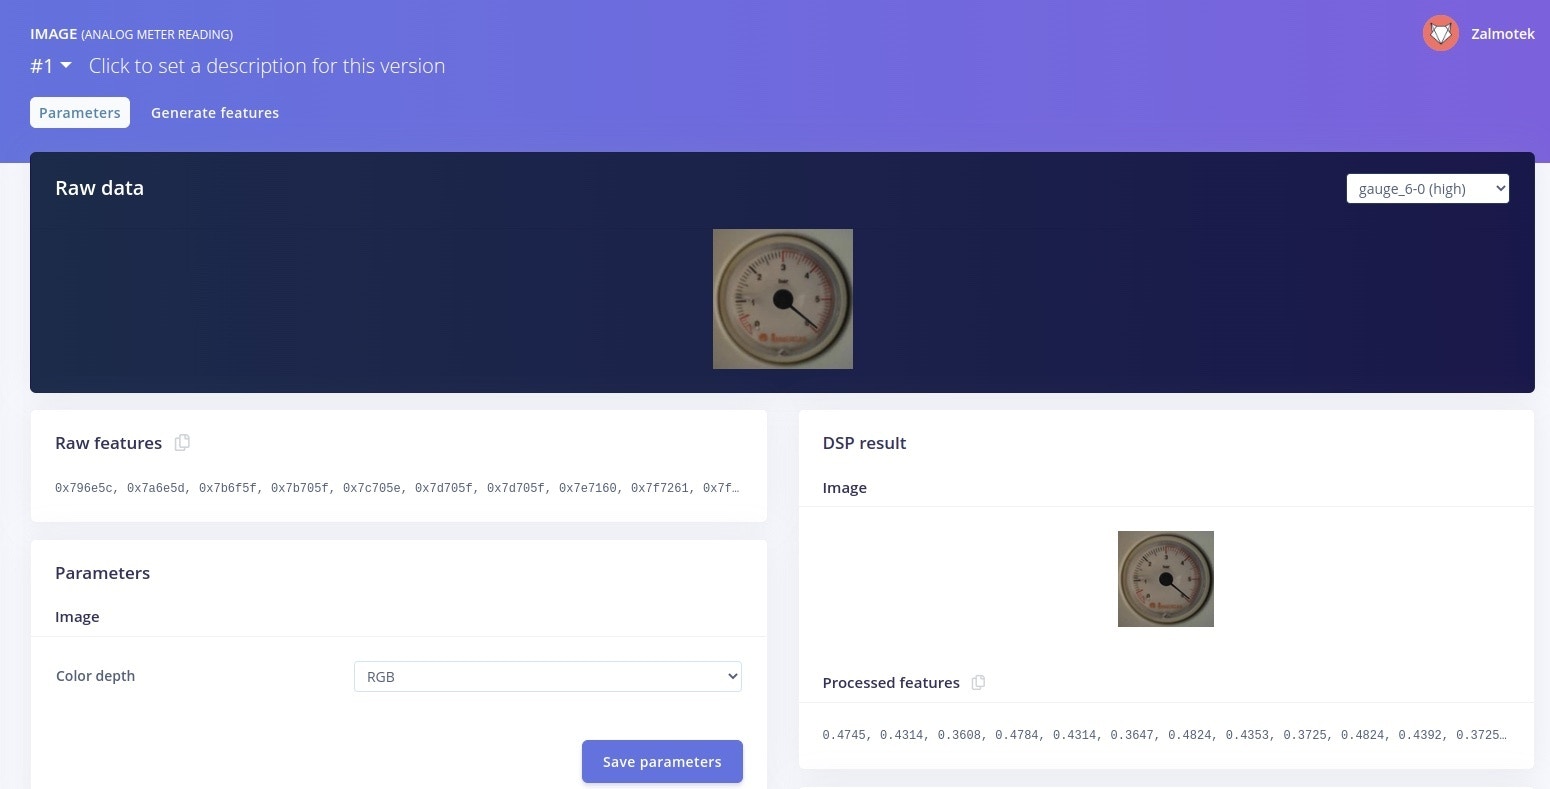
Training the model
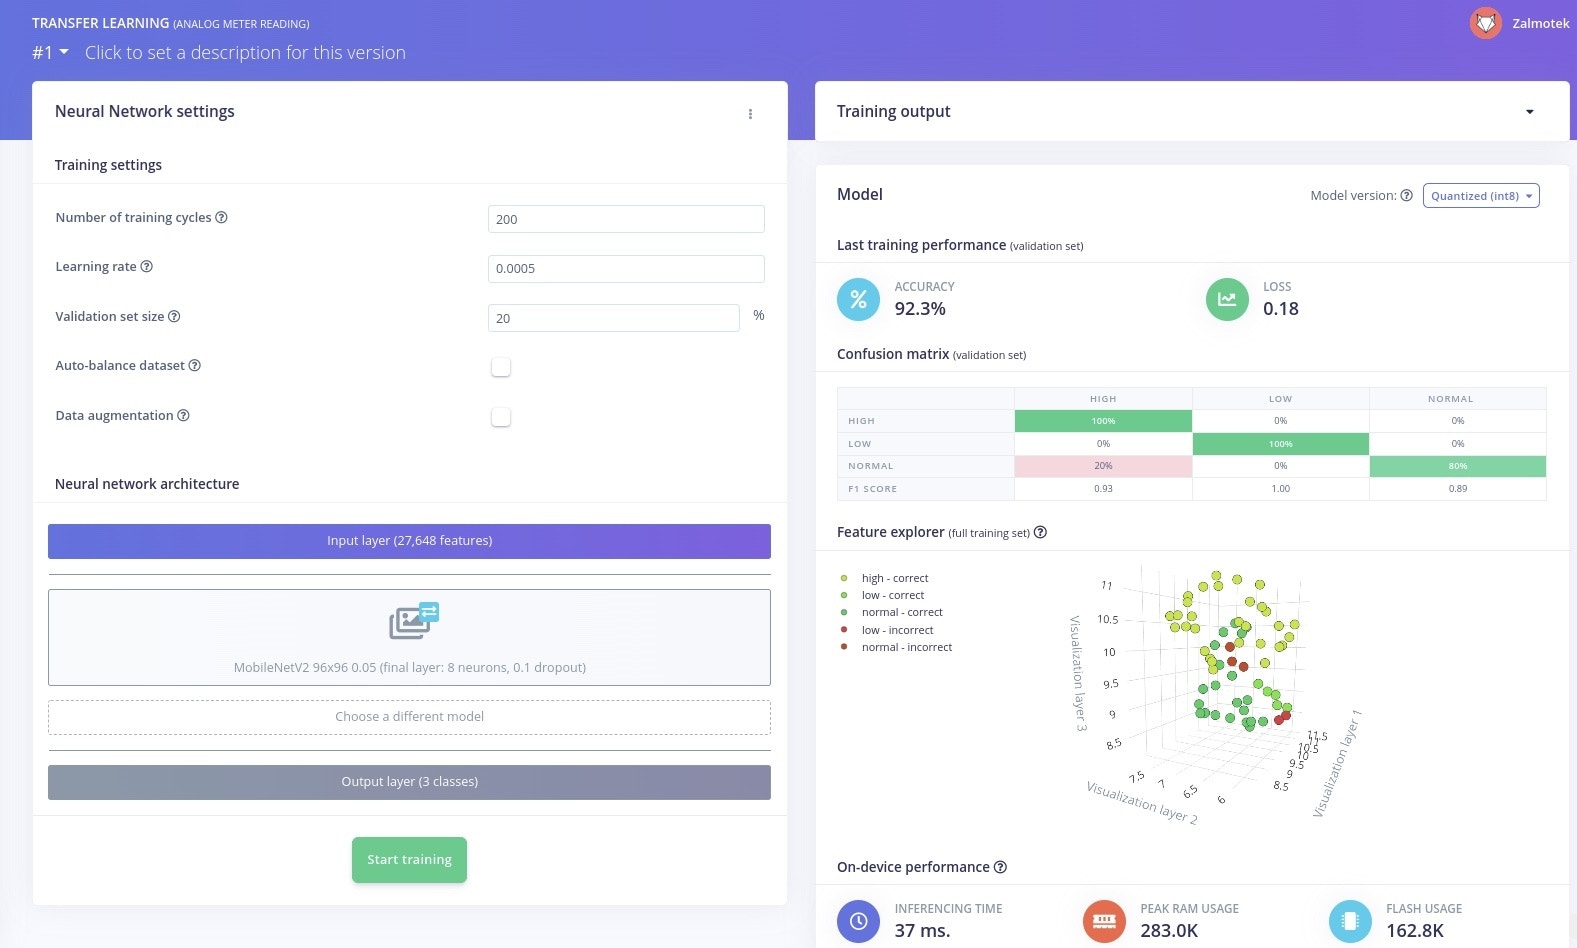
Now that we have the features we can start training the neural network in the Transfer Learning menu. When choosing the model we have to consider the memory constraints of the Nicla Vision board (1MB RAM and 2MB Flash memory), so we chose the MobileNetV2 96x96 0.05 model, which is a pretty light model. You can select the model and check out its memory requirements by clicking on Choose a different model.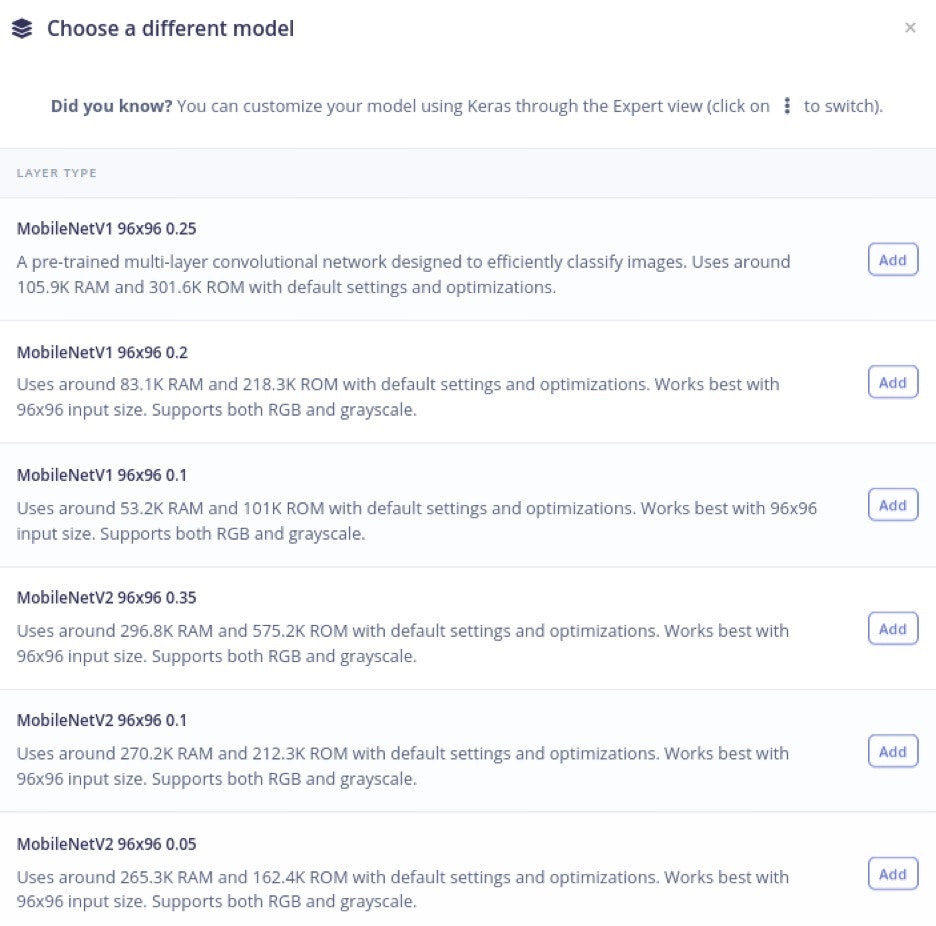
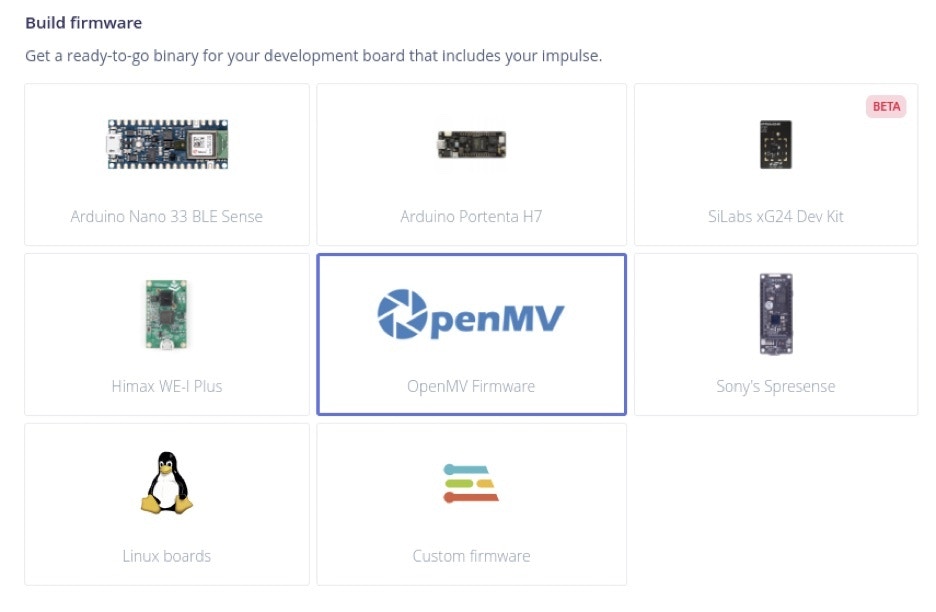
Deploying the model on the edge
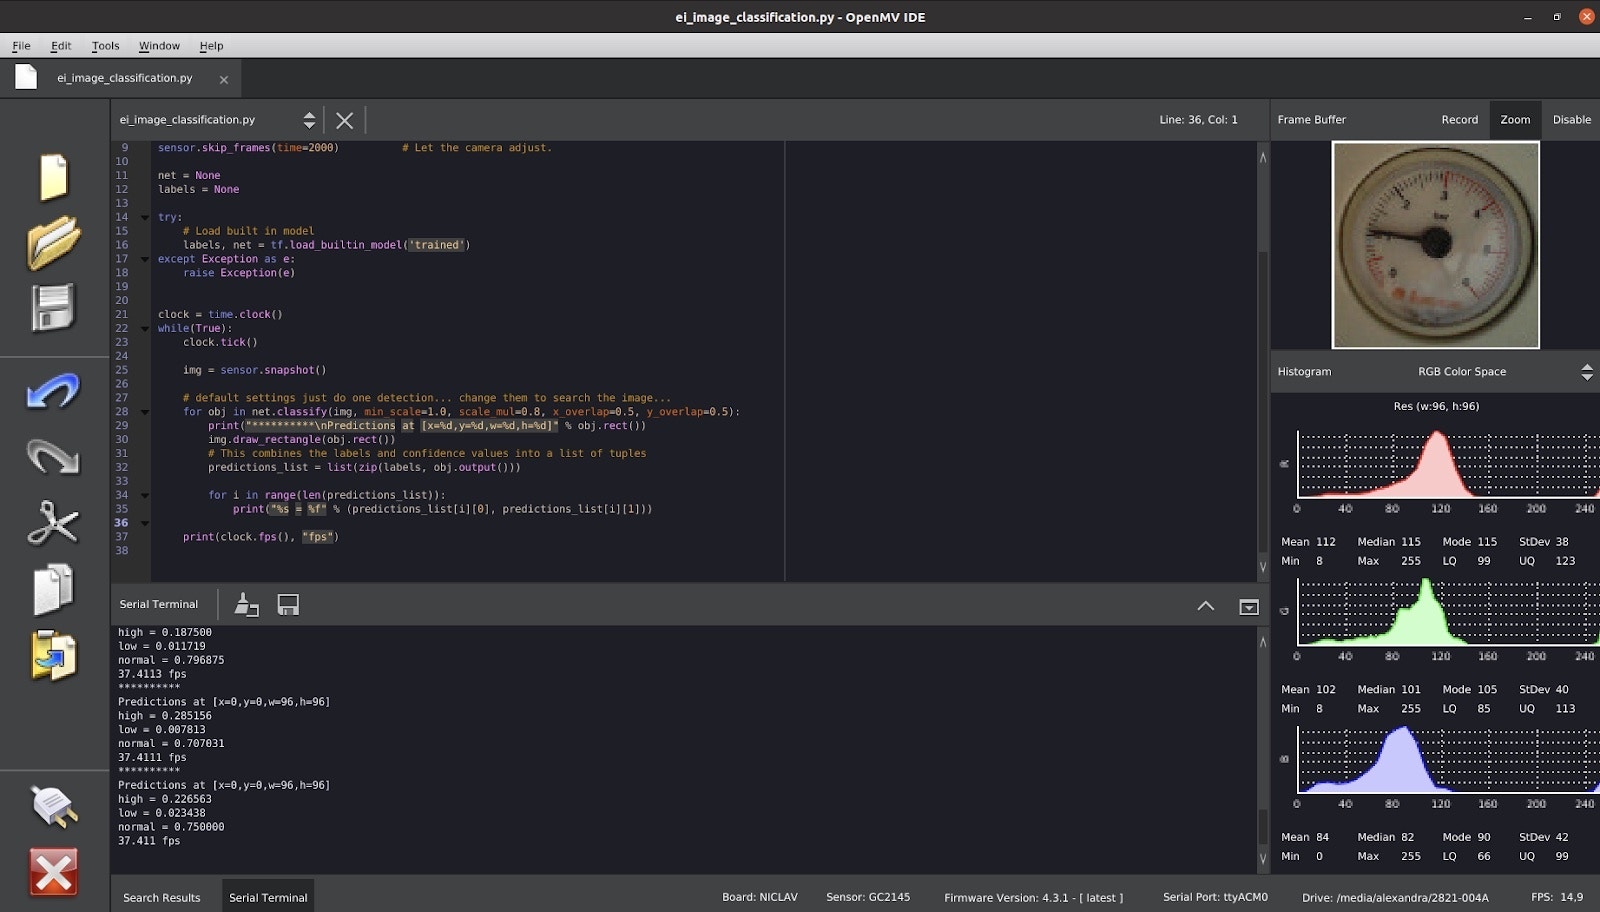
We’ve created, trained, and validated our model, so now it’s time to deploy it to the Nicla Vision Board. Go to Deployment in the Edge Impulse menu, select OpenMV Firmware and click on the Build button on the bottom of the page. This will generate an OpenMV firmware and download it as a zip file. Unzip it and you’ll find inside several files including edge_impulse_firmware_arduino_nicla_vision.bin and ei_image_classification.py, which we are interested in.