
Intro
Having an organized workplace allows the workers to have greater efficiency in their activities, directly impacting their productivity. When you are in an environment where people work multiple shifts and must share the same set of tools, there are a number of challenges that arise. By interviewing a few facility managers, we have found out that the most prominent problem is that employees do not return the tools in their designated space at the end of a shift, causing increased anxiety and delays in the activity of the following shift, since they must find the missing tools or replacements for them.Our Solution
We believe the computer vision approach is the best in overcoming this obstacle and Edge Impulse offers the right tools for it. There are a few possible routes in creating an algorithm for detecting missing tools in their placeholder:- Train a model to recognize the different tools, define the number of each tool it must recognize at all times, and run an alert if any is missing;
- Run an anomaly detection algorithm to detect if something is “missing” from the photo. - Non-specific (the algorithm won’t be able to exactly tell how many tools are missing);
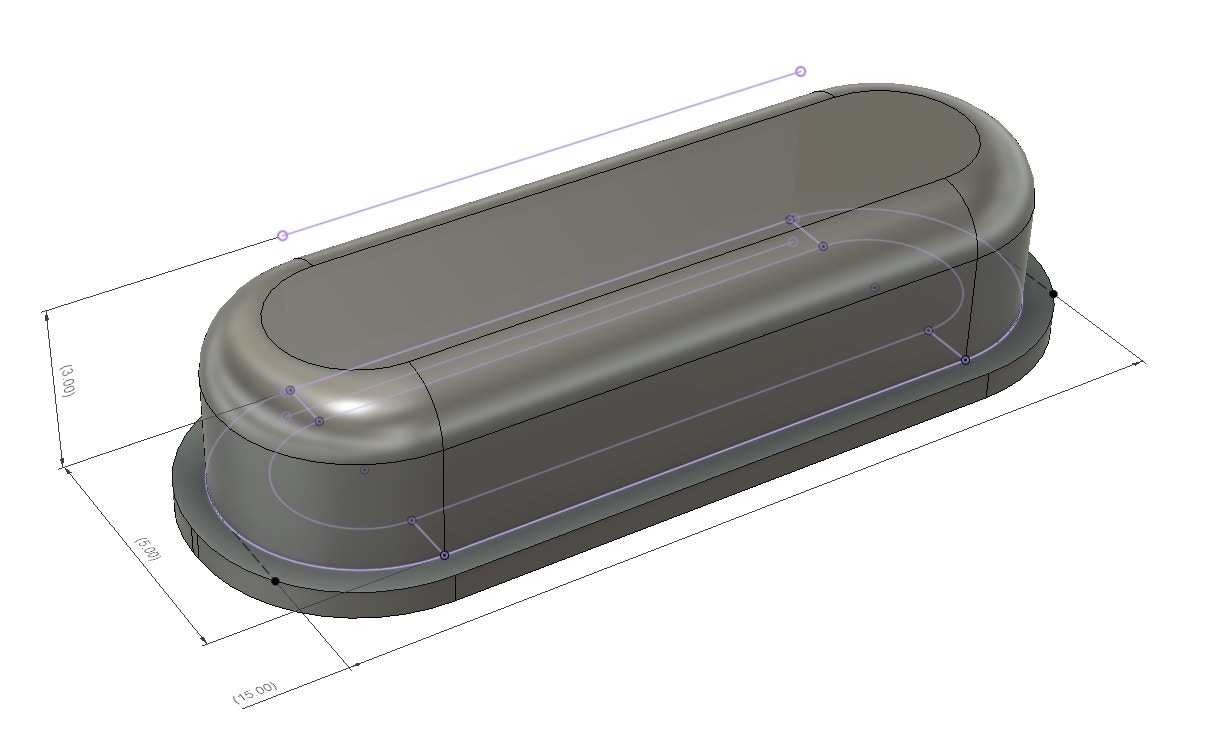
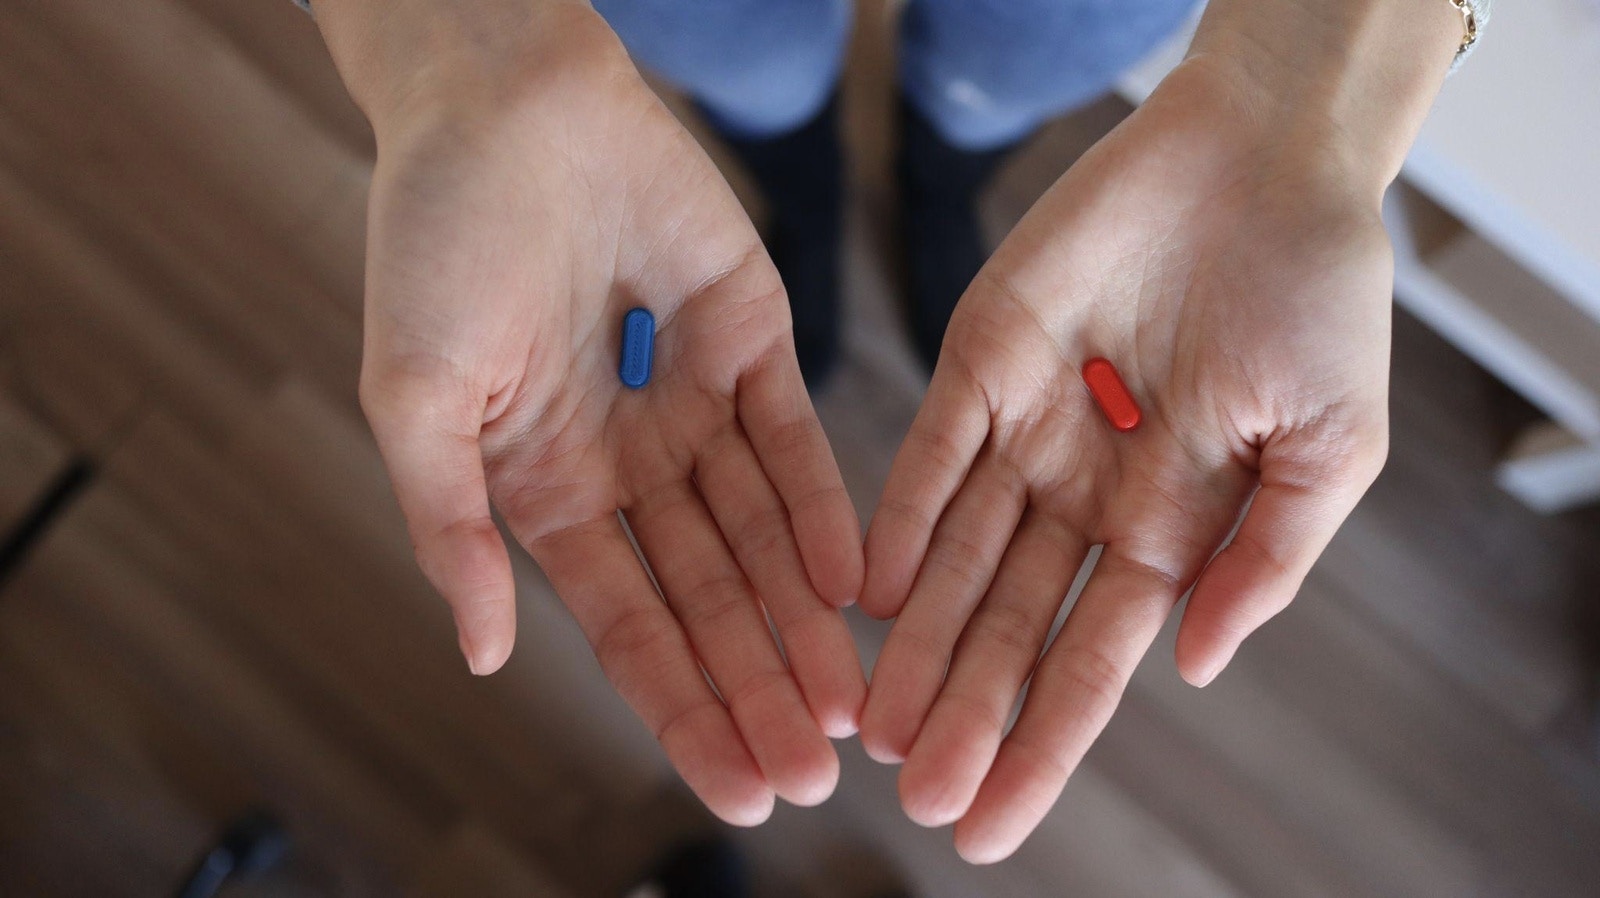
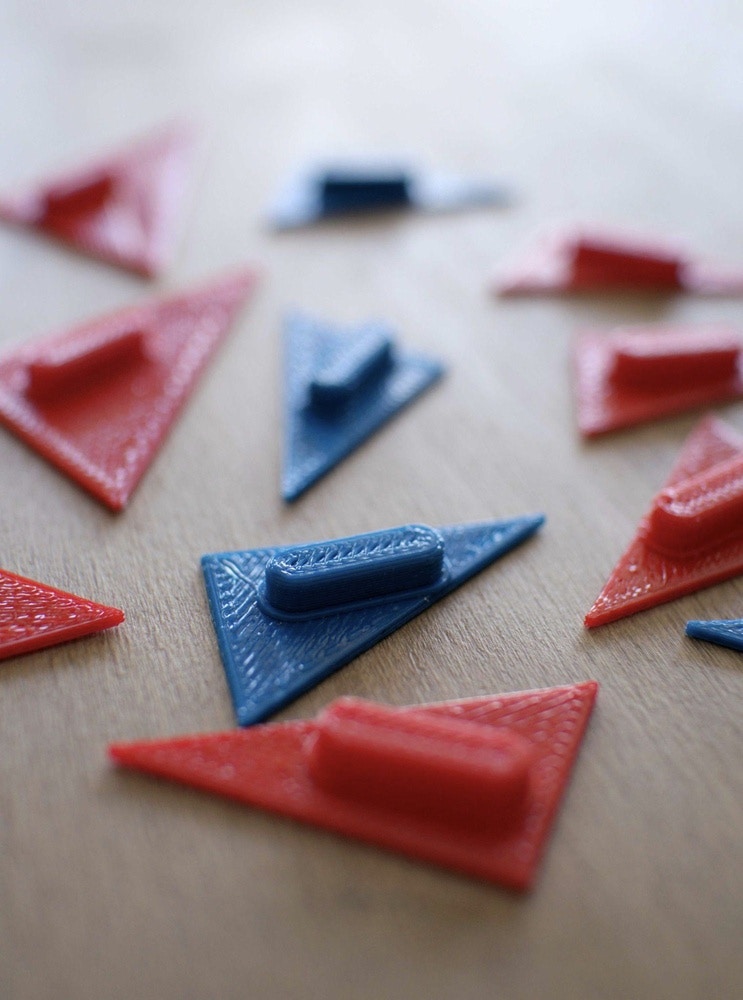
- Place stickers/tokens of a strident color under tools and run an object classification/detection algorithm to detect the number of tokens present in the image - Resource effective, Increased Specificity, Repeatable, Implies 3D printing (but small stickers can be used as well if you do not have access to a 3D printer).
Hardware requirements
- Jetson Nano 2GB Developer Kit
- microSD card (64GB UHS-1 recommended)
- Display
- USB keyboard and mouse
- USB camera (or a CSI camera like the Raspberry Pi Camera V2)
- USB cable or CSI for rPi camera
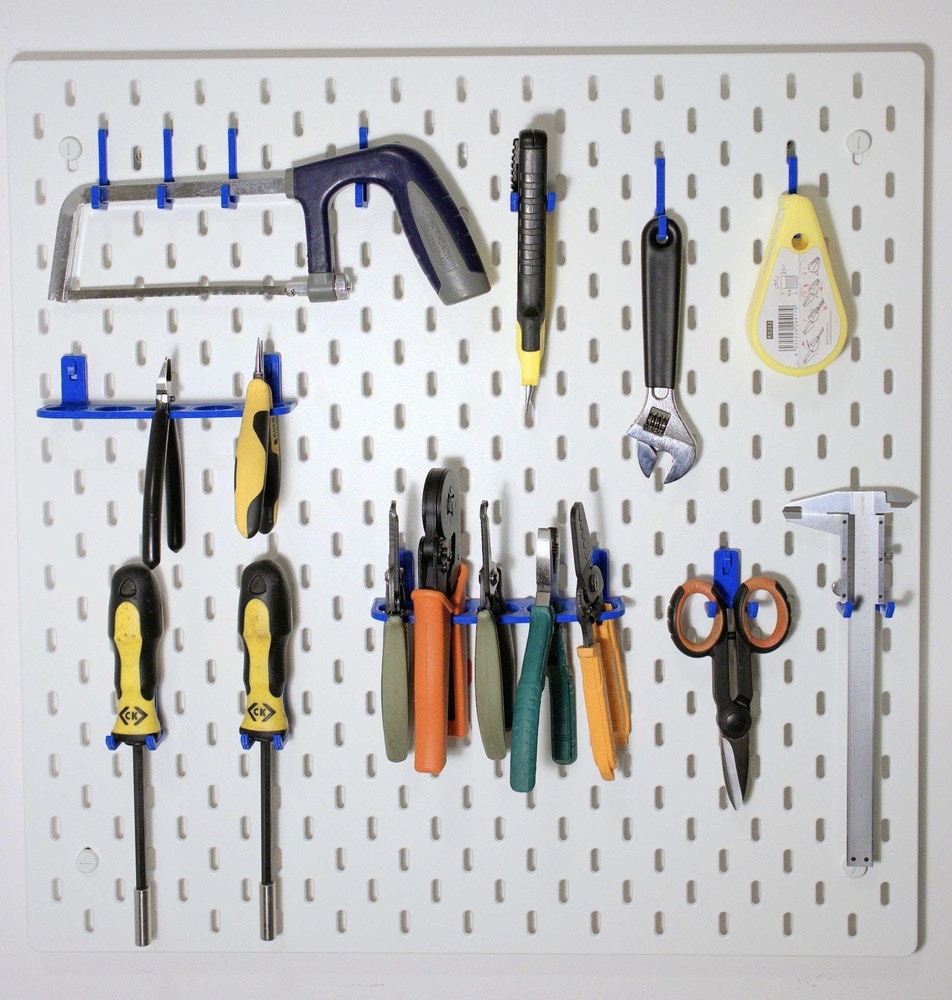
- Skadis pegboard or a toolbox
- Stickers or 3D printed marker
Software requirements
- Edge Impulse account
Hardware Setup
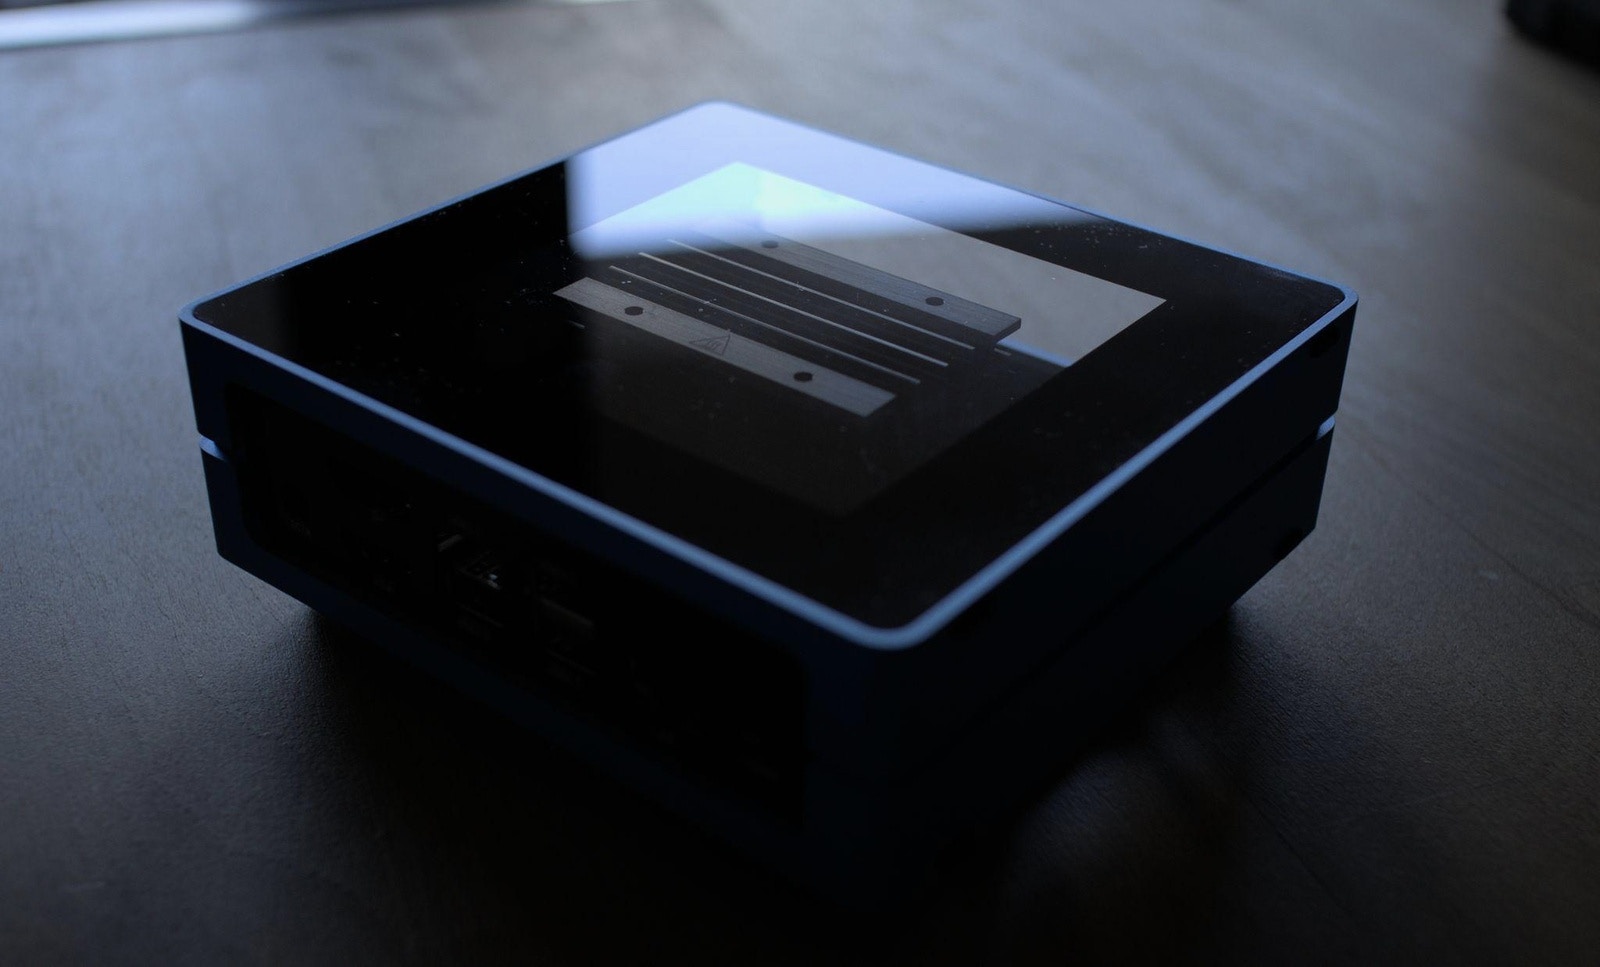
NVIDIA Jetson Nano 2GB DevKit has a quick get-started guide here that, based on your operating system, will help you write the OS on an SD card and start the system. We also recommend having an enclosure for the Jetson to protect it from all sorts of nefarious events. In this tutorial, we have found the reComputer case to be a good fit.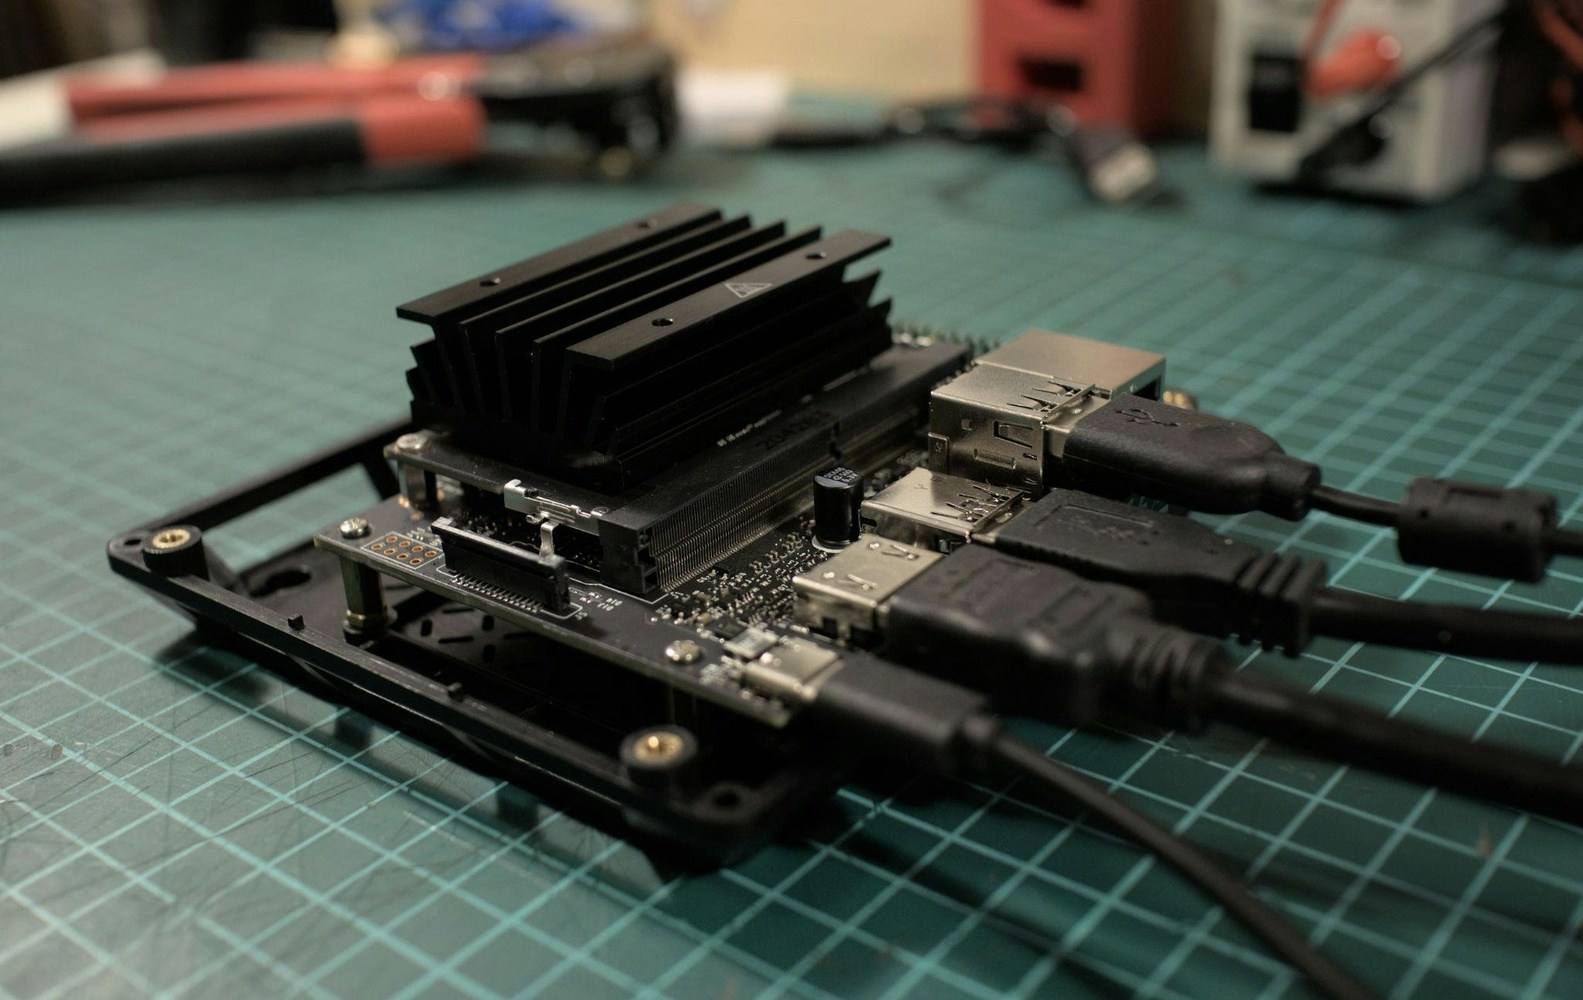
Software Setup
Register for a free account on the Edge Impulse platform here, then power up the Jetson and either run a display with a keyboard setup or login via ssh to run the following commands to install the Linux runner. Start a terminal and run the setup script:wget -q -O - https://cdn.edgeimpulse.com/firmware/linux/jetson.sh | bash
For more in-depth details about the Jetson setup, you can check this link, although the above command is enough for going to the next step.
Creating an Edge Impulse Project
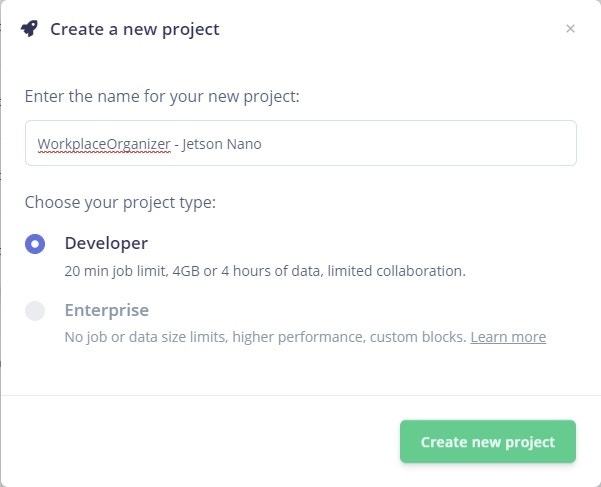
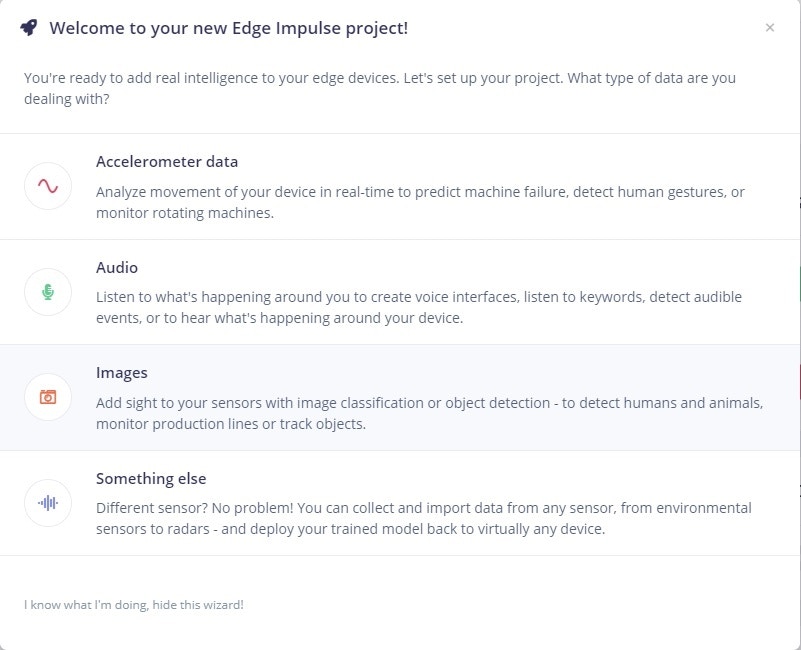
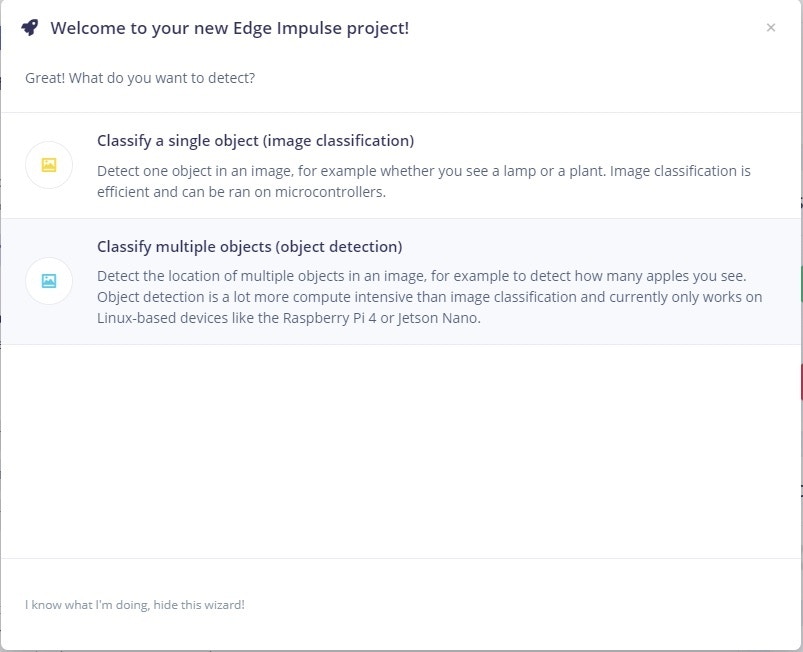
The first step towards building your TinyML Model is creating a new Edge Impulse Project. Once logged in to your Edge Impulse account, you will be greeted by the Project Creation screen.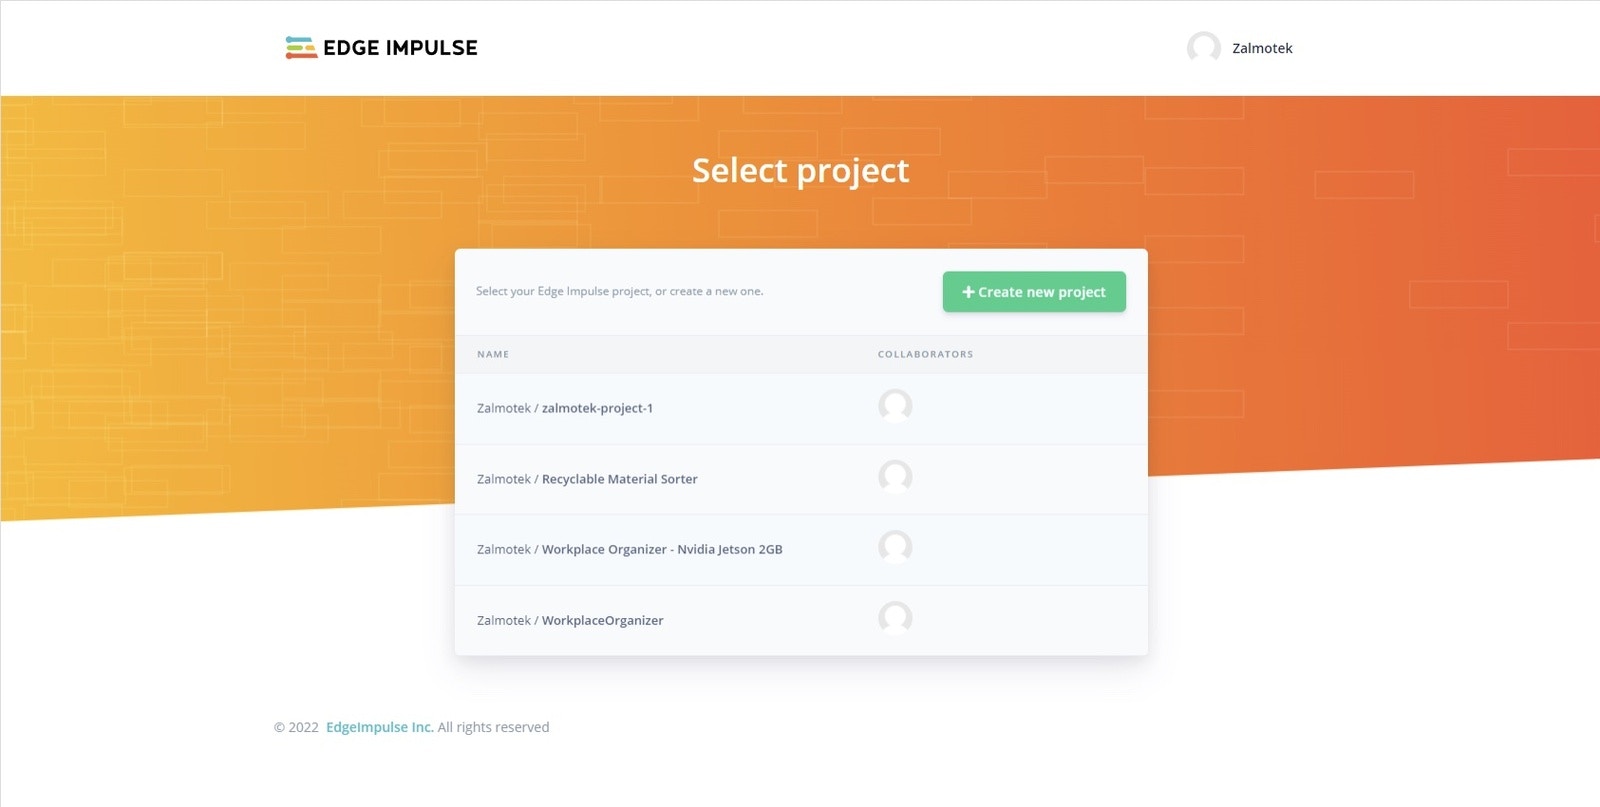
Connecting the device
To connect the Jetson Nano to the Edge Impulse project, run the following command in the terminal:edge-impulse-linux -disable-microphone
If you have previously used your device in the past for other edge impulse projects, run the following command to reassign the device to a new project:
edge-impulse-linux -disable-microphone -clean
If you have only one active project, the device will be automatically assigned to it. If you have multiple Edge Impulse projects, select in the terminal the one you wish to attach your device to.
Give a recognizable name to your board and press enter.
Your board is now connected to the Edge Impulse project and you can see it in the connected devices panel.
Collecting and preparing the dataset
There are multiple ways to go about gathering your dataset:- Manually taking a bunch of photos, aka data points, using an application like “Cheese!” or “guvcview”.
- Recording a Video and extracting the frames every 1 second, using a Python script.
- Take photos using the Data Acquisition panel in Edge Impulse Studio.
sudo apt install guvcview
And afterward run guvcview to launch the application and start gathering photos.
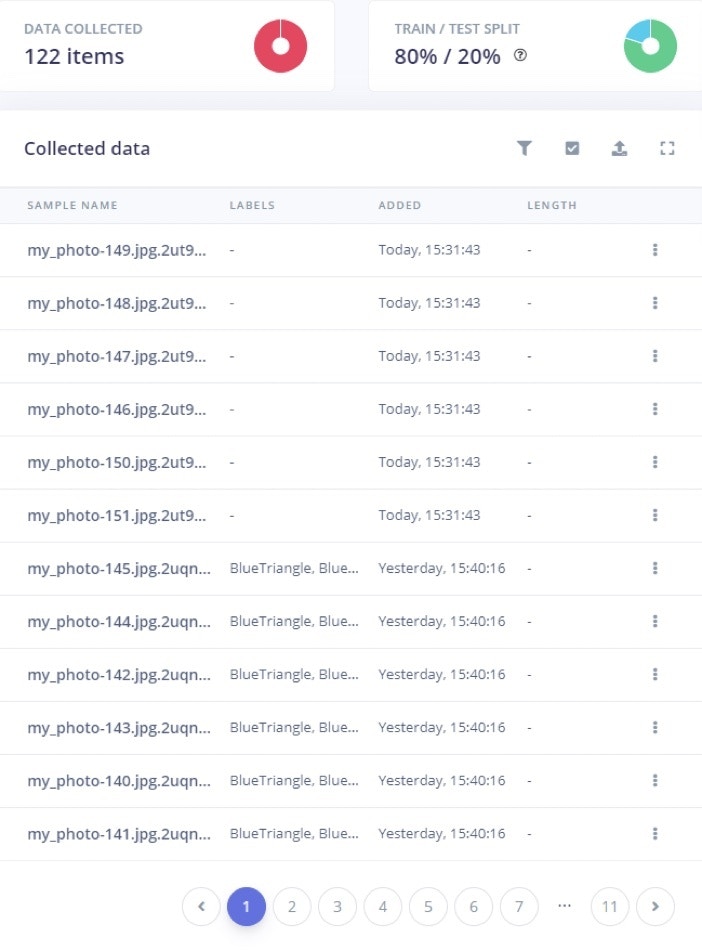
Once we have plenty of photos (we have collected around 115 pictures for our use case), it’s time to upload them to Edge Impulse and label them. Click on the upload button, select choose files, select all your photos and then begin uploading.
After that, you will see them in the Data acquisition panel.
Processing the data - Creating bounding boxes
Next, navigate to the Labeling queue and start drawing bounding boxes around the 3D printed markers. Even if it might feel cumbersome at first, Edge Impulse will start auto-labeling the object it recognizes, greatly speeding up the process.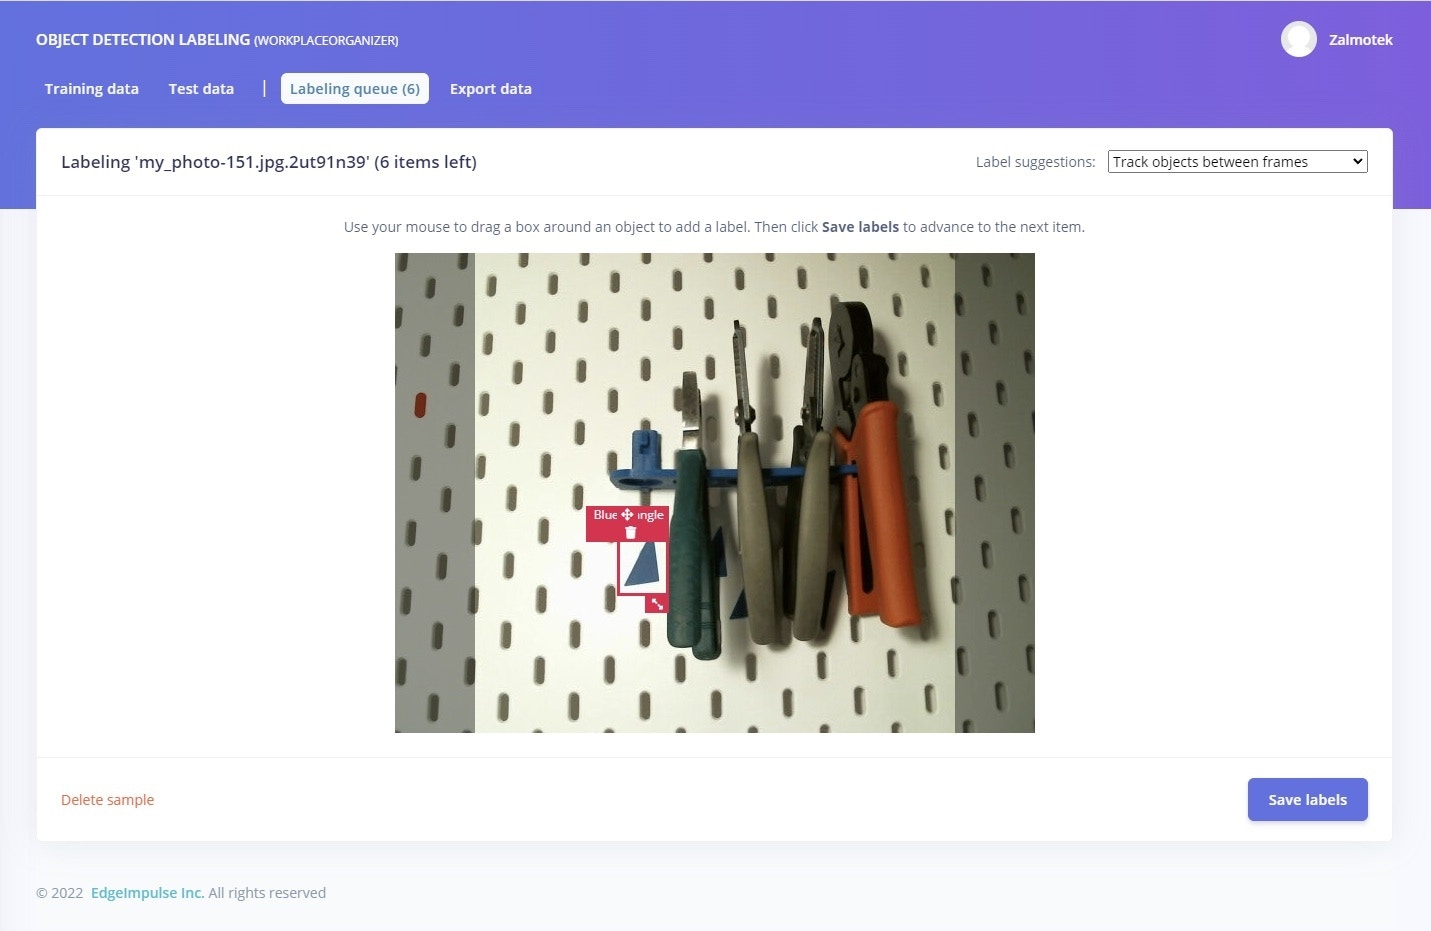
Creating the impulse
After all the labeling is done, click on Create Impulse, under the Impulse design panel. For the input block, select Images as input, select image as processing block, and Object detection as learning block.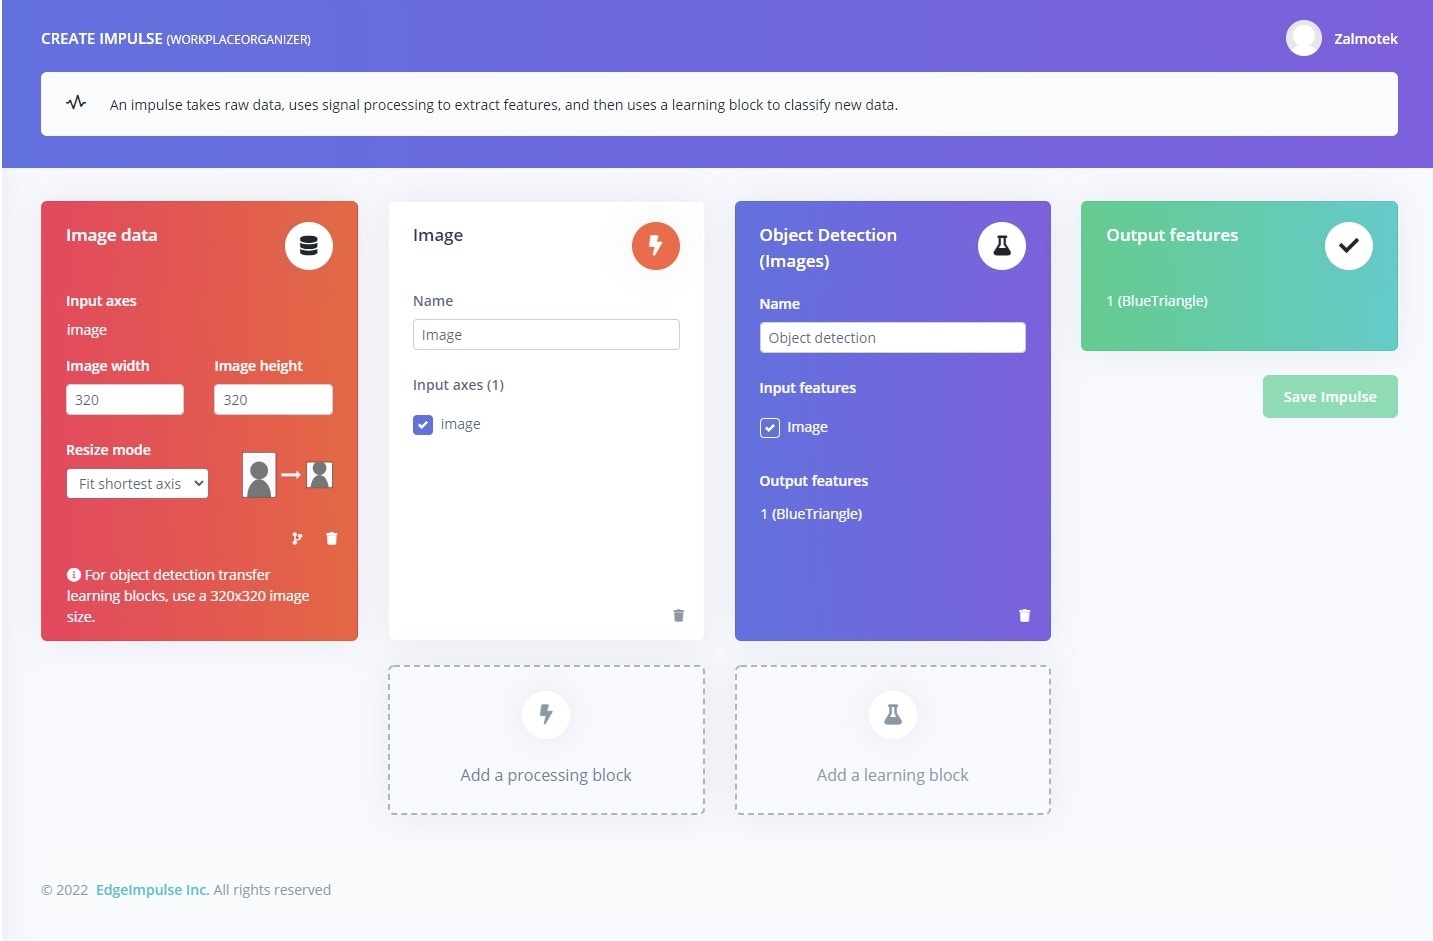
Generate Features
Next step, click on Save Impulse and move over to the Image field under the Impulse design panel. Wait for the parameters to be generated and click on Save parameters to move on to the Generate features tab, where you will click on the Generate features button. After the job is done, you can visualize your dataset in 3D, in the feature explorer tab. This is one of the most useful tools to use from the Edge Impulse platform as it can let you quickly validate whether your data is well clustered.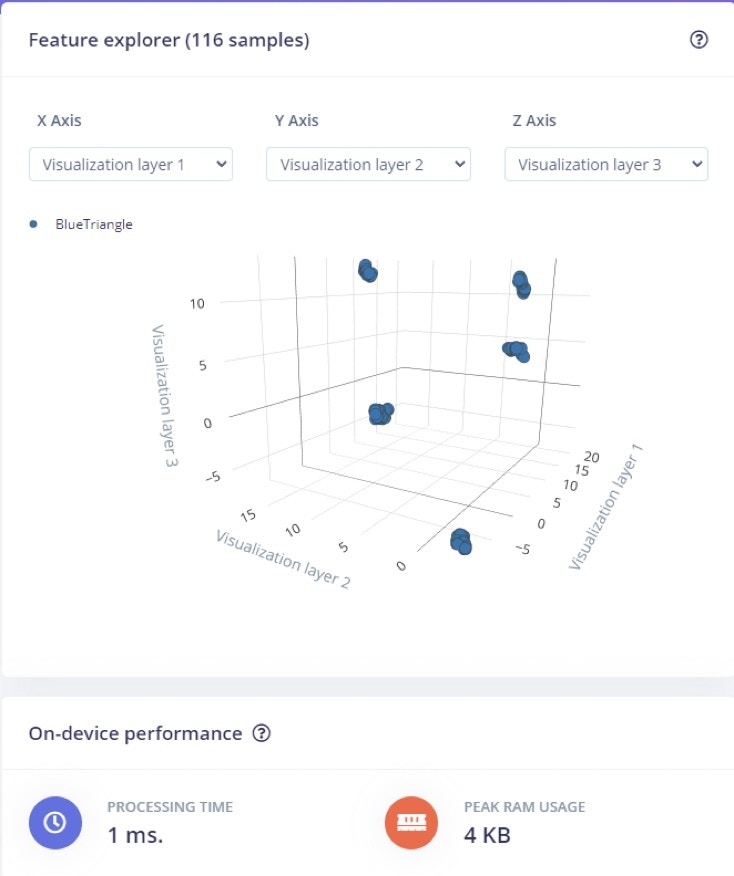
Training the model
Moving on to the model training, we recommend leaving the default settings on, and just beginning the training.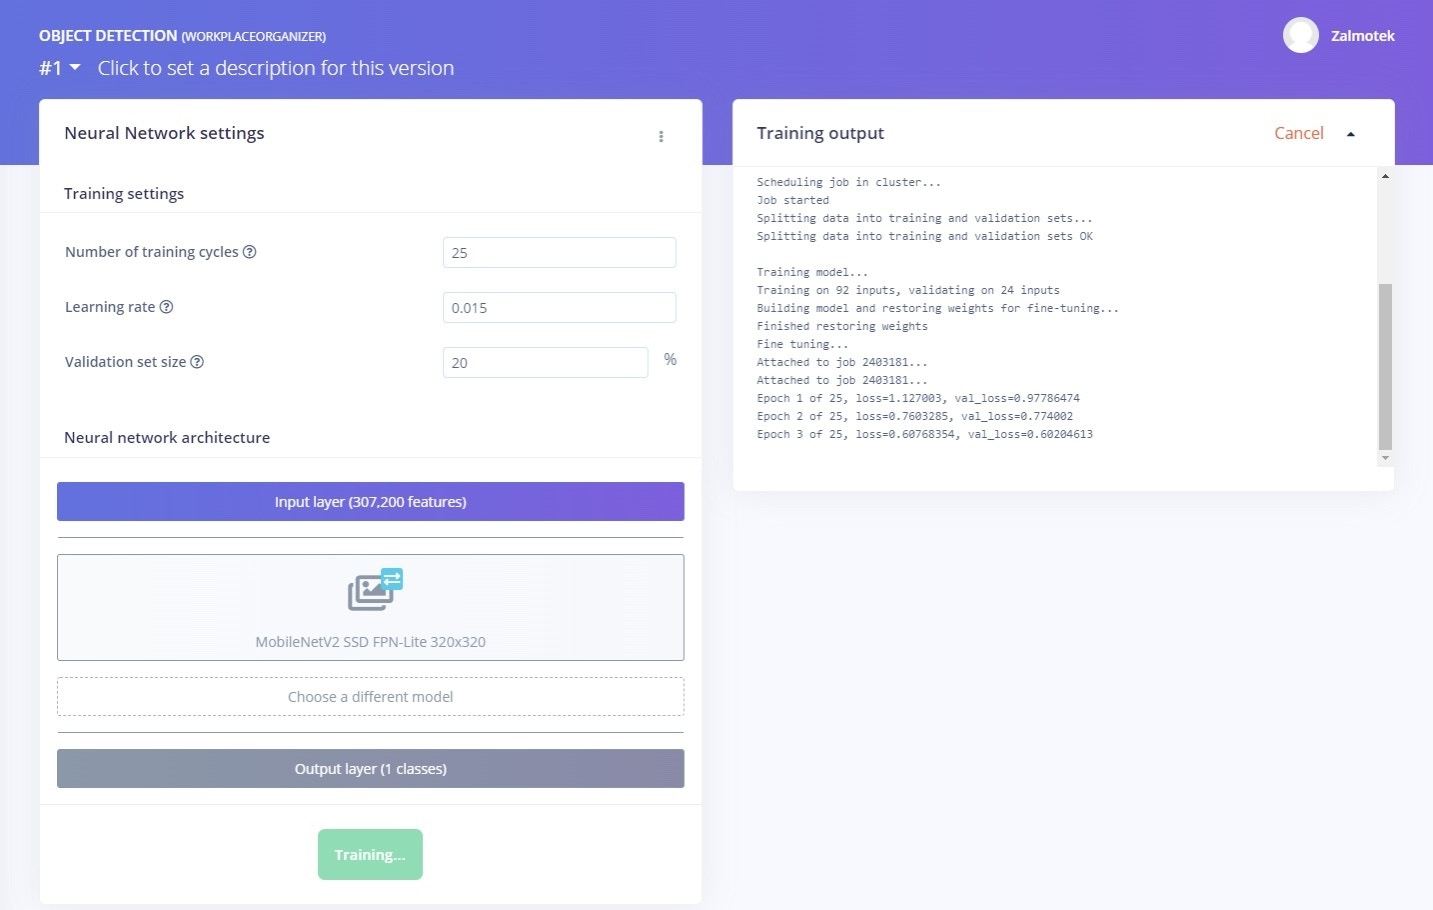
Validating the model
This is another great feature that allows you to run the inference on the Test data pool of images, that were kept apart from the training data. After clicking on Classify all, you will be prompted with the model testing results, which represents the percentage of all samples with precision score over 80%.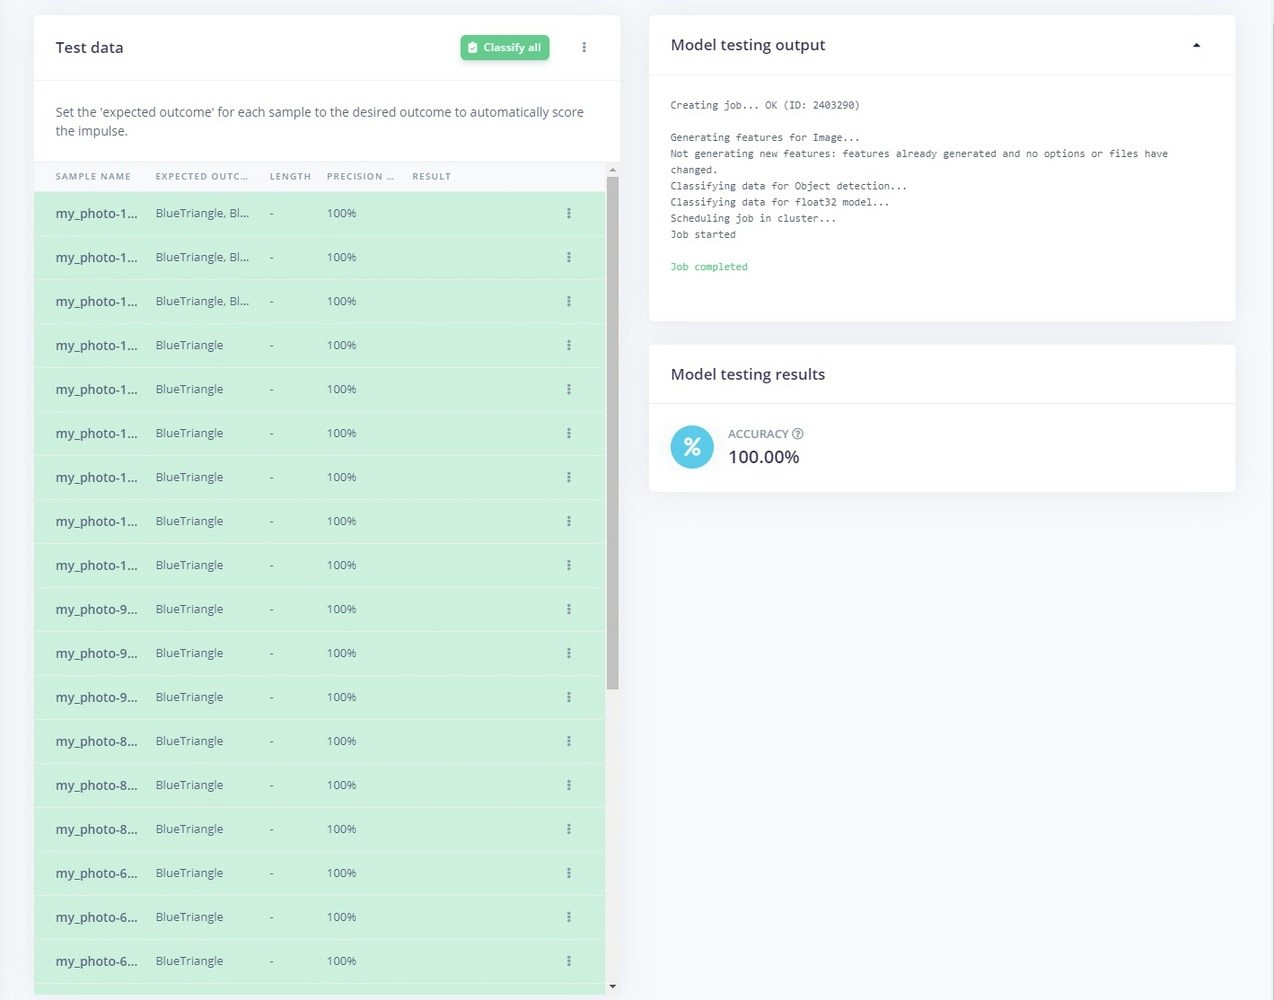
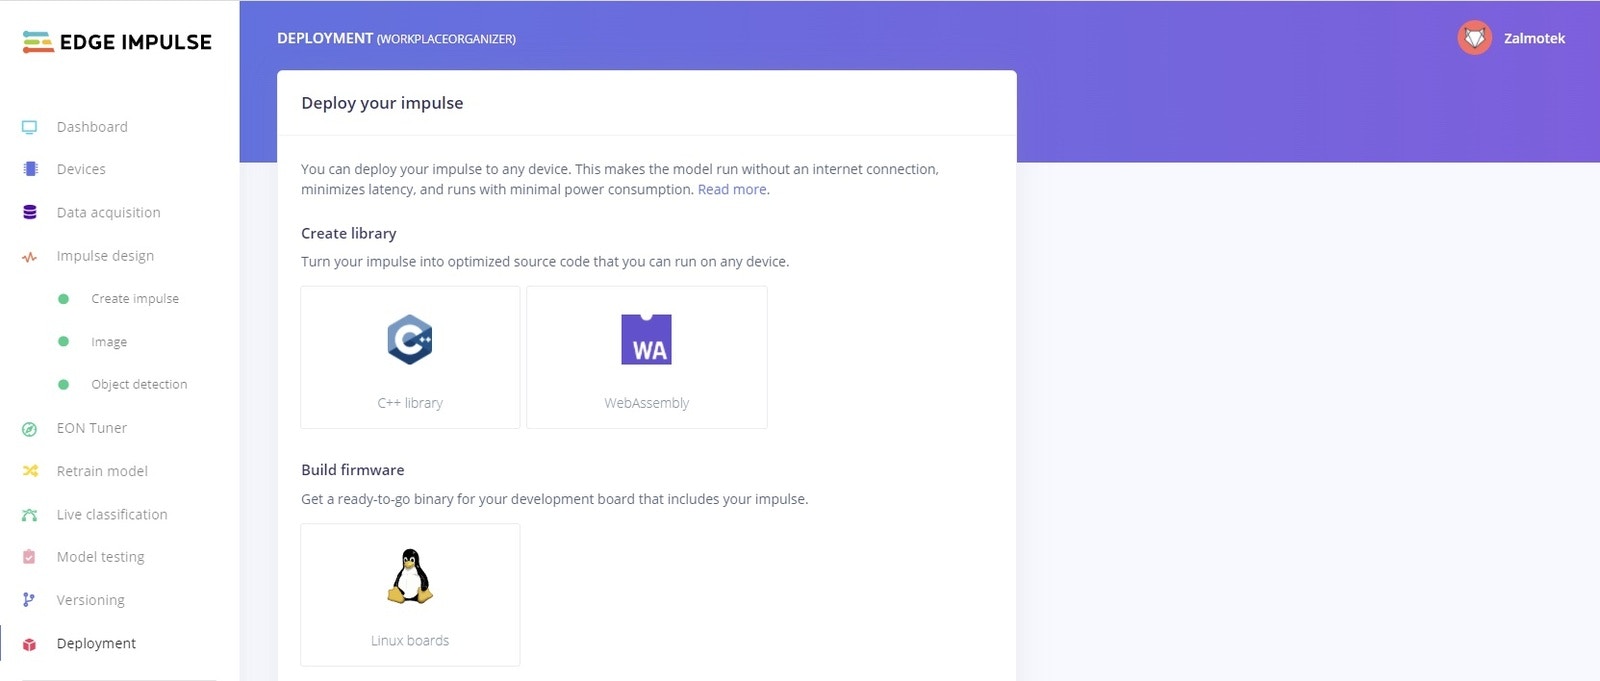
Deploying the model on the edge
To run the inference on the target, issue the following command and select the project containing the model you wish to deploy:edge-impulse-linux-runner --clean
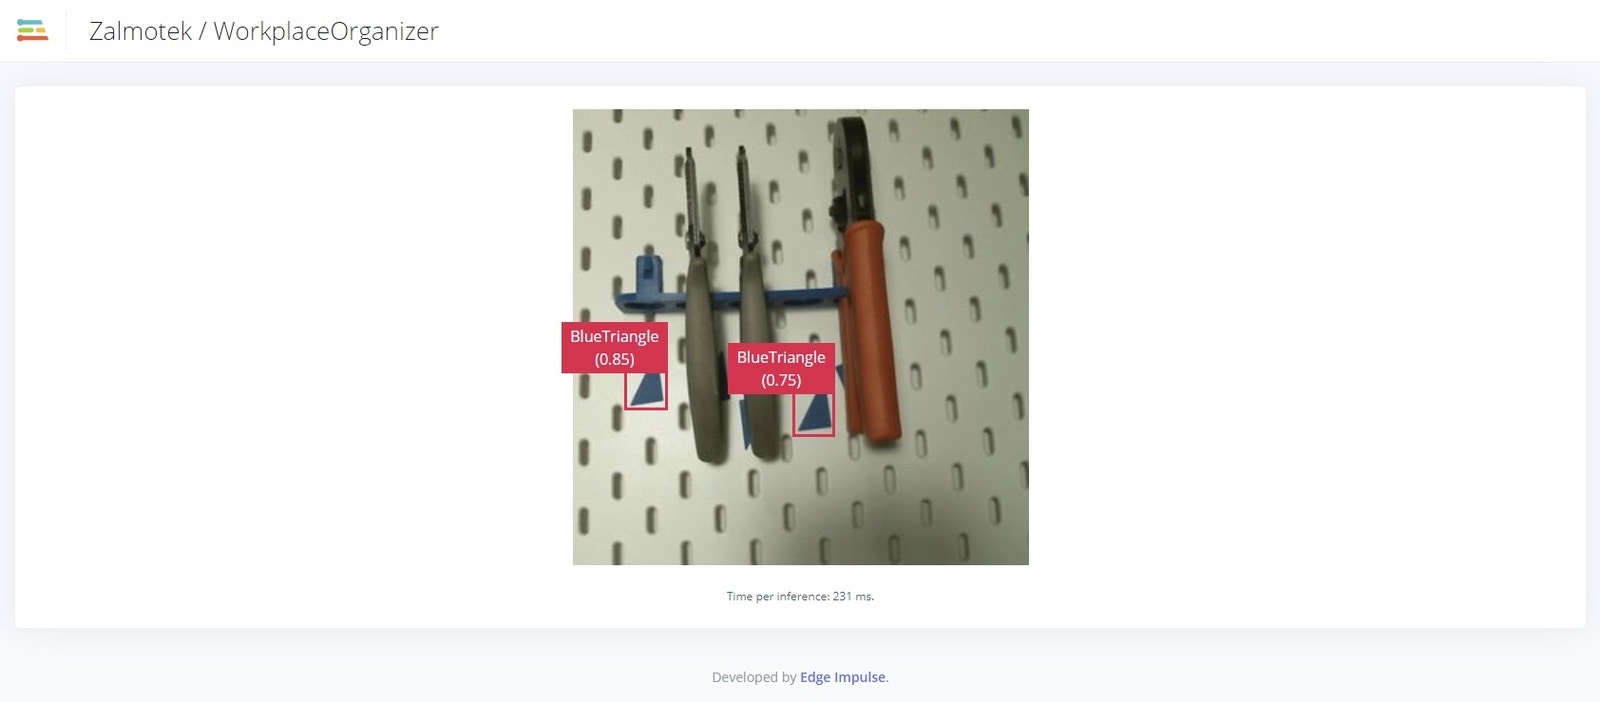
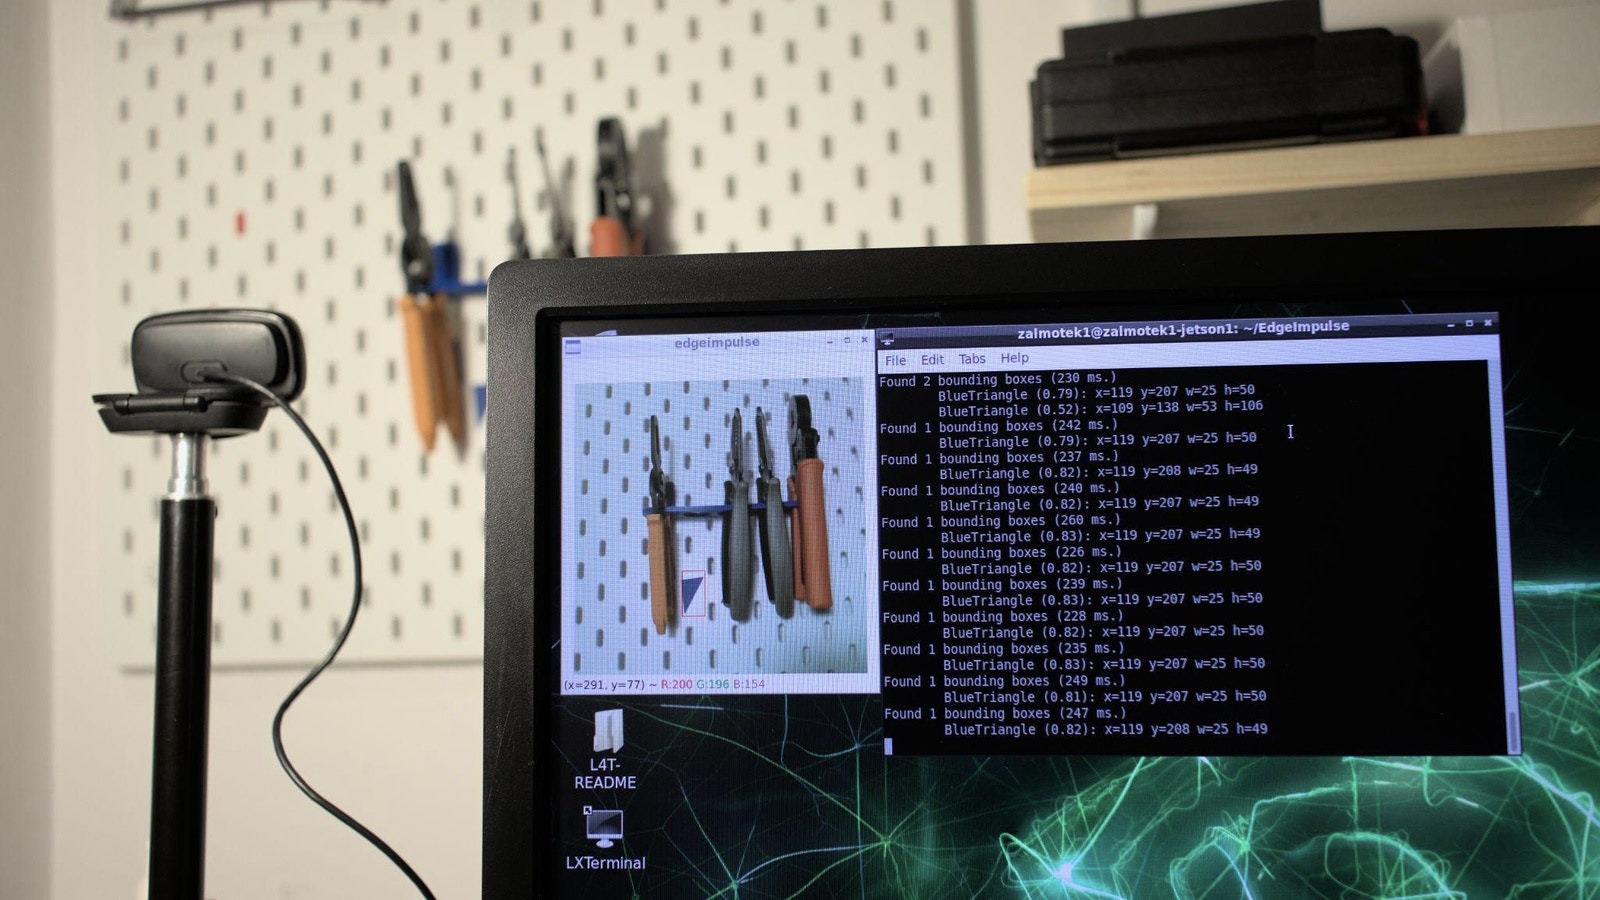
Once the model downloads, access the URL provided in your serial monitor to watch the live video feed and see the model in action in a browser:
edge-impulse-linux-runner --download modelfile.eim
Replace modelfile.eim with the name of your project, in our case, the command would look like this:
edge-impulse-linux-runner --download WORKPLACEORGANIZER.eim
python3 classify-image.py path-to-modelfile.eim
In our case, the command looks like this:
python3 classify.py WORKPLACEORGANIZER.eim
sudo and place it at the respective locations so it can be used as a systemd service).
Run this command to create the service file:
sudo nano /etc/systemd/system/classify.service
And here is the content:
sudo nano /etc/systemd/system/classify_countdown.timer
And here is content:
sudo systemctl status classify.service and sudo systemctl status classify_countdown.timer