
Introduction
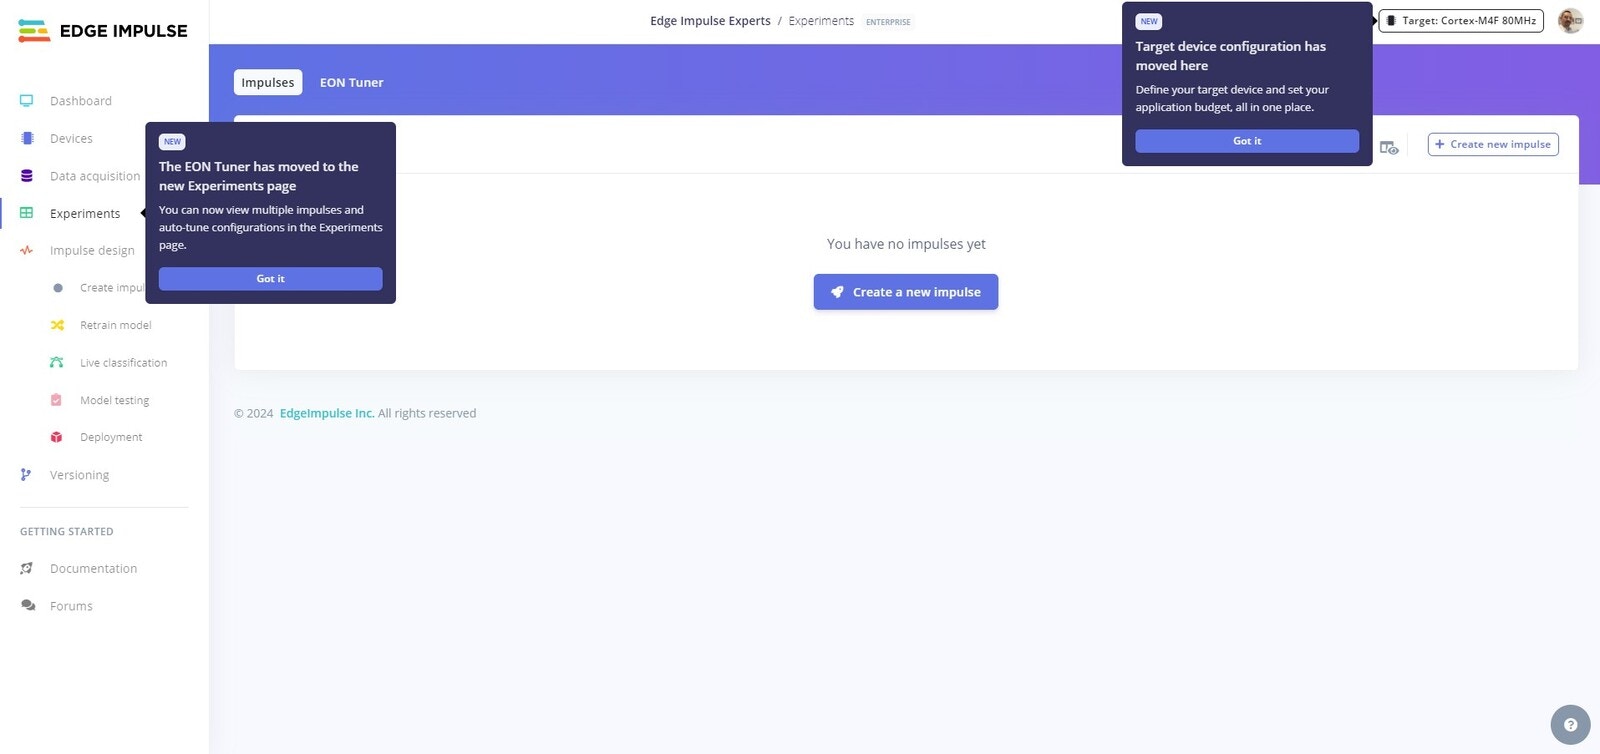
Edge Impulse Experiments are a powerful new feature that allows users to run multiple active Impulses within a single project. This enables seamless experimentation with various model configurations on the same dataset, offering a more efficient way to compare results. The updated interface includes a new “Experiments” section, which centralizes Impulse management and integrates the EON Tuner for enhanced trial handling. Along with API enhancements and streamlined processes, these changes significantly accelerate development and improve project organization, making it easier to transition from data collection to deployment. This project provides a walk through of how to use Experiments, along with a tutorial that will help you get started with Edge Impulse Experiments.Hardware
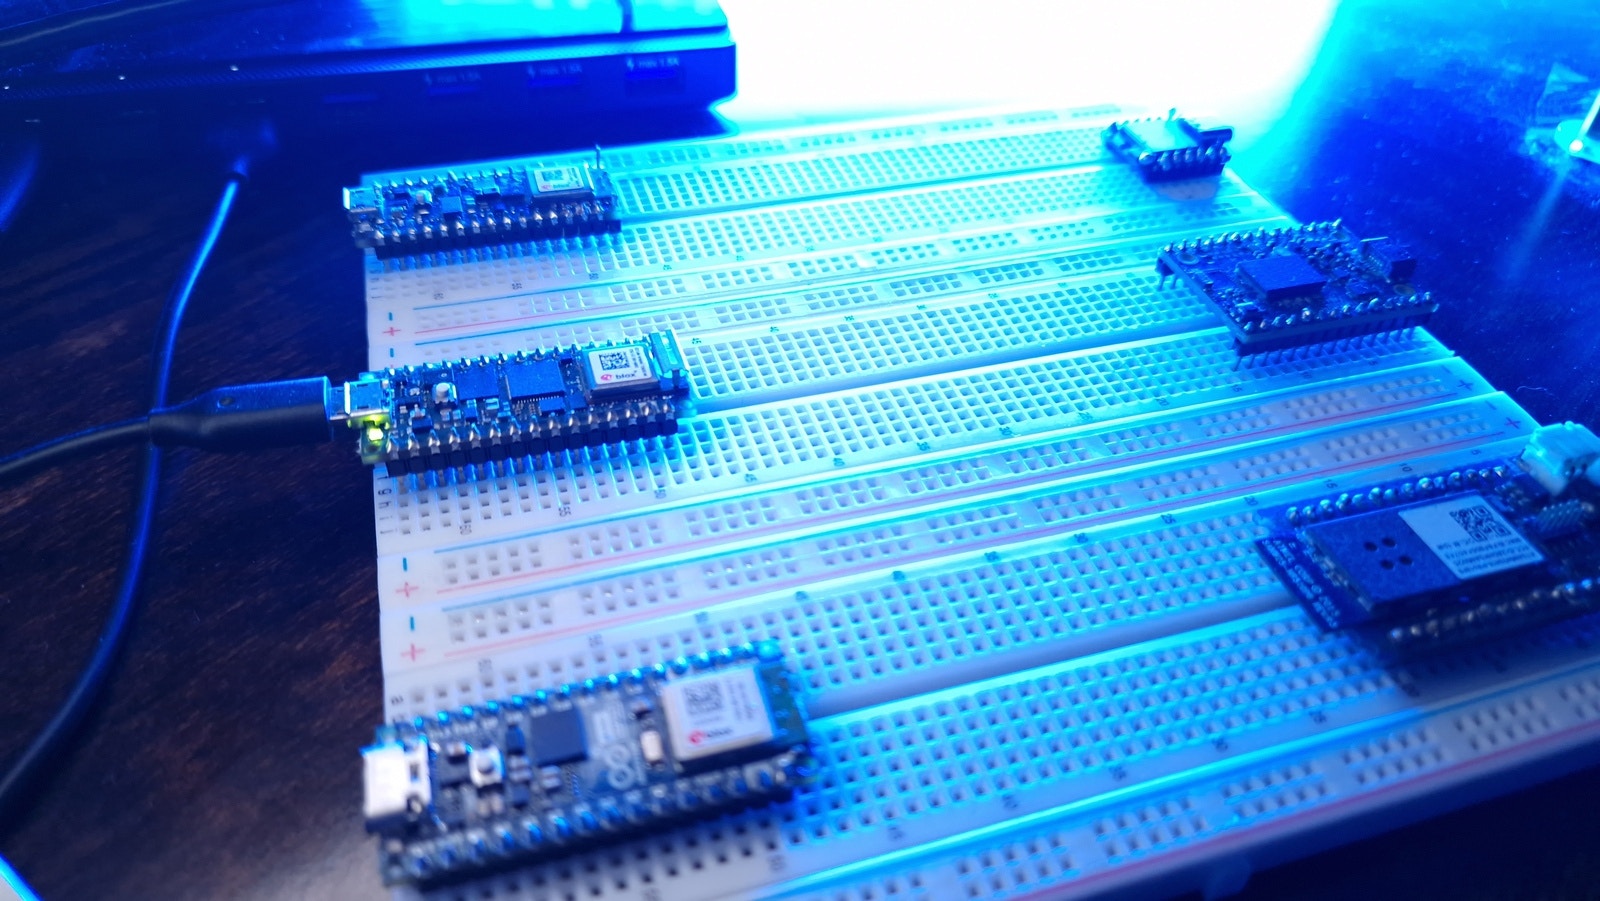
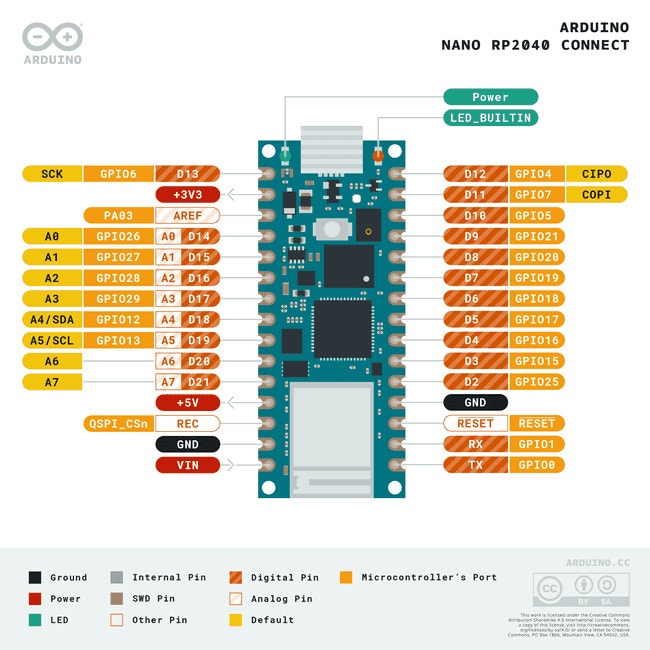
- Arduino Nano RPI2040 Connect More Info
Platform
- Edge Impulse Visit
Software
Getting Started
Arduino Nano RPI2040 Connect
Edge Impulse
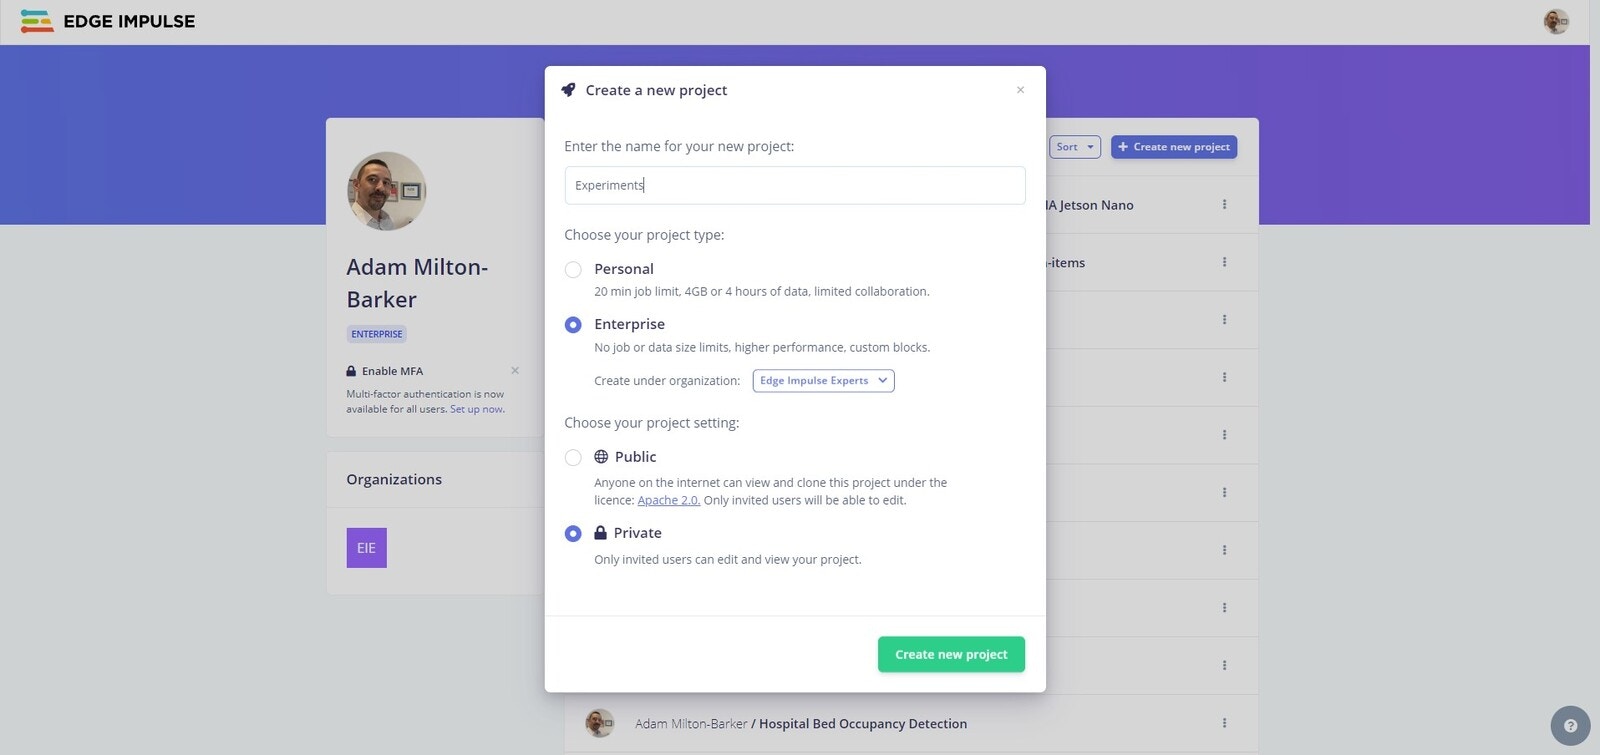
Create Edge Impulse Project
Connect Your Device
Next you need to connect your device to the Edge Impulse platform. Ensuring you have the Nano connected to your computer, open a command line or terminal and use the following command: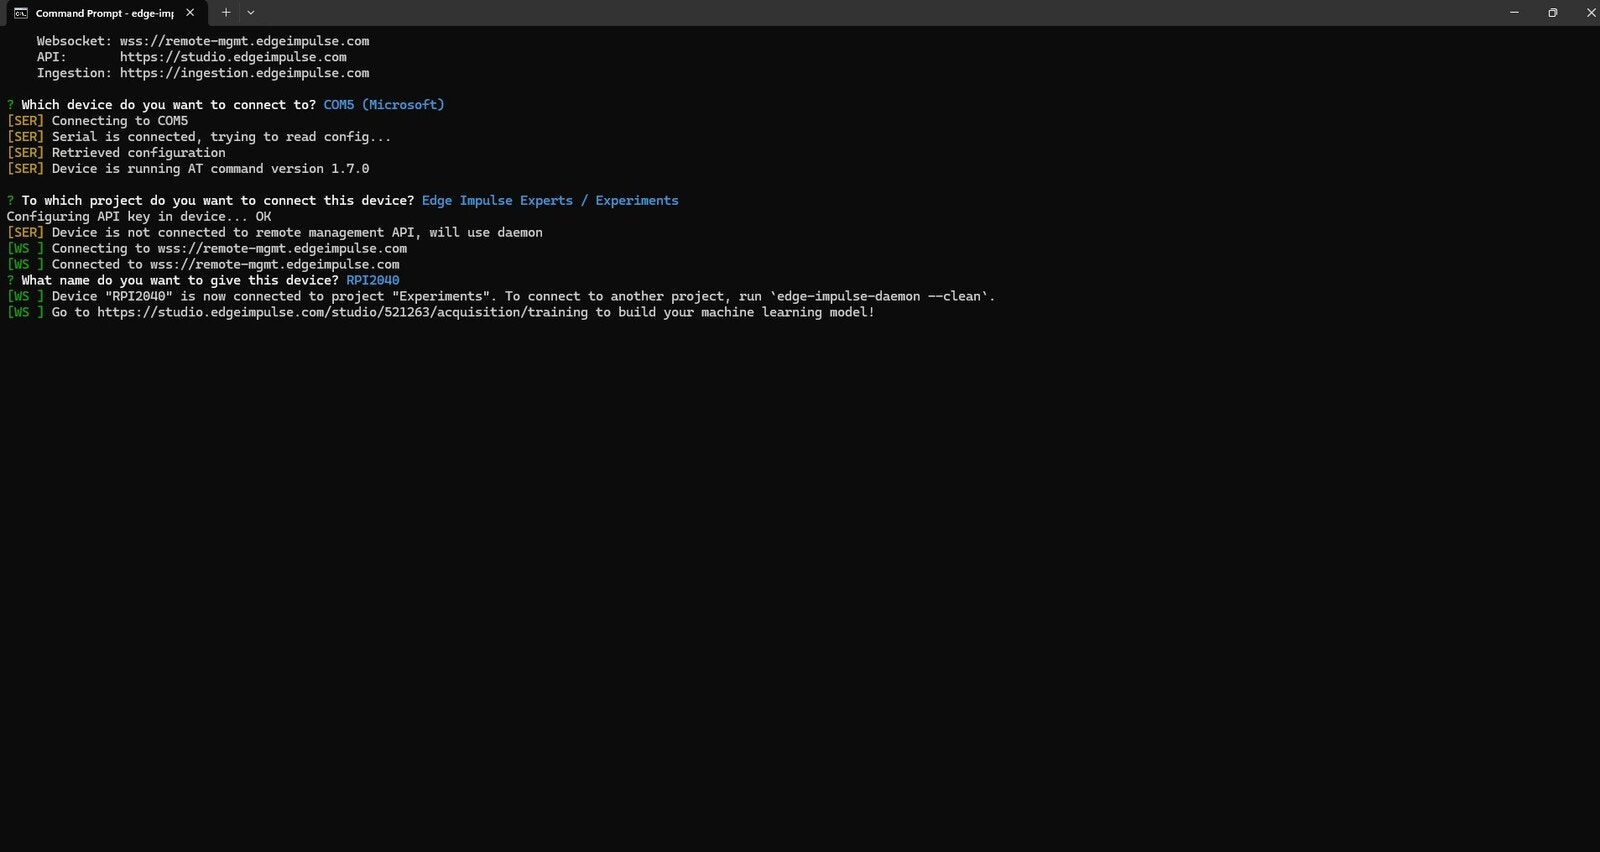
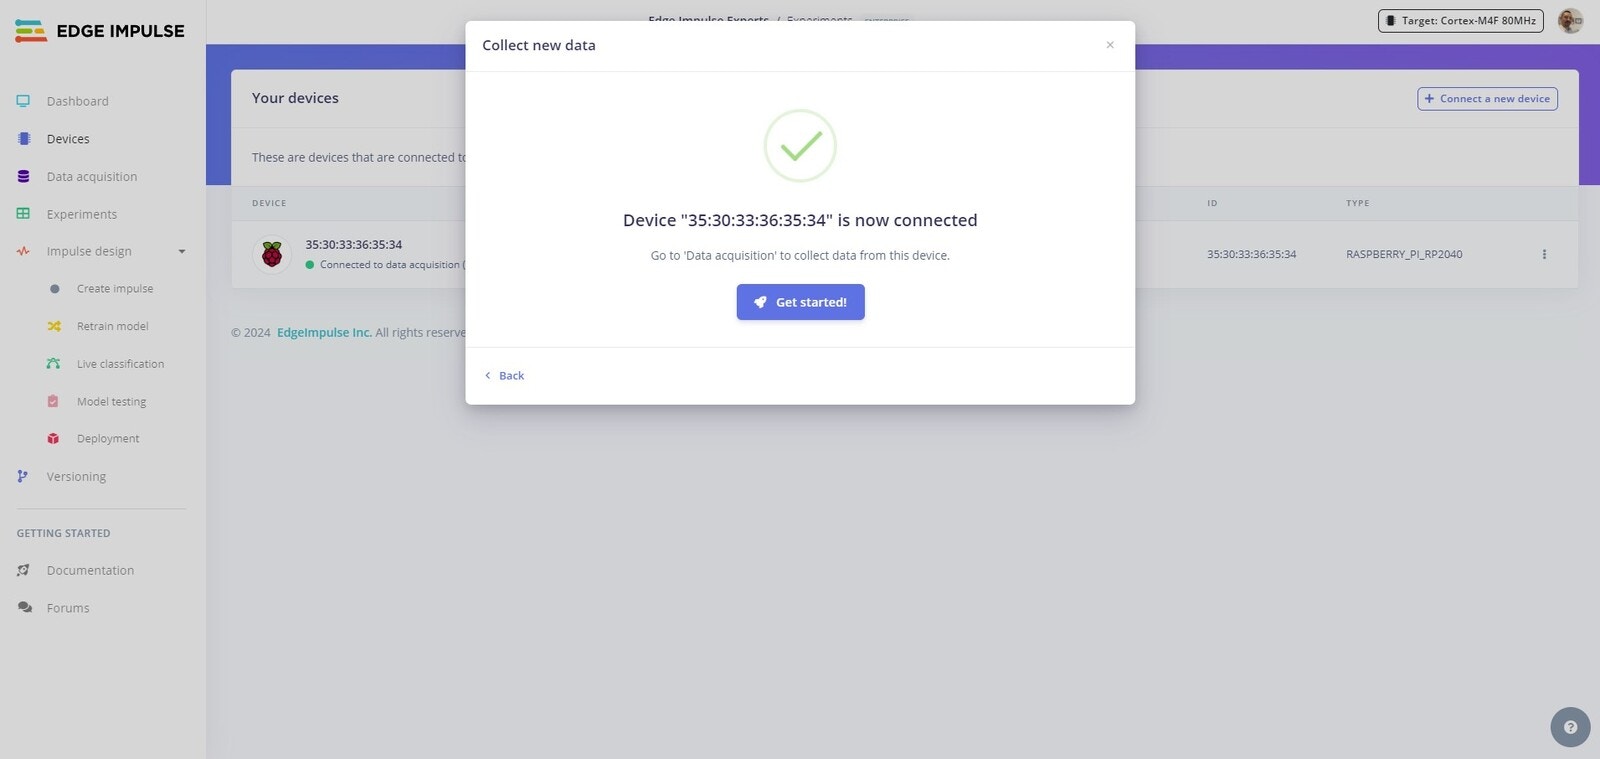
Devices tab, you will see your device is now connected.
Collect Data
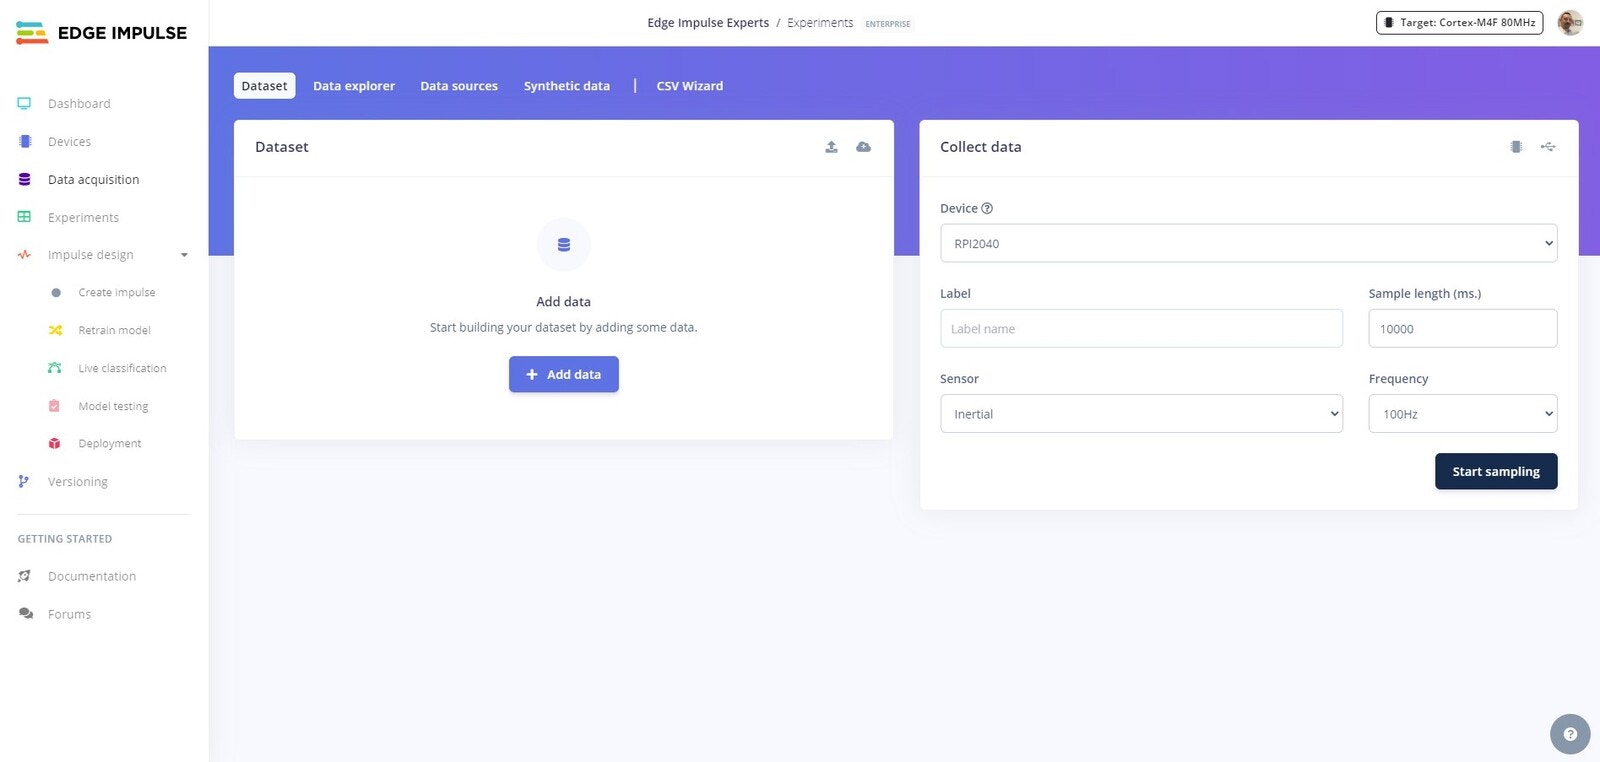
Data aquisition tab and select the RPI2040.
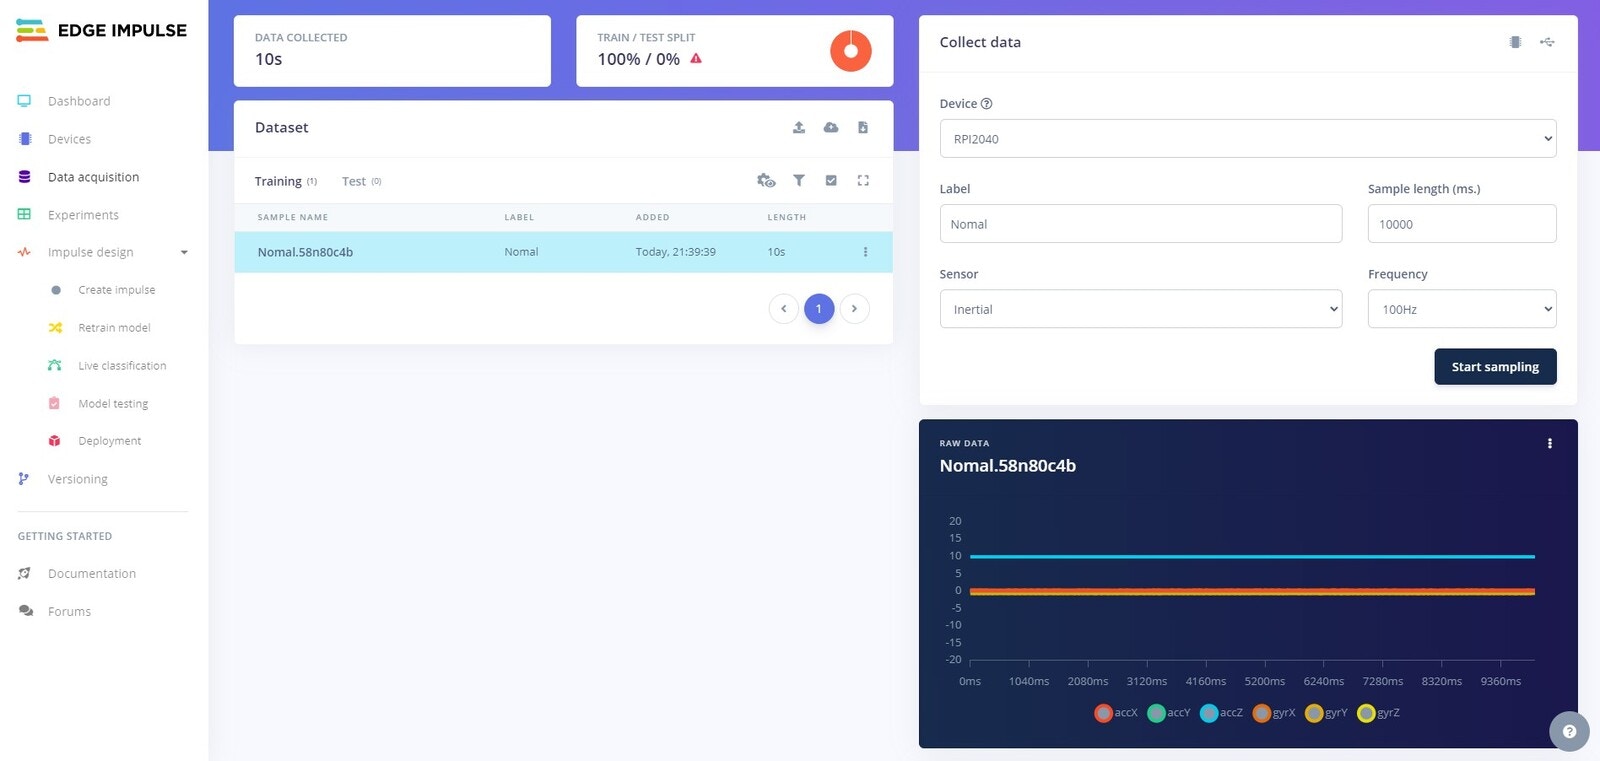
normal data. This data will represent when a machine is running normally with no abnormal vibrations. Select the Intertial sensor and use Normal as the label. Next record about 3 minutes data, collected in 10 second samples from the device.
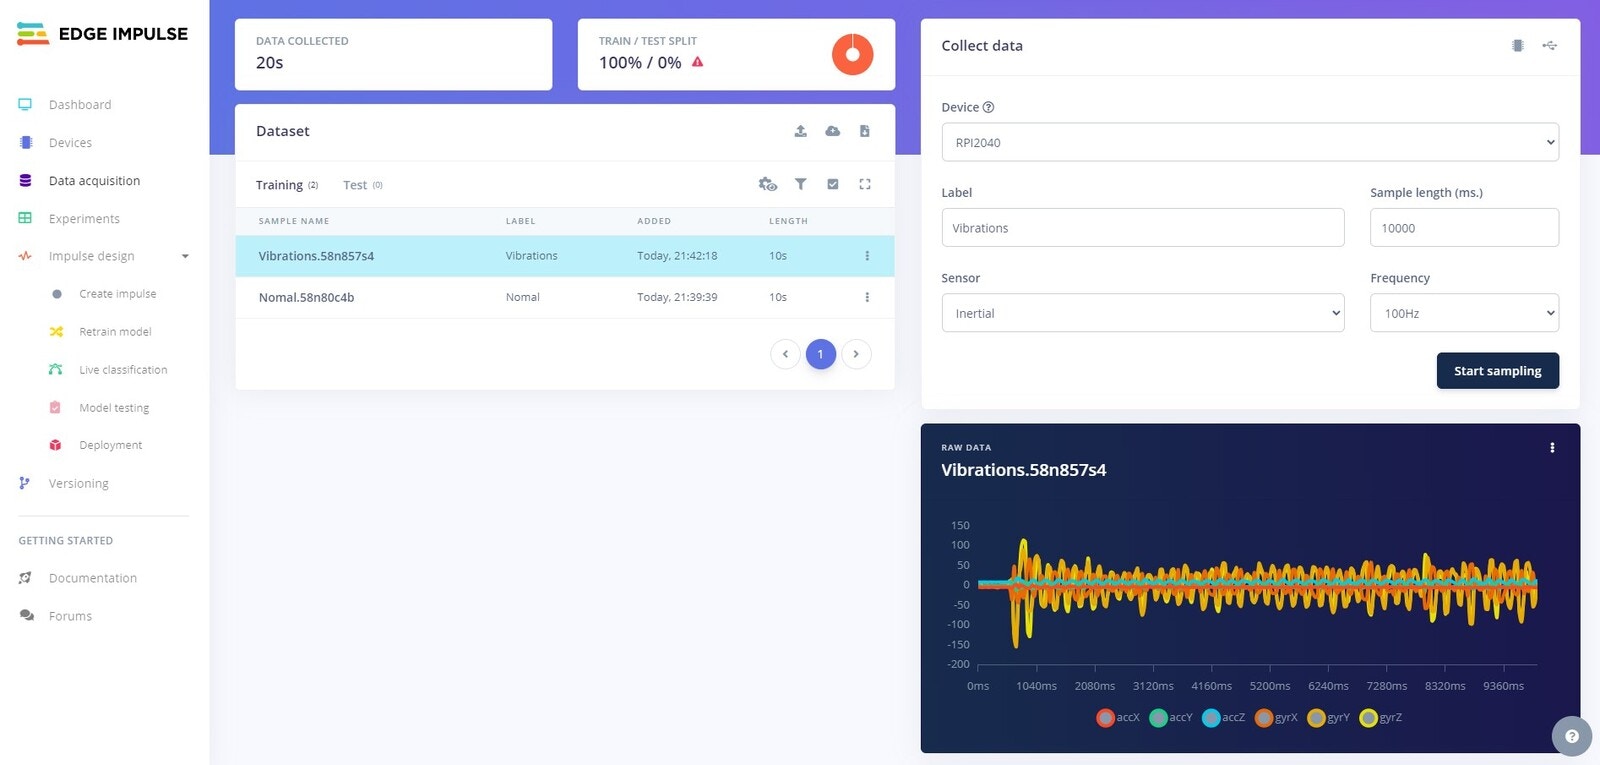
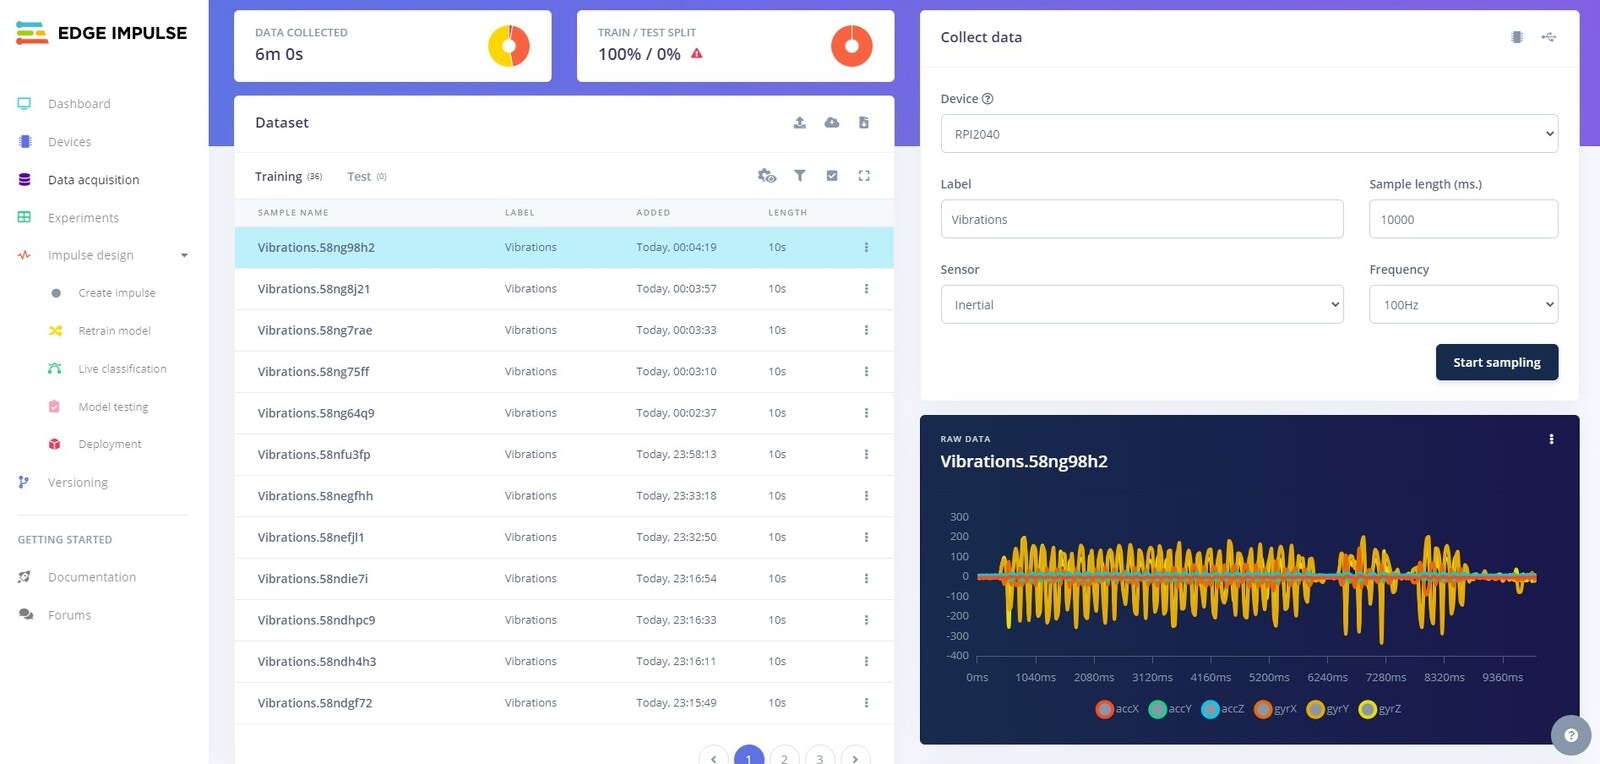
Vibrations data. Change the label to Vibrations and record 3 minutes more of samples, but this time shake the Arduino around while the samples are being recorded.
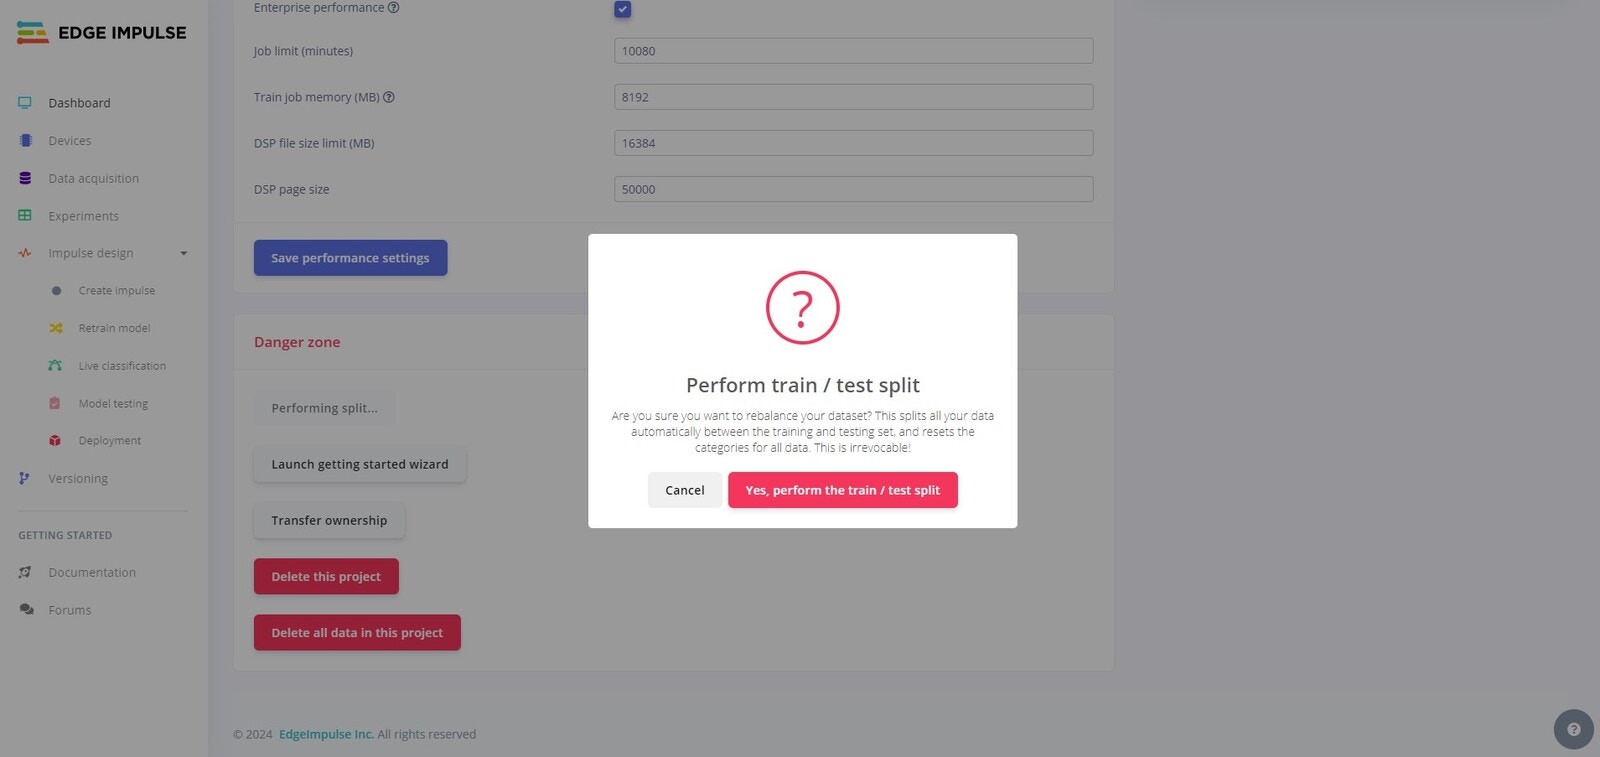
Danger Zone at the bottom. Click on the Perform train/test split button to split the data.
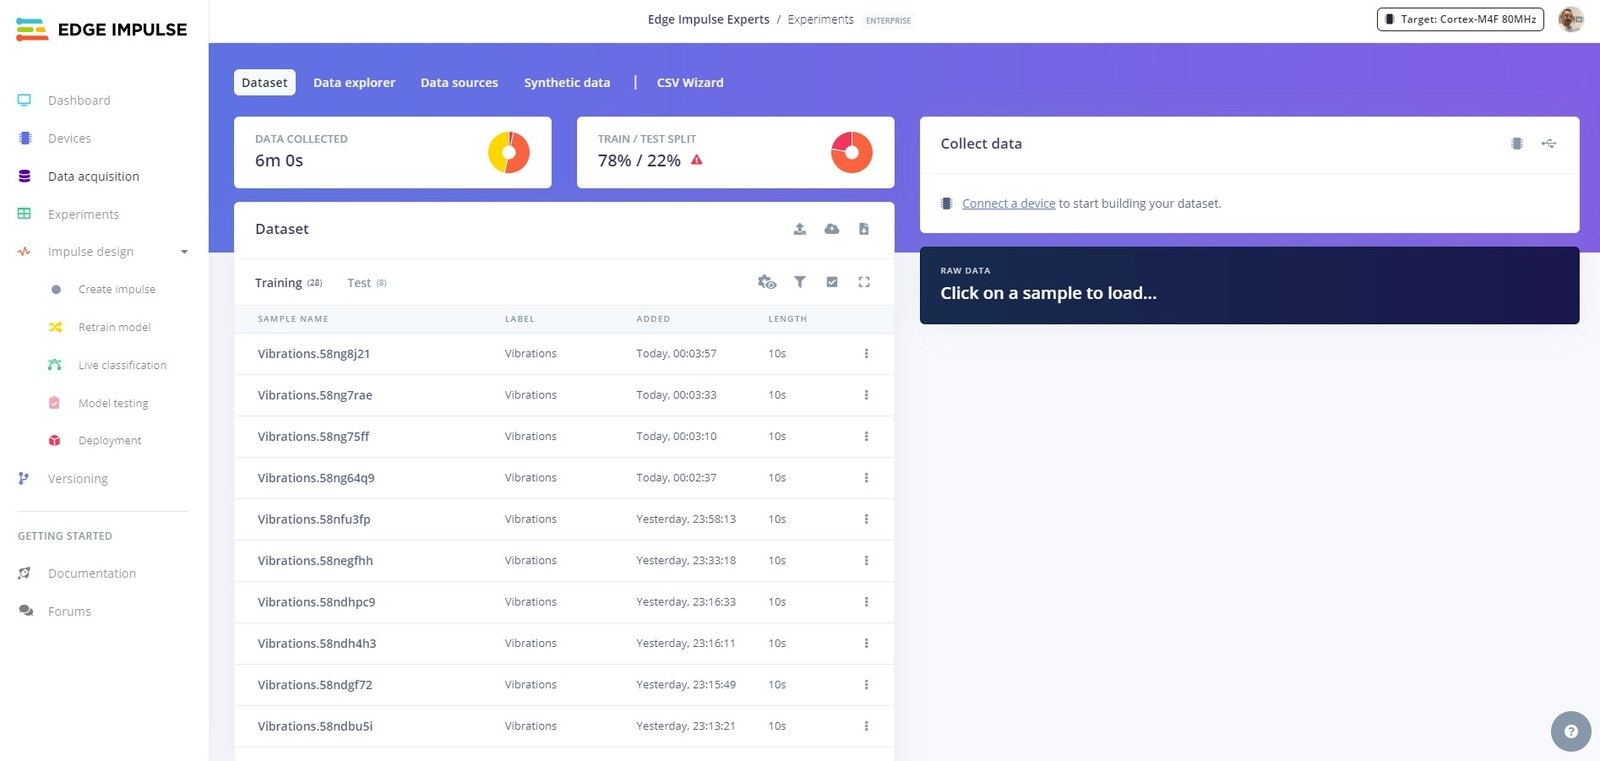
Data aquisition tab, you will now see that the data has been split.
Create Impulse
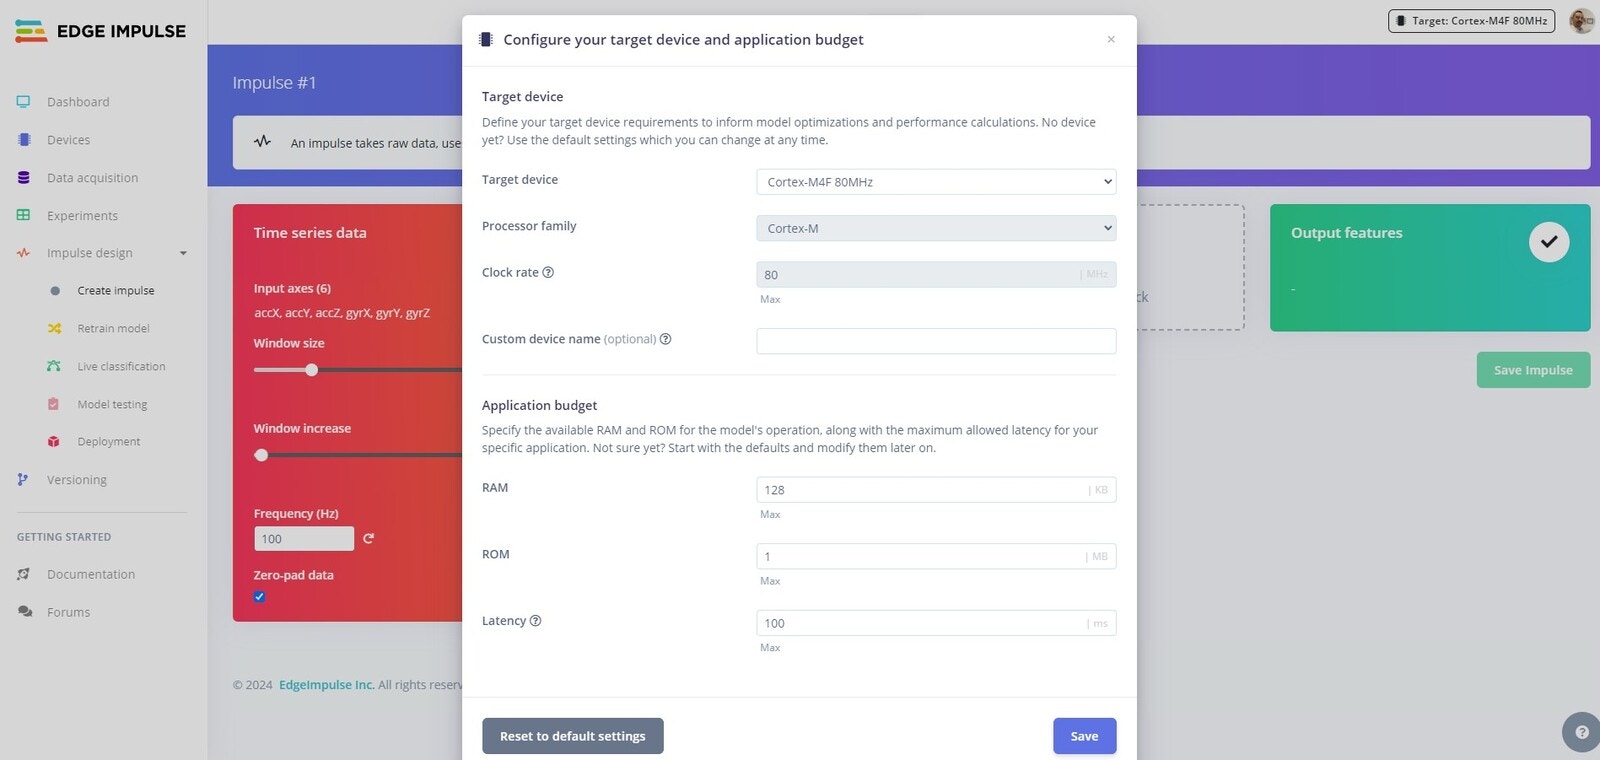
Create Impulse tab and you should see the configuration for your Nano RPI2040. You can accept the defaults here.
Spectral Analysis
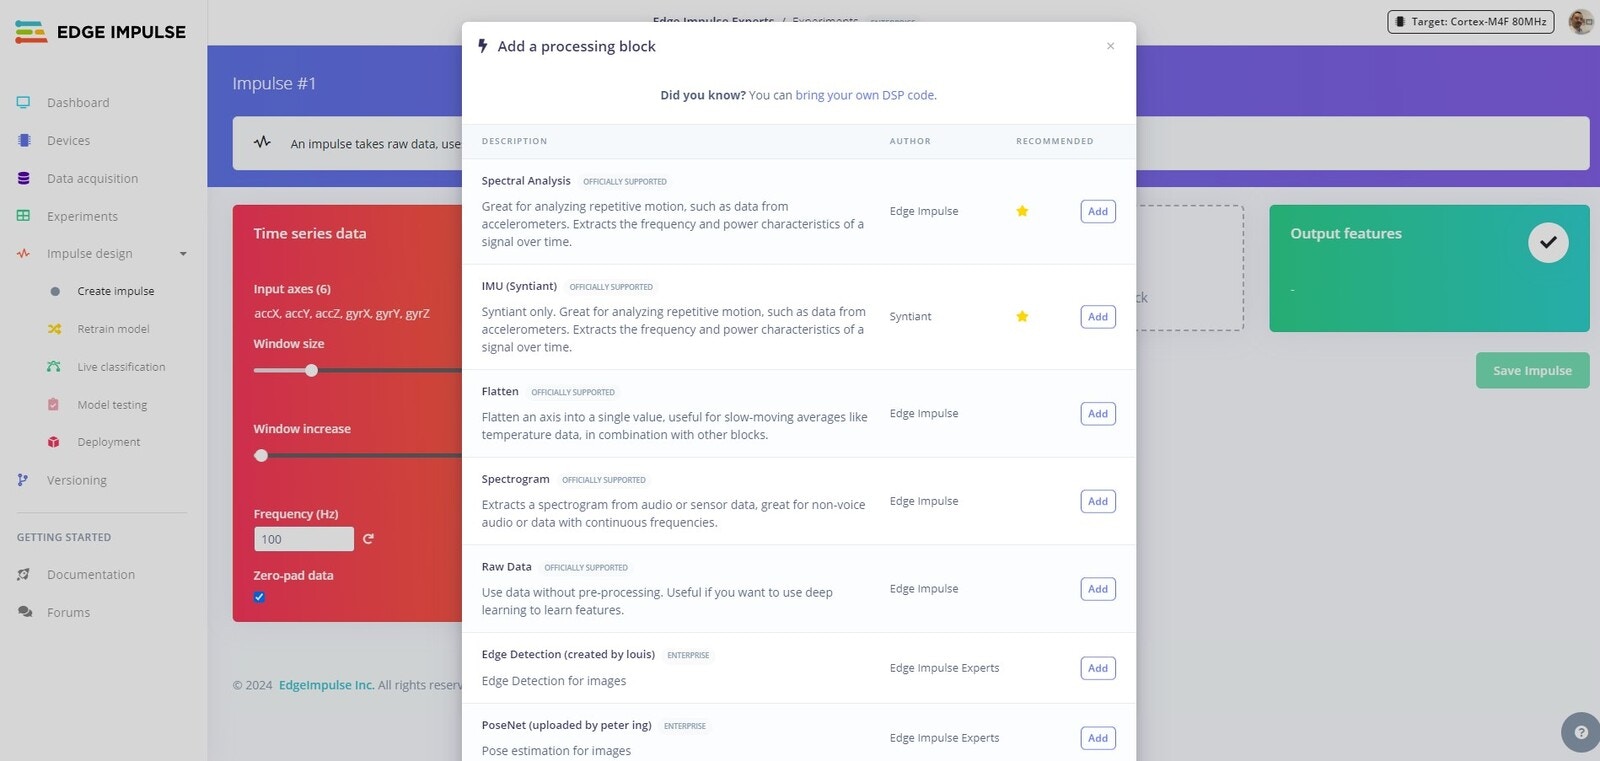
Spectral Analysis Processing block. Spectral Analysis is ideal for examining repetitive movements, particularly using accelerometer data. This tool breaks down signals to reveal their frequency and power patterns over time.
Click Add to add the Spectral Analysis Processing block to your Impulse.
Classification
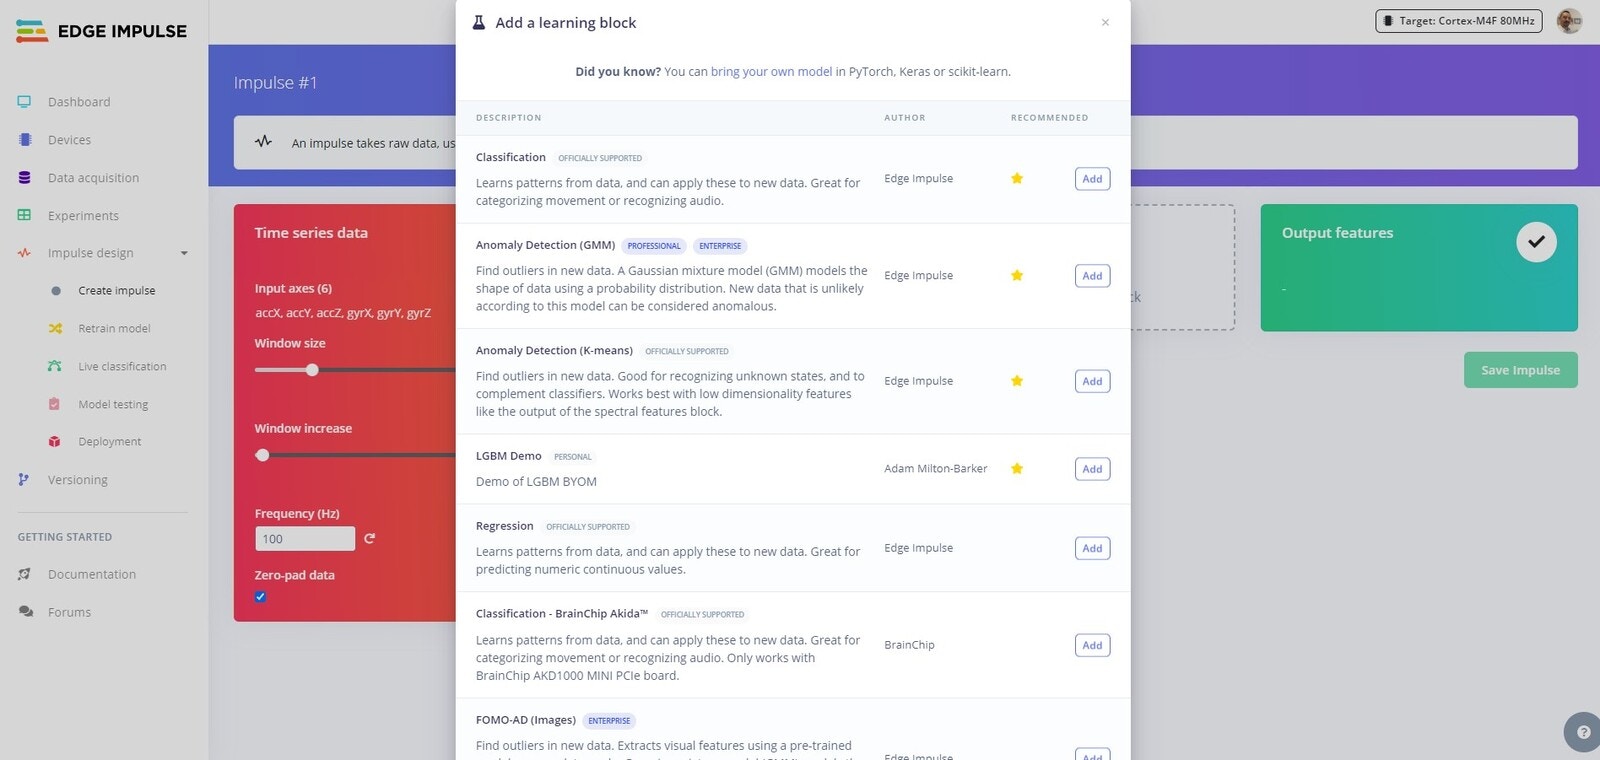
Classification to classify between Normal and Vibrations. Click Add to add the Classification block to your Impulse.
Next click Save Impulse.
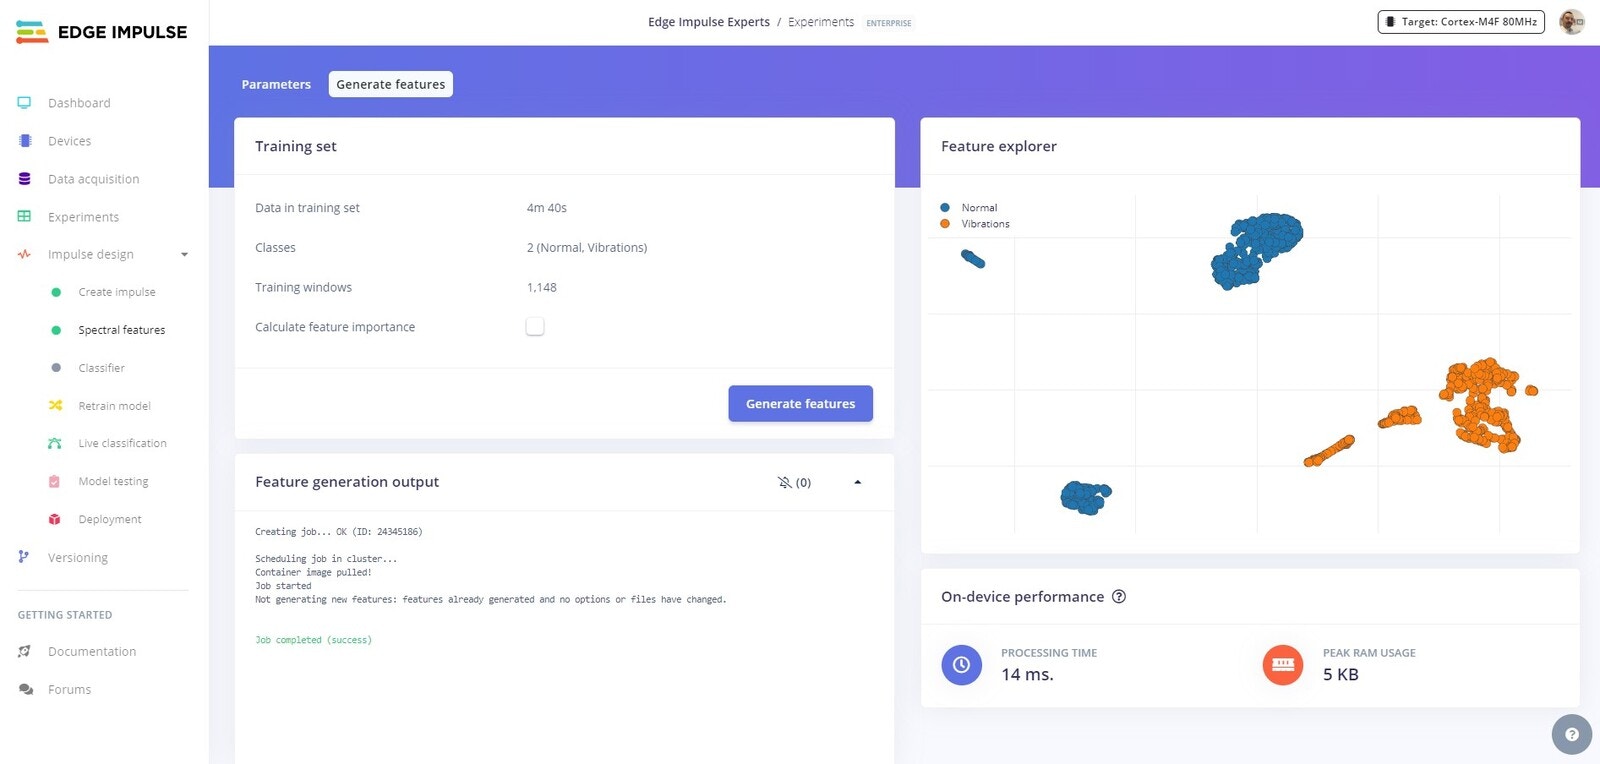
Feature Generation
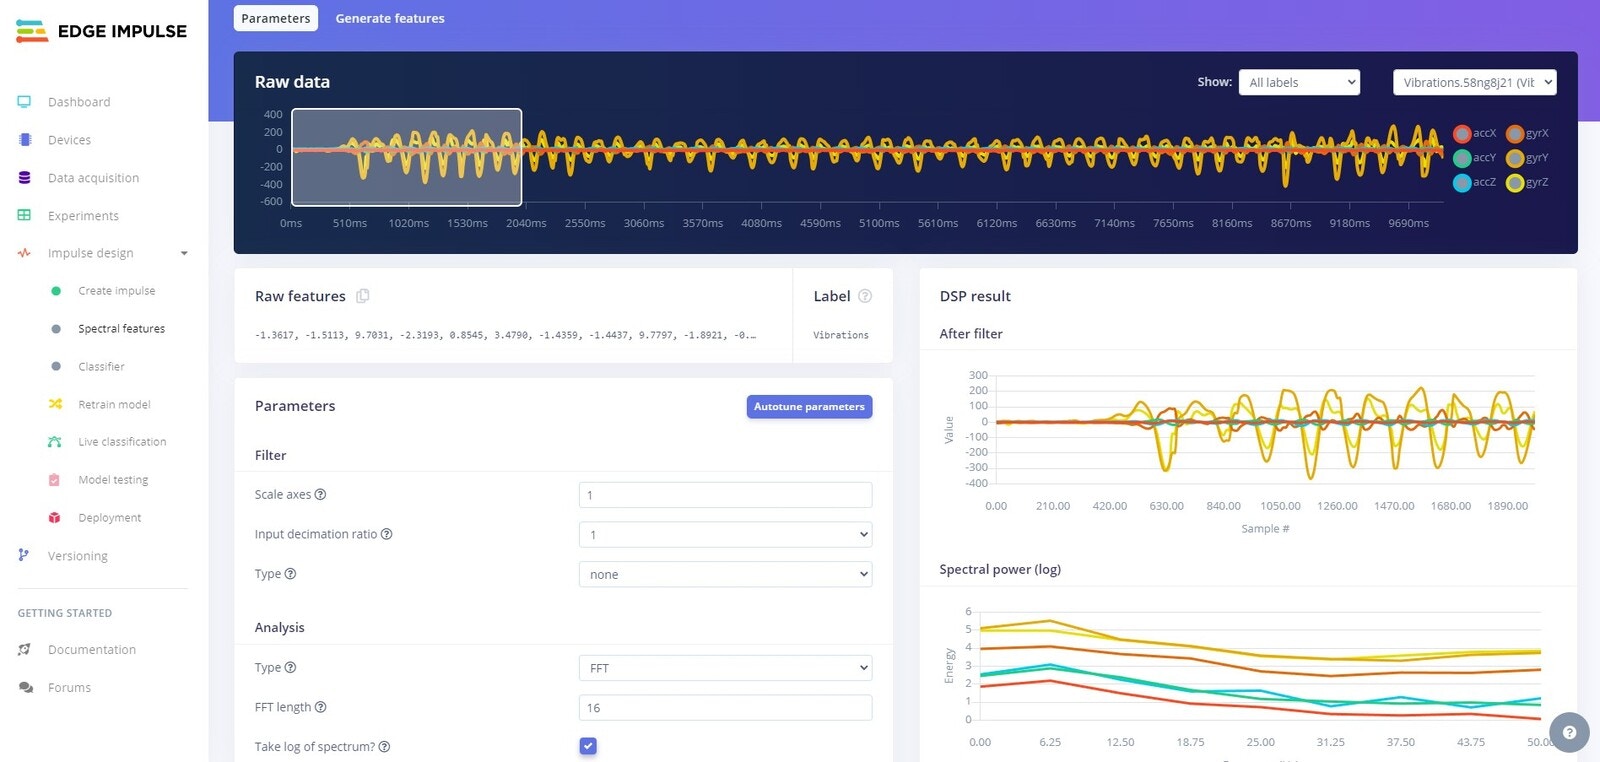
Spectral Features tab and click on Autotune parameters. An autotune job will start and you will see the output on the right hand side of the UI.
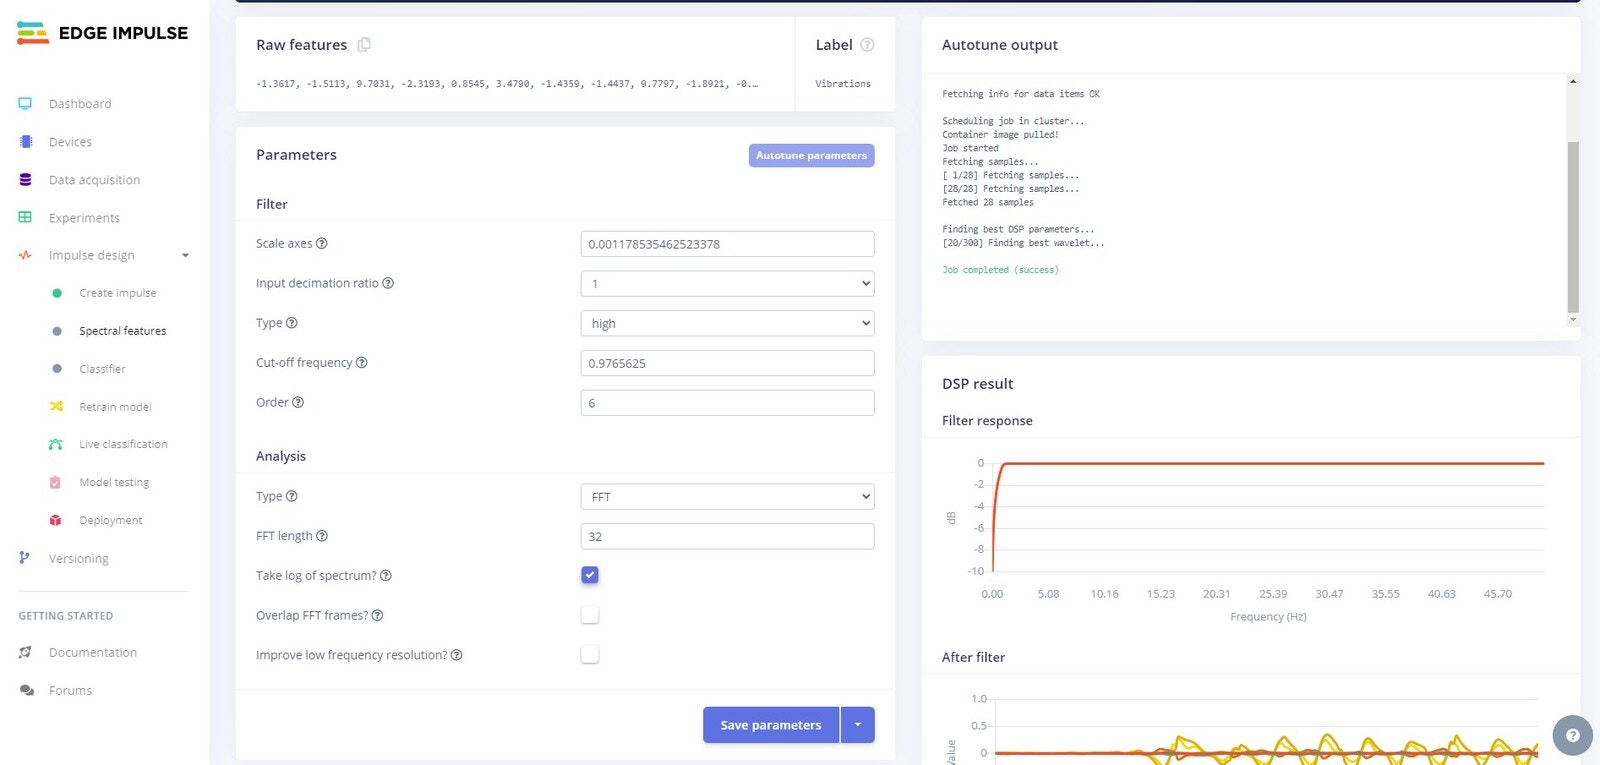
Save parameters. You will be redirected to the Generate features tab.
Training

Classifier tab, leave the default settings intact, and click on Save and train.
A training job will start, and once completed you will see the results on the right hand side of the UI.
Testing
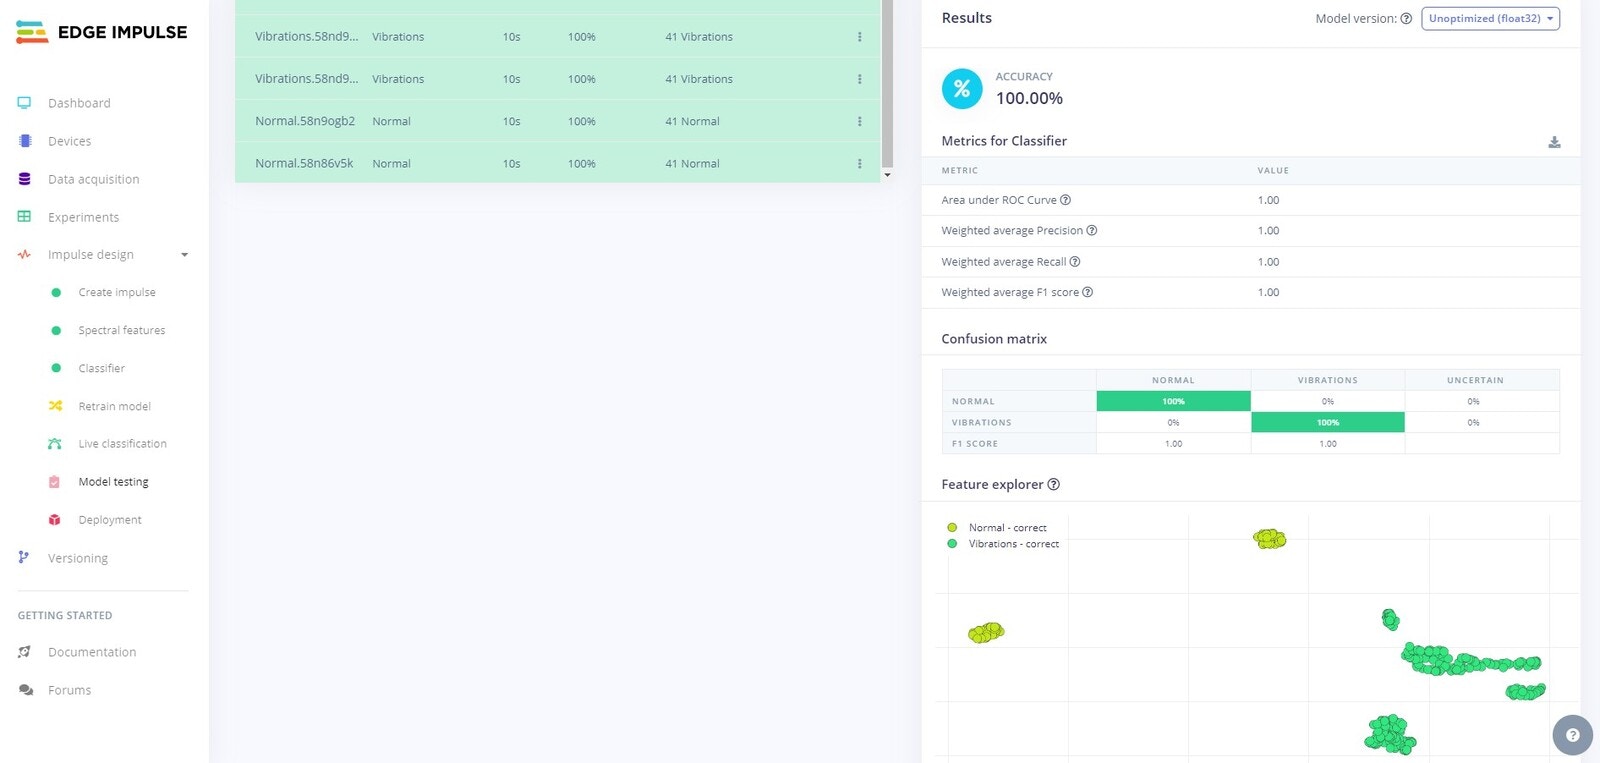
Model testing tab, you will be able to use your newly trained model on the Test data that was set aside. The Test data was not shown to the model during training, so this will help to evaluate how well the model performs on unseen data.
The testing process will start and you will see the results once complete.
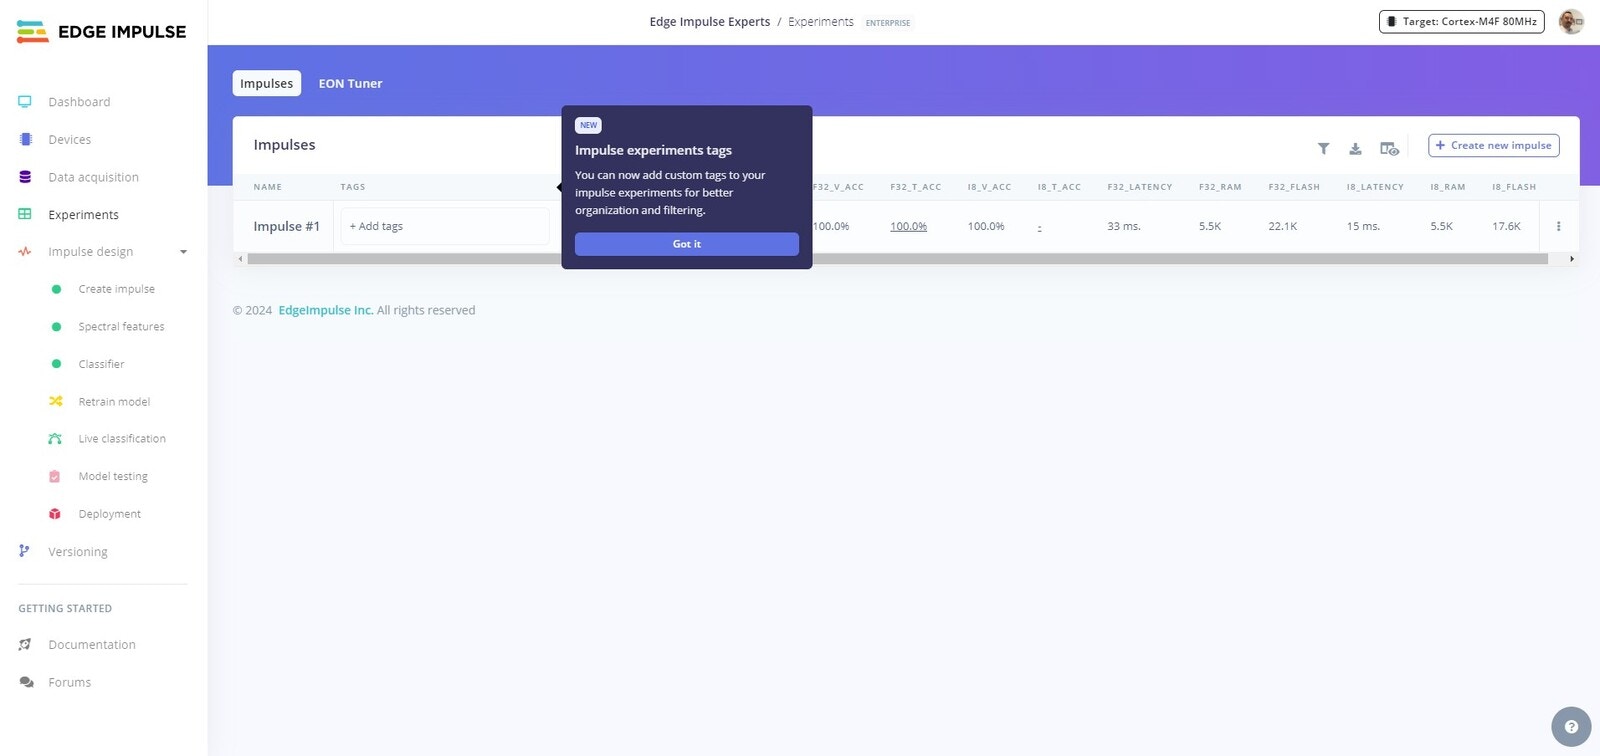
Experiments tab, you will see that you now have your first Experiment listed.
Deployment
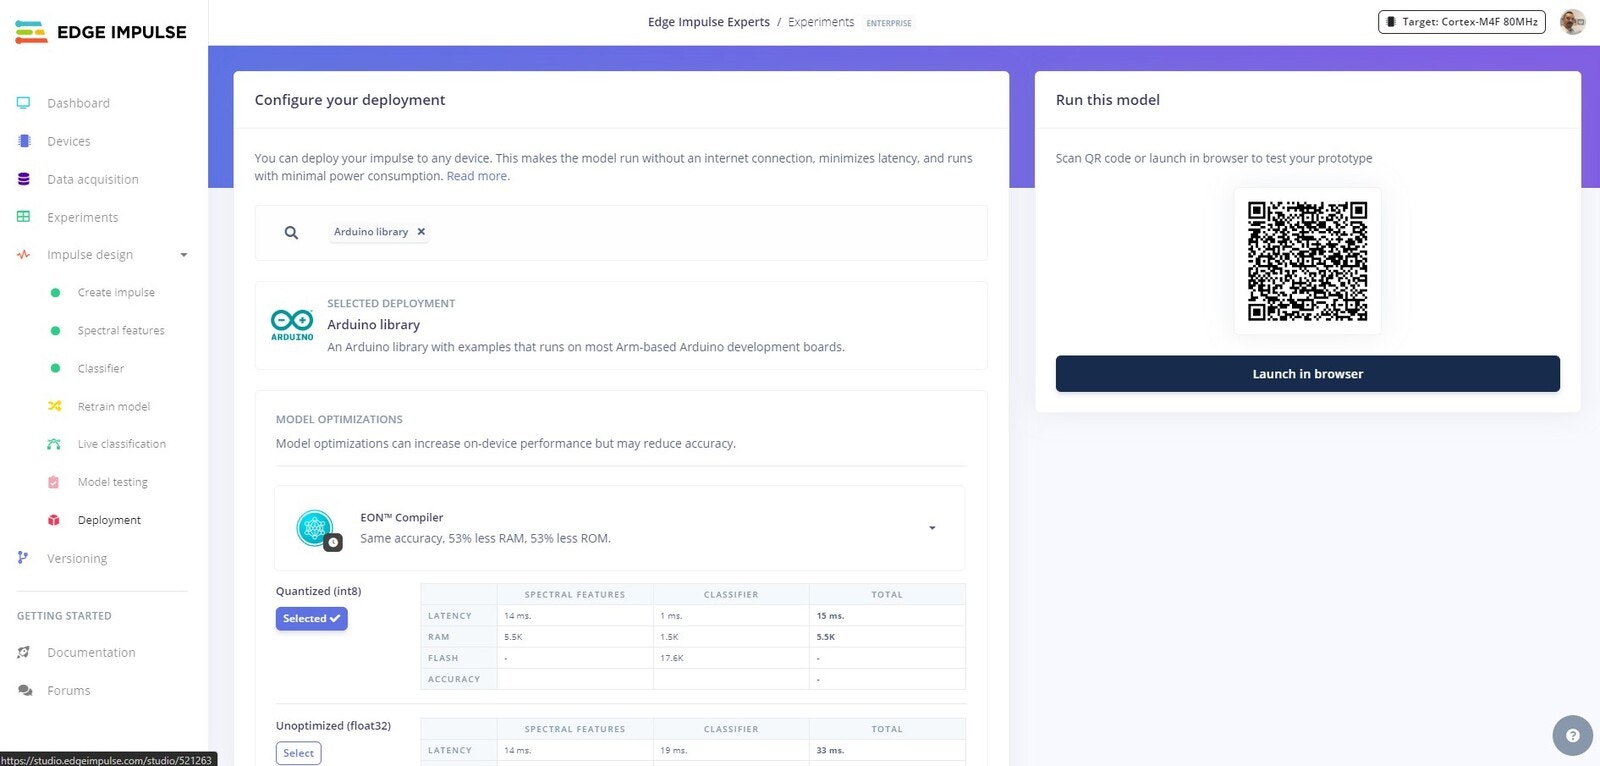
Deployment tab and search for Arduino, then follow the steps provided to you to deploy the model to your device.
As this tutorial is specifically related to Experiments, we will continue straight to EON Tuner and creating our next Experiment.
EON Tuner
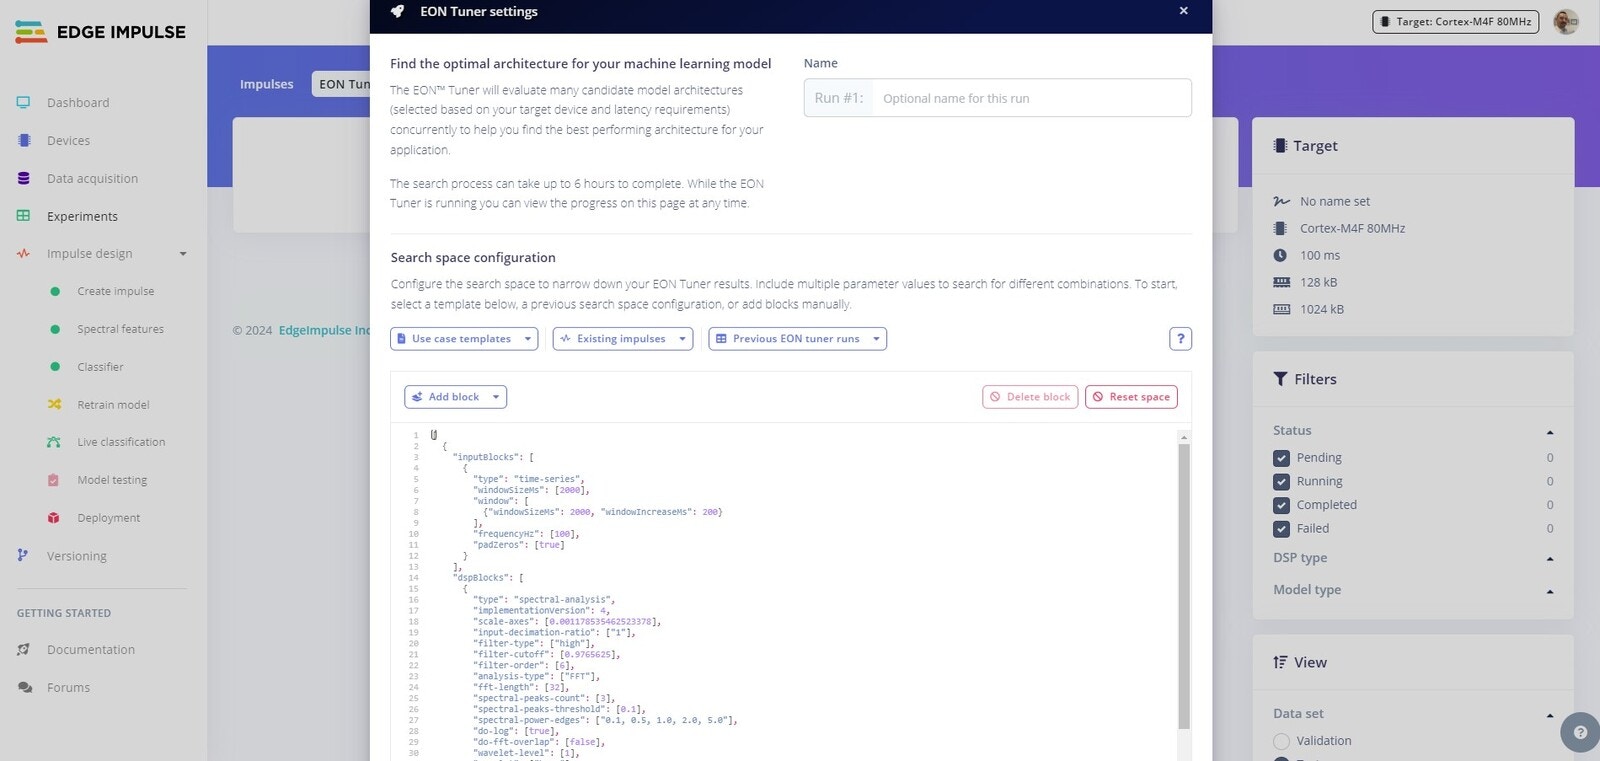
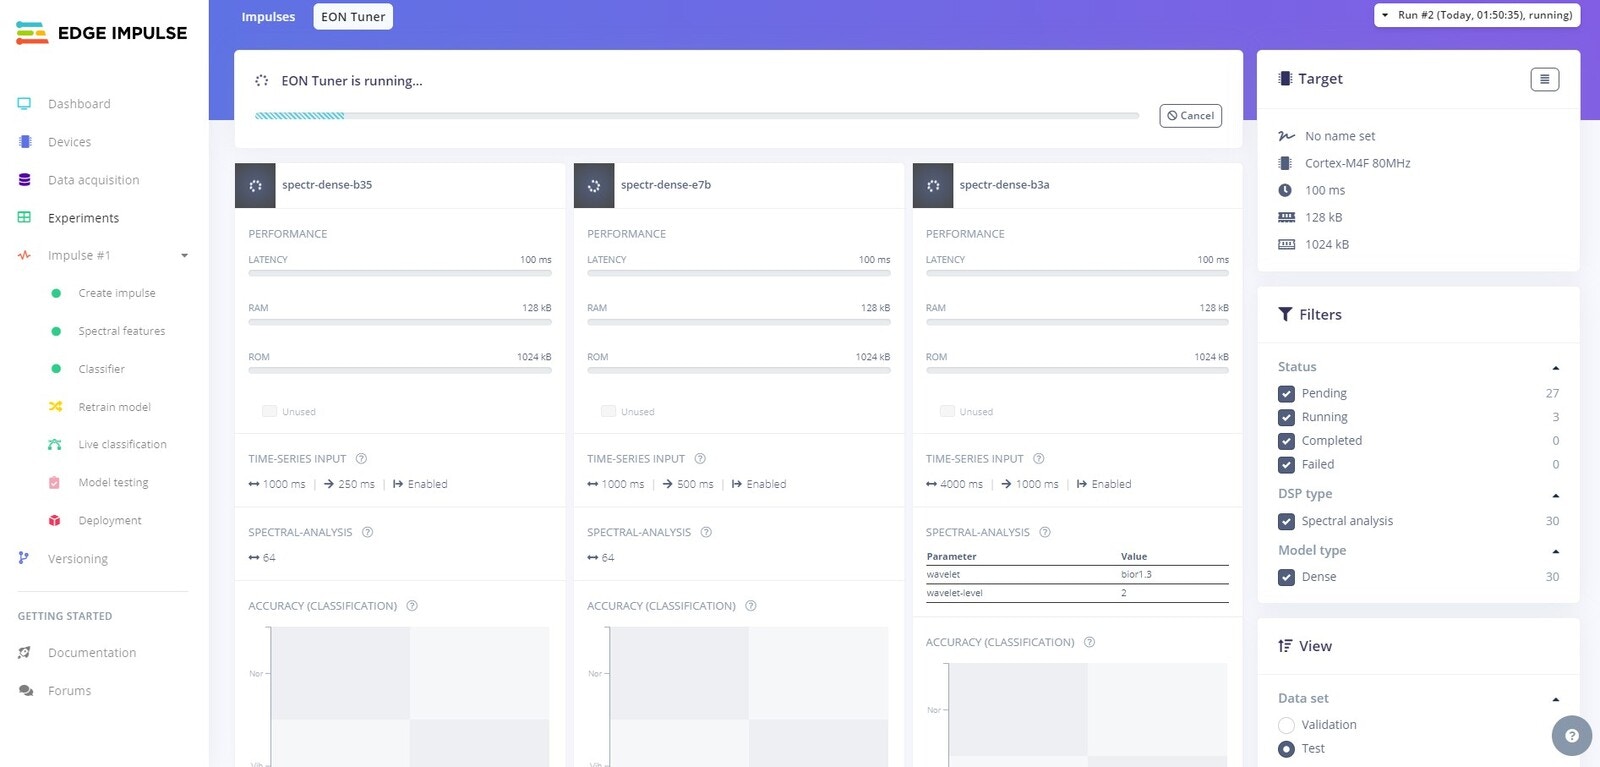
Experiments tab, select EON Tuner. For the Search space configuration select Classification in the Usecase templates drop down, then click Start tuning to run.
At this point, it is time to grab a coffee and put your feet up, as this will take some time to complete.
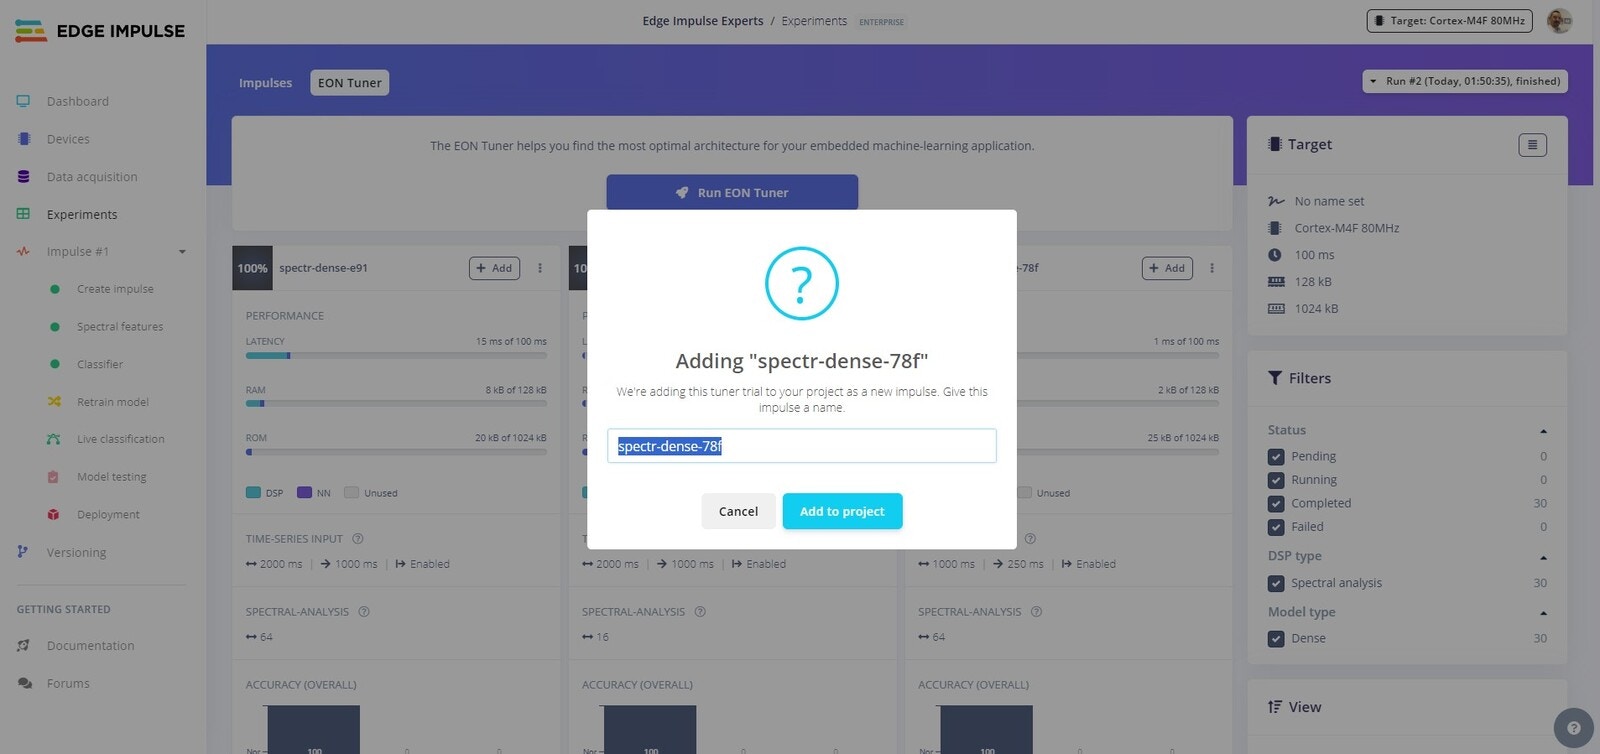
Experiment 2
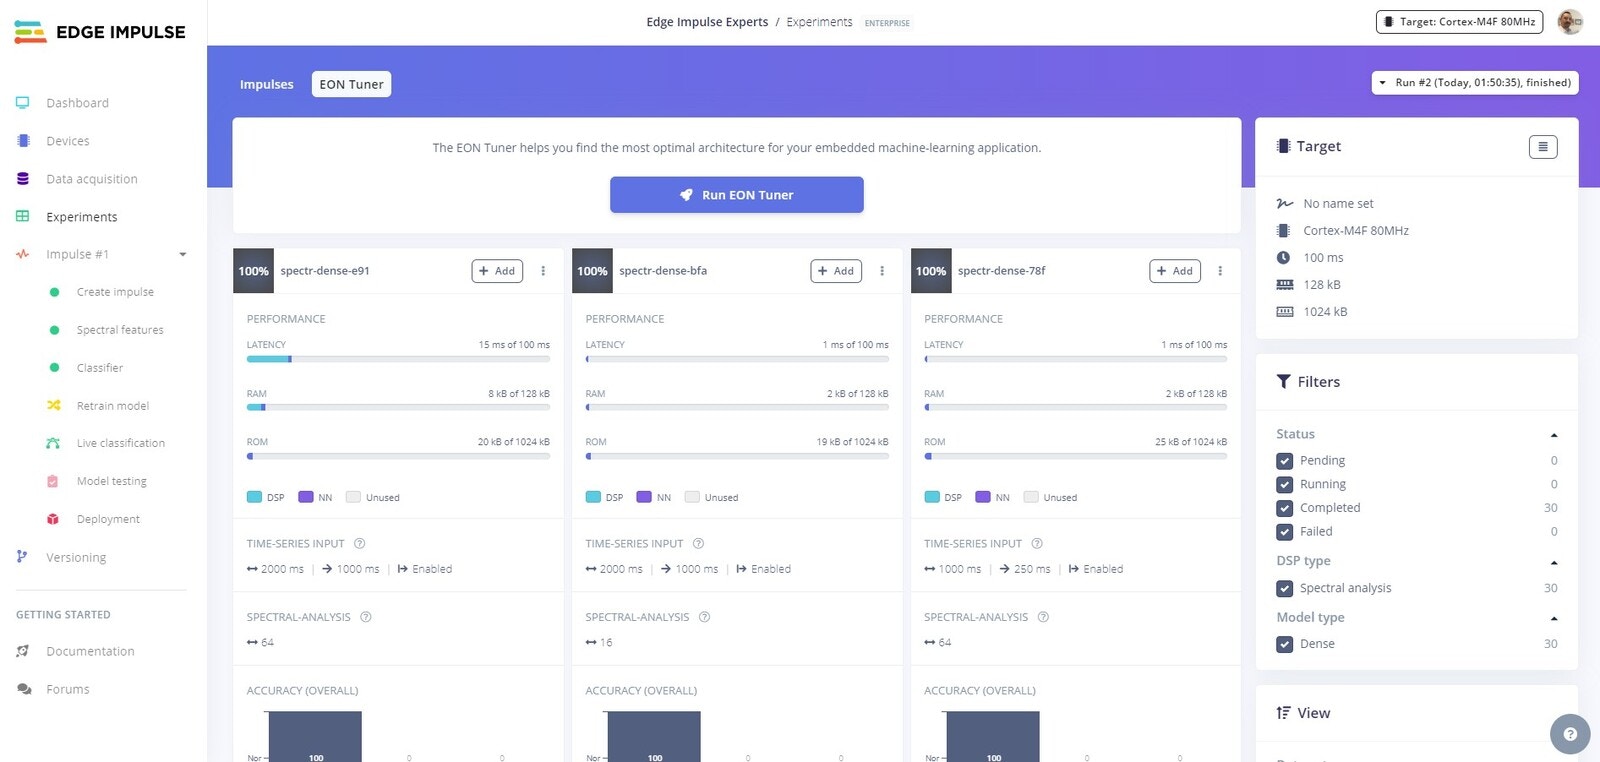
Add button for that configuration.
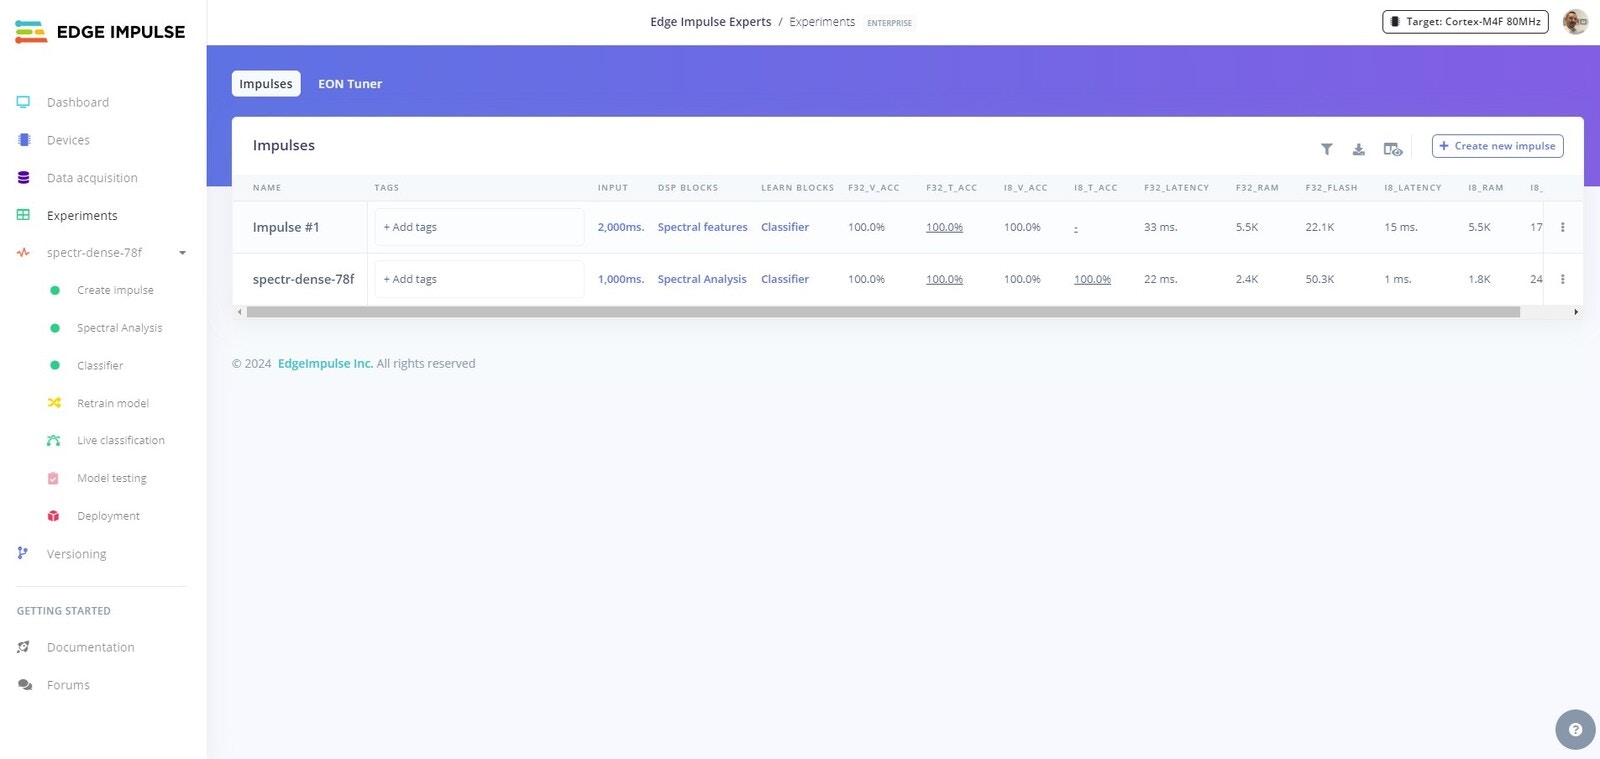
Experiments tab you will now see your new model waiting for you to test or deploy.