Industrial Automation Inefficiencies Towards Accident Detection
The International Labor Organization estimates that there are over 1 million work-related fatalities each year and millions of workers suffer from workplace accidents. However, even as technology advancements have improved worker safety in many industries, some accidents involving workers and machines remain undetected as they occur, possibly even leading to fatalities. This is because of the limitations in Machine Safety Systems. Safety sensors, controllers, switches and other machine accessories have been able to provide safety measures during accidents but some events remain undetected by these systems. Some accidents which are difficult to be detected in industries includes:- Falling Objects
- Objects strike or fall on employees
- Slips or Falls of employees
- Chemical burns or exposure
- Workers caught in moving machine parts
Detecting Worker Accidents with AI
Sound classification is one of the most widely used applications of Machine Learning. When in danger or scared, we humans respond with audible actions such as screaming, crying, or with words such as: “stop”, or “help” . This alerts other people that we are in trouble and can also give them instructions such as stopping a machine, or opening/closing a system. We can use sound classification to give hearing to machines and manufacturing setups so that they can be aware of the environment status. TinyML has enabled us to bring machine learning models to low-cost and low-power microcontrollers. We will use Edge Impulse to develop a machine learning model which is capable of detecting accidents from workers screams and cries. This event can then be used to trigger safety measures such as machine/actuator stop, and sound alarms. The Syntiant TinyML Board is a tiny development board with a microphone and accelerometer, USB host microcontroller and an always-on Neural Decision Processor™, featuring ultra low-power consumption, a fully connected neural network architecture, and fully supported by Edge Impulse. Here are quick start tutorials for Windows and Mac.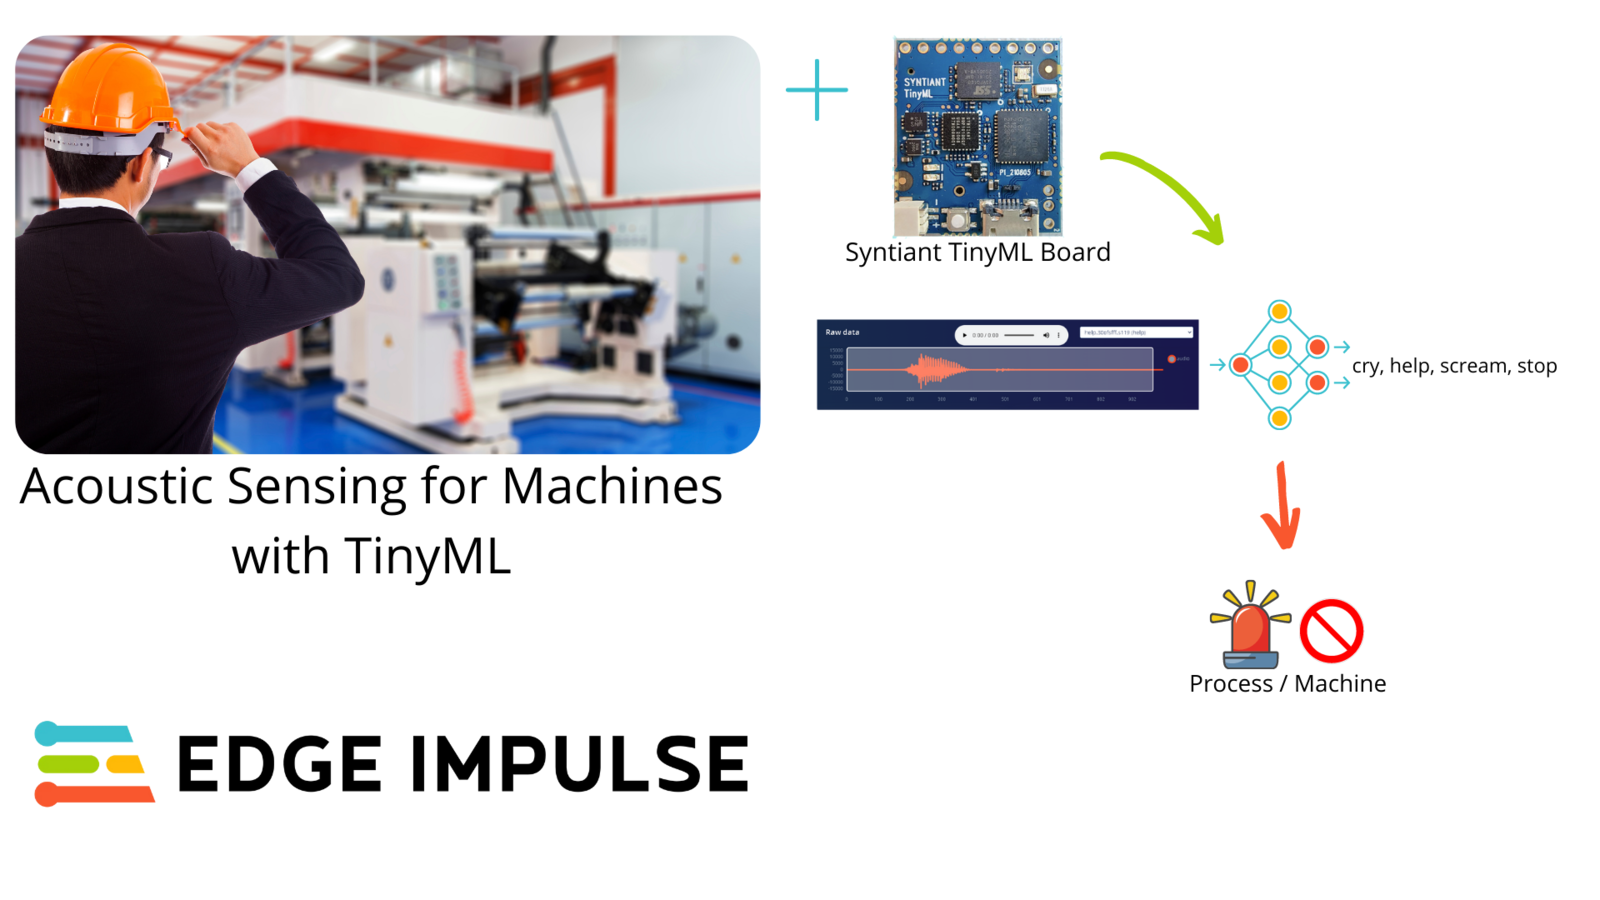
Acoustic Sensing for Machines
Quick Start
You can find the public project here: Acoustic Sensing of Worker Accidents. To add this project into your account projects, click “Clone this project” at the top of the window. Next, go to the “Deploying to Syntiant TinyML Board” section below to see how you can deploy the model to the Syntiant TinyML board. Alternatively, to create a similar project, follow the next steps after creating a new Edge Impulse project.Data Acquisition
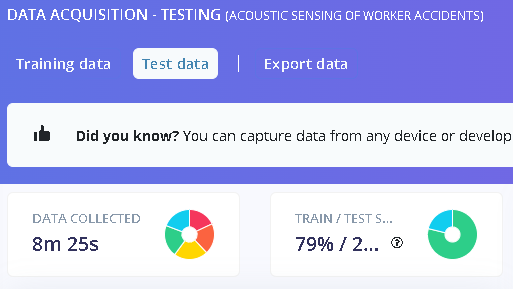
We want to create a model that can recognize both key words and human sounds like cries and screams. For these, we have 4 classes in our model: stop, help, cry and scream. In addition to these classes, we also need another class that is not part of our 4 keywords. We label this class as “unknown” and it has sound of people speaking, machines, and vehicles, among others. Each class has 1 second of audio sounds. In total, we have 31 minutes of data for training and 8 minutes of data for testing. For the “unknown” class, we can use Edge Impulse Key Spotting Dataset, which can be obtained here. From this dataset we use the “noise” audio files.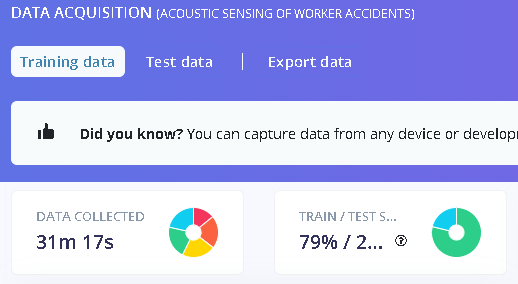
Training data
testing data
Impulse Design
The Impulse design is very unique as we are targeting the Syntiant TinyML board. Under ‘Create Impulse’ we set the following configurations: Our window size is 968ms, and window increase is 484ms milliseconds(ms). Click ‘Add a processing block’ and select Audio (Syntiant). Next, we add a learning block by clicking ‘Add a learning block’ and select Classification (Keras). Click ‘Save Impulse’ to use this configuration.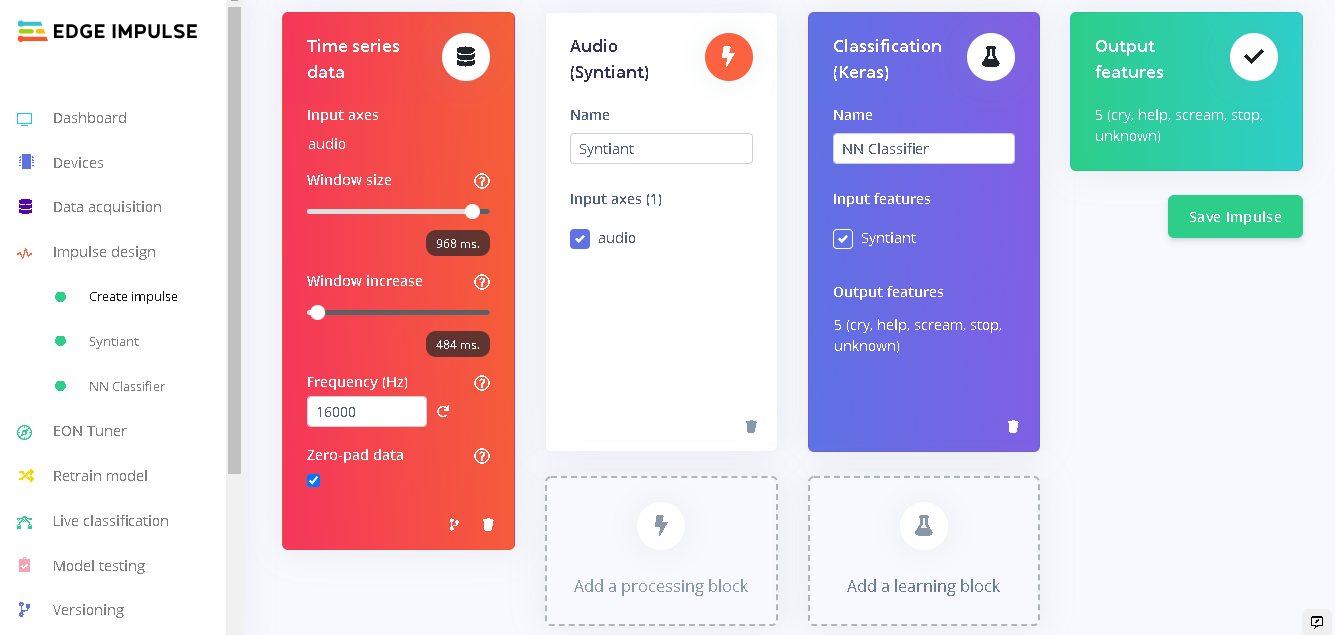
Create impulse
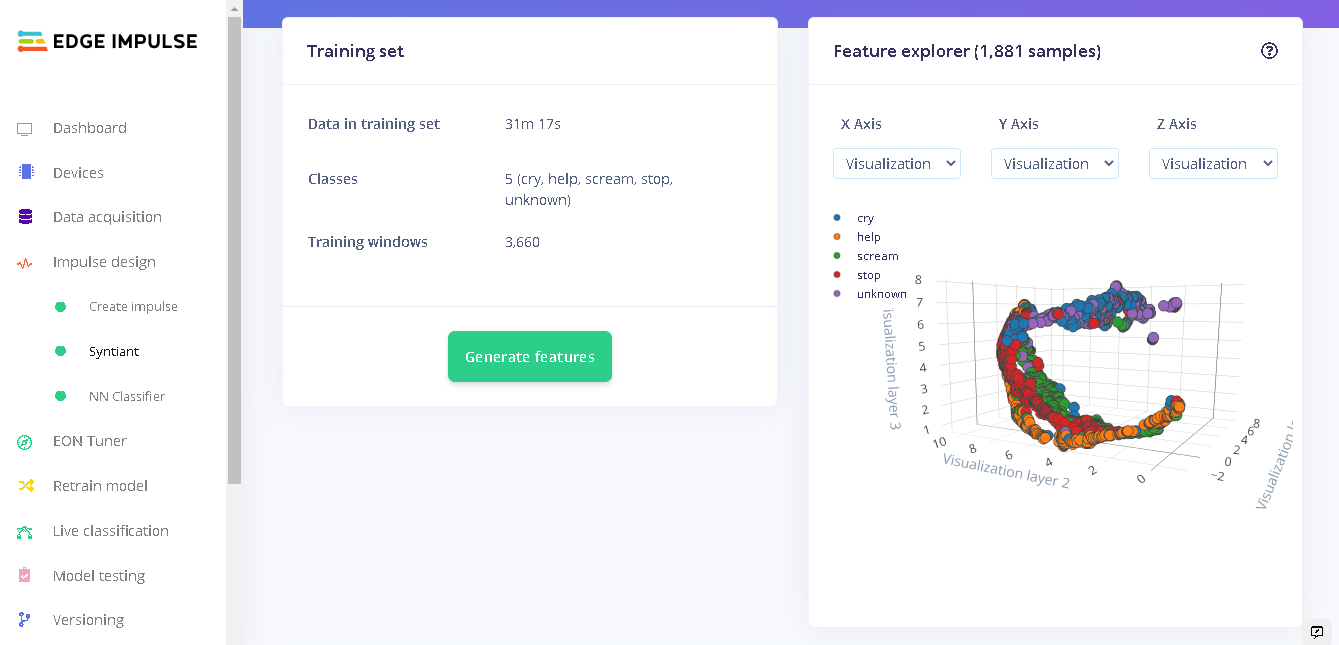
Features
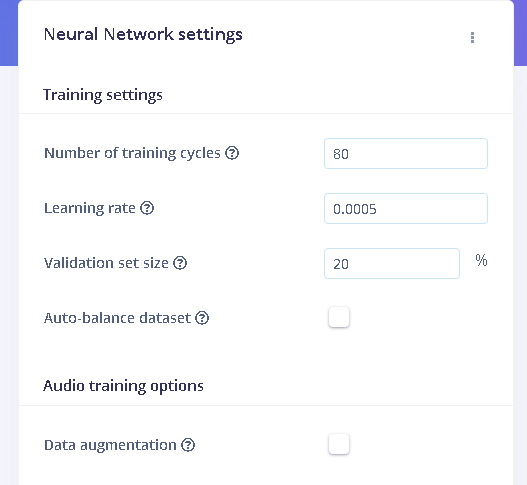
NN parameters
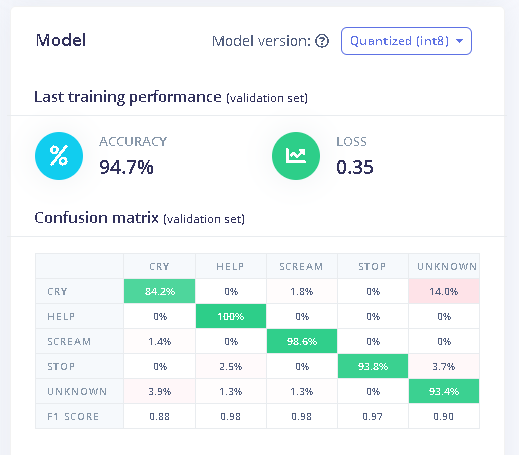
Training accuracy
Model Testing
When training our model, we used 80% of the data in our dataset. The remaining 20% is used to test the accuracy of the model in classifying unseen data. We need to verify that our model has not overfit by testing it on new data. If your model performs poorly, then it means that it overfit (crammed your dataset). This can be resolved by adding more data and/or reconfiguring the processing and learning blocks if needed. Increasing performance tricks can be found in this guide. On the left bar, click “Model testing” then “classify all”. Our current model has a performance of 91% which is pretty good and acceptable. From the results we can see new data called “testing” which was obtained from the environment and sent to Edge Impulse. The Expected Outcome column shows which class the collected data belong to. In all cases, our model classifies the sounds correctly as seen in the Result column; it matches the Expected outcome column.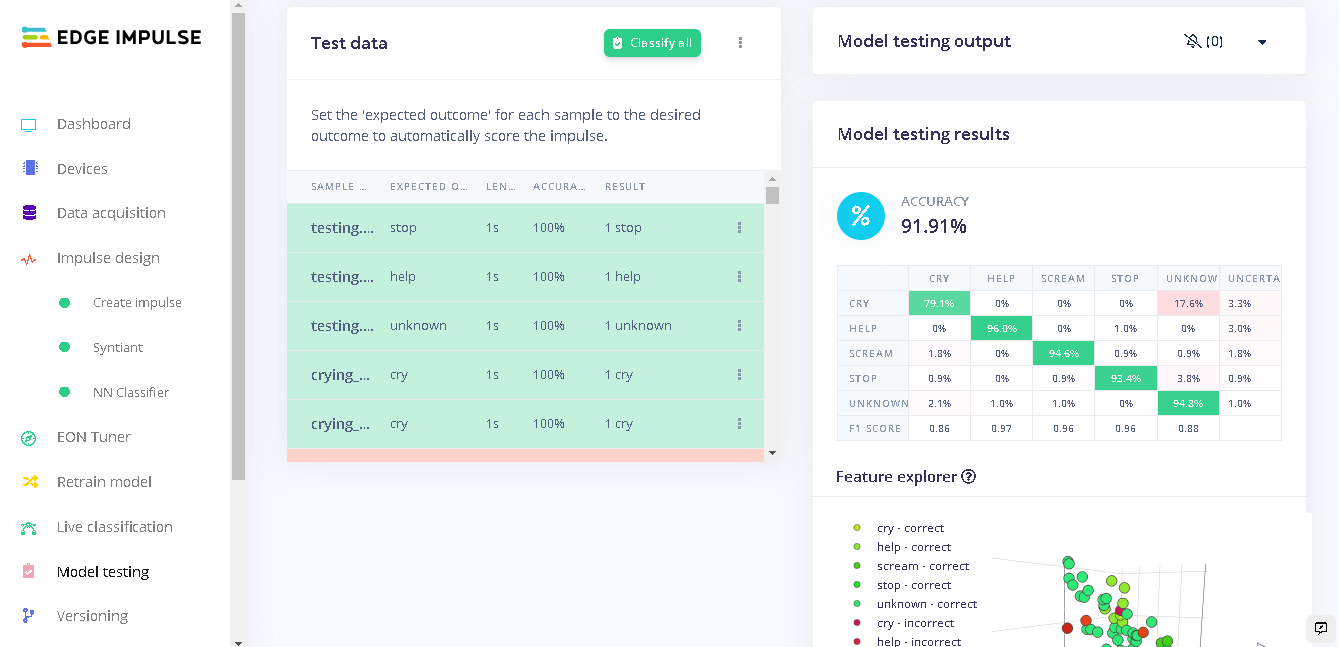
Model testing
Deploying to the Syntiant TinyML Board
To deploy our model to the Syntiant Board, first click “Deployment”. Here, we will first deploy our model as a firmware on the board. When our audible events (cry, scream, help, stop) are detected, the onboard RGB LED will turn on. When the unknown sounds are detected, the on board RGB LED will be off. This runs locally on the board without requiring an internet connection, and runs with minimal power consumption. Under “Build Firmware” select Syntiant TinyML.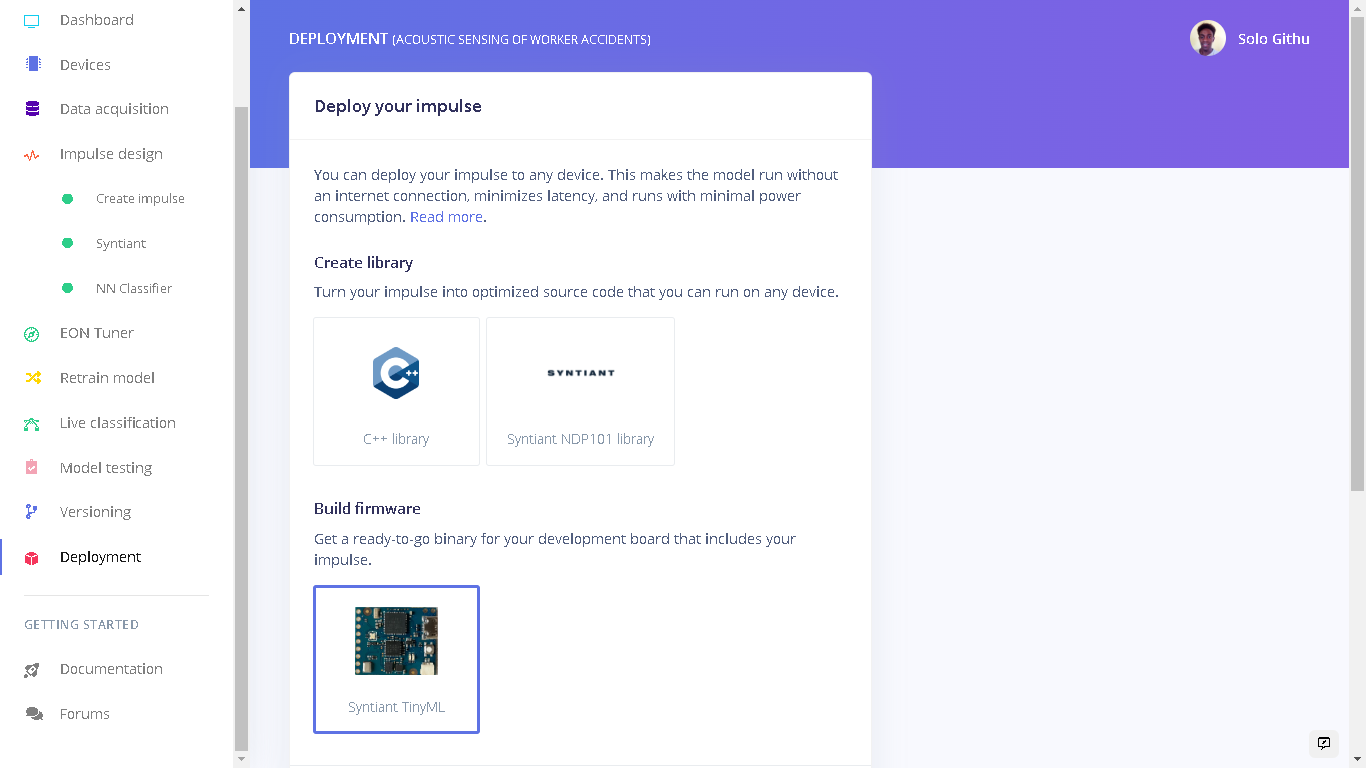
Deploy firmware
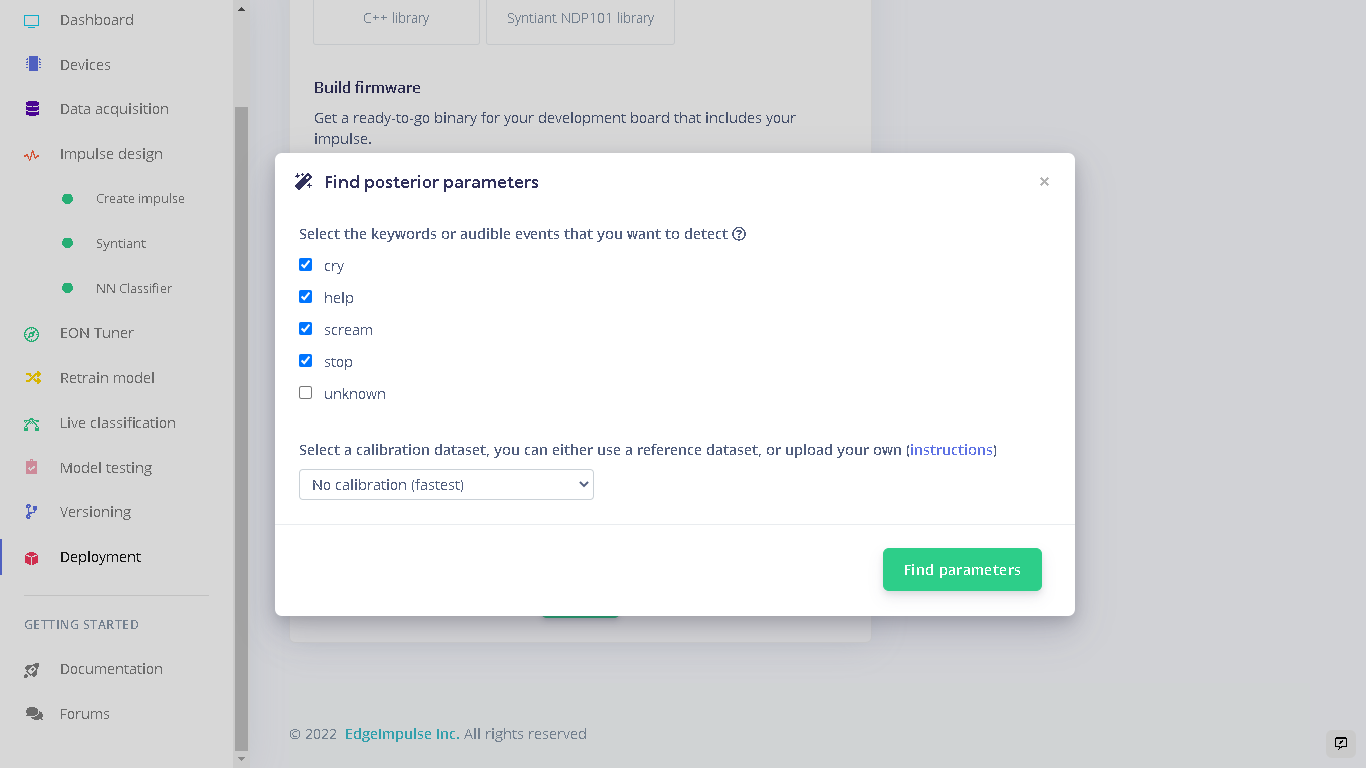
Find posterior parameters
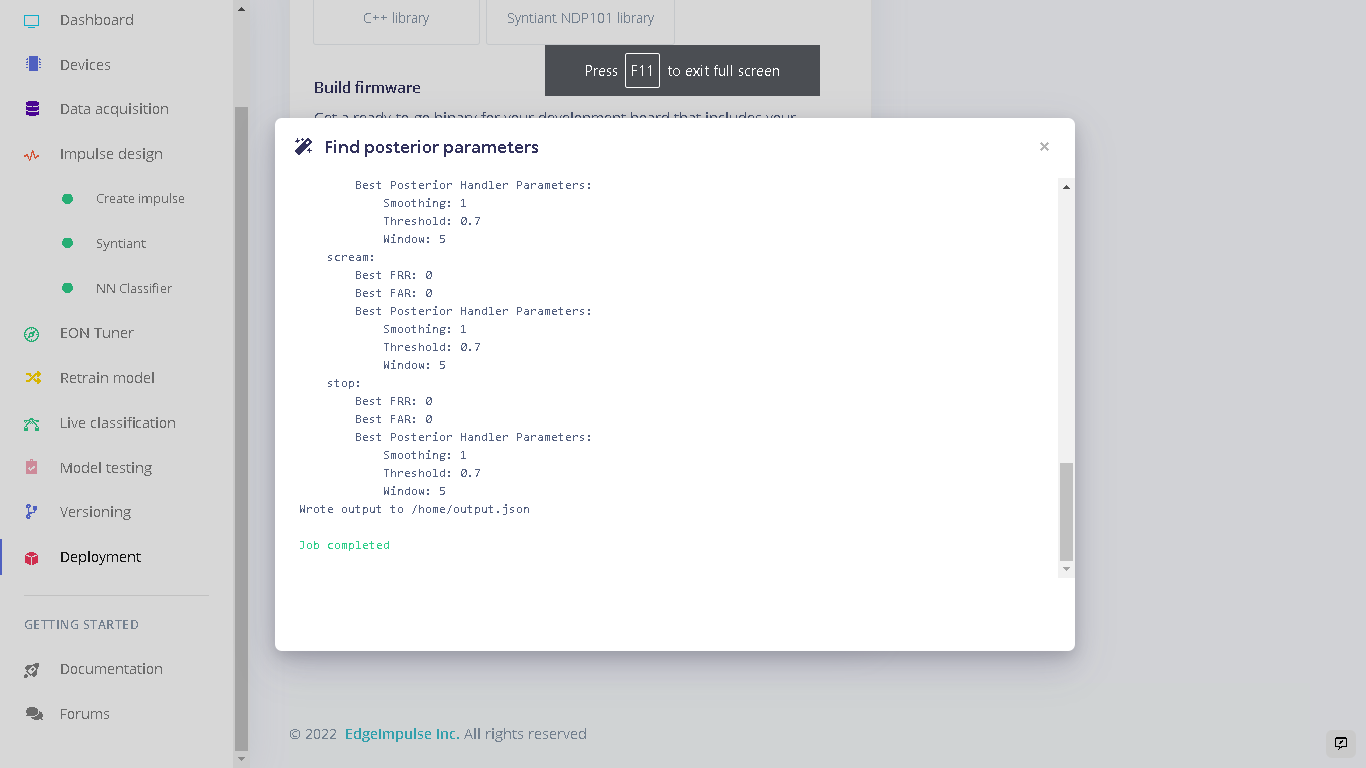
posterior parameters done
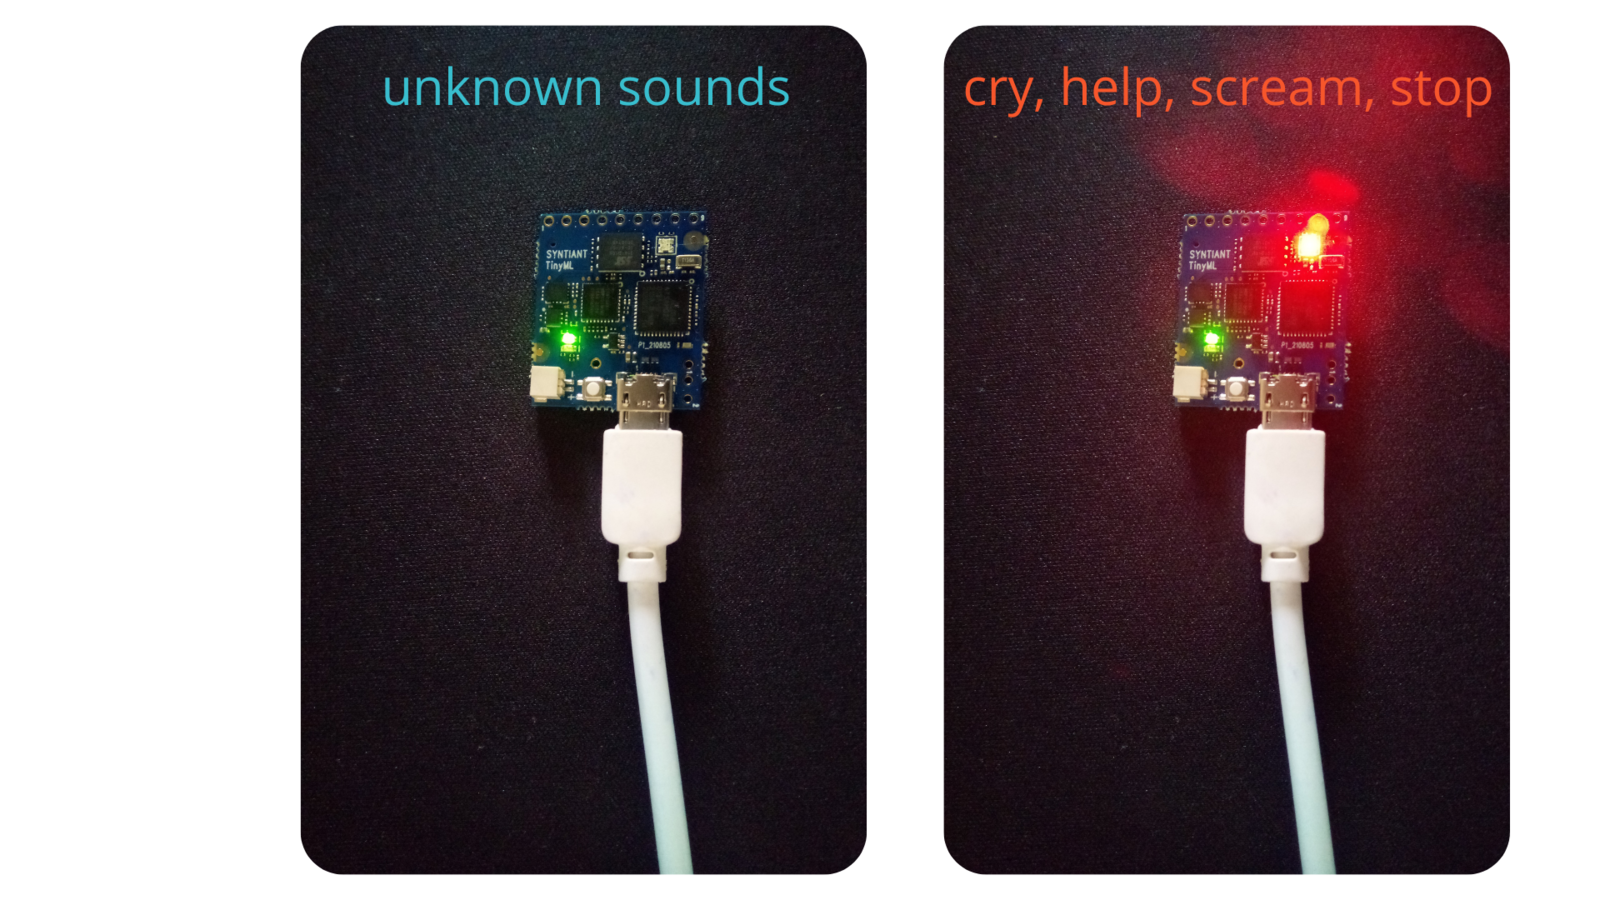
Syntiant red-light green-light
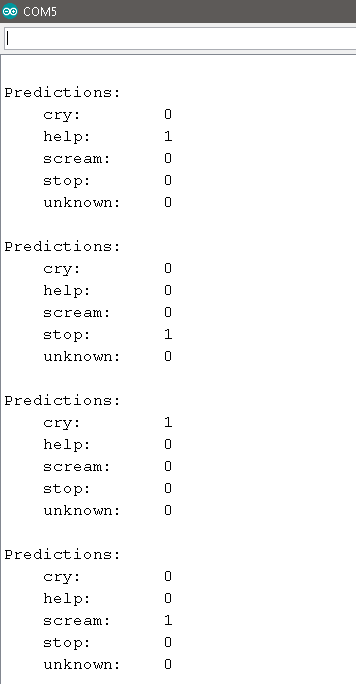
Predictions on serial port
Taking it one step further
We can use our Machine Learning model as a safety feature for actuators, machines or other operations involving people and machines. To do this we can build custom firmware for our Syntiant TinyML board that turns a GPIO pin HIGH or LOW based on the detected event. The GPIO pin can then be connected to a controller that runs an actuator or a system. The controller can then turn off the actuator or process when a signal is sent by the Syntiant TinyML board.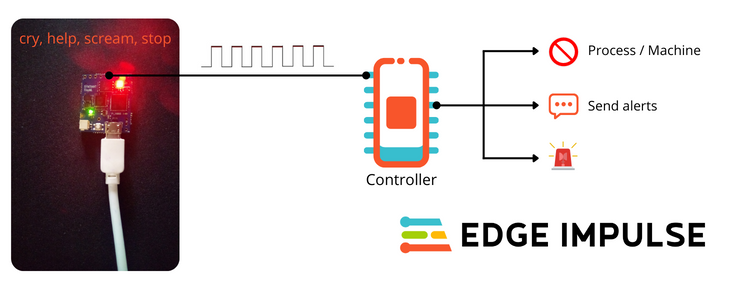
Syntiant TinyML wired signalling
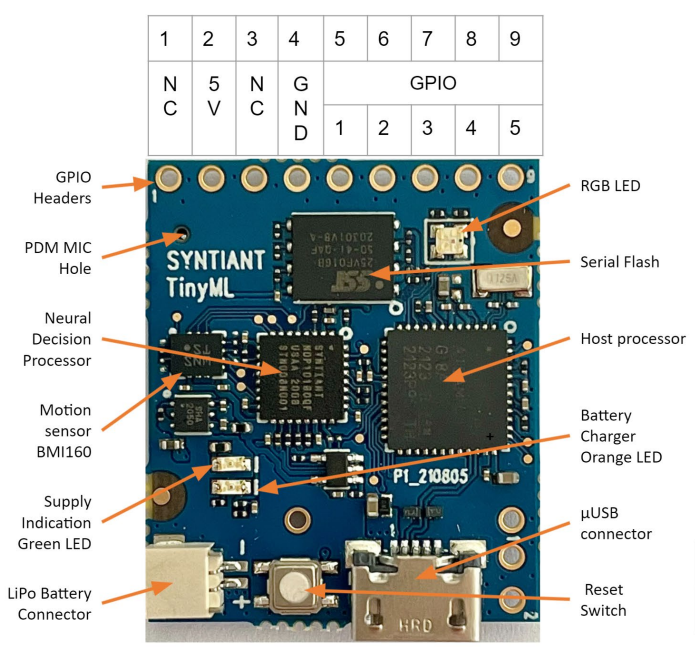
Syntiant TinyML pinout

Custom firmware
Intelligent sensing for 8-bit LoRaWAN actuator
I leveraged my TinyML solution and used it to add more sensing to my LoRaWAN actuator. I connected the Syntiant TinyML board to an Atmega and SX1276 based development board called the WaziAct. This board is designed to play as a production LoRa actuator node with an onboard relay which I often use to actuate pumps, solenoids, and electrical devices. I programmed the board to read the pin status connected to the Syntiant TinyML board and when a signal is received it stops executing the main tasks. An alert is also sent to the gateway via LoRa while the main tasks remain halted. The Arduino code can be accessed here.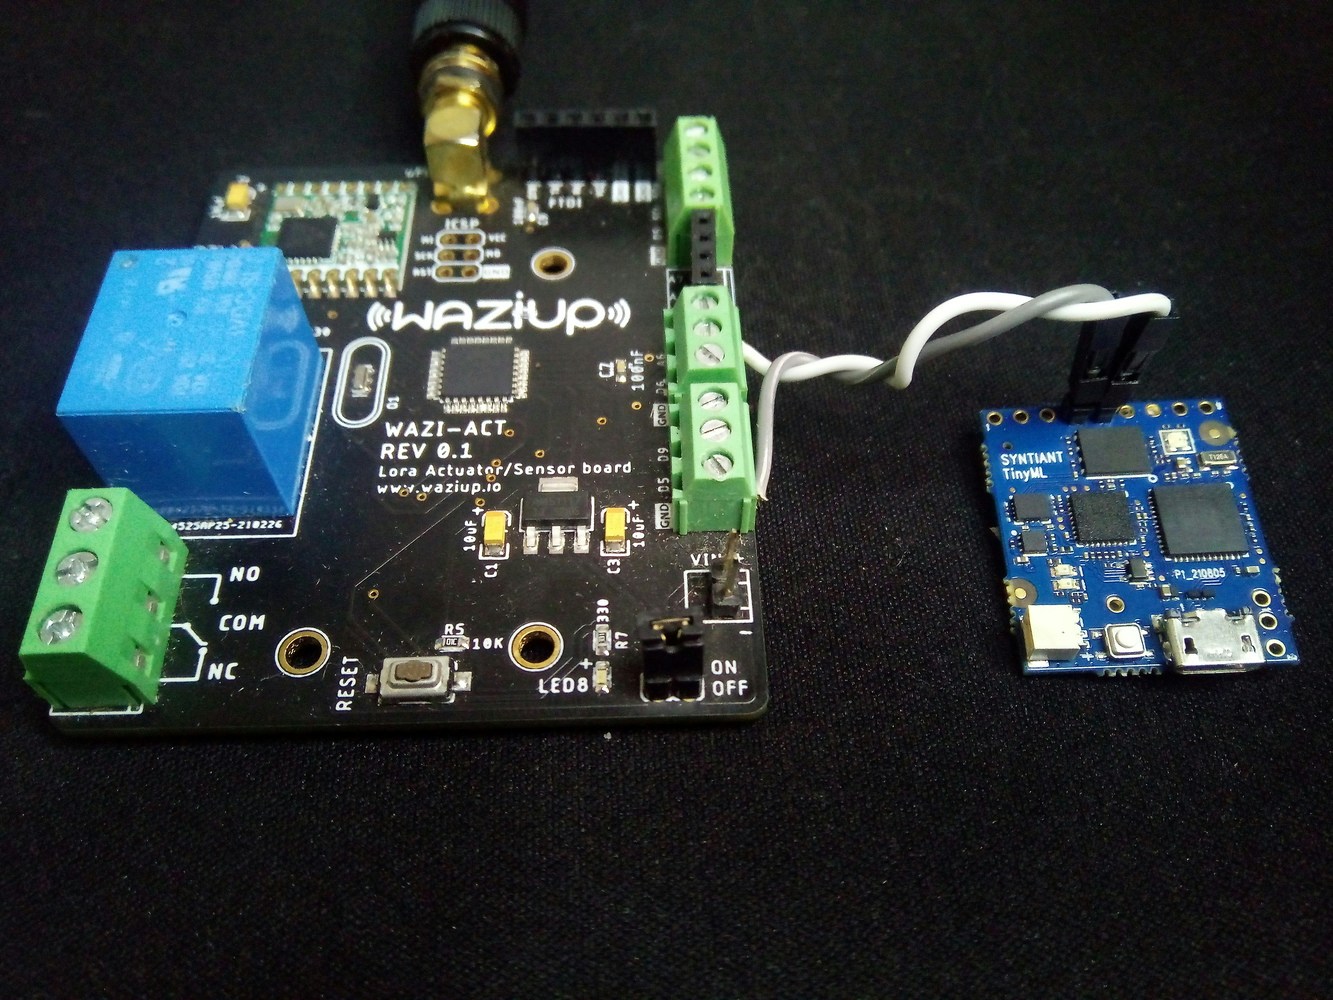
Syntiant TinyML LoRaWAN actuator
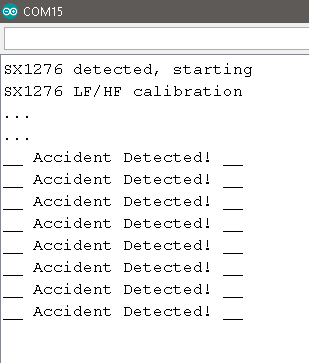
Accident detected

Syntiant TinyML LoRaWAN testing