Introduction
Hospitals can benefit greatly from the use of modern technologies and automation. As hospitals continue to struggle through lack of staff, they need to explore ways that tasks can be automated to free up their valuable human resources. AI is one technology that can play a huge role in the automation of hospitals, and with platforms such as Edge Impulse and low cost embedded devices, automation can be implemented easily, and at low cost.Solution
Using the built-in sensors of the Arduino Nano 33 BLE Sense and the Edge Impulse platform, beds can be monitored to see if they are occupied or not, meaning that hospital staff can know in real-time whether or not they have room for a patient, and exactly where the free beds are. This project is a proof of concept to show how Edge Impulse can be used to train a custom neural network, which can be deployed to an Arduino Nano 33 BLE Sense.Hardware
- Arduino Nano 33 BLE Sense Buy
Platform
- Edge Impulse Visit
Software
Project Setup
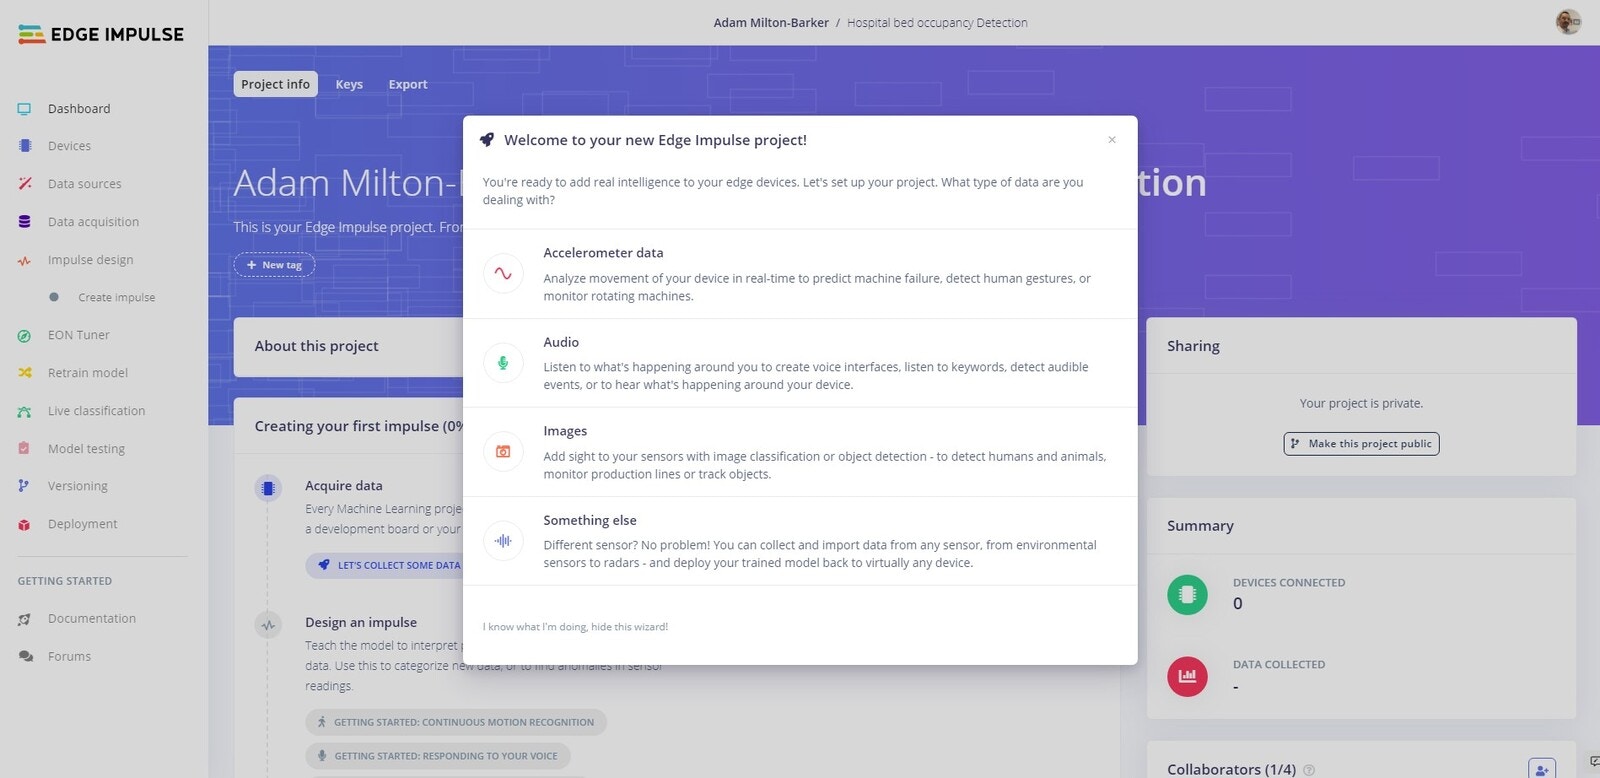
Head over to Edge Impulse and create your account or login. Once logged in you will be taken to the project selection/creation page.Create New Project
Your first step is to create a new project. From the project selection/creation you can create a new project.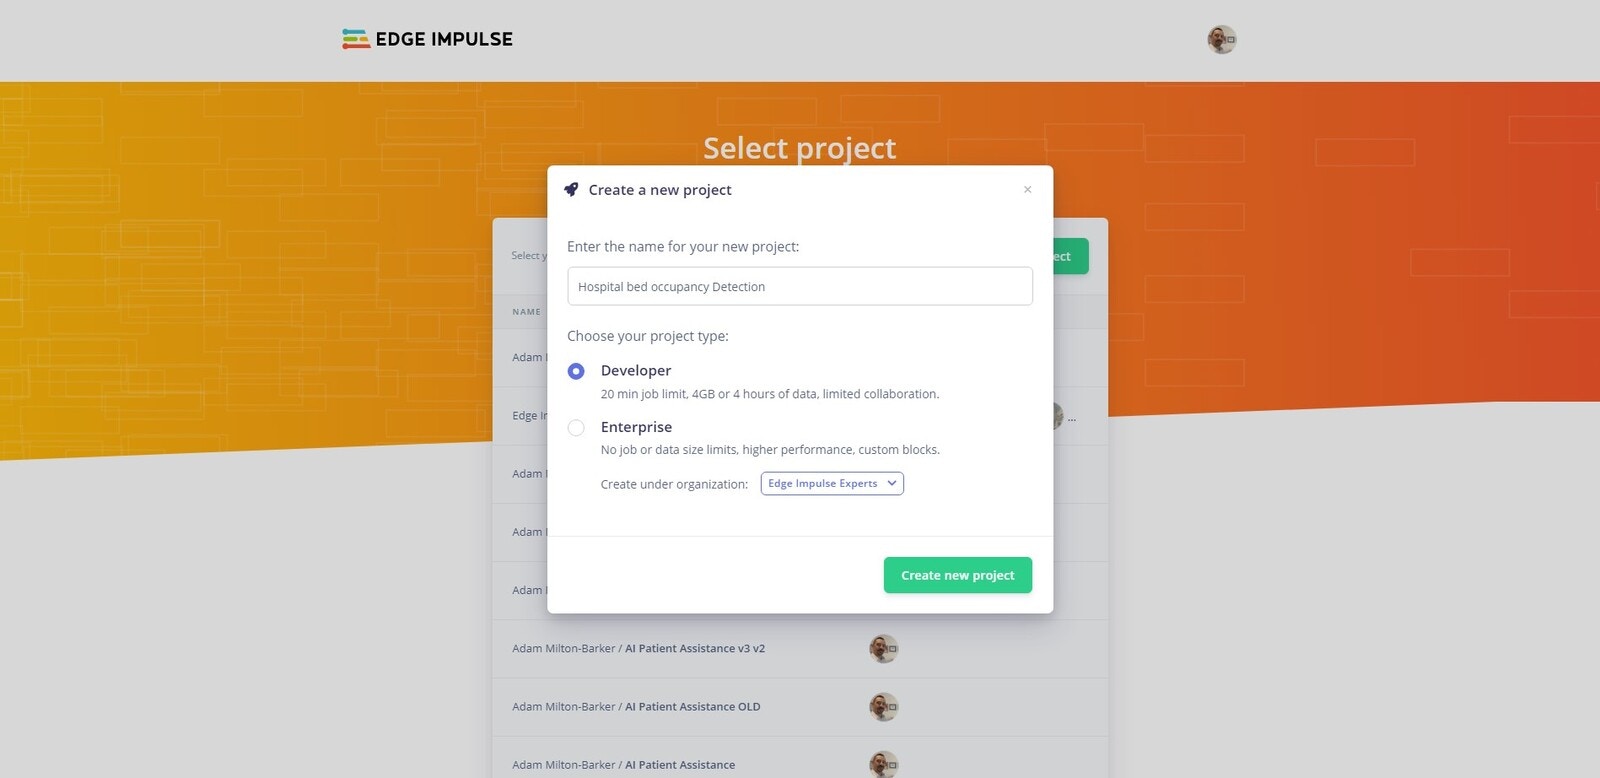
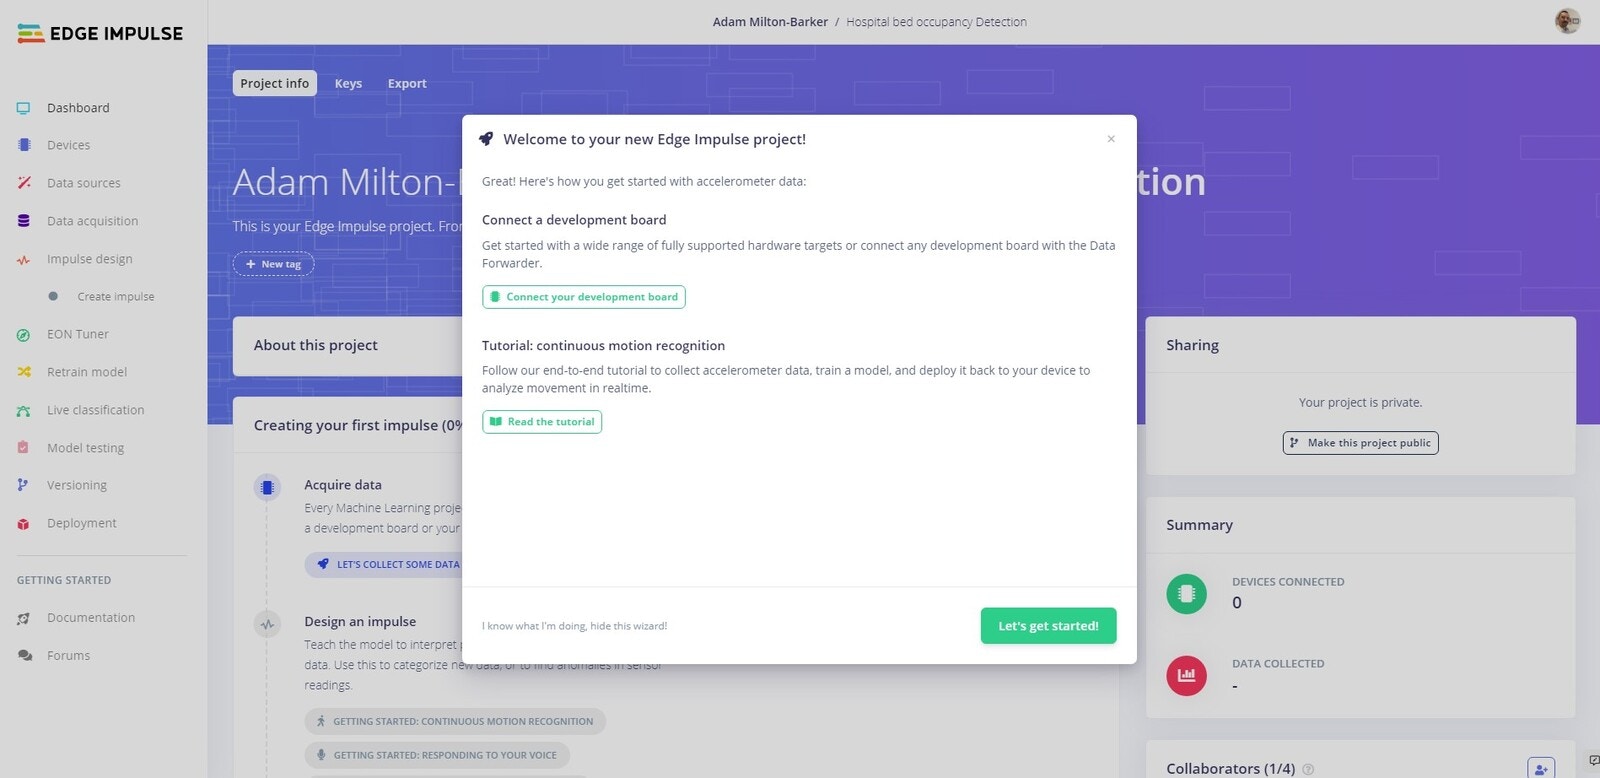
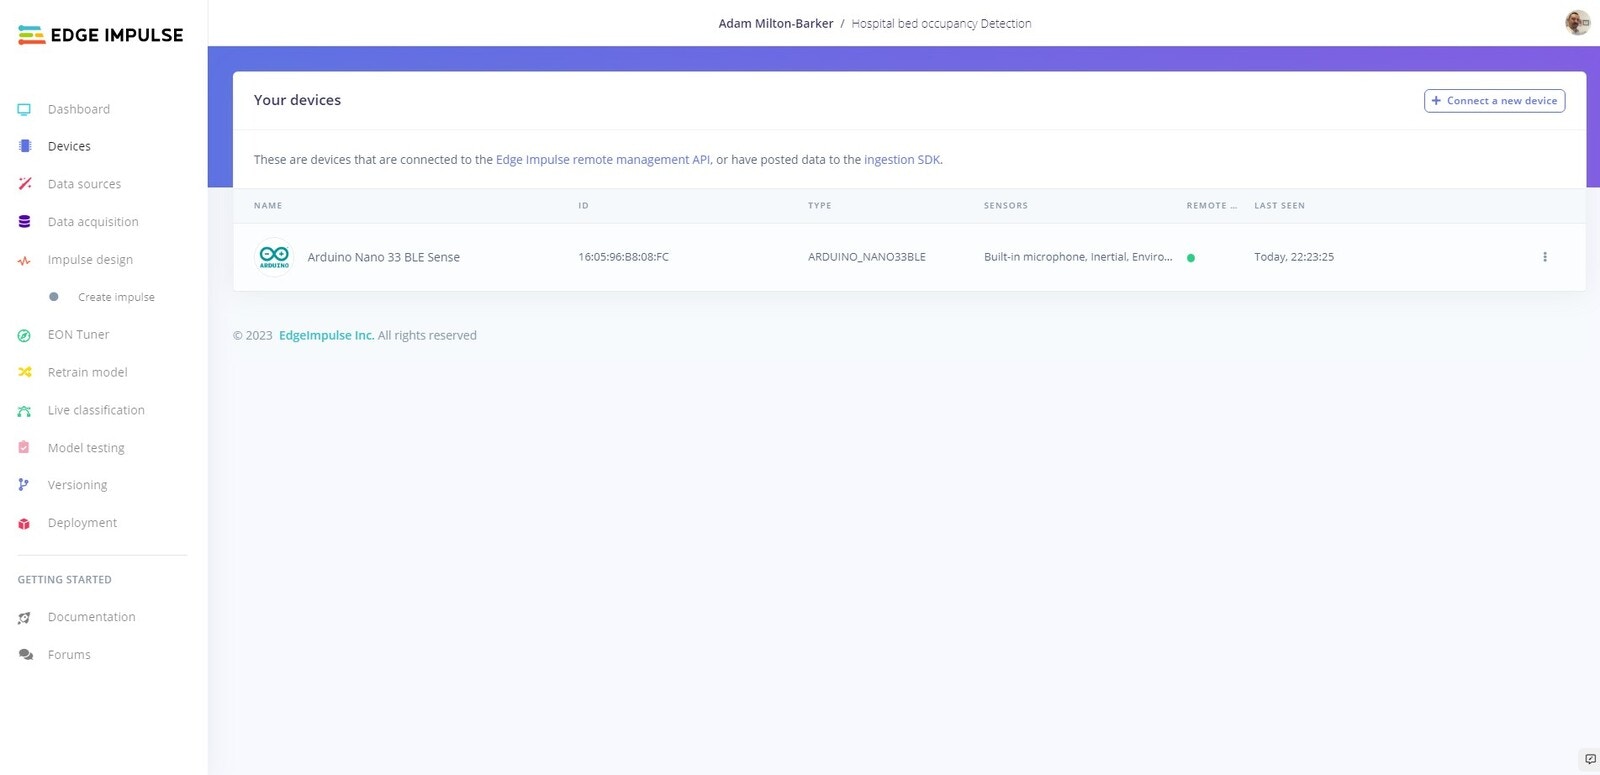
Connect Your Device
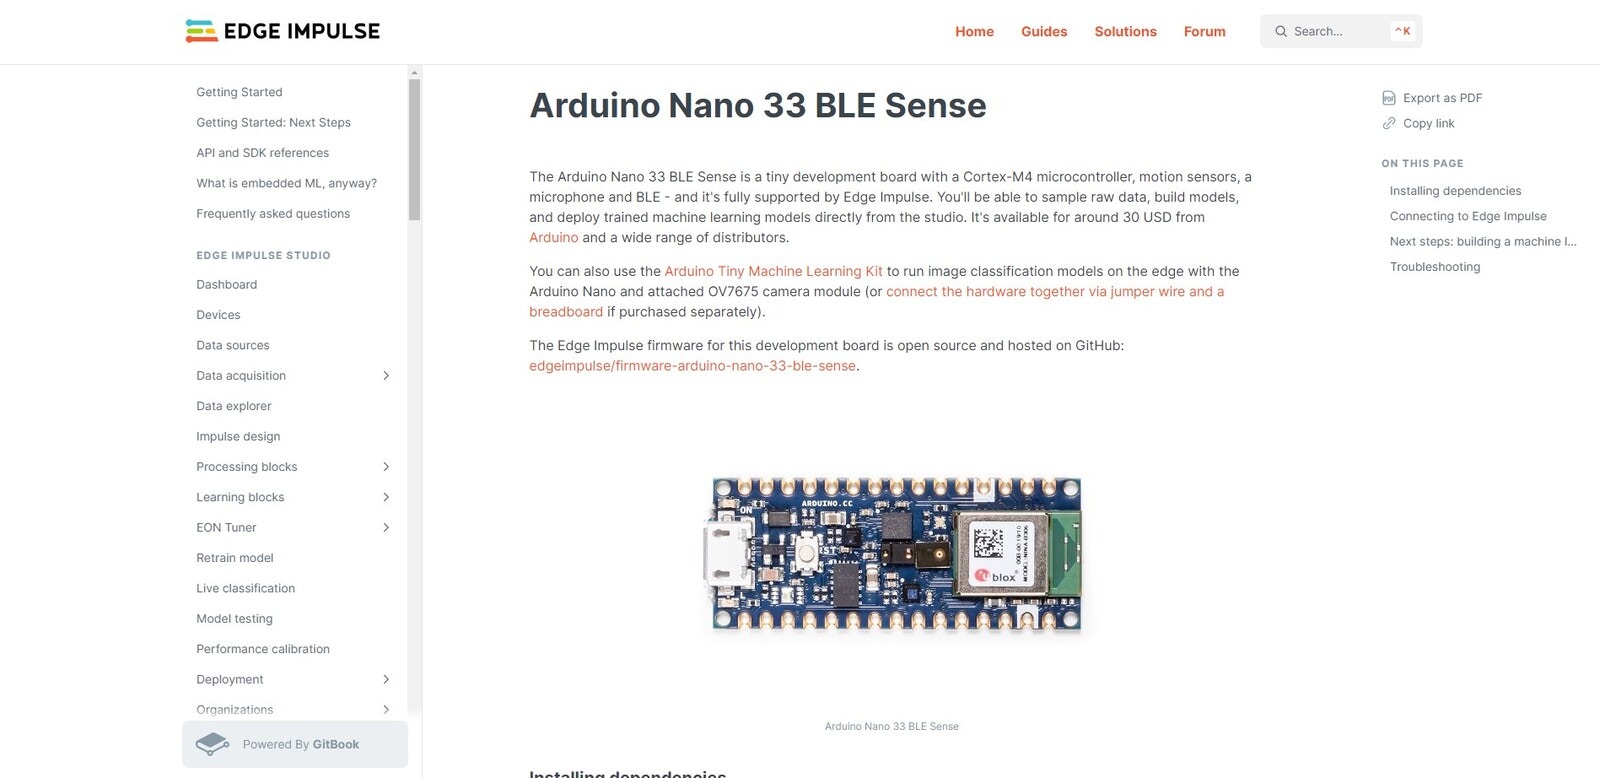
flash_windows.bat, flash_mac.command or flash_linux.sh.
Once the firmware has been flashed you should see the output above, hit Enter to close command prompt/terminal.
Open a new command prompt/terminal, and enter the following command:
Data Acquisition
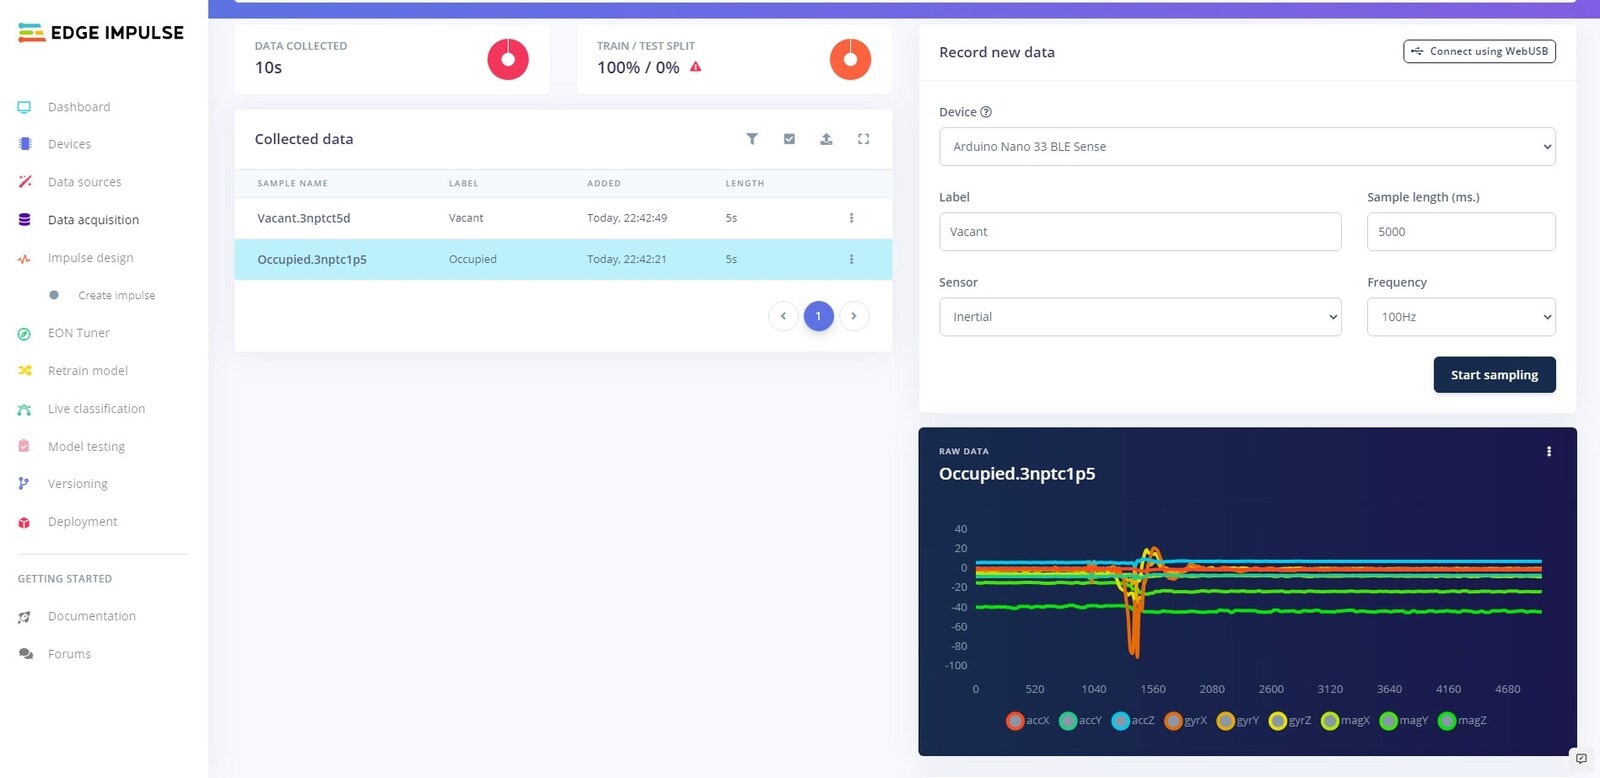
We are going to create our own dataset, using the built-in sensors on the Arduino Nano 33 BLE Sense. We are going to collect data that will allow us to train a machine learning model that can detect sitting down on a bed, standing up, and idle state. We will use the Record new data feature on Edge Impulse to record around 35 samples of each class.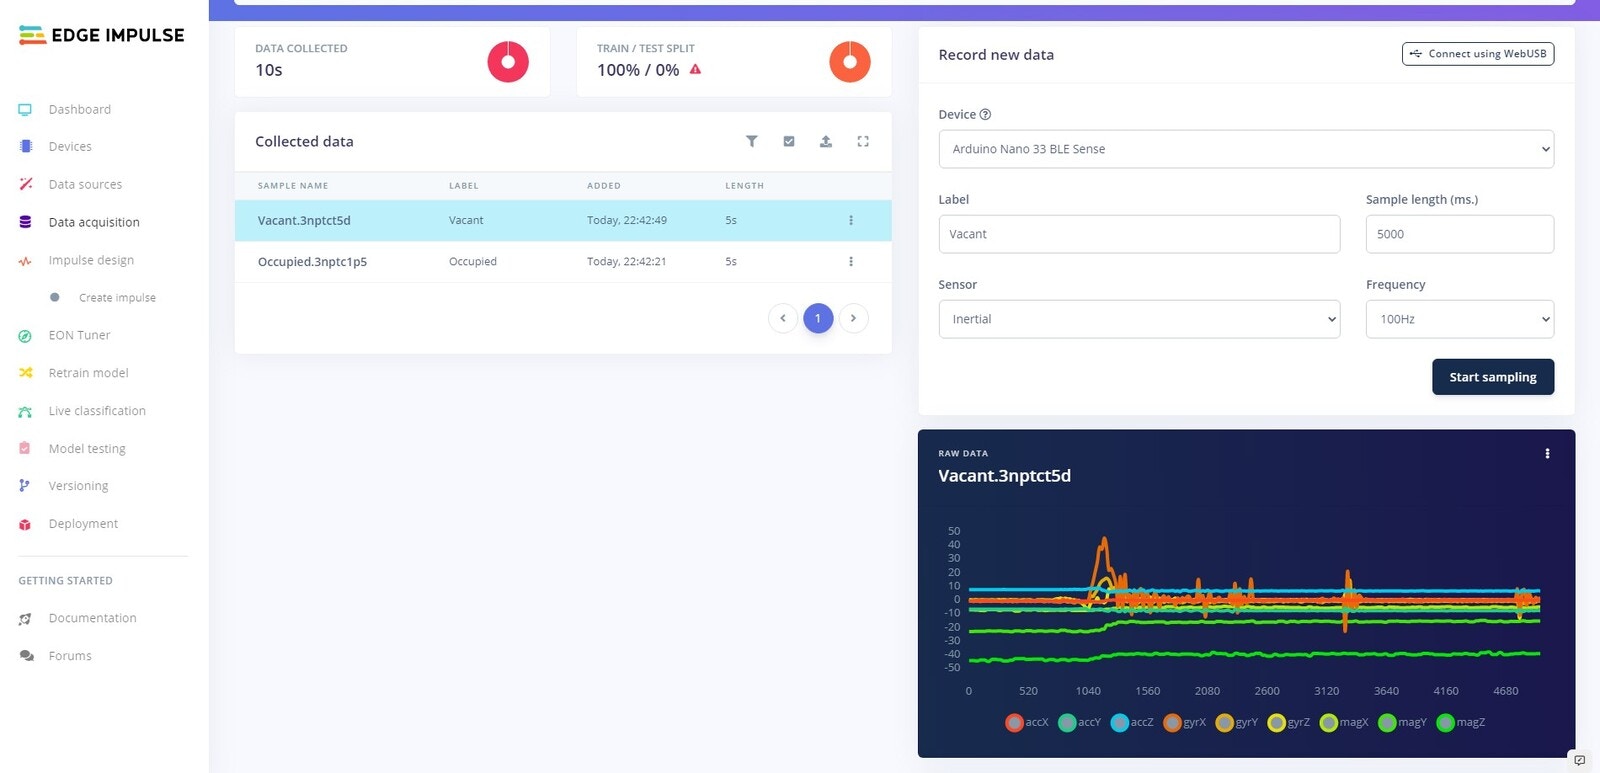
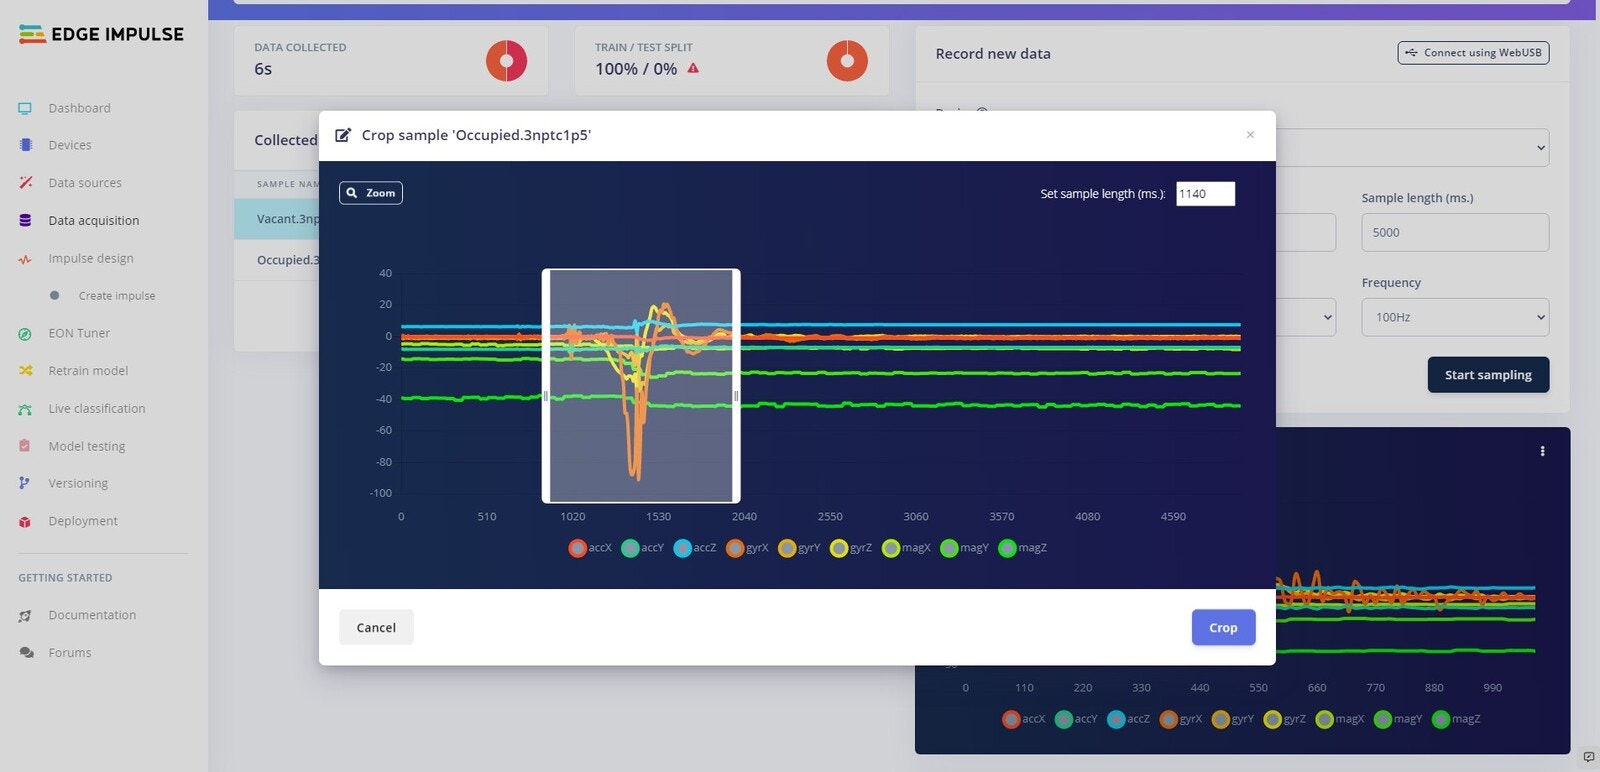
Crop Data
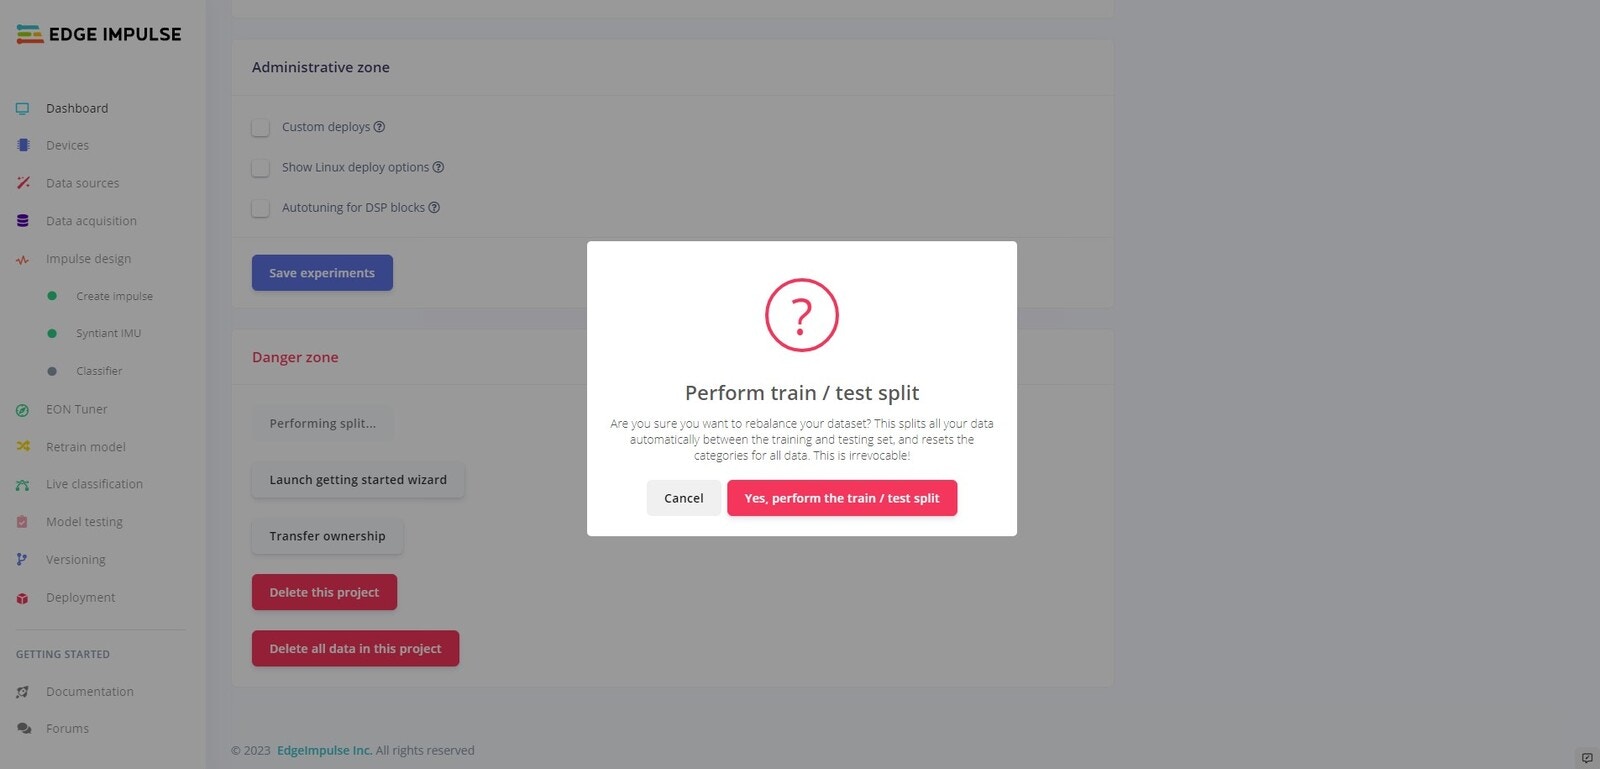
Test Split
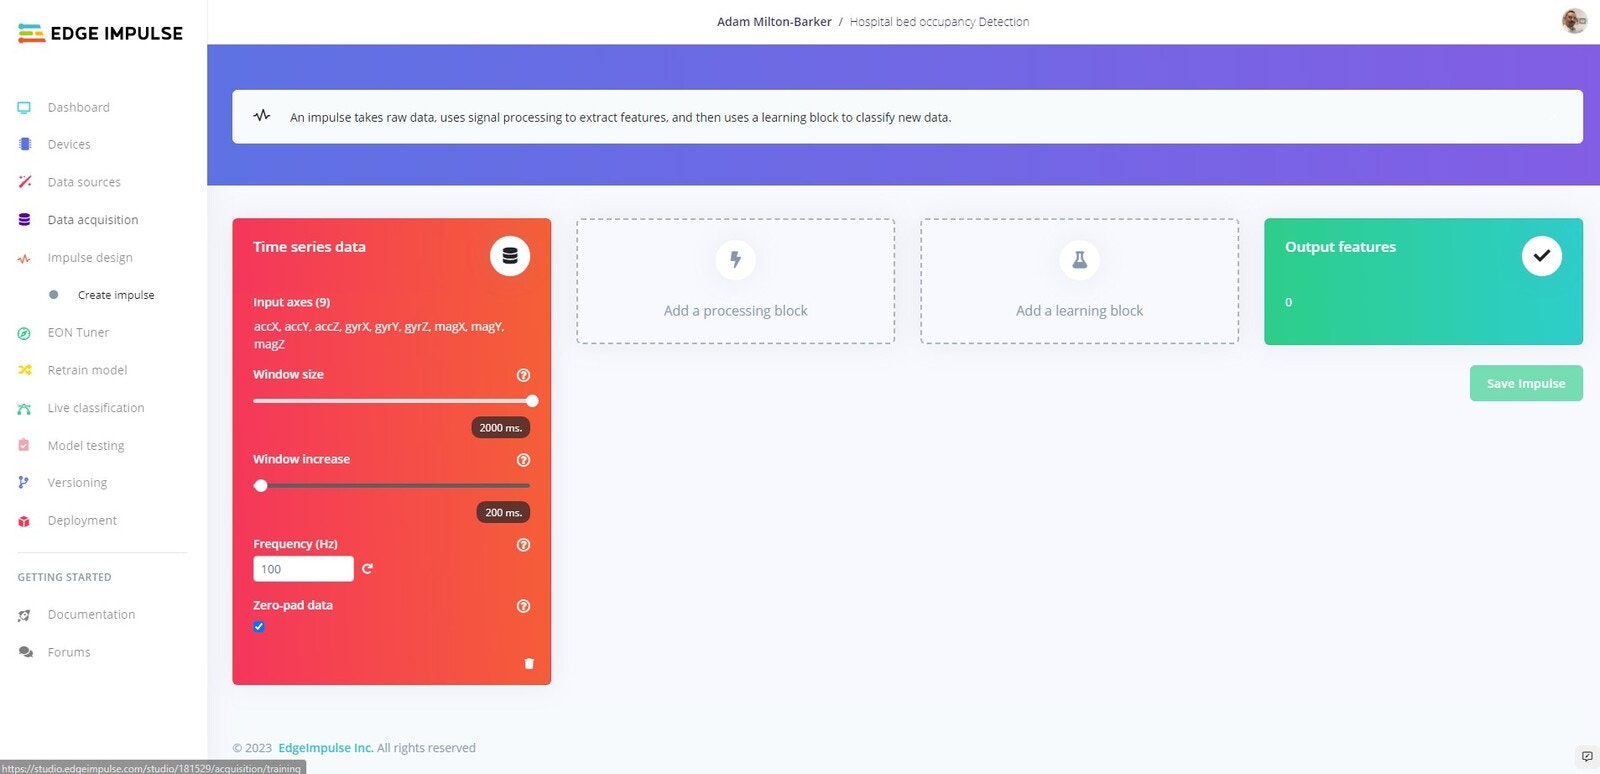
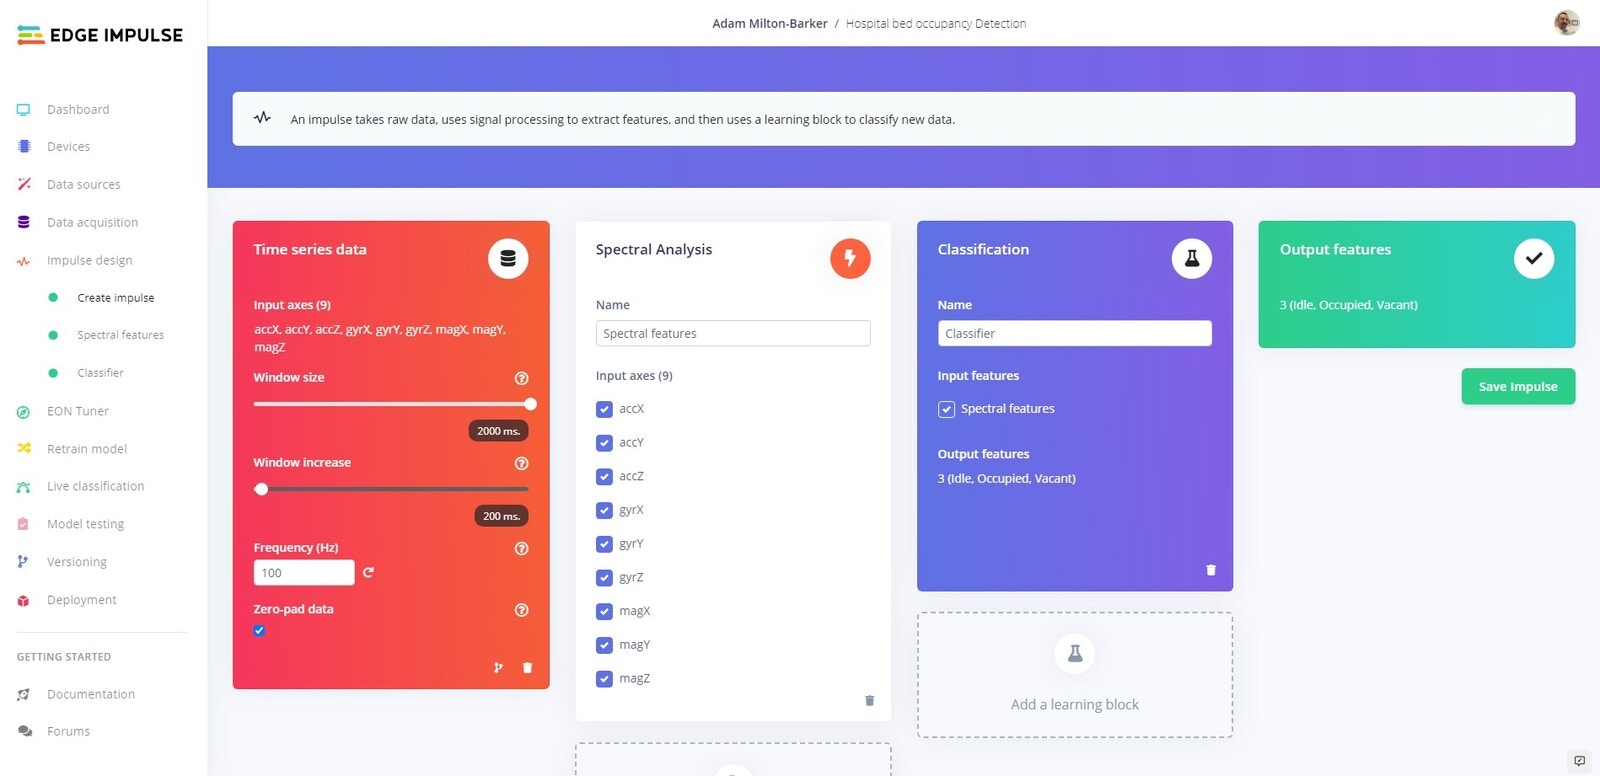
Create Impulse
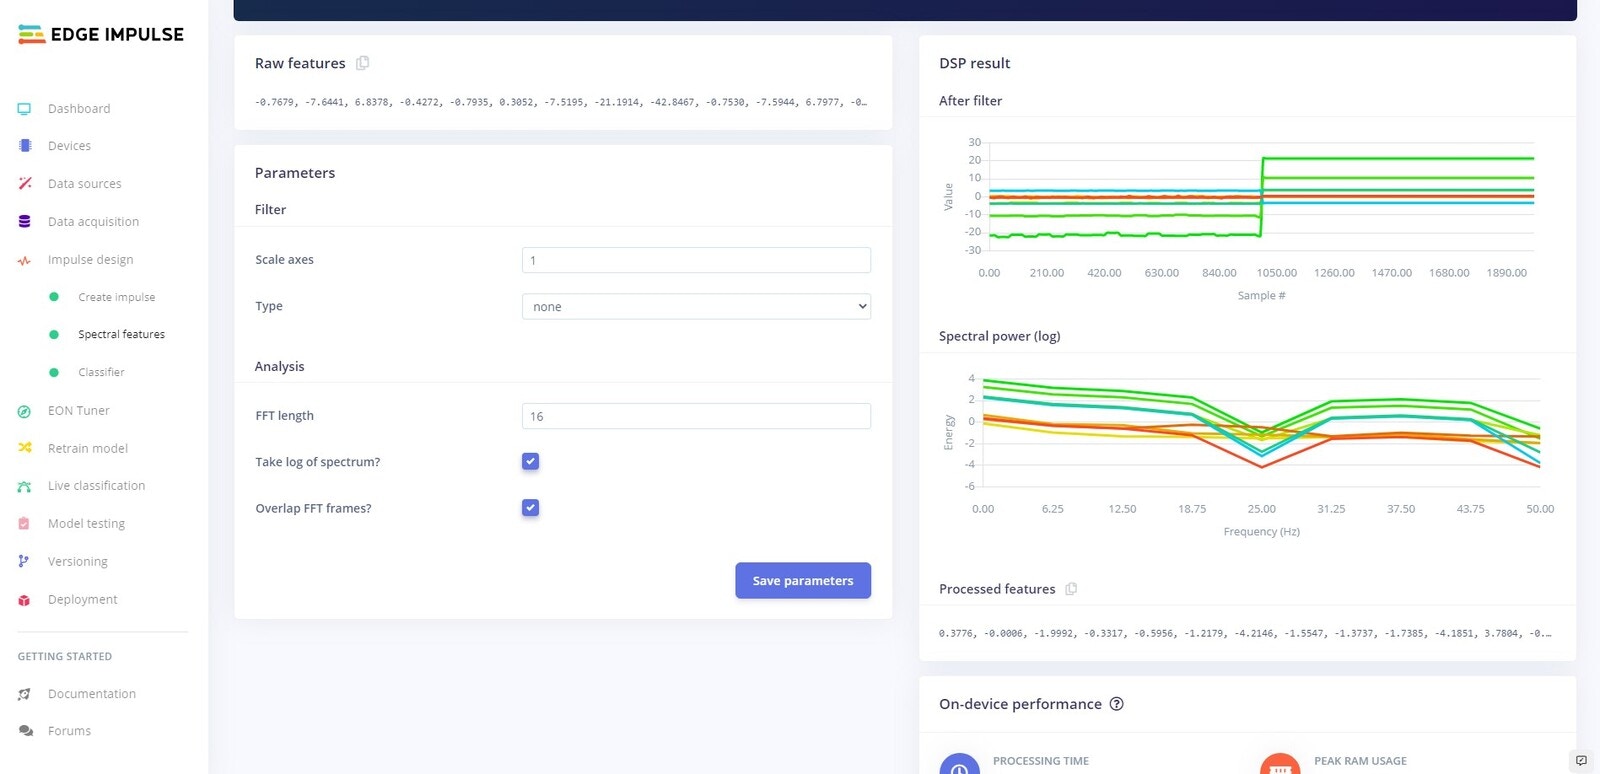
Spectral Features
Parameters
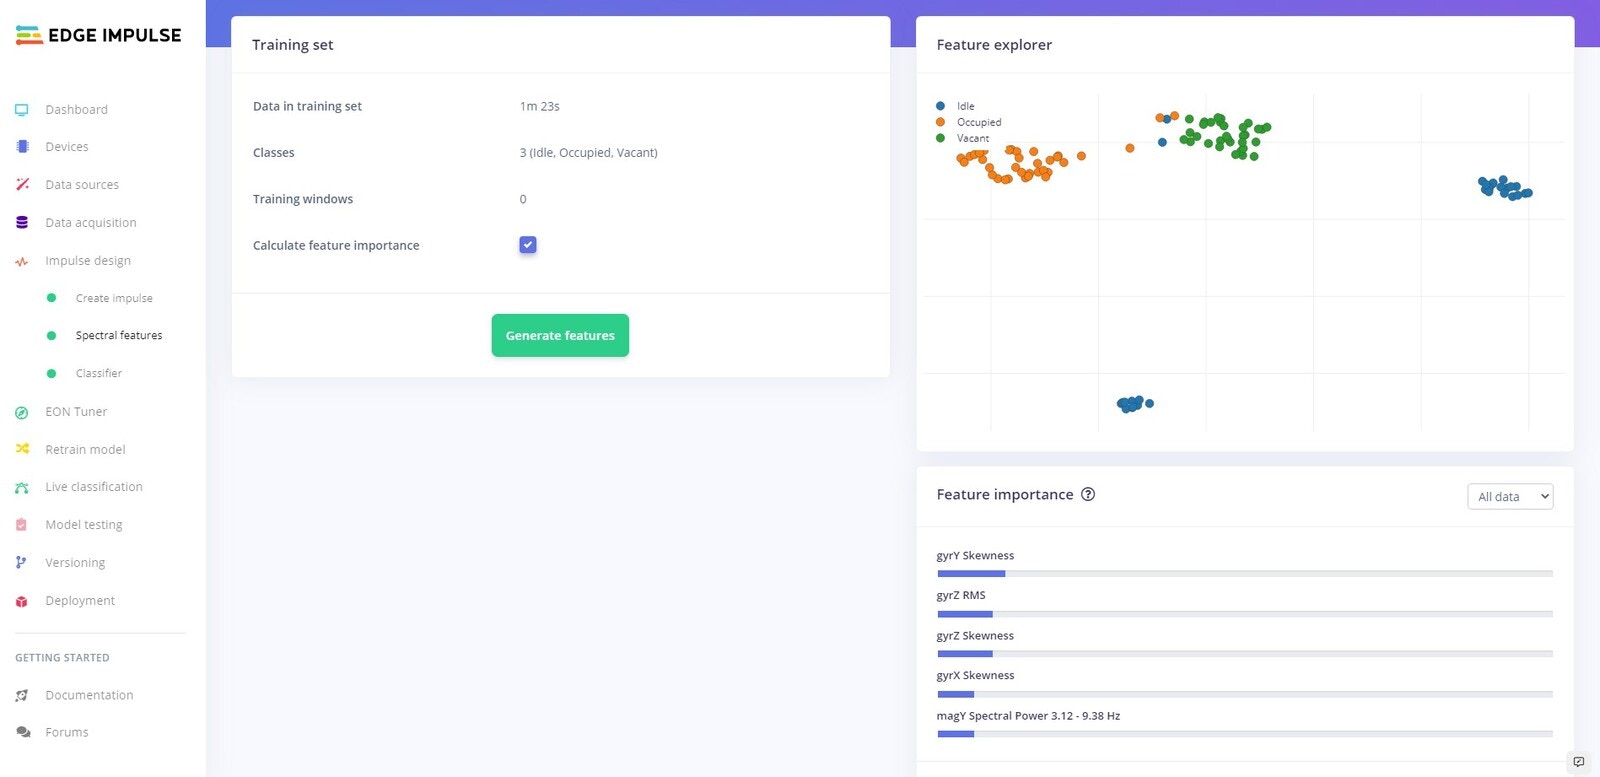
Generate Features
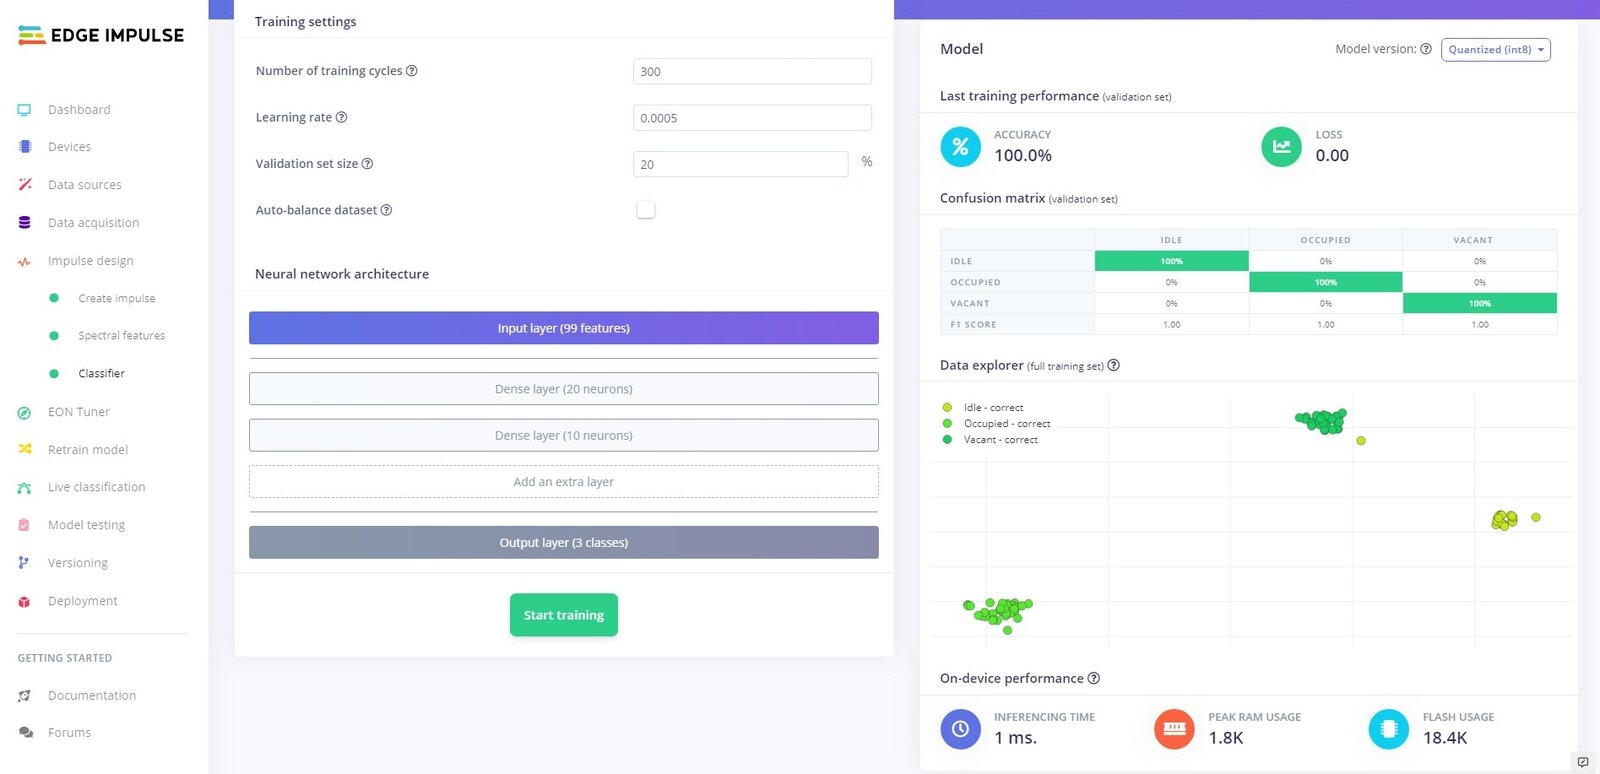
Training
Testing
Platform Testing
Head over to the Model testing tab where you will see all of the unseen test data available. Click on the Classify all and sit back as we test our model.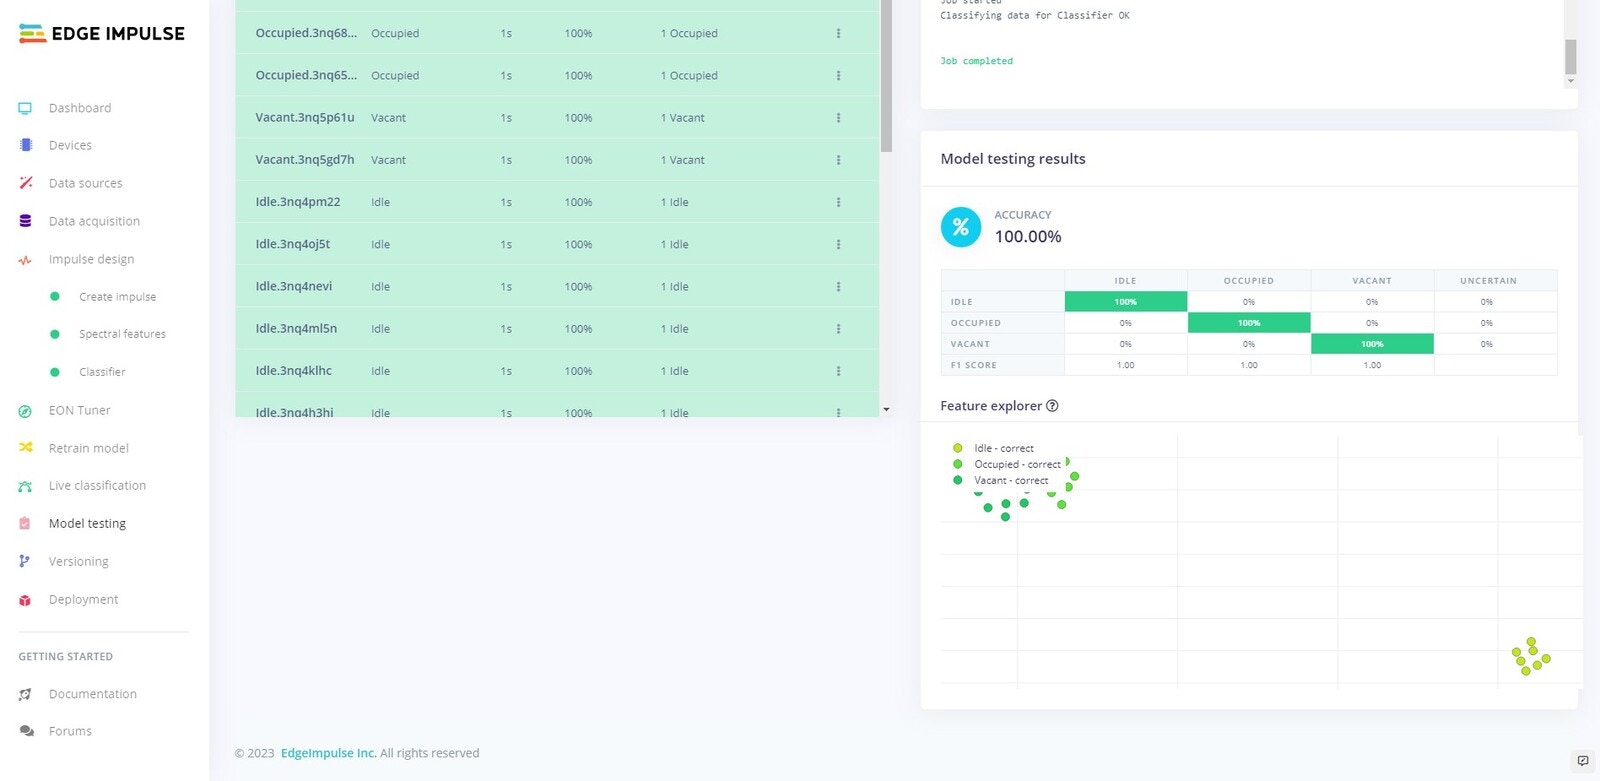
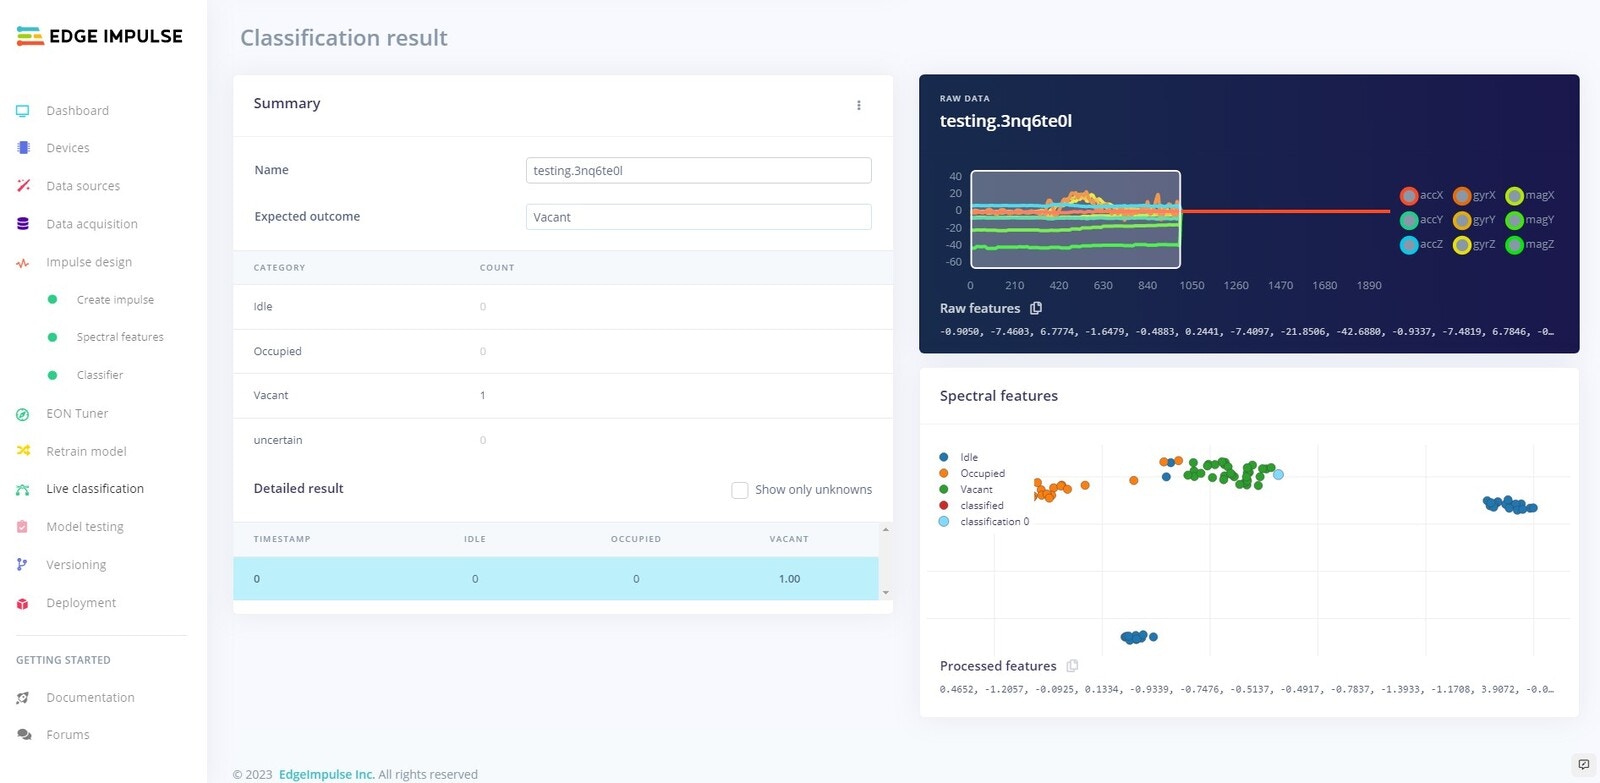
On Device Testing
Before we deploy the software to the Nano 33 BLE Sense, lets test using the Edge Impulse platform whilst connected to the board. For this to work make sure your device is currently connected.
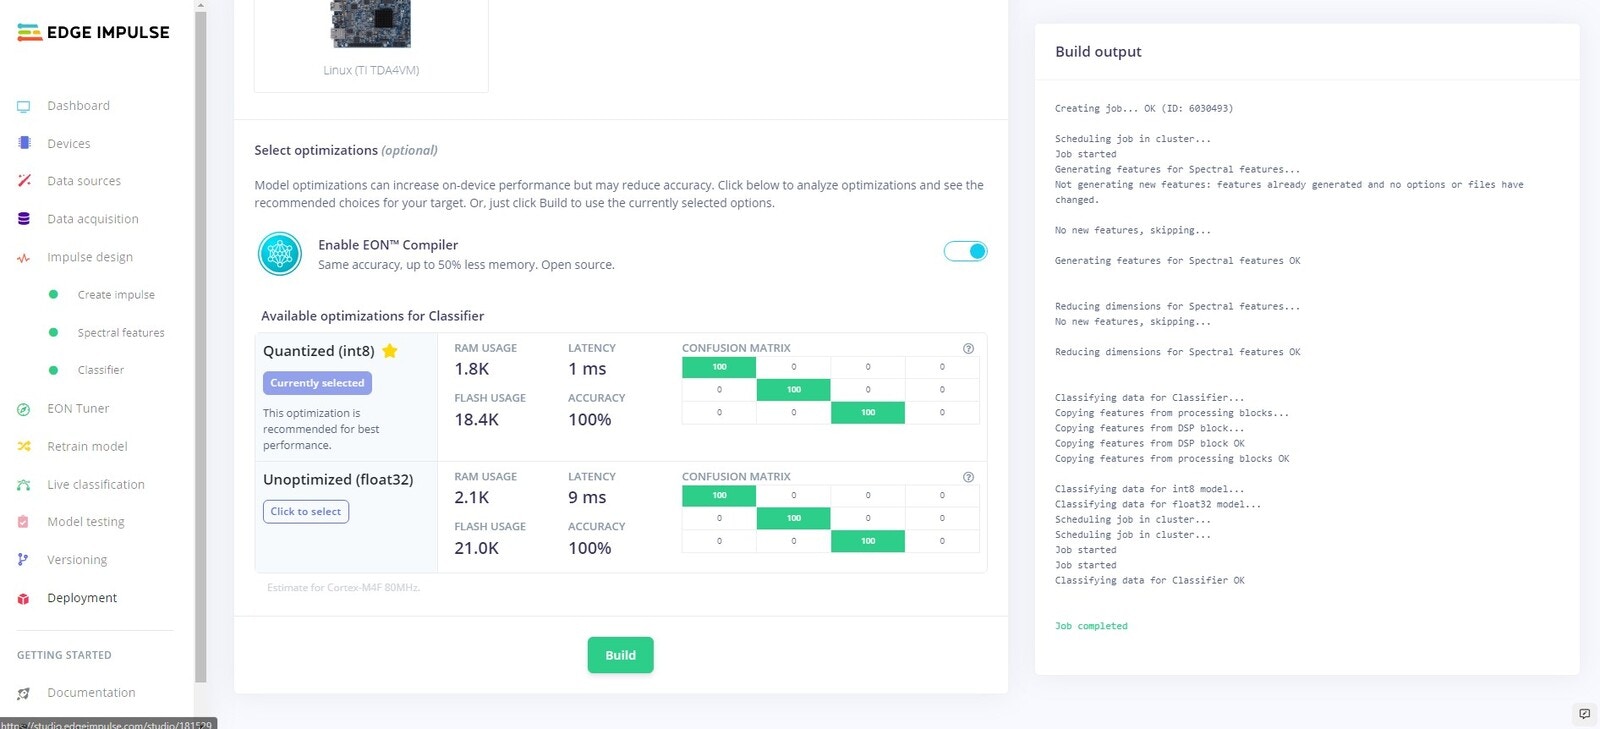
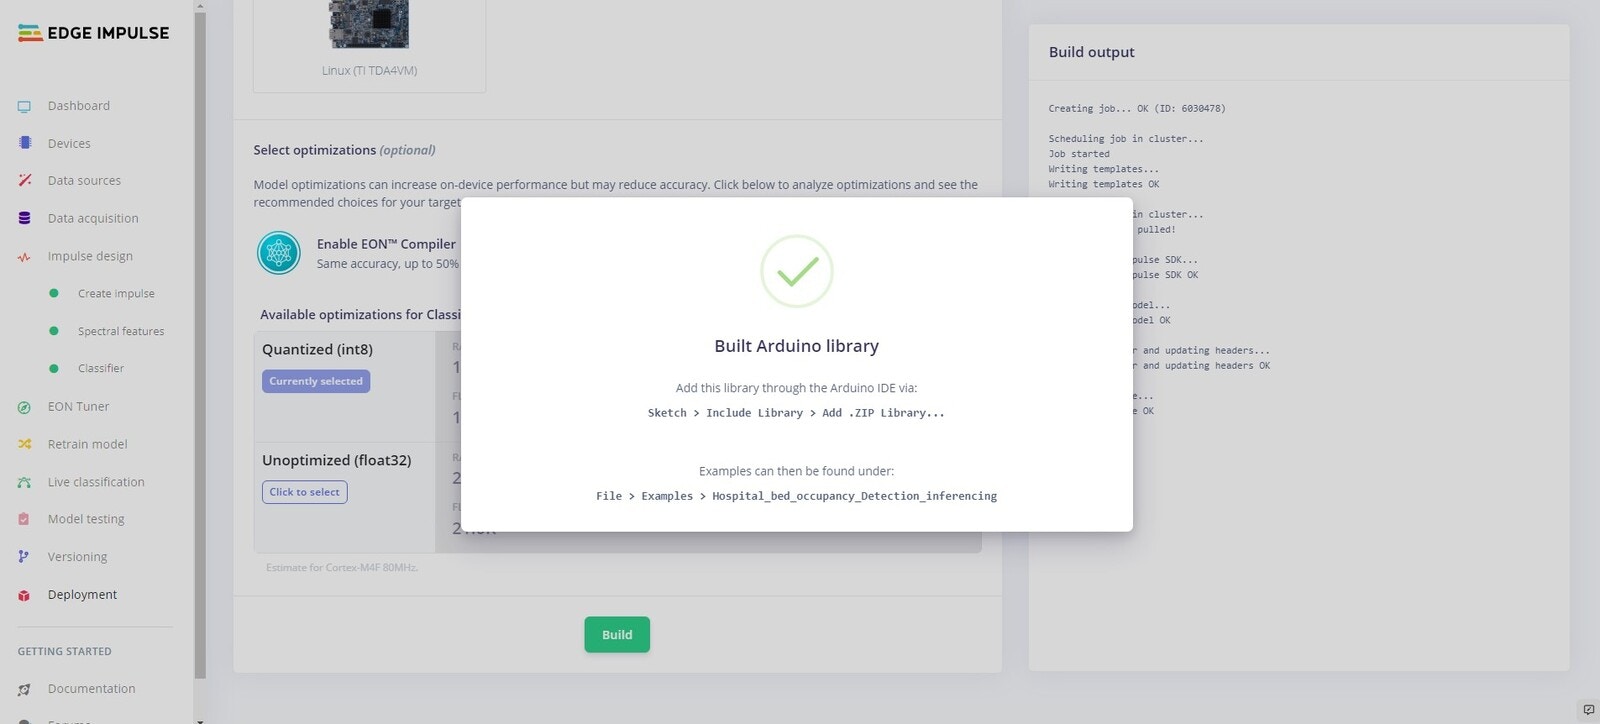
Deployment
Now we will deploy an Arduino library to our device that will allow us to run the model directly on our Arduino Nano 33 BLE Sense.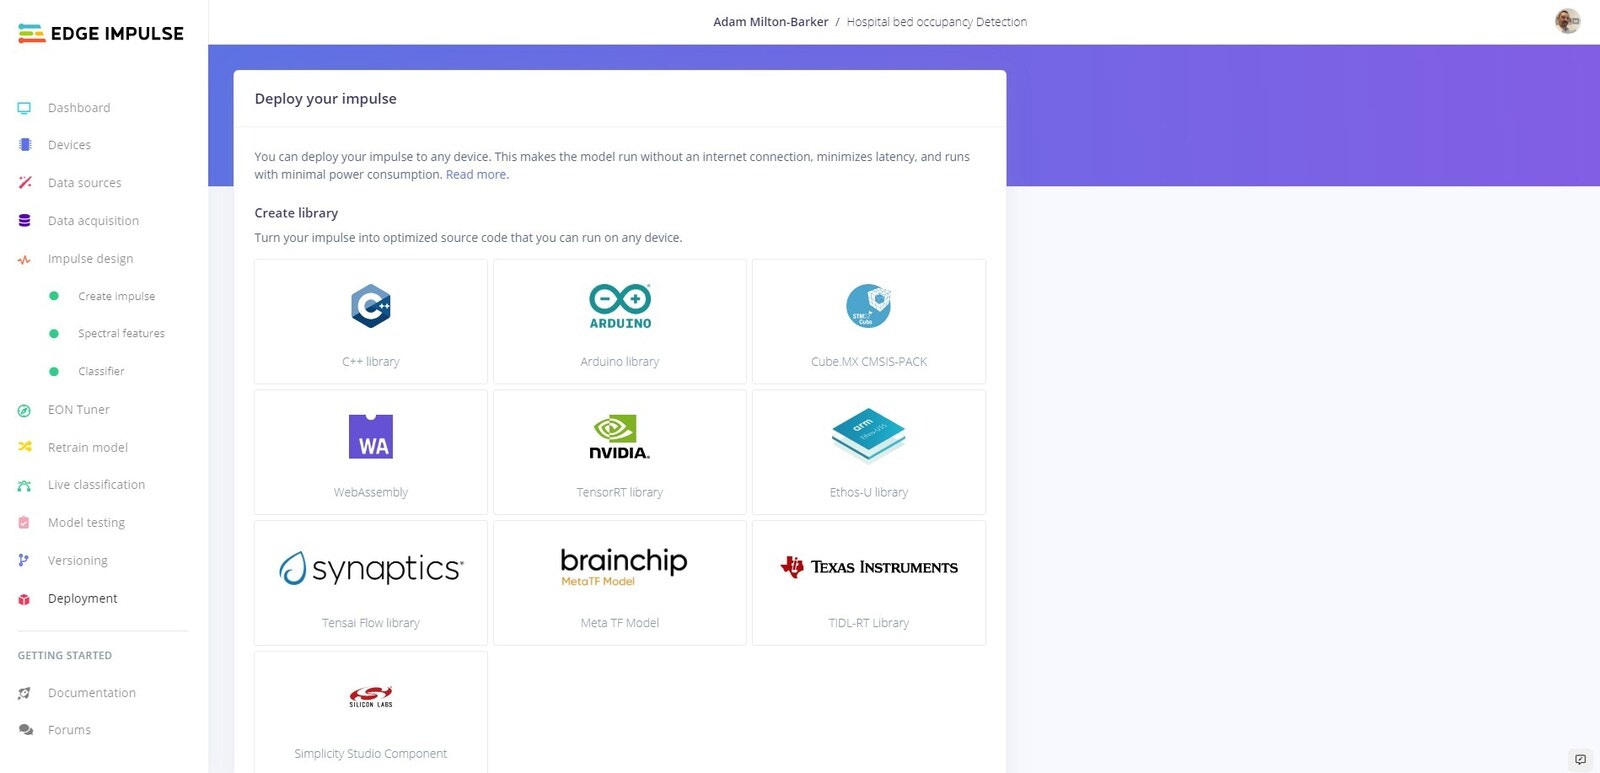
Arduino IDE
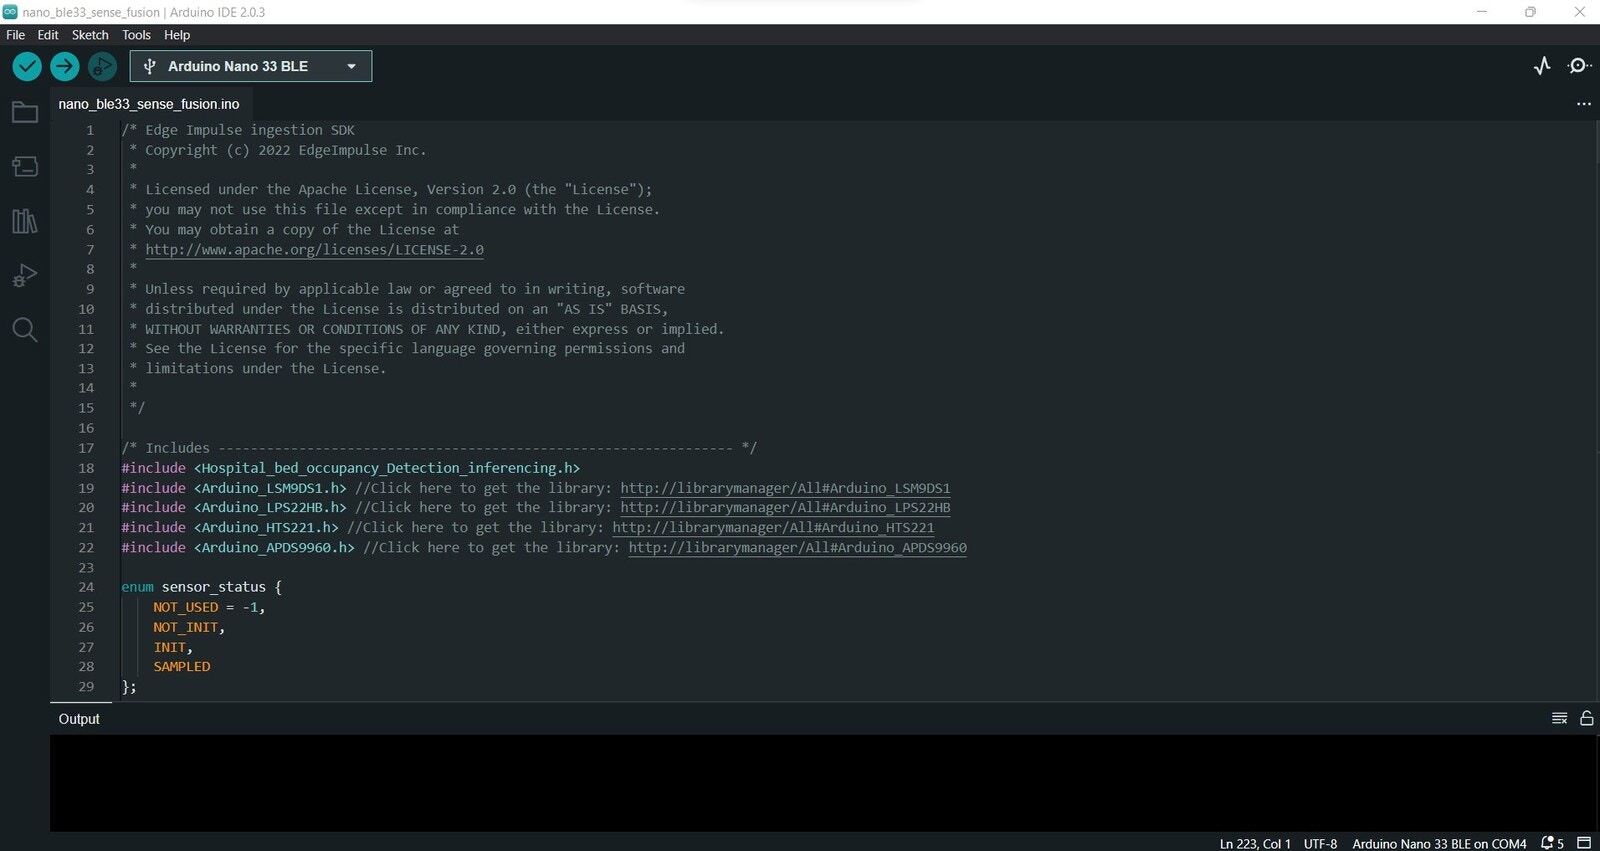
Arduino BLE 33 Sense Fusion
Open the IDE again and go to File -> Examples, scroll to the bottom of the list, go to Hospital_Bed_Occupancy_Detection_inferencing -> nano_ble33_sense -> nano_ble33_sense_fusion. Once the script opens you will see: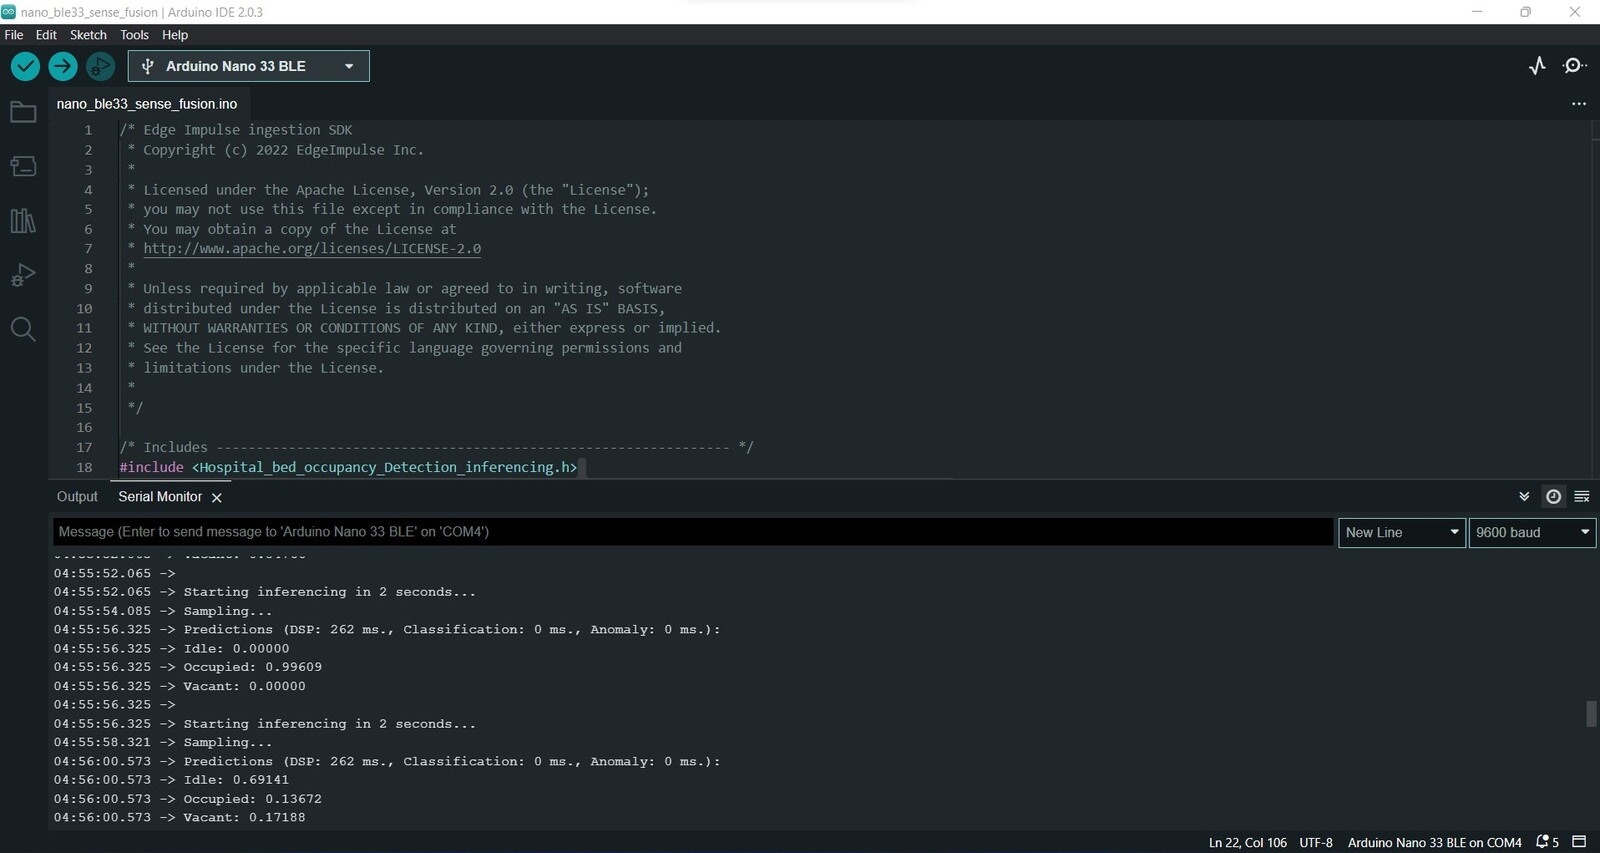
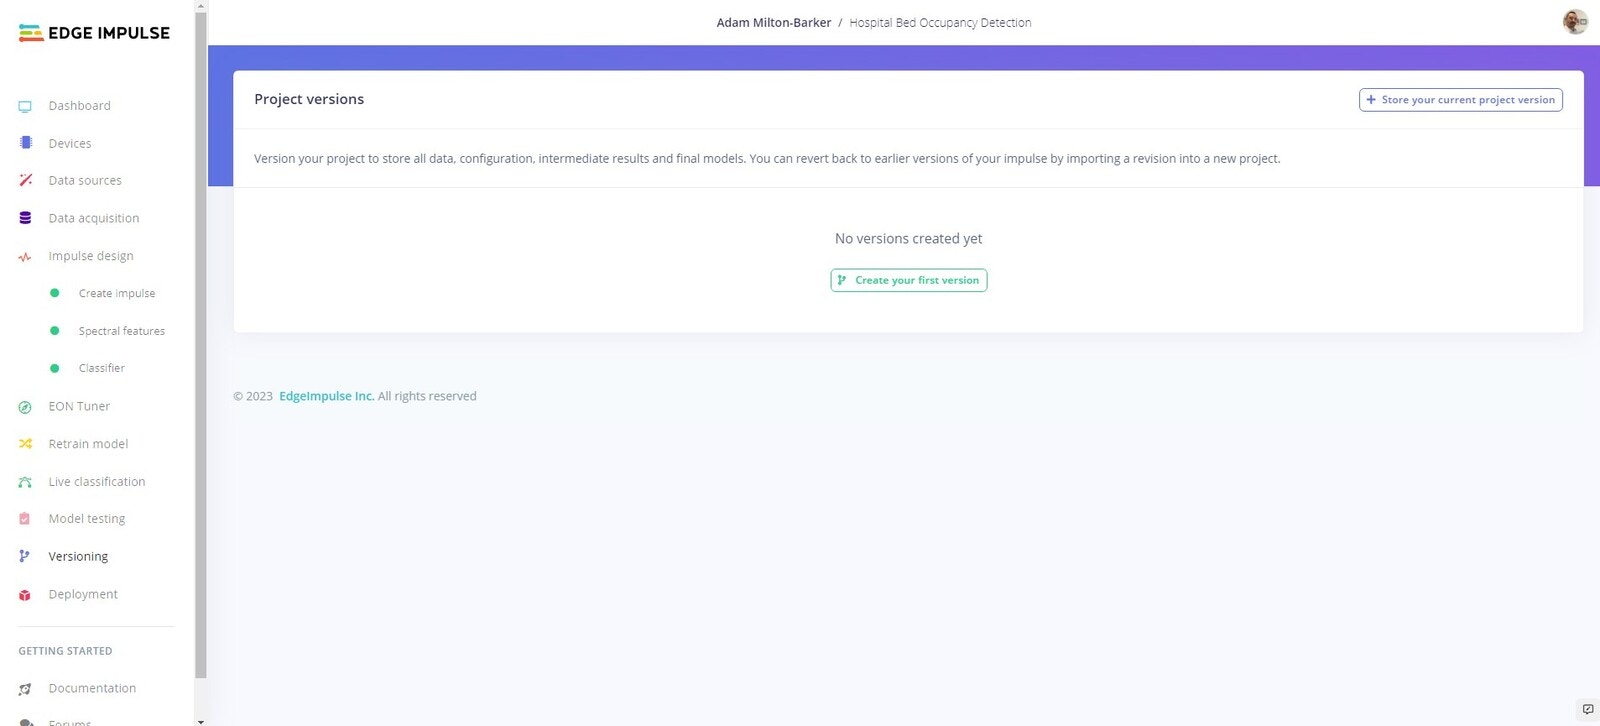
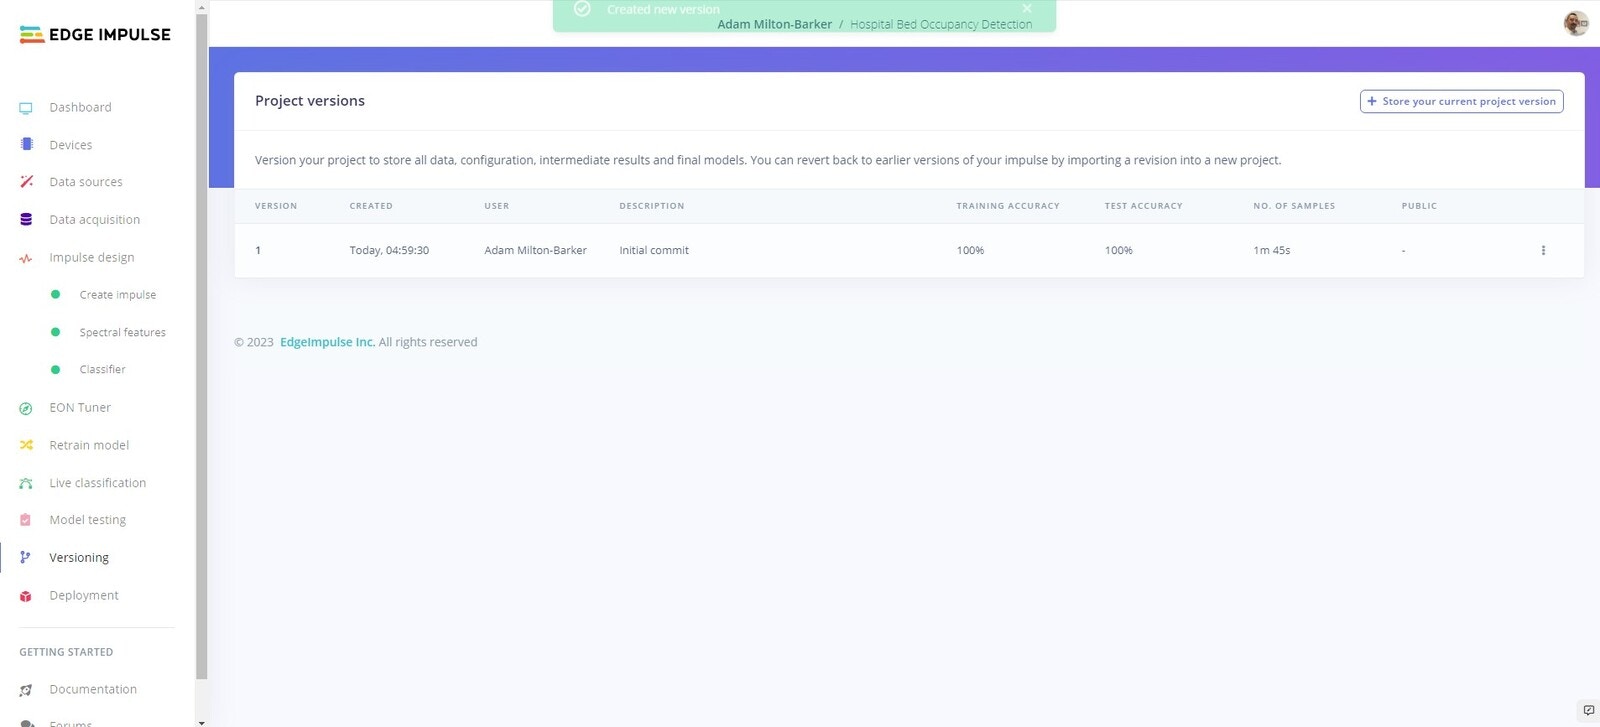
Versioning