

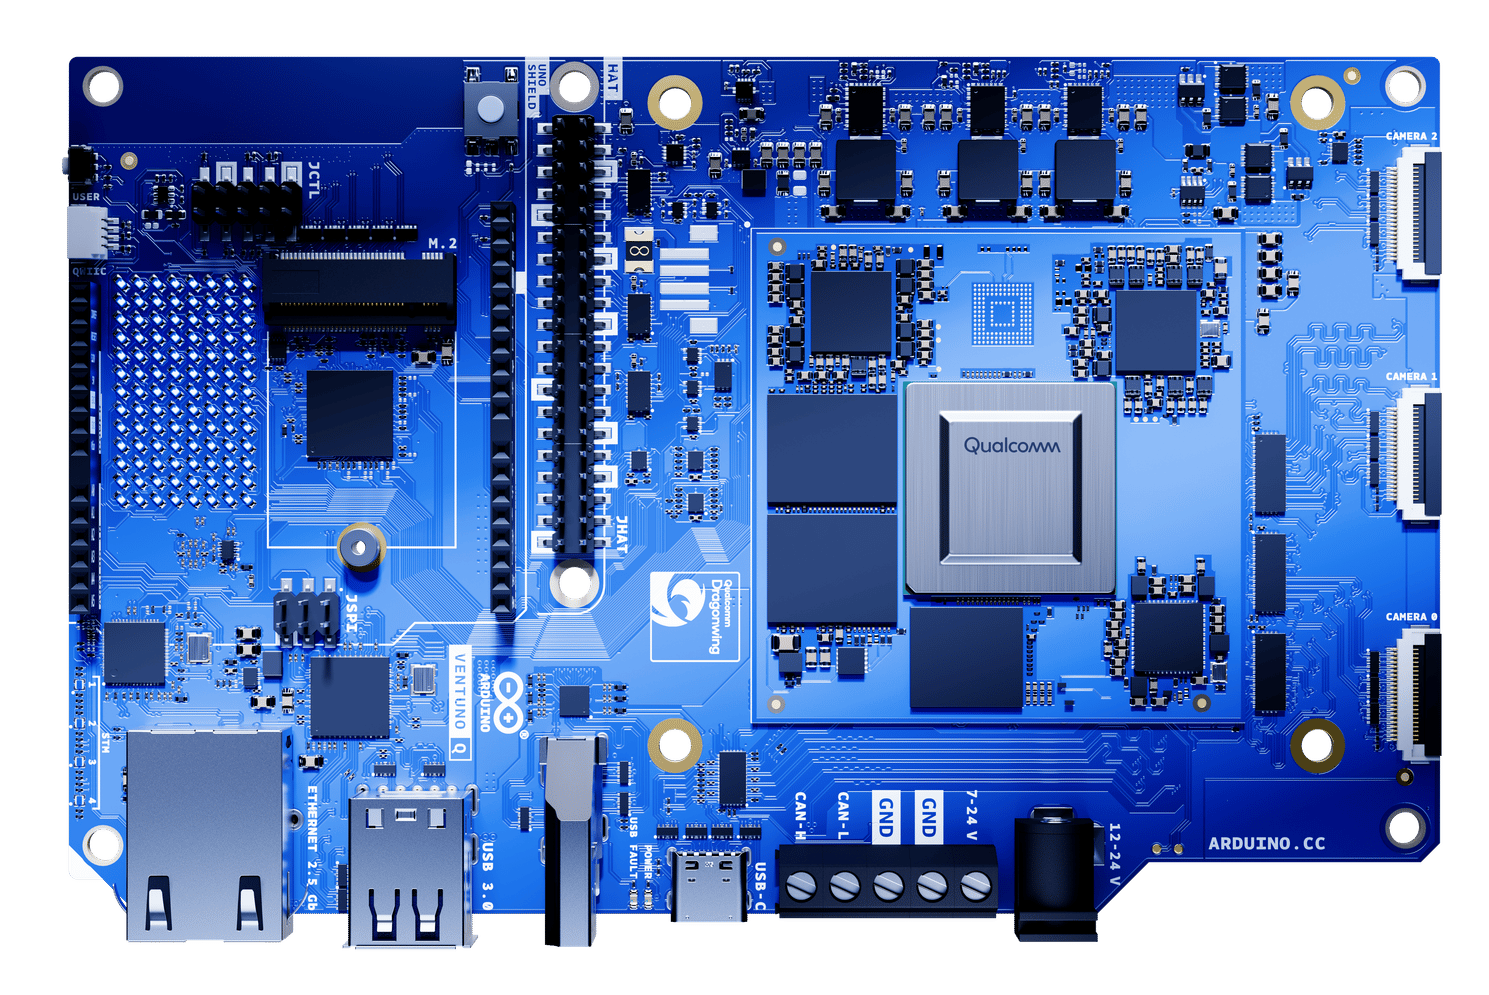
Arduino VENTUNO Q
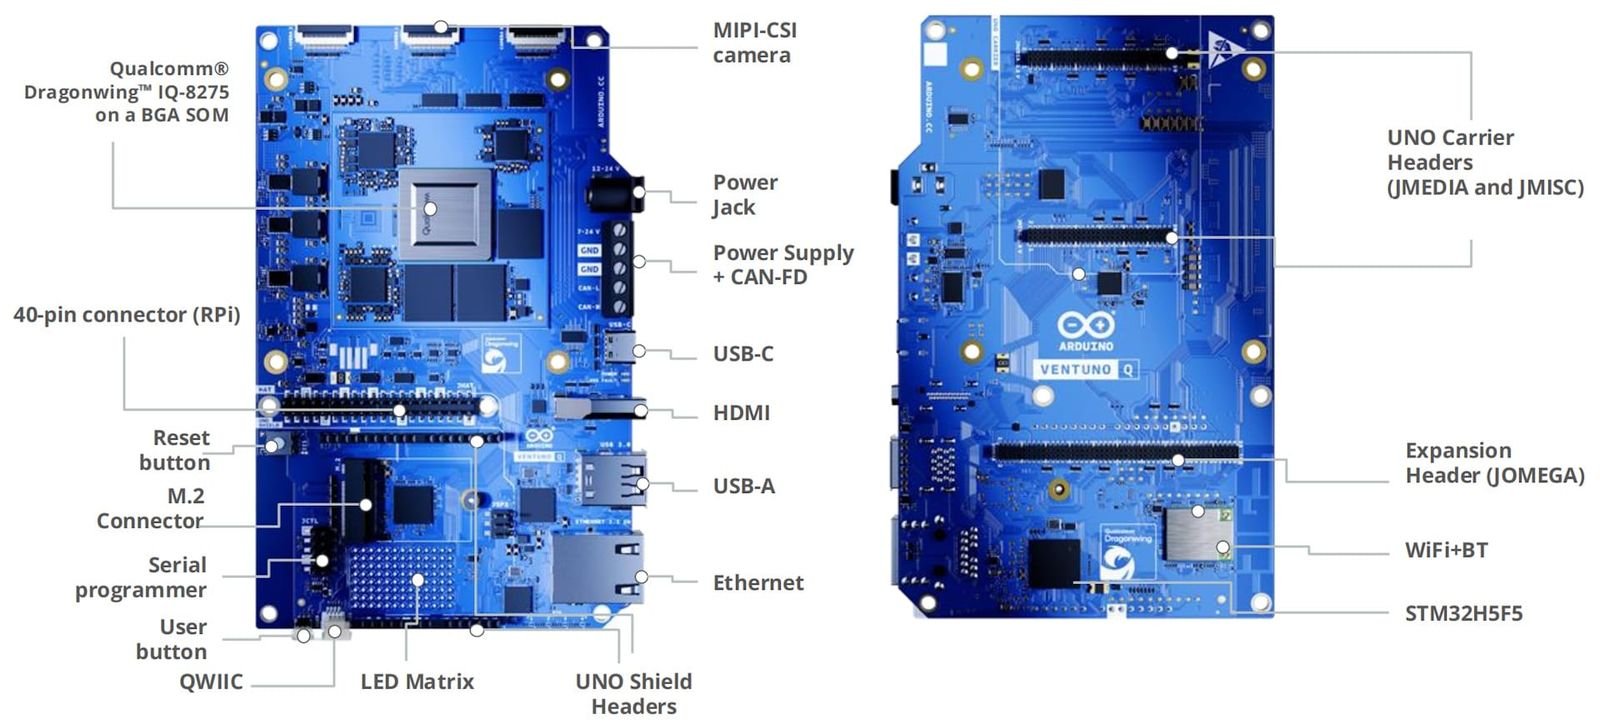
Arduino VENTUNO Q components
Setting up the board
The sections below provide the setup steps to get your Arduino VENTUNO q up and running with Ubuntu. For further details, please refer to the Arduino VENTUNO Q setup documentation. You can set up your board with a monitor, keyboard and mouse as a single board computer. If you prefer to set up the board without a monitor, see the section below.Powering on the board
The board is powered via a 12V 5A power adapter and uses the USB-C to do the first setup with Arduino App Lab or to flash the board. Power the VENTUNO Q using the power jack, then connect it to your computer with the USB-C cable.Configuring the board
Using the Arduino App Lab
First of all, install the latest version of the Arduino App Lab on your computer. Once the board is powered on, wait about 30 seconds for it to boot. It should then appear in the Arduino App Lab list of connected devices. Click on it.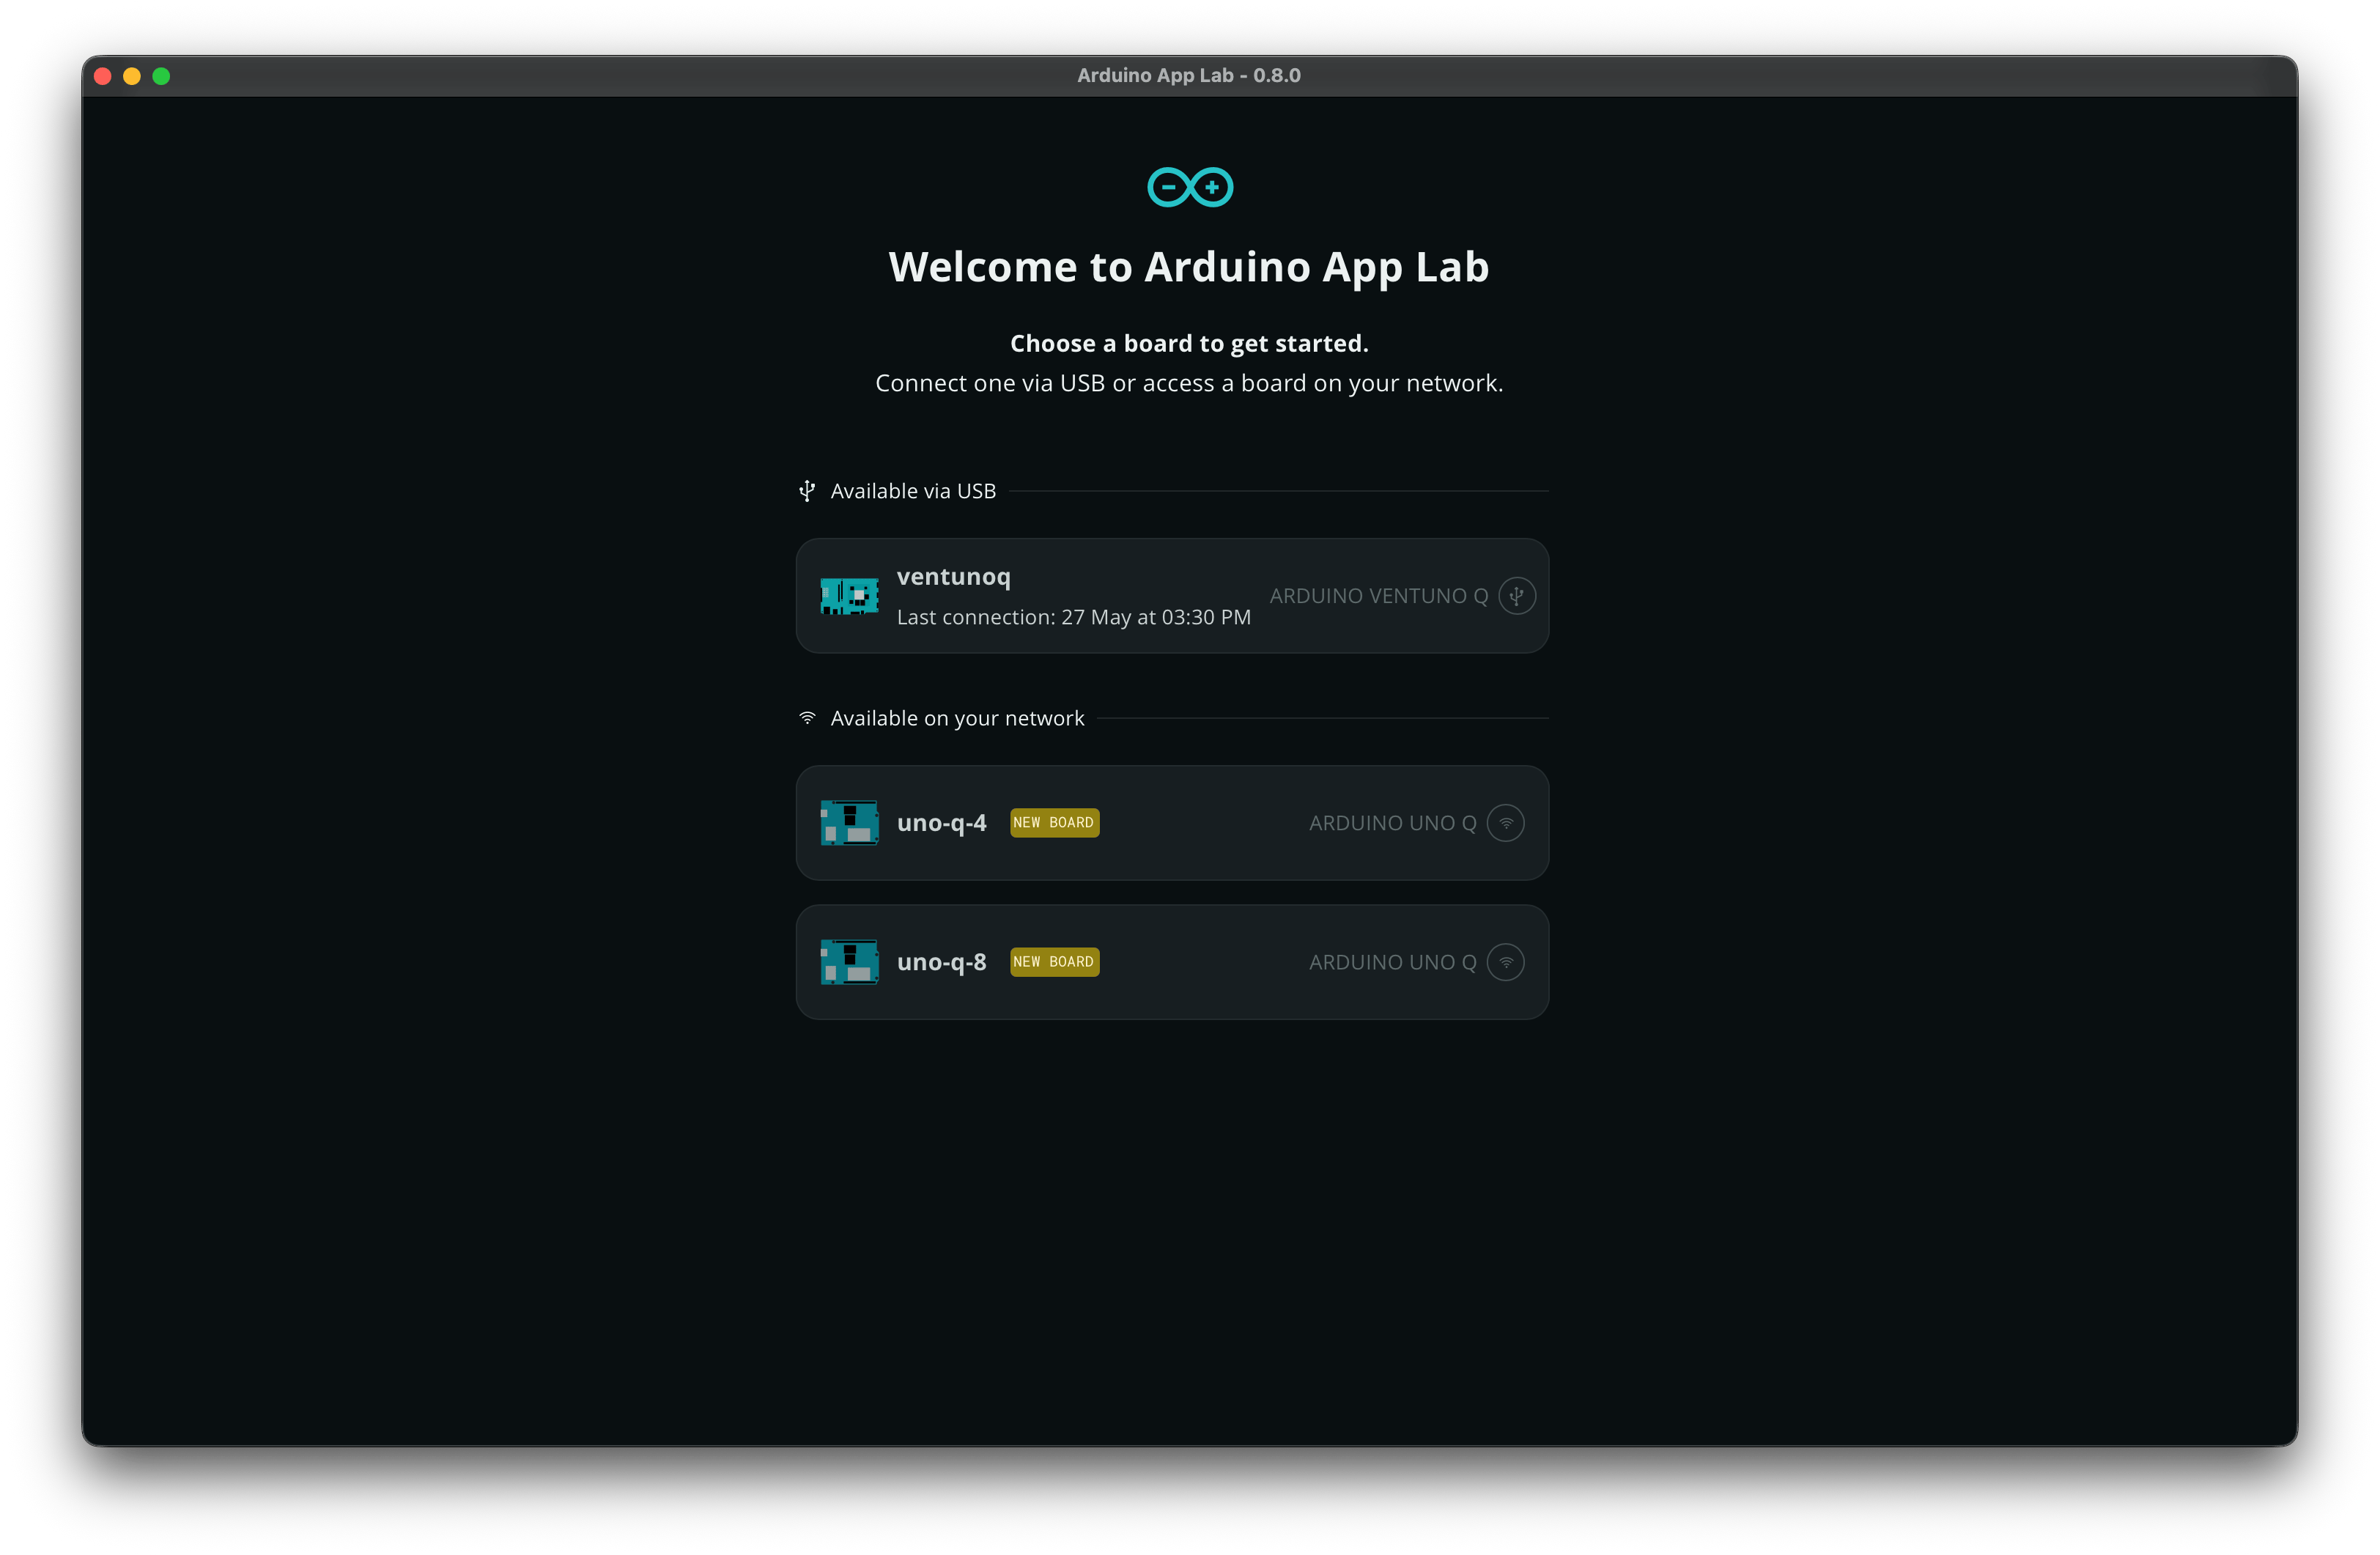
Arduino VENTUNO Q on Arduino App Lab
Using a terminal
Alternatively use a terminal to update and configure the device. To locate your device, open a terminal and run:tty.usbmodem... that may be your board. Note that it can take about 30 seconds for the board to fully boot after powering on.
We are going to use the Android Debug Bridge (adb). This command-line tool is part of the Android SDK and lets you communicate with your board via serial for headless setup.
If you don’t already have Android Debug Bridge (adb) on your host machine, you will need to install it. See the Android Developer documentation for download links and instructions.
Once adb is installed, confirm that your VENTUNO Q is connected by running:
<WiFi-SSID> and <WiFi-password> with your network details):
nmcli or hostname -I. Then use that IP that appears in the output to access your VENTUNO Q via SSH from your computer.
If you choose this method, we strongly recommend updating the board’s OS and libraries using the Arduino CLI system update command, either via adb or ssh:
Installing Edge Impulse dependencies
To use this device with Edge Impulse Linux CLI, you will need to install additional packages on the board. Below is a minimal set of dependencies to get you up and running with Edge Impulse.Base packages
Edge Impulse Linux CLI
Connecting to Edge Impulse
You can use the Edge Impulse Linux CLI to connect your Arduino VENTUNO Q to a project in Edge Impulse Studio. This allows you to send data from the device to the cloud for training and inference. First, connect a camera or microphone to your board and run:--clean.
If you do not have a camera connected to your Arduino VENTUNO Q, ensure to use the --disable-camera flag. Without this flag, the CLI will attempt to access a camera, which will result in an error when trying to launch the CLI and connect the board to a project.
Verify that your device is connected via Edge Impulse Studio.
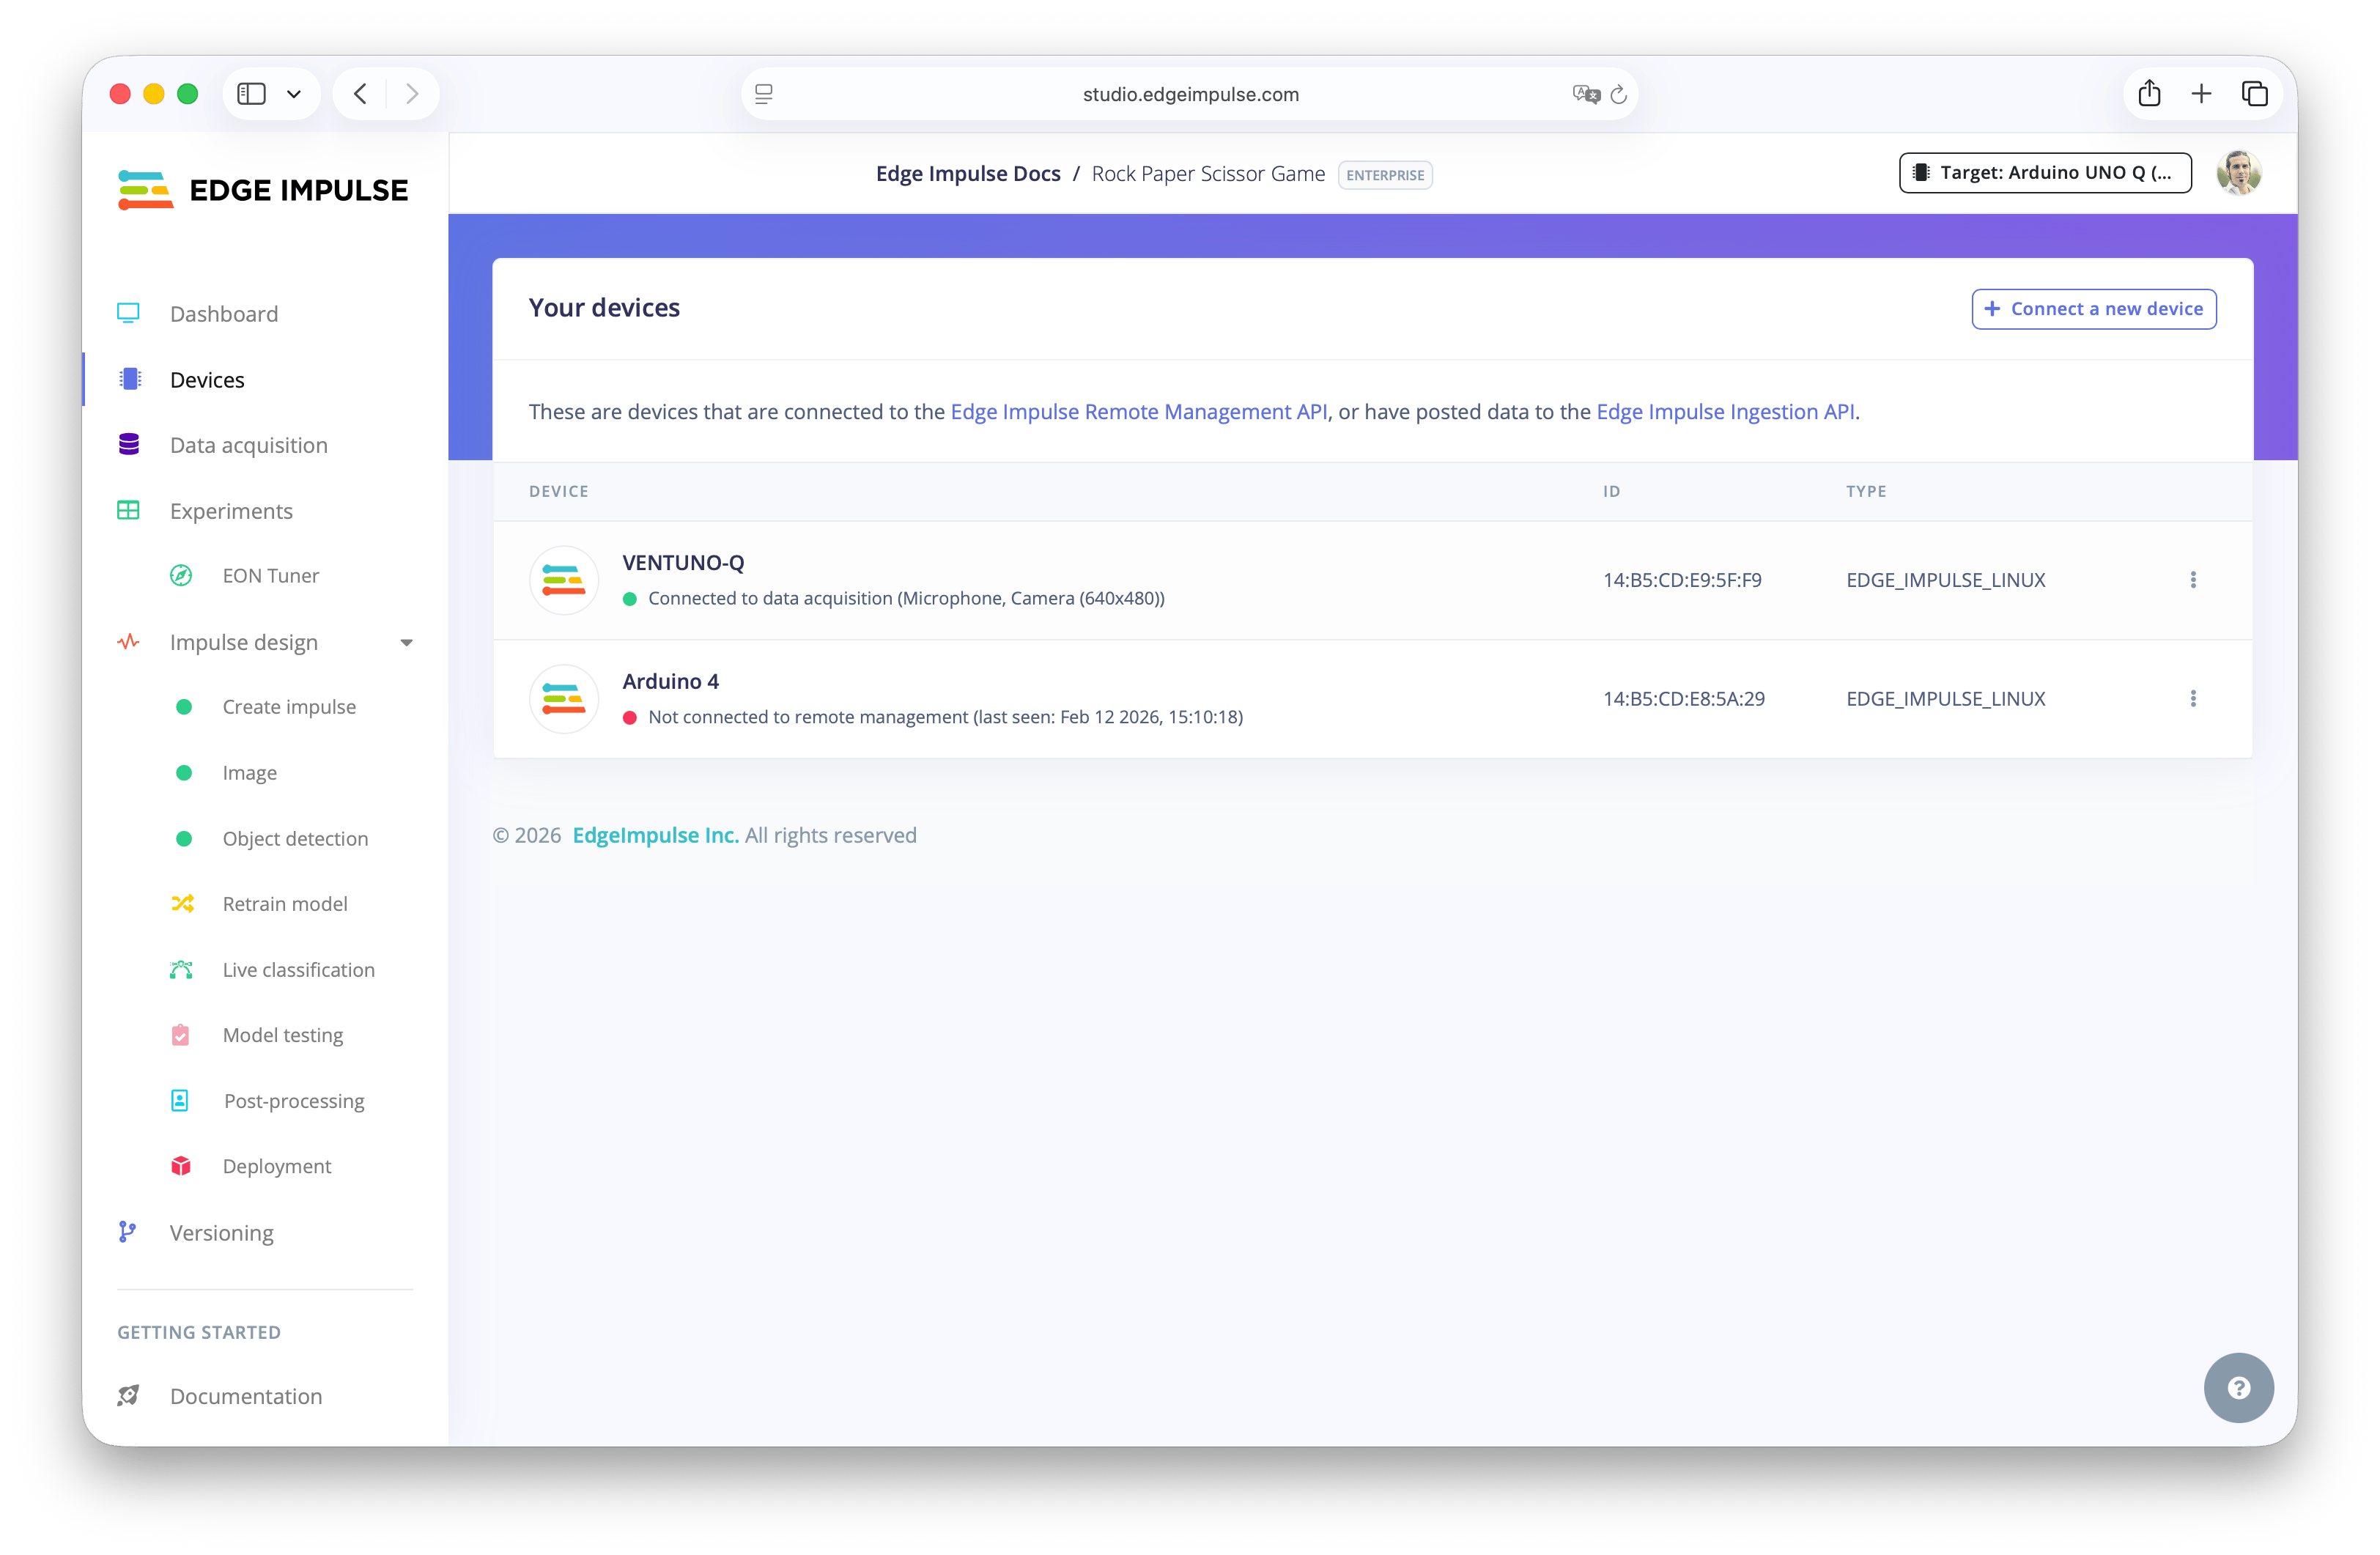
Connecting the device to an Edge Impulse project
Deploying a model
You can run your trained model on the Arduino VENTUNO Q using either the EIM or Arduino App Lab deployment options. We recommend using Arduino App Lab for the best experience.Using the Arduino App Lab
Arduino App Lab is a platform that enables developers easily build and share Arduino applications. It provides an intuitive interface to deploy your model locally with few clicks. To see your Edge Impulse trained models in the Arduino App Lab, you first need an Arduino account. If you don’t have one yet, click on Account in the App Lab and follow the steps. We recommend using the same email address you use for your Edge Impulse account. Once logged in to both platforms, your trained Edge Impulse models will automatically appear in the App Lab. For more details, see our documentation to run Edge Impulse models on the VENTUNO Q: Run Arduino App Lab.Using the Edge Impulse Linux CLI
To run your impulse locally, connect to your Arduino VENTUNO Q viaadb or SSH and run:
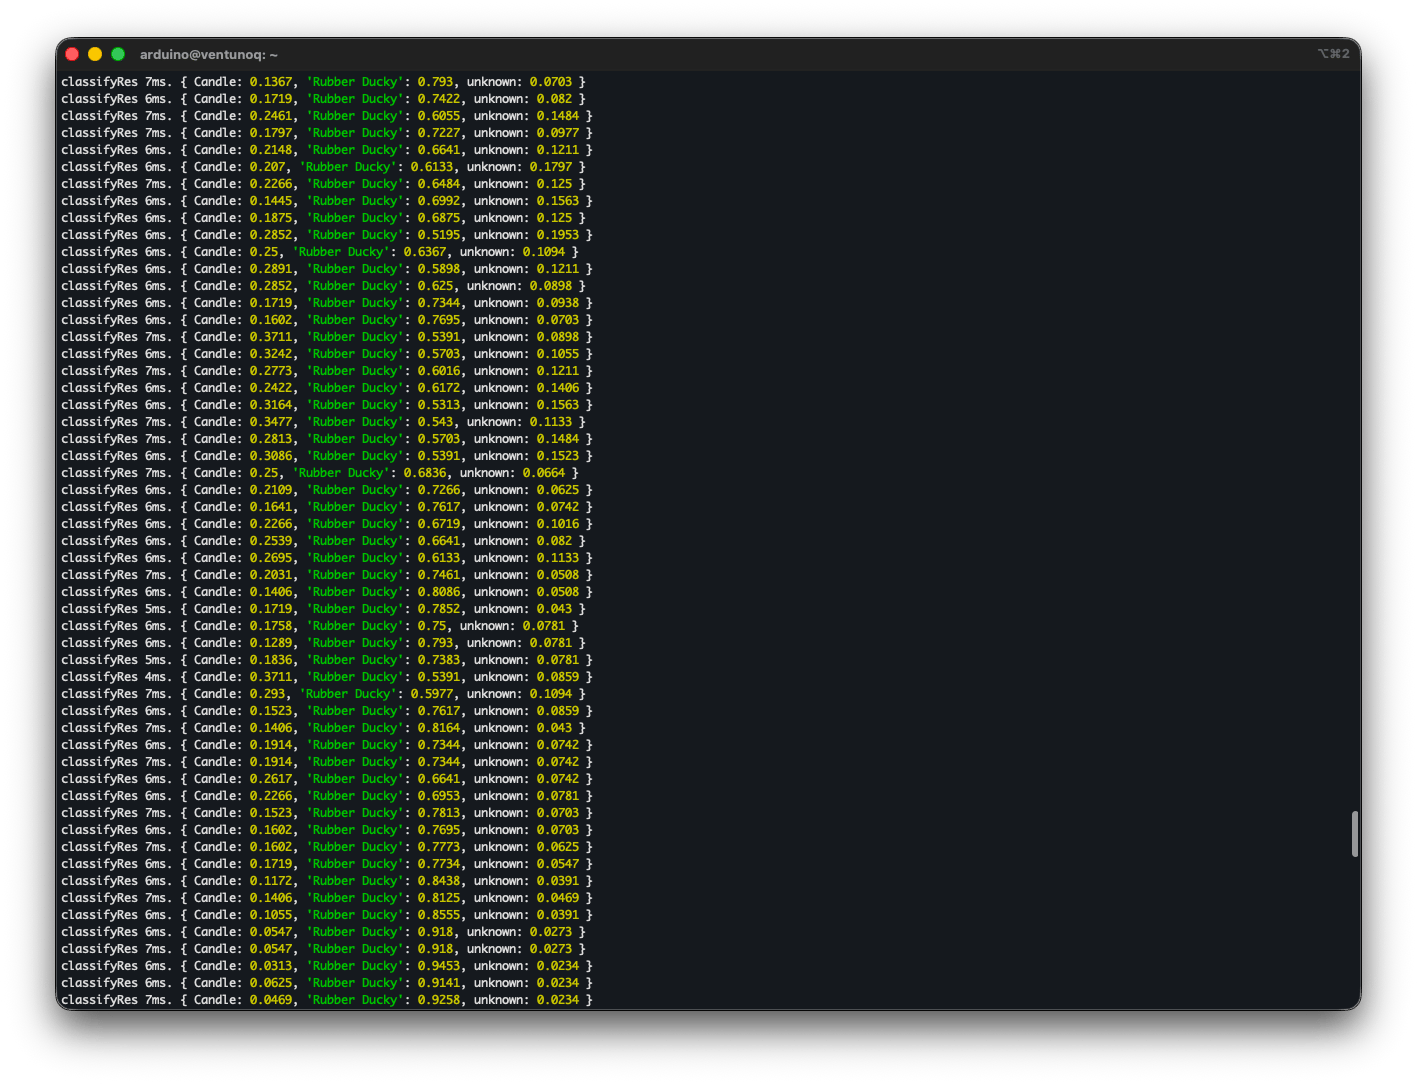
Running inference with Edge Impulse Linux CLI to the Arduino VENTUNO Q
Troubleshooting
Don’t see the board from your computer
Don’t see the board from your computer
If you don’t see the board connected to your computer, first make sure the VENTUNO Q is plugged in directly using the USB-C cable. Wait 30–60 seconds for the board to fully boot, then check again.Then make sure your computer has granted access to USB-connected boards. On managed computers this sometimes requires adjusting permissions.In Linux or Mac open a terminal and run:You should see something like:The board appears as
/dev/tty.usbmodem281096.....Using Windows open the Device Manager (press Win + X and select Device Manager). Look under Ports (COM & LPT).The board should appear as USB Serial Device (COMxx) or similar. Note the COM port number (e.g., COM3).Flashing process stopped at Waiting for EDL device
Flashing process stopped at Waiting for EDL device
When the flashing process is stuck at the
Waiting for EDL device step means that your terminal doesn’t see the Arduino VENTUNO Q yet.Sometimes after re-connecting the USB-C a prompt asked me to give access to the terminal application to grant access to the USB-C. And it worked after granting access to the terminal application.