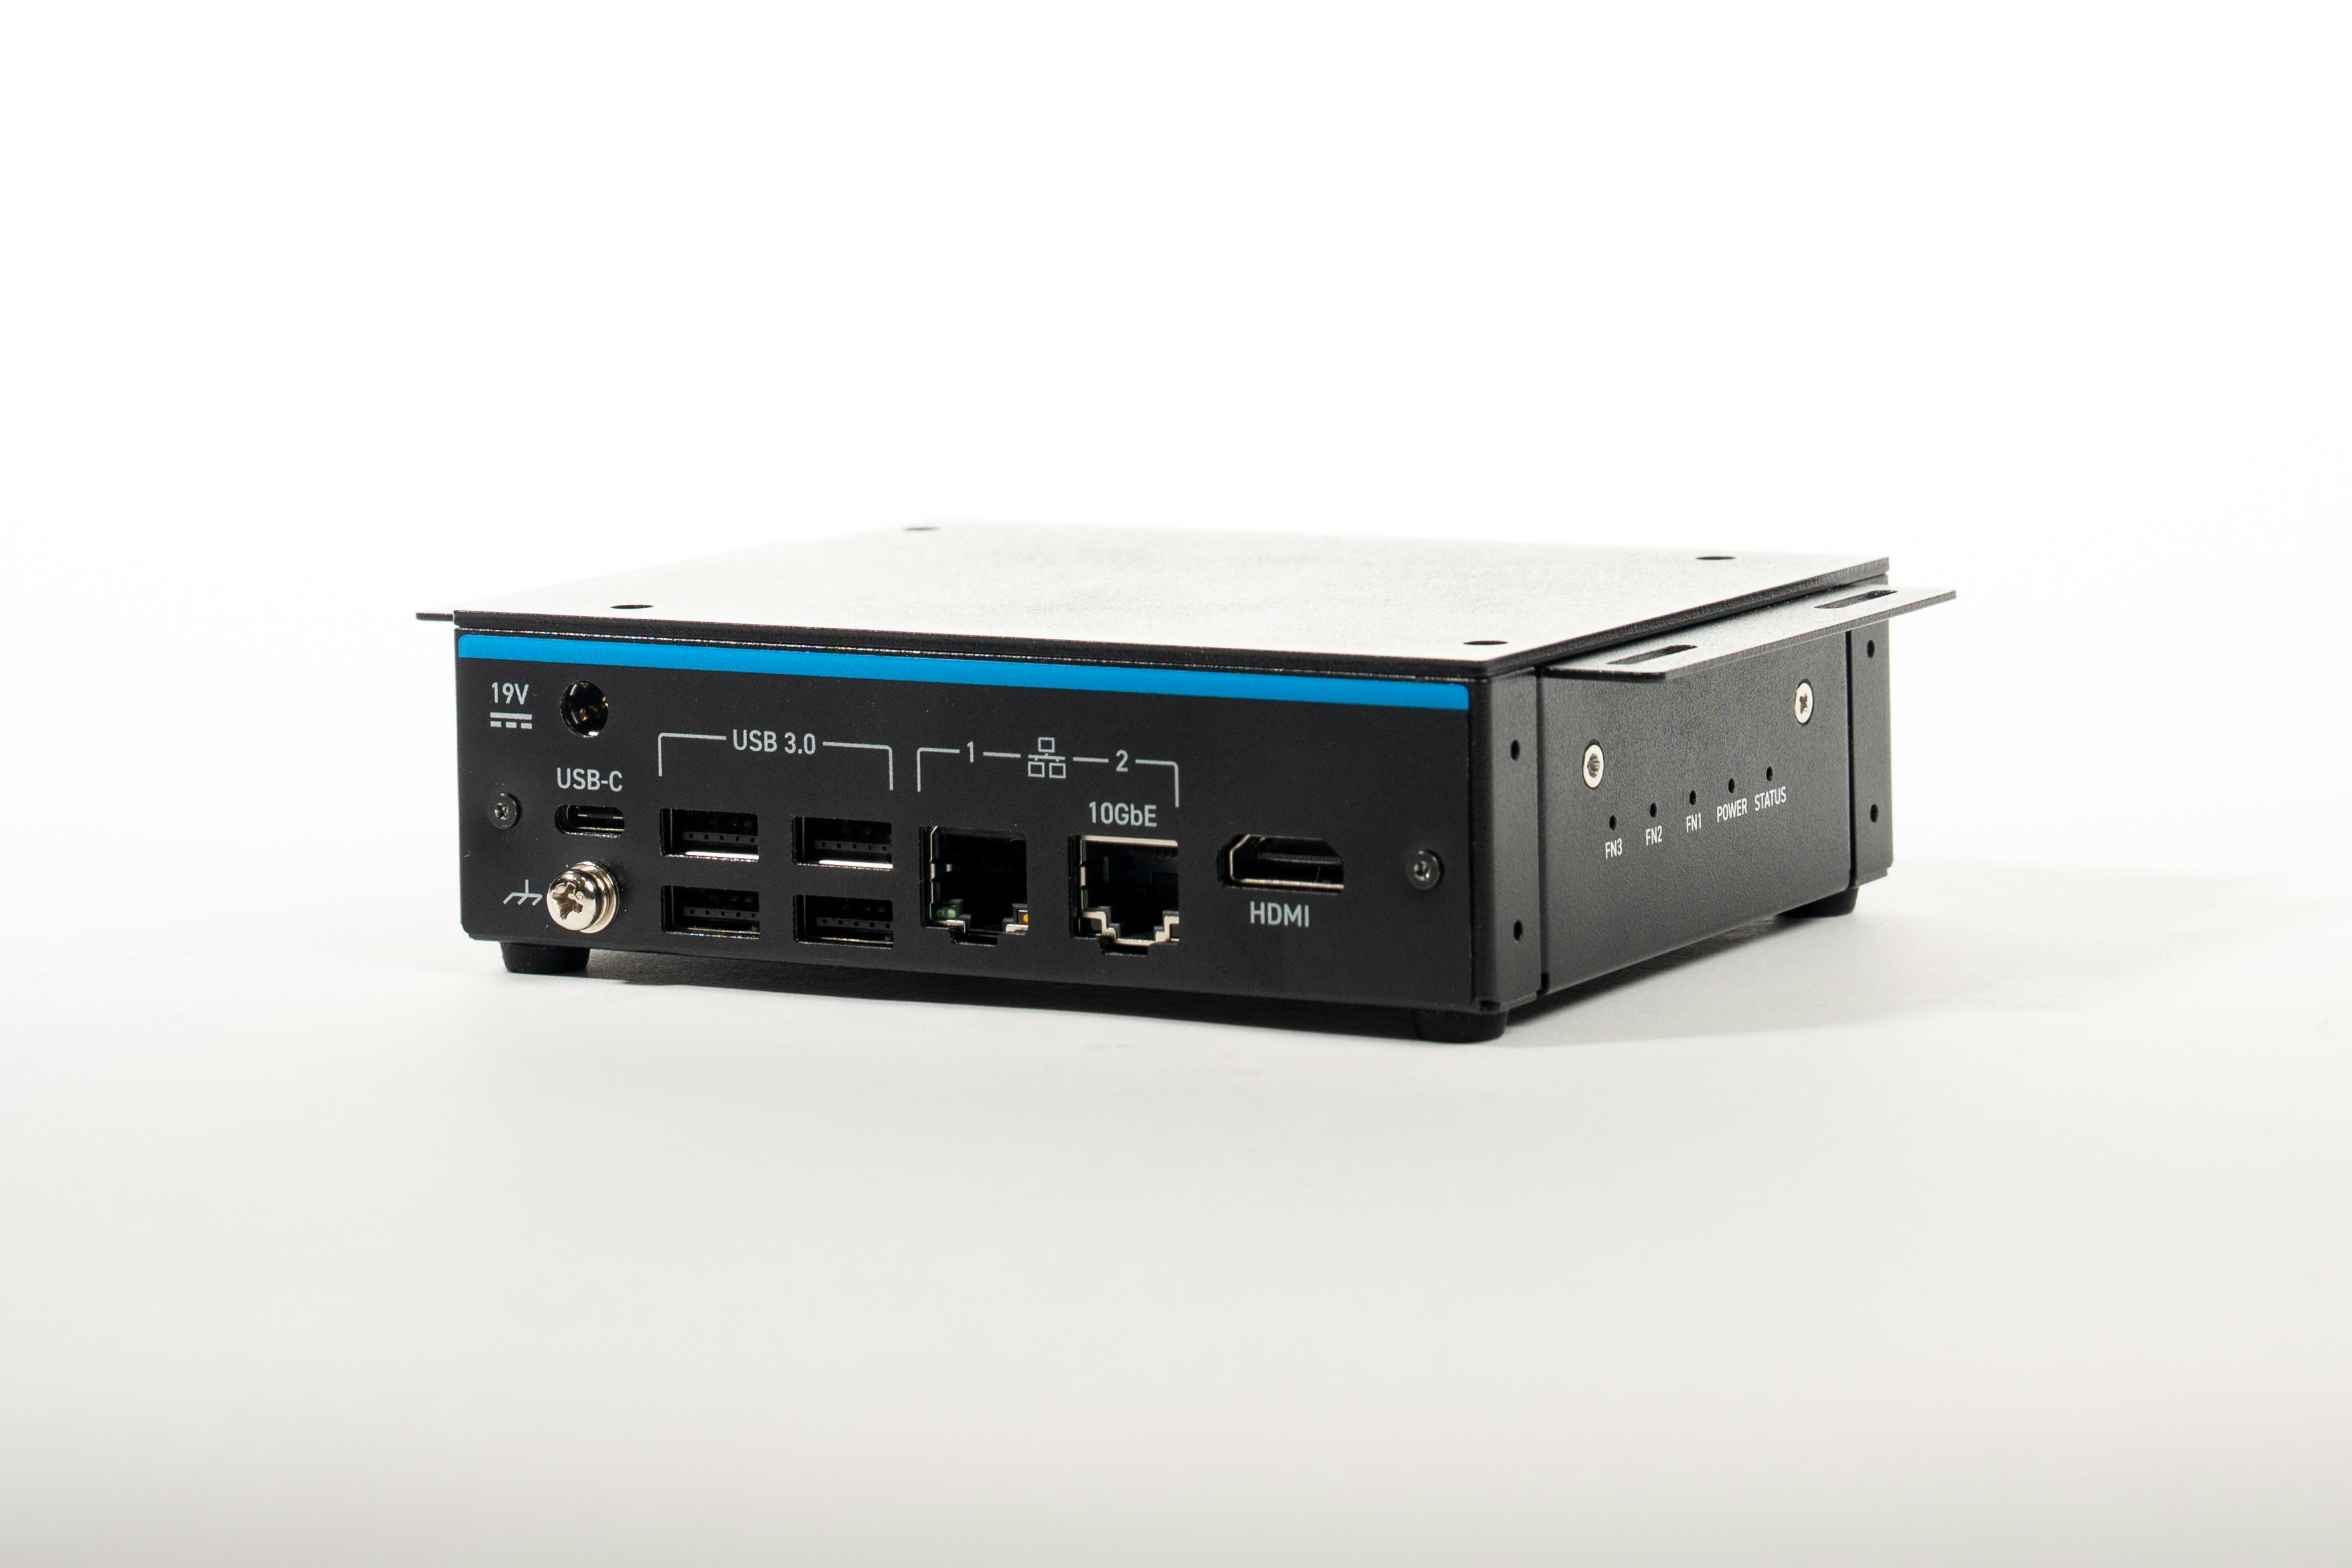
Setting up your FR101
1. Installing Dependencies
Install version 2.26.0.240828 of the QAIRT SDK. Set theLD_LIBRARY_PATH and ADSP_LIBRARY_PATH environment variables to find the dependencies needed for qnn accelerated inference.
2. Connecting to Edge Impulse
After setting up the inference dependencies, start the edge impulse linux runner.3. Verifying that your device is connected
That’s all! Your device is now connected to Edge Impulse. To verify this, go to your Edge Impulse project, and click Devices. The device will be listed here.Next steps: building a machine learning model
With everything set up you can now build your first machine learning model with these tutorials:- Responding to your voice
- Recognize sounds from audio
- Adding sight to your sensors
- Object detection
- Visual anomaly detection with FOMO-AD
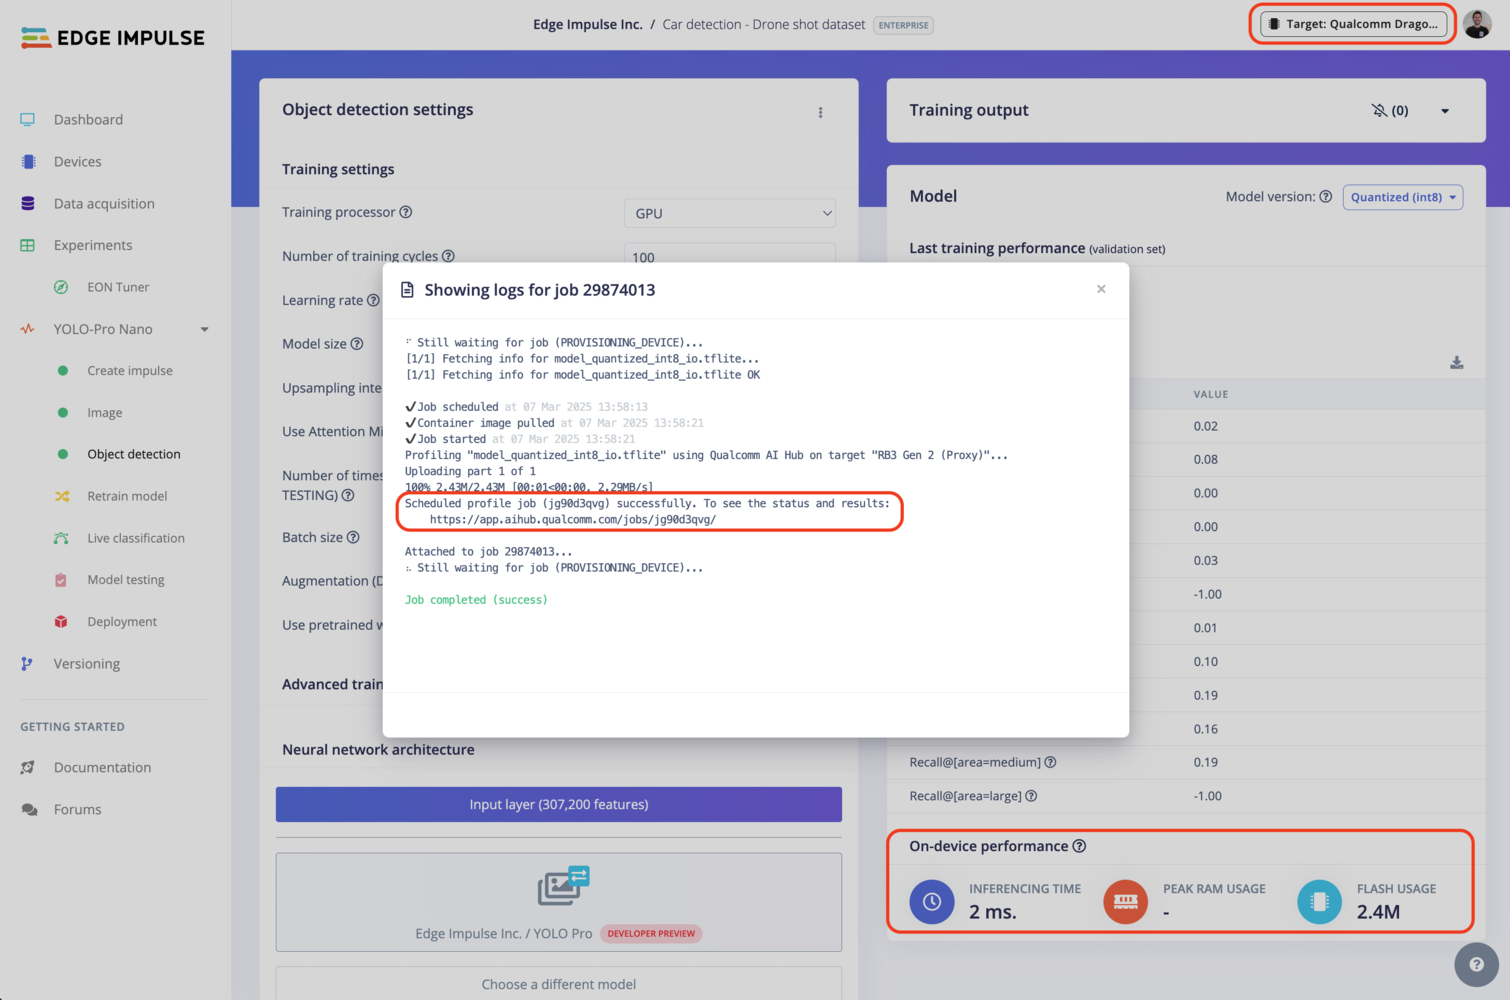
Profiling your models
To profile your models for the FR101:- Make sure to select the Qualcomm Dragonwing™ RB3 Gen 2 Development Kit as your target device. You can change the target at the top of the page near your user’s logo.
- Head to your Learning block page in Edge Impulse Studio.
- Click on the Calculate performance button.
Deploying back to device
Using the Edge Impulse Linux CLI
To run your Impulse locally on the FR101, open a terminal and run:--clean to switch projects).
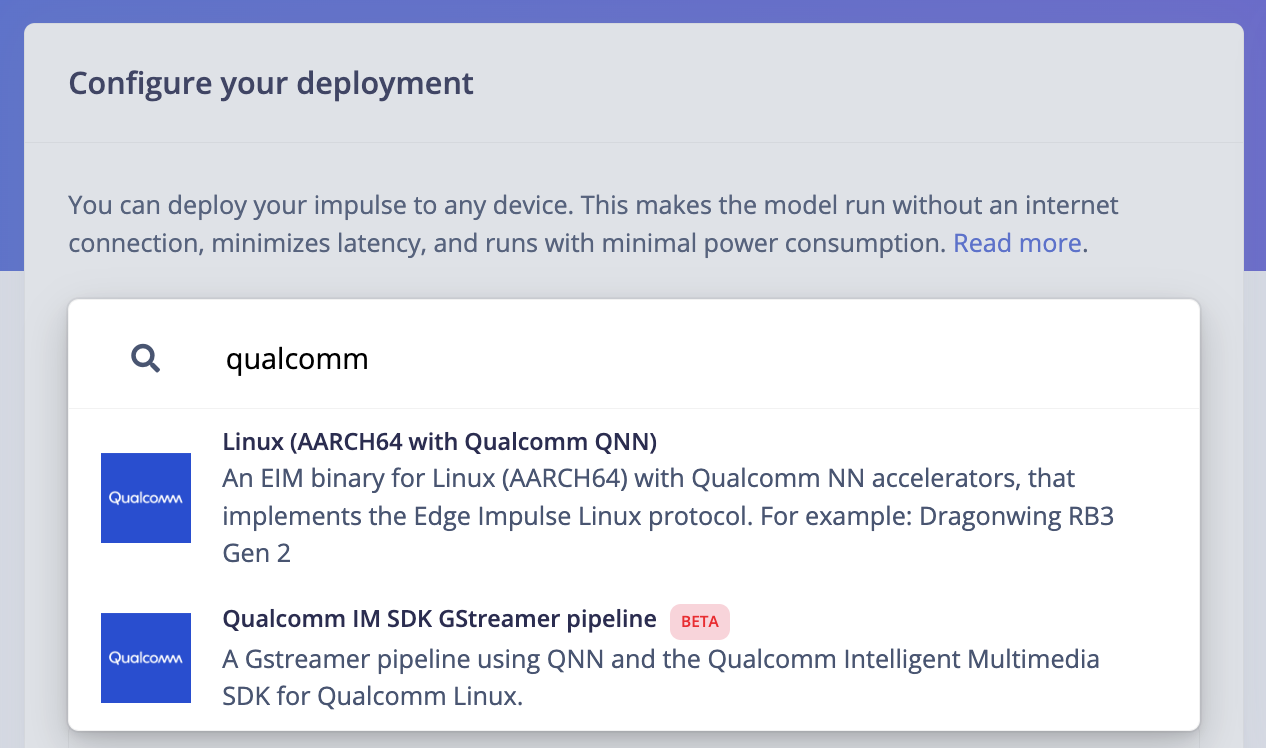
Alternatively, you can select the Linux (AARCH64 with Qualcomm QNN) option in the Deployment page.
.eim model that you can run on your board with the following command:
Using the Edge Impulse Linux Inferencing SDKs
Our Linux SDK has examples on how to integrate the.eim model with your favourite programming language.
You can download either the quantized version and the float32 versions but Qualcomm NN accelerator only supports quantized models. If you select the float32 version, the model will run on CPU.
Using the IM SDK GStreamer option
When selecting this option, you will obtain a.zip folder. We provide instructions in the README.md file included in the compressed folder.
See more information on Qualcomm IM SDK GStreamer pipeline.
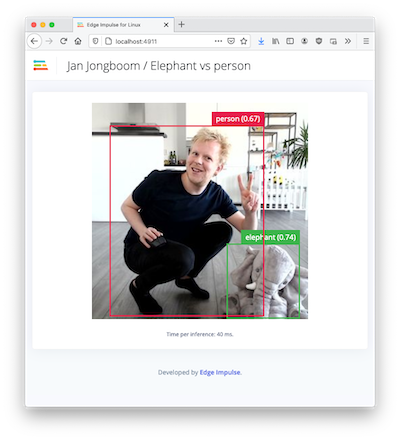
Image model?
If you have an image model then you can get a peek of what your device sees by being on the same network as your device, and finding the ‘Want to see a feed of the camera and live classification in your browser’ message in the console. Open the URL in a browser and both the camera feed and the classification are shown: