

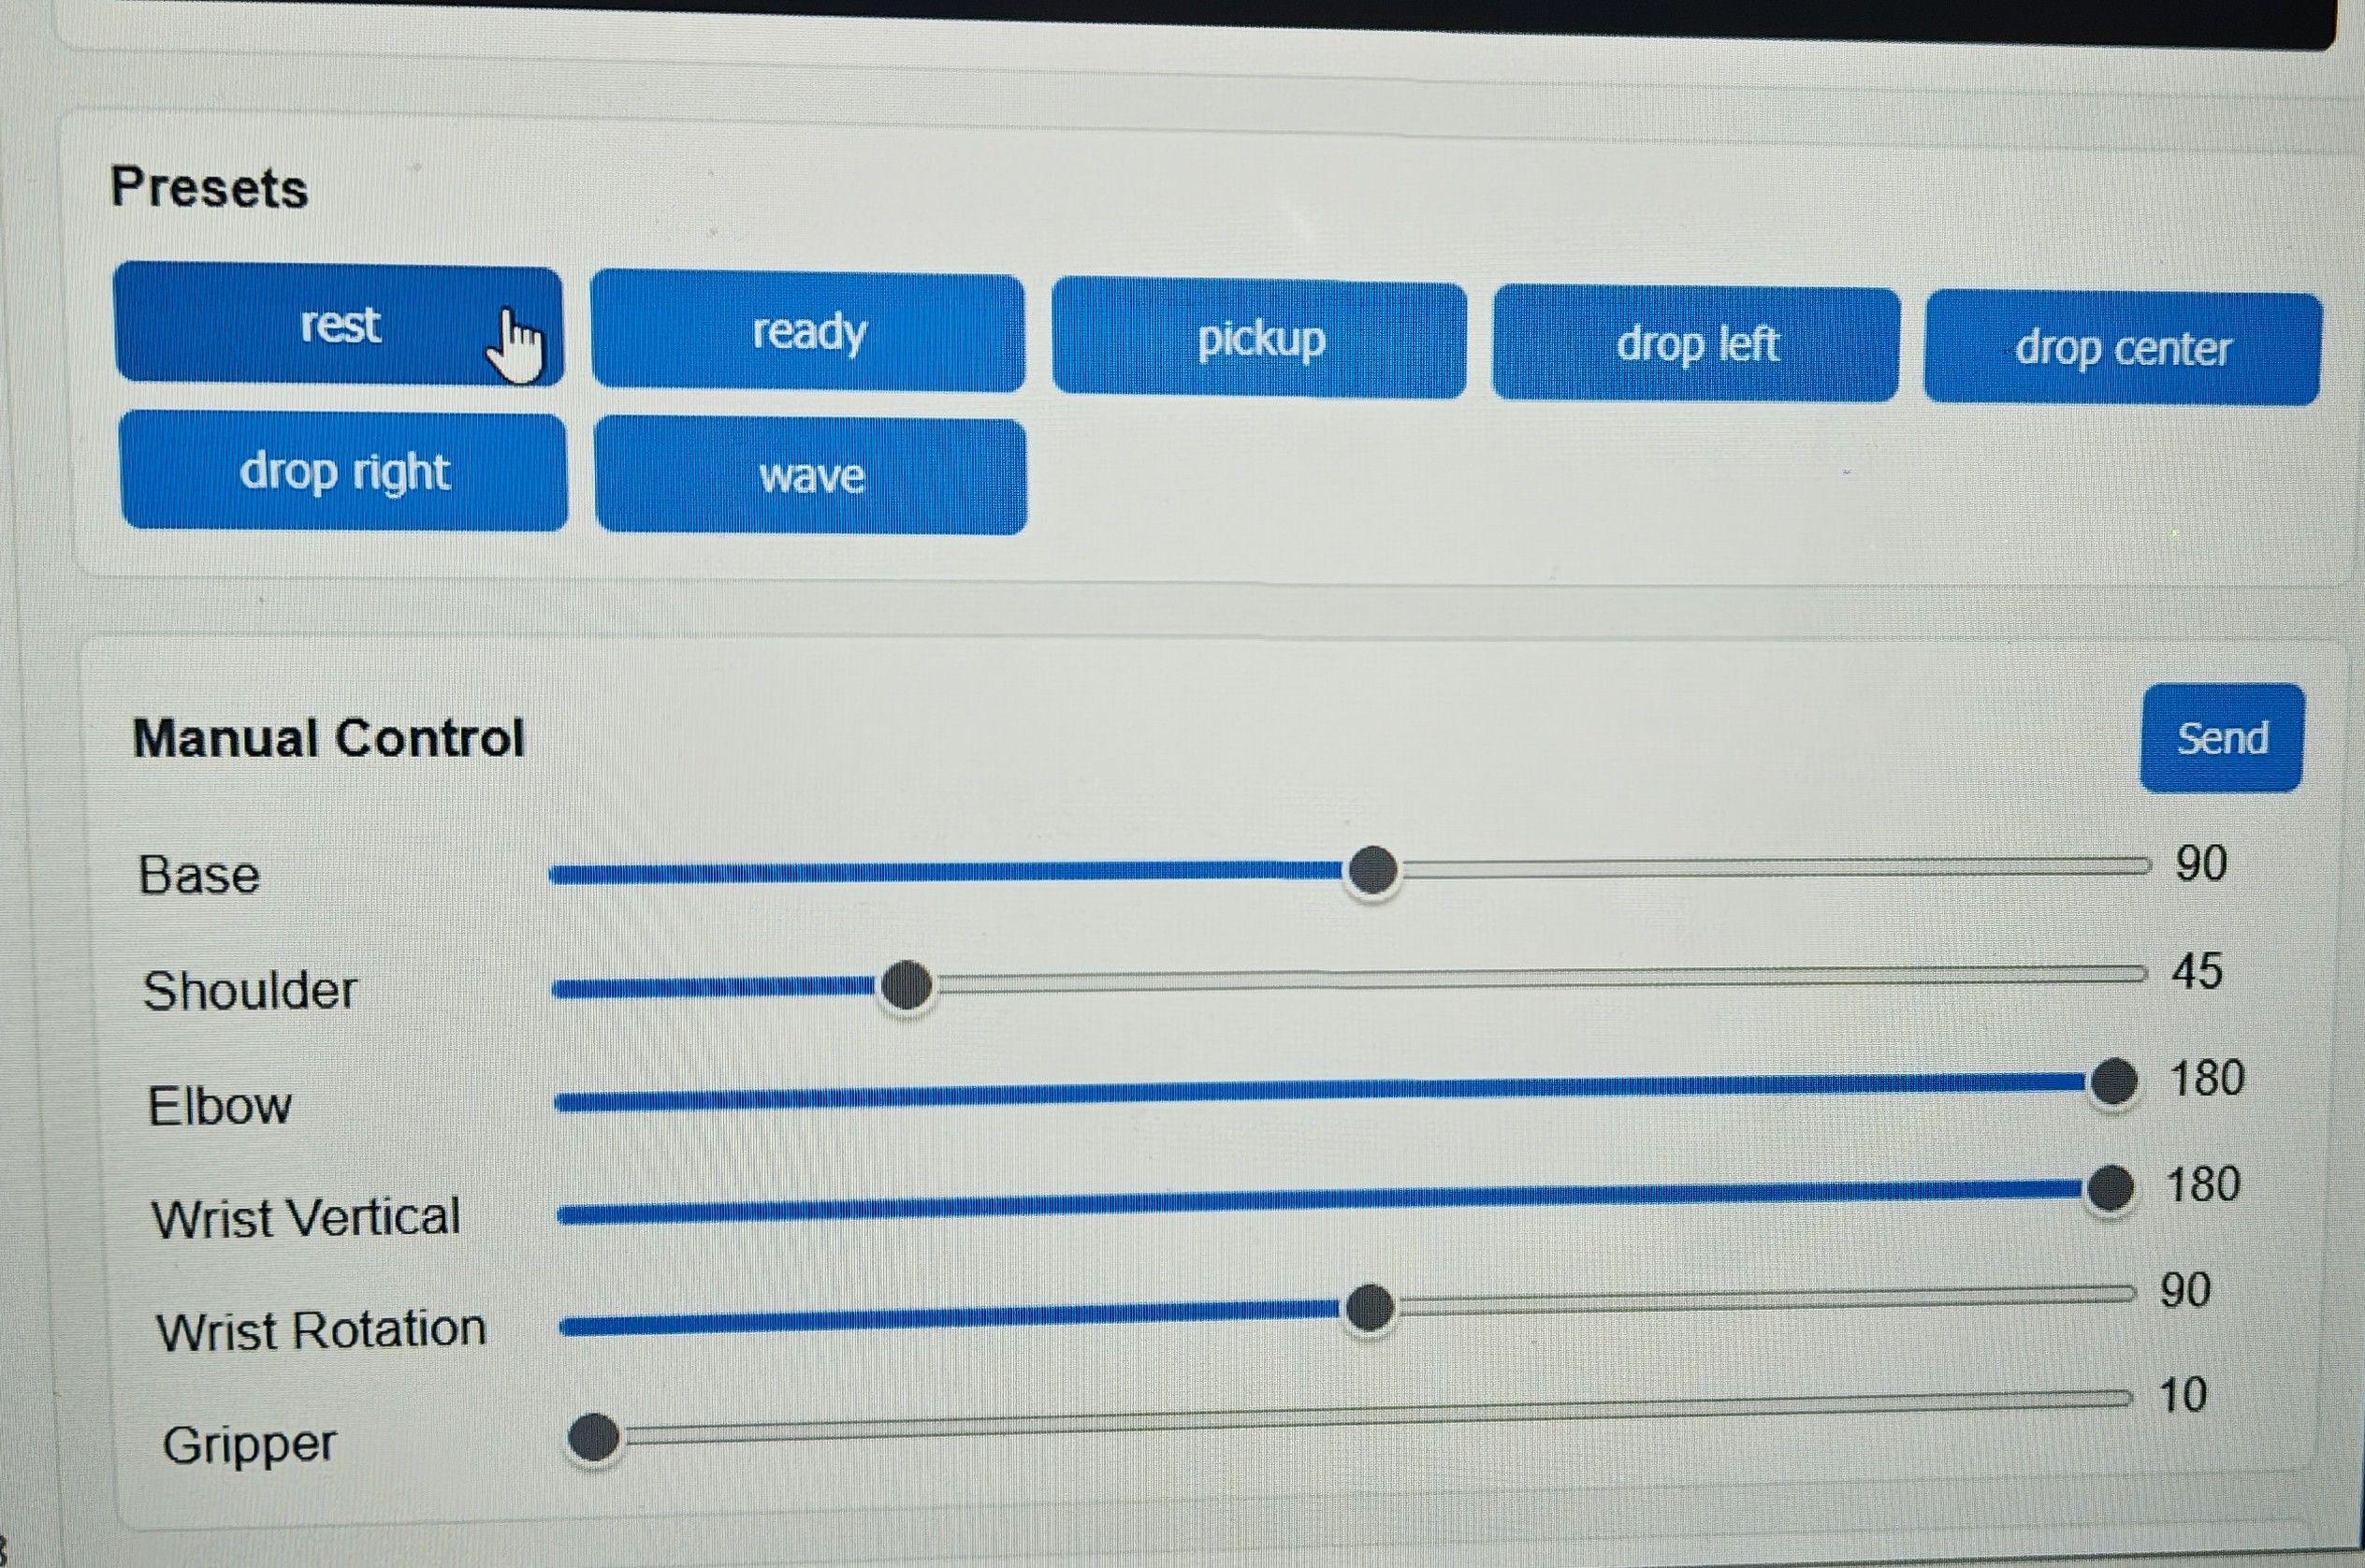
UNO Q Braccio control dashboard and named arm poses
What you will build
You will stream camera frames into ROS 2, run Edge Impulse inference through the repo’sedge_impulse_vision node, publish the selected label on /edge_impulse/label, and execute the matching pick-and-place sequence through the UNO Q TCP bridge.
Prerequisites
- An Arduino UNO Q and a TinkerKit Braccio arm with an external 5 V servo power supply.
- Ubuntu 24.04 with ROS 2 Jazzy, or WSL 2 with the Braccio ROS 2 workspace available.
- A local clone of unoq-braccio.
- A reachable camera stream for the current repo workflow, typically the UNO Q web or USB camera stream exposed as MJPEG.
- An Edge Impulse model runner command that accepts an image path and prints one JSON result line.
- Node.js and
npmif you want to use the repository helper that installs the Edge Impulse Linux tooling.
edgeimpulse_ros backend (see Alternative: run inference with edgeimpulse_ros below).
1. Prepare the UNO Q and arm
Flash and test the arm before using model output. For direct USB firmware flashing:app_lab/braccio_web_agent or app_lab/braccio_remote_agent on the UNO Q. The host connects to the UNO Q TCP server on port 8765.
Before integrating vision, verify the arm can move safely through each named pose from the repository’s dashboard or manual test commands.
2. Build the workspace and install the Edge Impulse tooling
Build the Braccio workspace first:npm, installs edge_impulse_linux and opencv-python, and installs the Edge Impulse Linux CLI. It does not symlink edgeimpulse_ros into the workspace.
If you use Edge Impulse CLI or Linux
.eim helpers, keep EDGE_IMPULSE_API_KEY in your shell environment and never commit it into scripts or repository files.3. Match model labels to workflows
The defaultedge_impulse/pick_place_workflows.yaml supports these labels:
Edit that YAML file before enabling live inference. It defines the named steps, joint poses, and waits for every item. The detector label must match a supported YAML item exactly.
The current flow publishes a label only when
edge_impulse_vision sees a result above its min_confidence threshold. The pick_place_executor ignores new labels while a sequence is already running, so repeated detections do not interrupt an active motion sequence.
4. Test a sequence without vision
Start the remote bridge, then publish a label manually. This validates networking and arm poses before the camera can trigger motion.5. Launch the current pick-and-place workflow
Start the UNO Q TCP bridge in one terminal:runner_template.py with your actual Edge Impulse model runner when it is ready. If you use app_lab/braccio_web_agent, the same UNO Q endpoint can expose both the bridge on 8765 and the camera stream on 8080.
Alternative: run inference with edgeimpulse_ros
The runner-command path above is the repo default. If you prefer the maintained edgeimpulse_ros package, the repository also ships edge_impulse_ros_pick_place.launch.py. It runs the edgeimpulse_ros detector on /braccio/camera/image_raw and a detection_label_bridge node that maps the detector’s vision_msgs/Detection2DArray output to the same /edge_impulse/label string the executor already consumes, so the pick-and-place workflow is unchanged.
You can run this backend from an external machine, or entirely on the UNO Q in a Docker container.
- External host or VM
- On the UNO Q (Docker)
Clone and build In a second terminal, start the camera stream, the
edgeimpulse_ros into ros2_ws first, then start the arm bridge in one terminal:edgeimpulse_ros detector, the label bridge, and the executor:min_confidence (default 0.65), and reads detections from detections_topic (default /edgeimpulse_detector/detections). The pick_place_executor, workflow YAML, and /edge_impulse/label contract are identical to the runner-command path, so you can switch backends without touching the arm workflow.
Monitor the decision path
Use three terminals to verify the inference output, selected labels, and arm commands independently:/edge_impulse/detection carries the raw detection result as a JSON string. /edge_impulse/label carries the selected label that the executor can map to a workflow. If the label is absent or does not match an item in edge_impulse/pick_place_workflows.yaml, no arm workflow is selected.
Test on macOS with a ROS 2 container
You do not need a Linux machine to validate the build and the ROS 2 graph. On macOS, run the workspace inside aros:jazzy Docker container. On Apple Silicon the image runs natively (arm64), so no emulation is required.
Start a container with the Braccio repository and edgeimpulse_ros mounted into the same workspace, building into /tmp so the host checkout stays clean:
docker exec -it braccio-test bash, then source /tmp/install/setup.bash in each. To exercise the detection_label_bridge without any hardware, run the bridge in one shell:
score: 0.4 to confirm the bridge stays silent below its min_confidence (default 0.65). To test the full chain, run pick_place_executor with a workflow_file and watch /braccio/joint_command while publishing labels.
Troubleshooting
Next steps
- Retrain with images captured from the final camera position, lighting, and object distances.
- Replace fixed pickup poses with calibrated positions for your table layout.
- Add an explicit physical or ROS-level enable switch before operating unattended.
- Record inference timing and decision logs to confirm the system is responsive enough for the motion sequence.