

This tutorial shows how to run IMU-based Edge Impulse models on Zephyr RTOS using the Edge Impulse Zephyr Module. Drop in your model > build > flash > get real-time motion inference.
Reference code: https://github.com/edgeimpulse/ei-zephyr-imu-inference
Reference code: https://github.com/edgeimpulse/ei-zephyr-imu-inference
Overview
This tutorial walks through running IMU (accelerometer/gyro) inference on Zephyr using the Edge Impulse Zephyr Module. The example supports any IMU accessible via Zephyr’s sensor API and can run on 850+ Zephyr-supported development boards.Key Features
- Real-time IMU sampling via Zephyr’s sensor framework
- Circular buffer + continuous inference
- Works with accelerometer-only or accel+gyro models
- Compatible with any IMU driver supported by Zephyr
Prerequisites
Before starting, ensure you have:- Edge Impulse Zephyr Module workspace
- A trained IMU model
- A Zephyr-supported development board
- Development tools
- Zephyr SDK 0.17.4+
- West 1.5.0+
Supported Sensors (IMU Drivers)
Any IMU supported in Zephyr should work, the example included uses a ST sensor hat. If you want to modify this example to use another board with an integrated IMU like the nicla vision. First comment out the CMAKE declaration for the shield in ei-zephyr-imu-inference/CMakeLists.txt:1. Initialize the Repository
- Zephyr RTOS
- The Edge Impulse Zephyr Module
- All dependencies
2. Deploy Your Model
In Edge Impulse Studio:- Go to Deployment
- Select Zephyr library
- Click Build
- Download the model
.zip
model/:
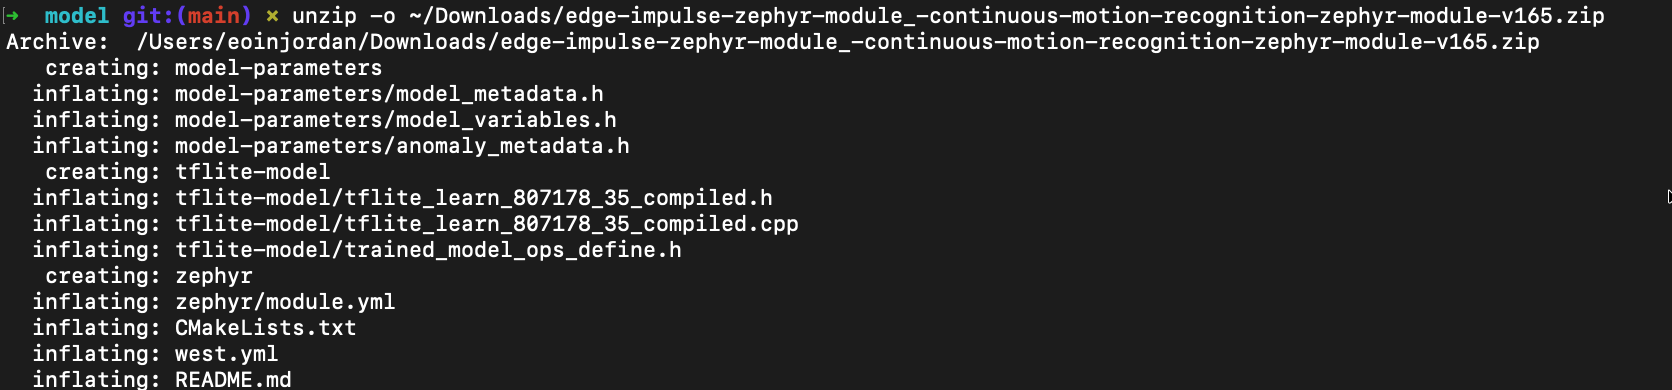
Copy model files into the model/ directory
model/ contains:
CMakeLists.txtedge-impulse-sdk/model-parameters/tflite-model/
3. Build
Select your board:
Build the project for your selected board
.west/config:
4. Flash
5. Monitor Output
How It Works
- Initialization – IMU and inference engine start
- Sampling – Sensor data collected at the model’s sample rate
- Buffering – Samples stored in a circular buffer
- Inference – Classifier runs when a full window is available
- Results – Predictions printed to the console
Project Structure
Customizing the Example
Use a different IMU
Enable its driver inprj.conf:
Increase memory for larger models
Add logging
Troubleshooting
SDK not found
Run:Sensor not detected
Enable debug logs:Inference inaccurate
- Ensure sample rate matches your training data
- Verify sensor axis order
- Test with raw features from Edge Impulse Studio
Summary
You have successfully deployed an IMU-based Edge Impulse model on Zephyr RTOS! You can now extend this example by:Next Steps
For more advanced usage, consider:- Porting the project to a new board
- Adding anomaly detection