1. Setting up your environment
To set up your OpenMV camera, and collect some data:- Install the OpenMV IDE.
- Follow the OpenMV hardware setup guide to clean the sensor and focus the lens.
- Connect a micro-USB cable to the camera, and open the OpenMV IDE. The camera should automatically update to the latest firmware.
- Verify that the camera can capture live images, by clicking on the Connect button in the bottom left corner, then pressing Play to run the application.

Set up your OpenMV camera. Press the 'Connect' button, then press 'Play' to run the application.
2. Collecting images
Once your camera is up and running, it’s time to start capturing some images and build our dataset. First, set up a new dataset via Tools -> Dataset Editor, select New Dataset.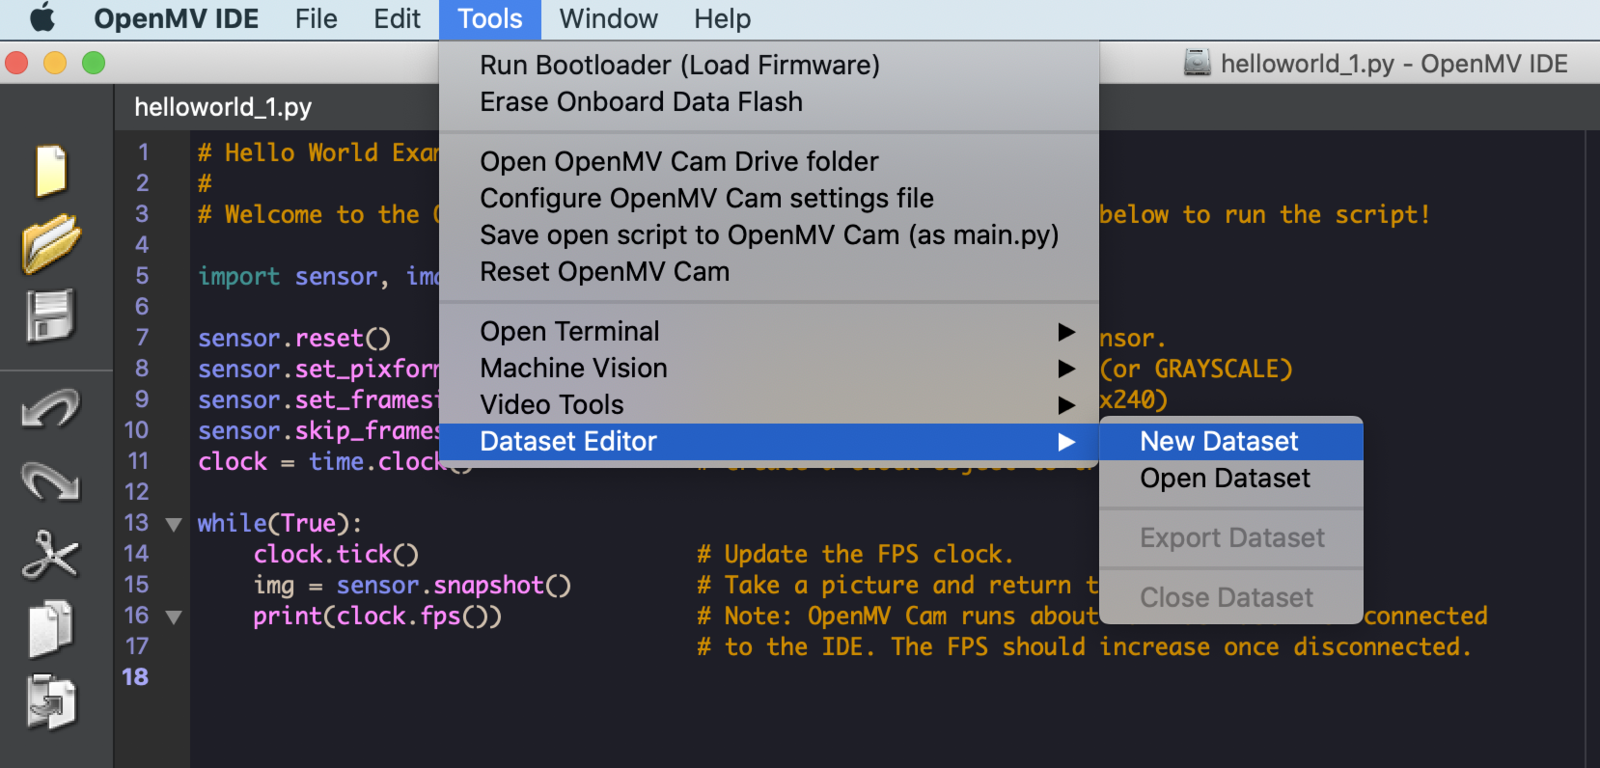
Creating a new dataset in the OpenMV IDE
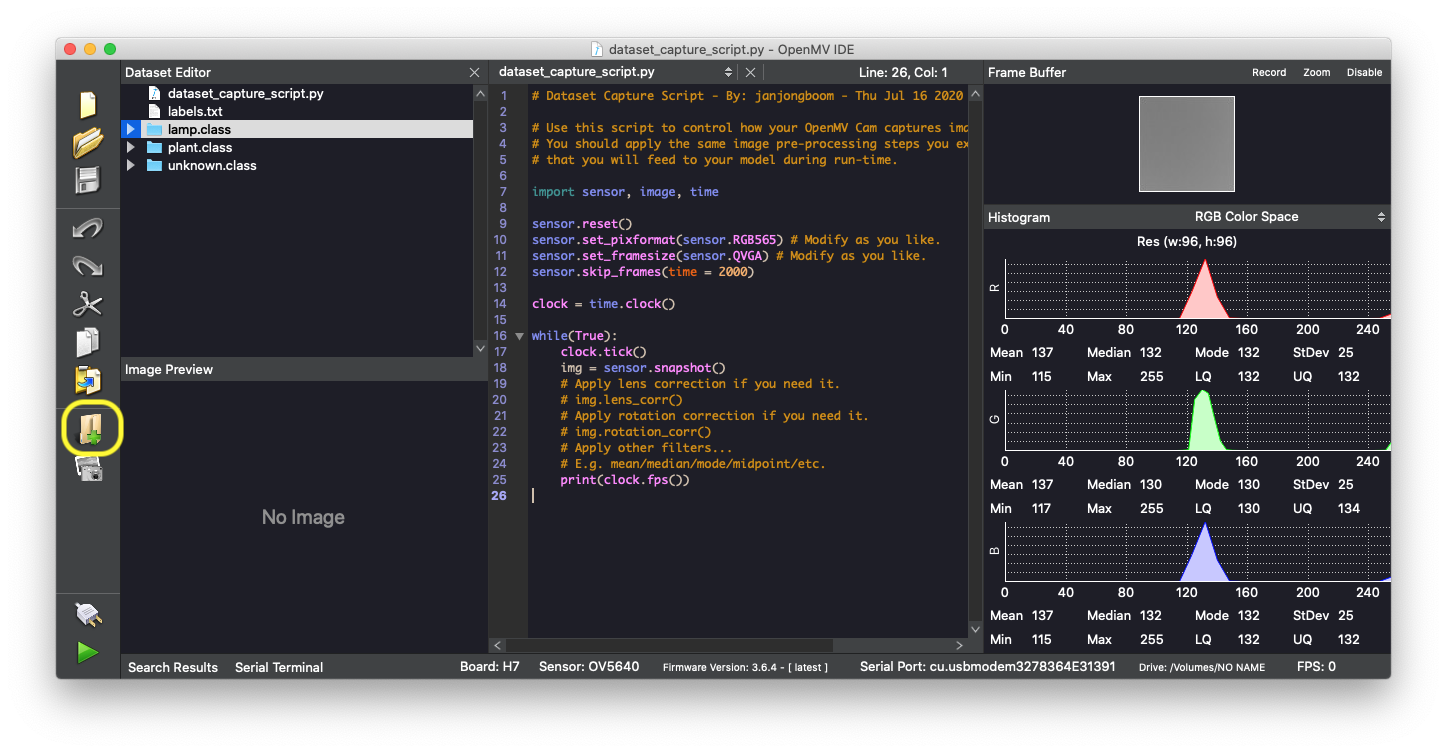
Create three classes in the OpenMV IDE by clicking the 'New class folder' (highlighted in yellow).
- Click the Play icon to run the ‘dataset capture script’ on your OpenMV camera.
- Select one of the classes by clicking on the folder name in the ‘Dataset editor’.
- Take a snap by clicking the Capture data (camera icon) button.
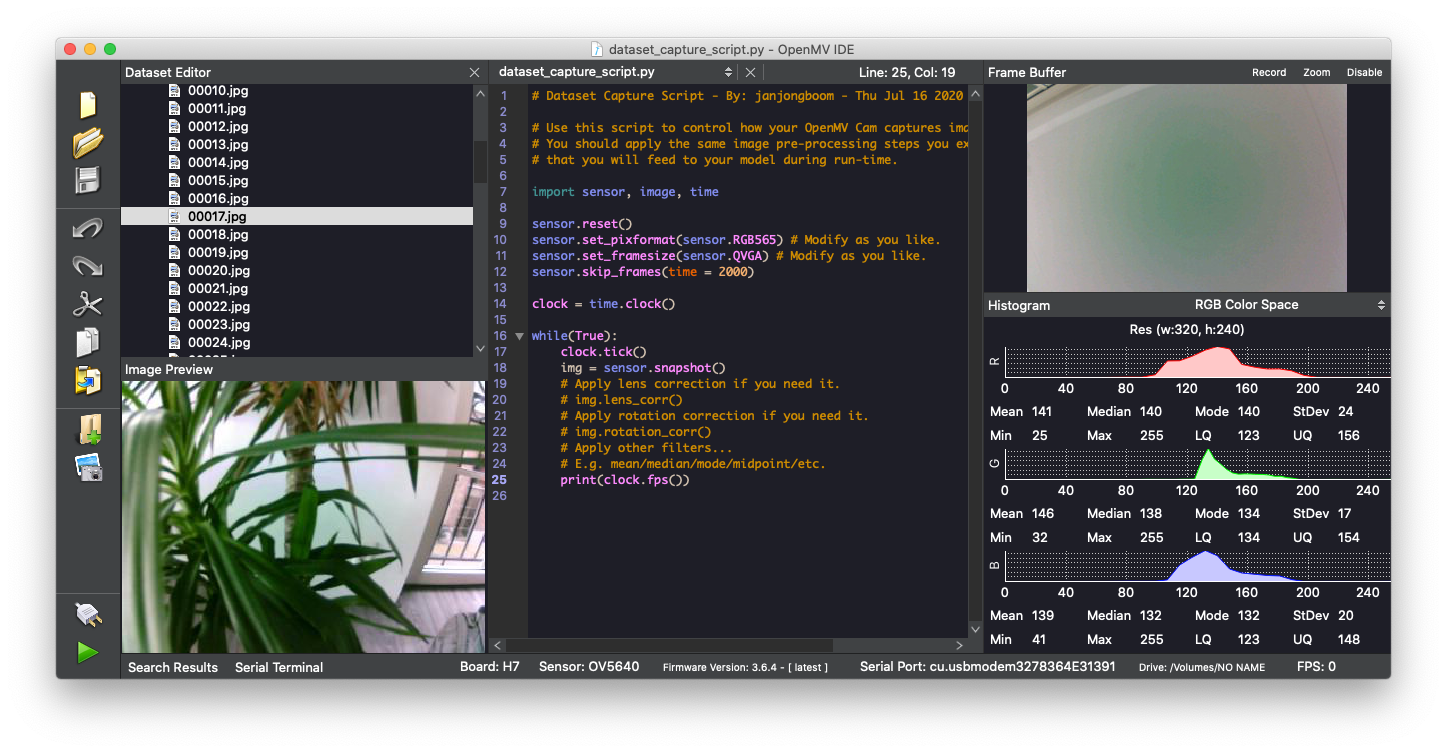
Capturing data (a plant image shown on the left) into a dataset using the OpenMV camera
3. Sending the dataset to Edge Impulse
To import the dataset into Edge Impulse go to Tools > Dataset Editor > Export > Upload to Edge Impulse project.
Synchronize your dataset with Edge Impulse straight from the OpenMV IDE
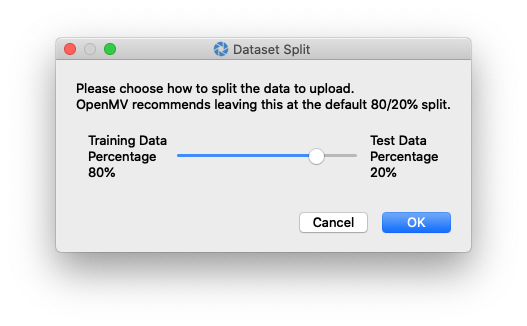
Choose a project, and then the dataset split to upload your data
Training and testing data splitThe split between training and testing data is based on the hash of the file in order to have a deterministic process. As a consequence you may not have a perfect 80/20 split between training and testing, but this process ensures samples are always placed in the same category.
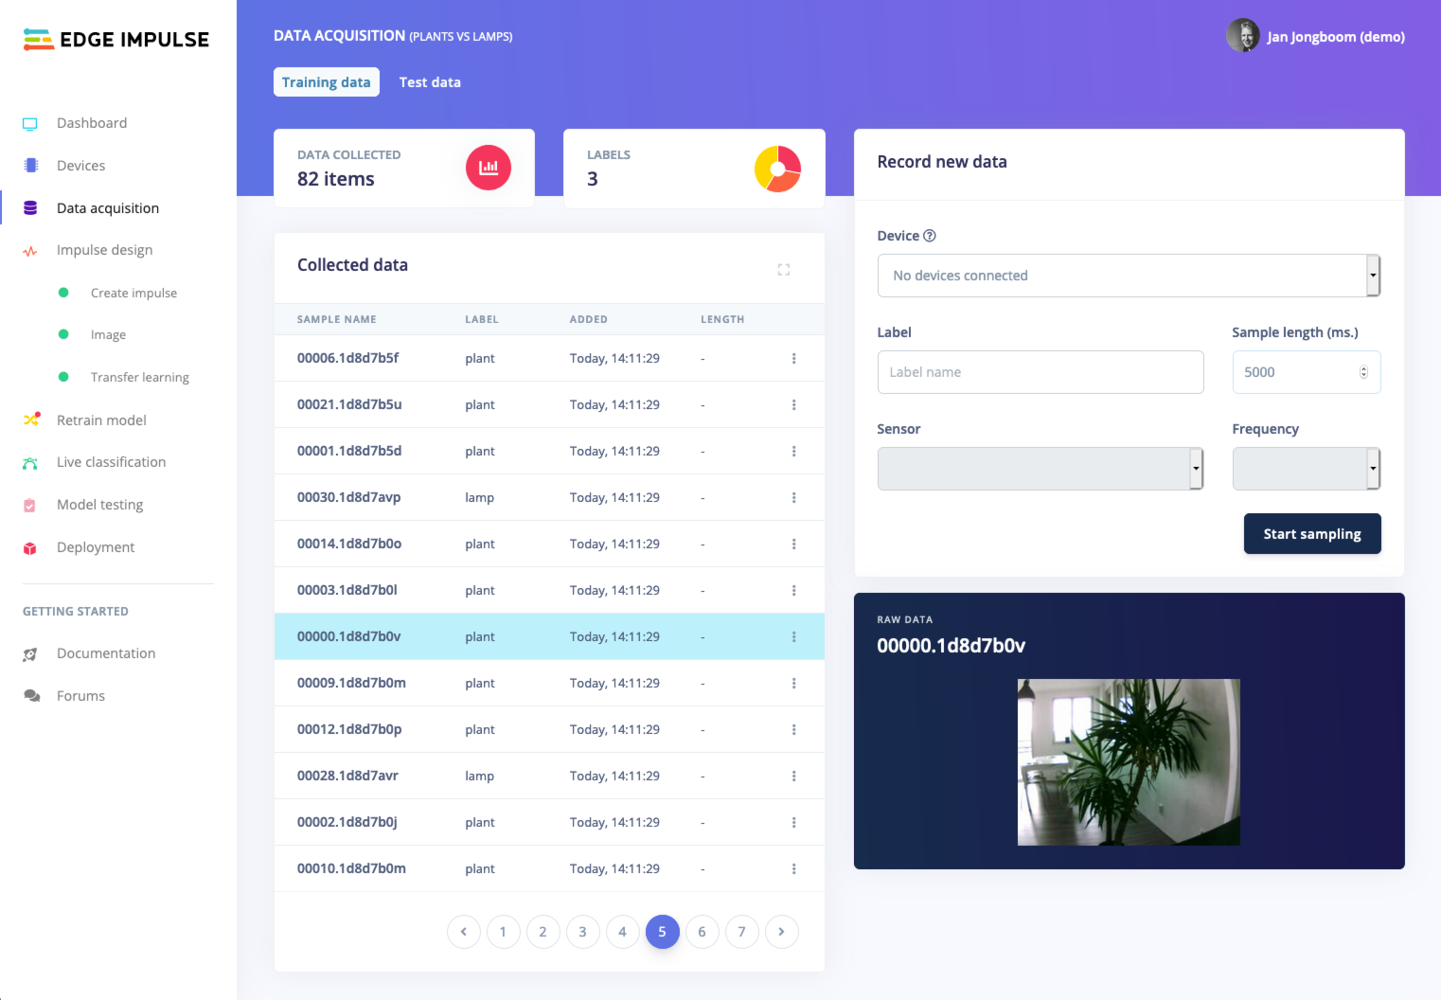
Collected data