Device Cloud – RB3 Gen 2
- Spin up a virtual Dragonwing RB3 Gen 2 in Qualcomm Device Cloud (QDC).
- Install the Edge Impulse CLI on the device.
- Connect the device to Edge Impulse Studio.
- Run AI inference on a static test image.

Device Cloud RB3 Connected your project
Prerequisites
- Qualcomm Device Cloud account – Sign up for free access to the Device Cloud.
- Edge Impulse account – Sign up if you don’t already have one.
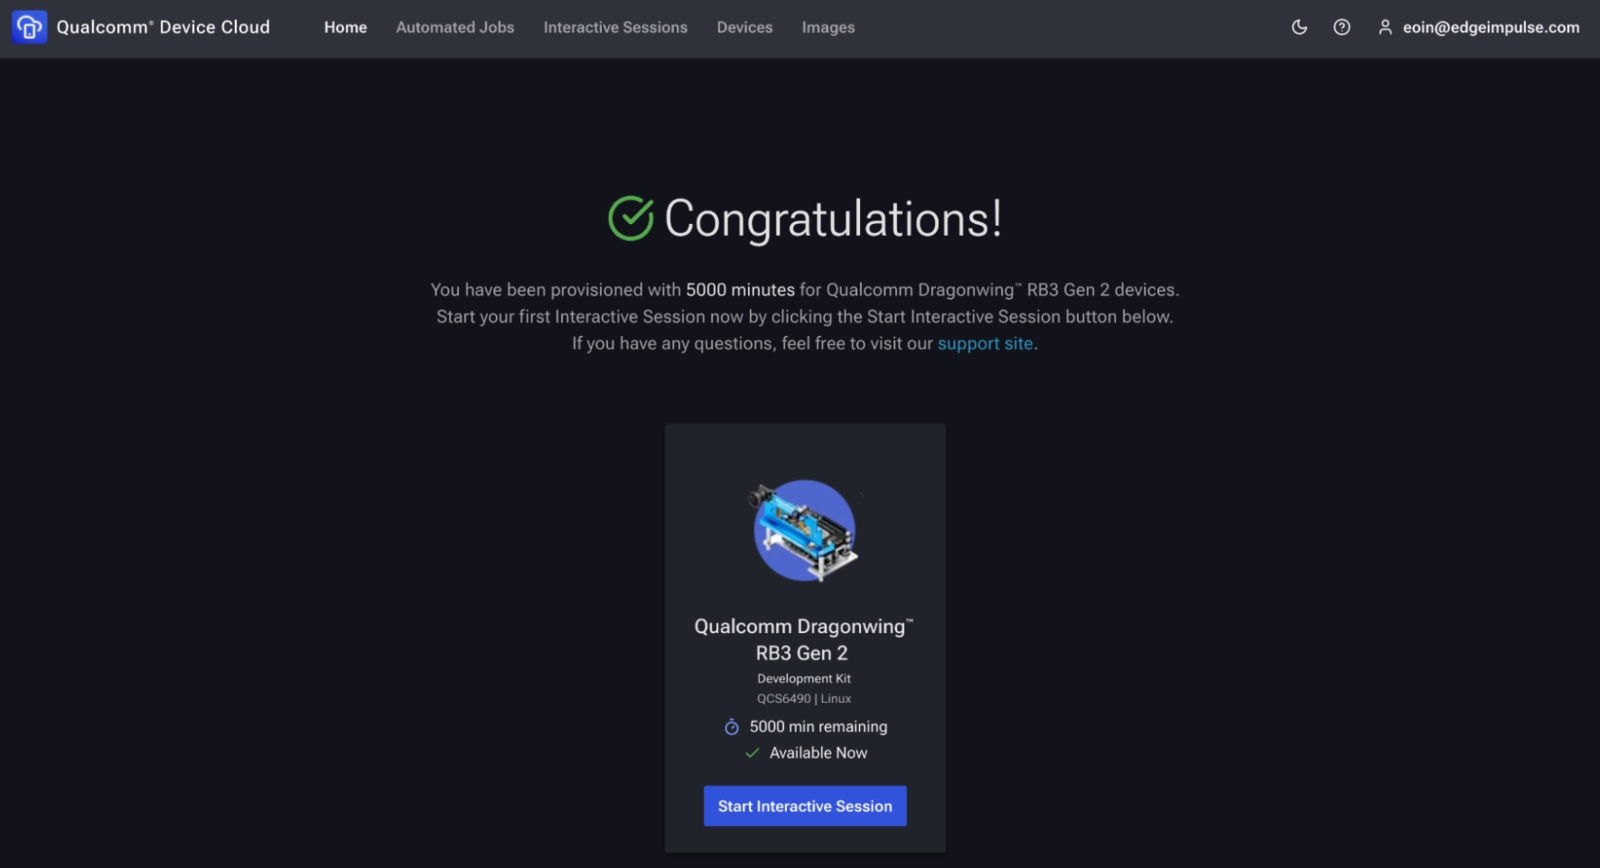
1. Launch an interactive RB3 Gen 2 session
Click the Devices tab in the Qualcomm Device Cloud web UI, then select Advanced on-device AI with Dragonwing™ RB3 Gen 2 You should see a suggestion to Try Now. If you don’t see this option, you may need to request access to the RB3 Gen 2 device type.
QDC home - Select RB3 Gen 2
- Log in to QDC > Devices > IoT > RB3 Gen 2 > Start Interactive Session.
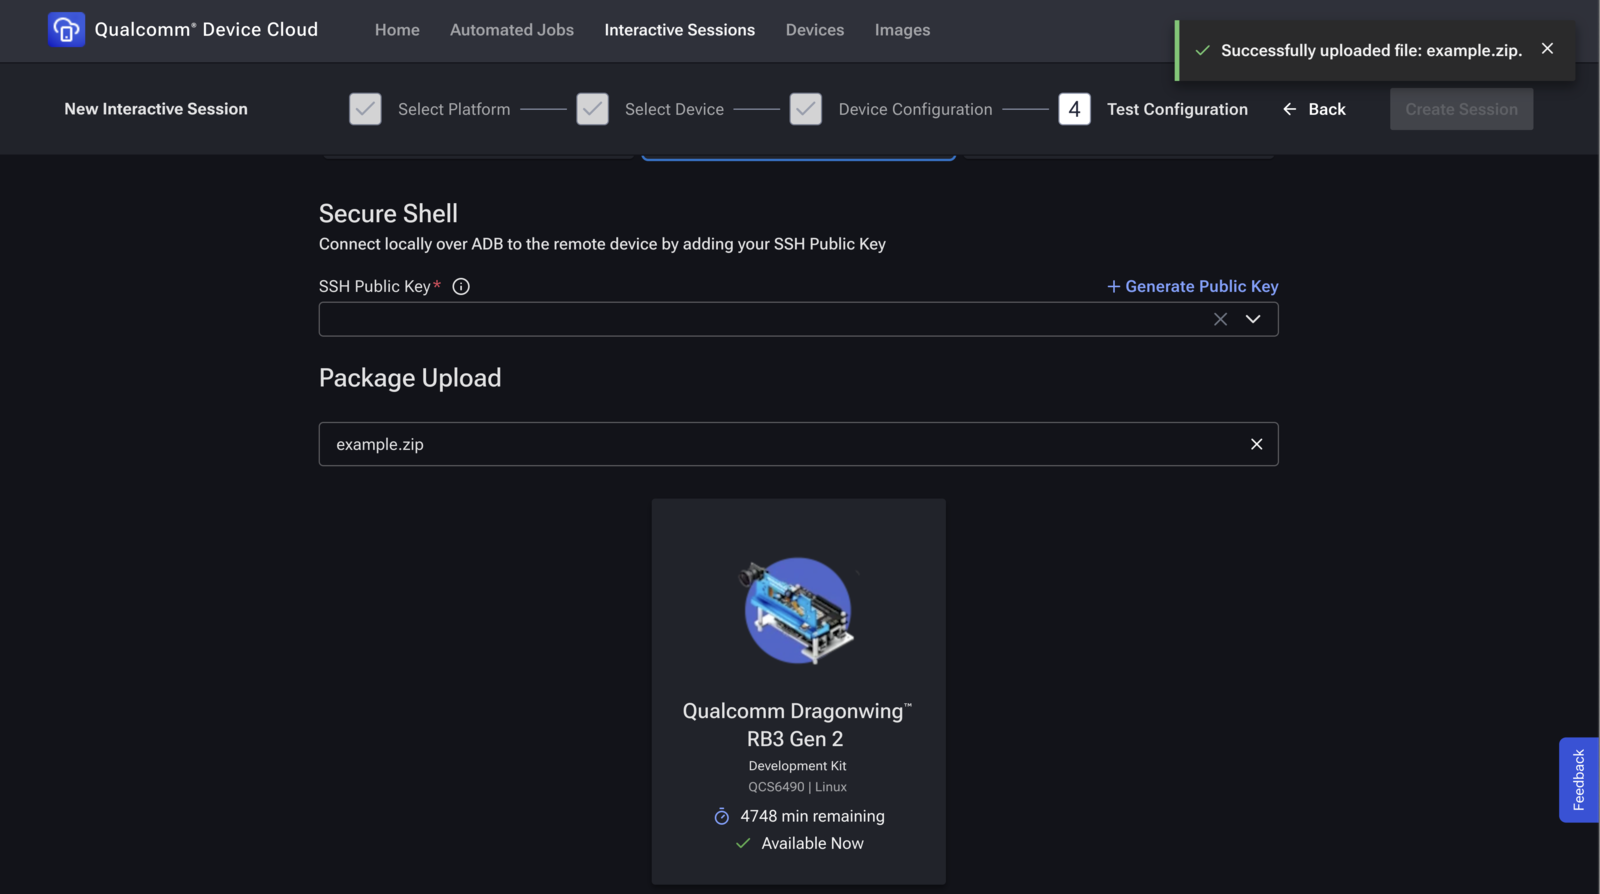
- Session mode
- SSH only – headless shell (fastest).
- Screen mirroring + SSH – adds VNC if you need the GUI.
- Package upload – This is where you can upload files to the board. Create a zip with your test image (e.g.,
example.jpg) and upload it here.- If you skip this step, you can upload files later using the QDC web UI.
- Click Start. QDC powers on the board and shows your SSH credentials.
2. Install the Edge Impulse CLI
QDC images are minimal. We have prepared a script to install Node.js and the Edge Impulse CLI once per session: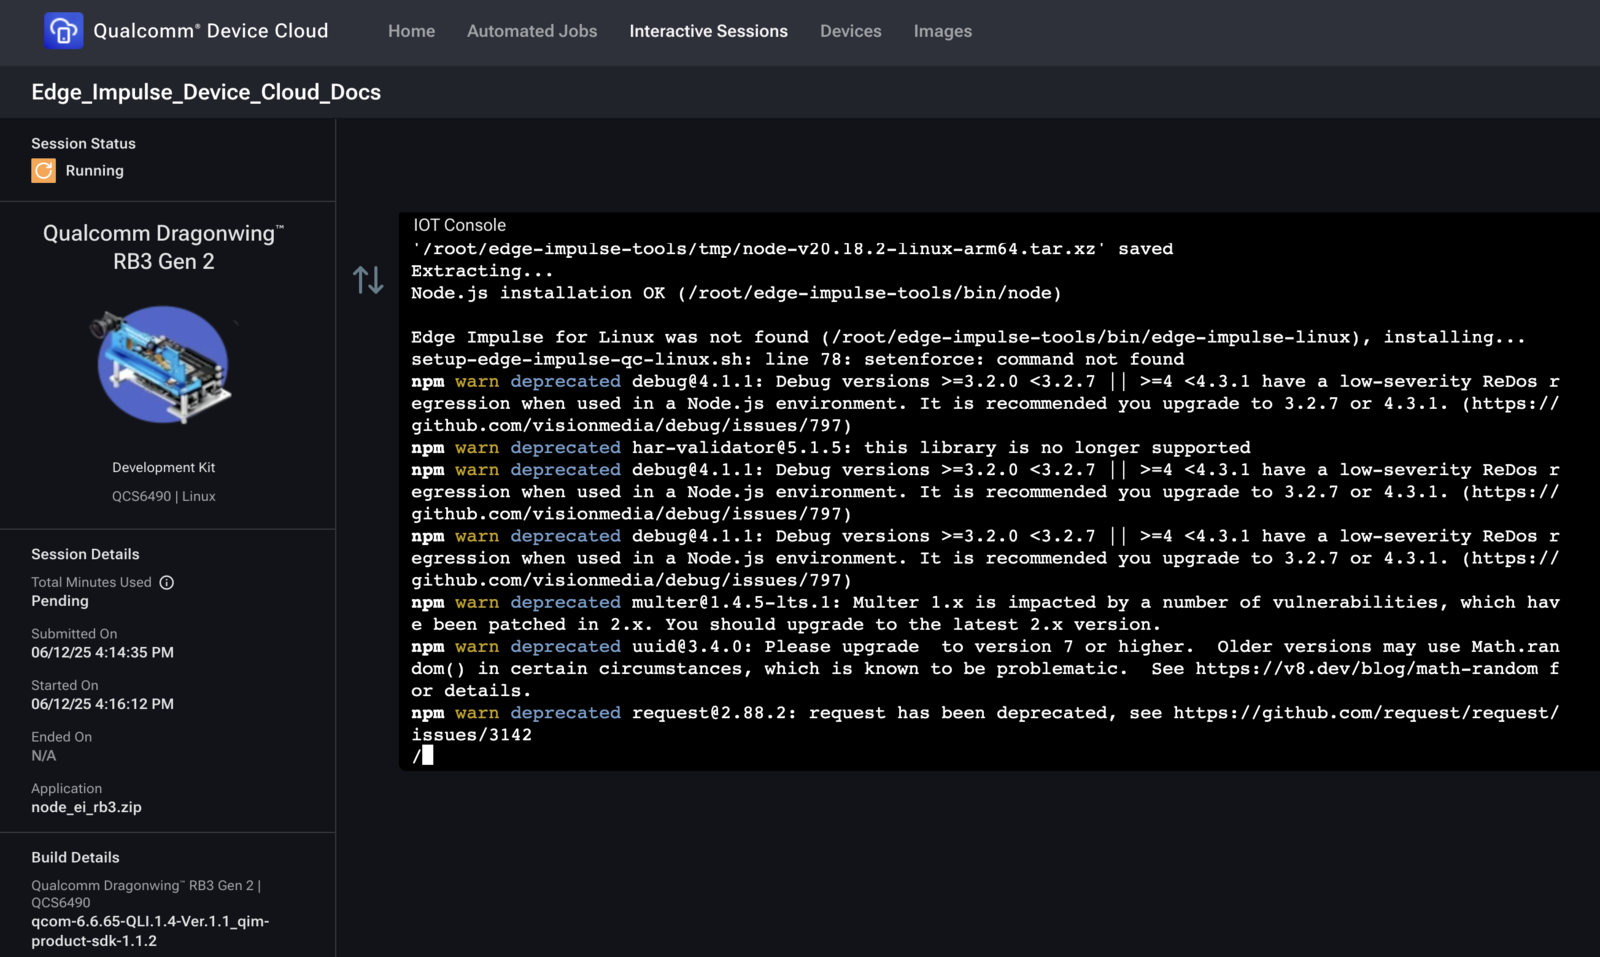
CLI install
3. Initialise the CLI environment
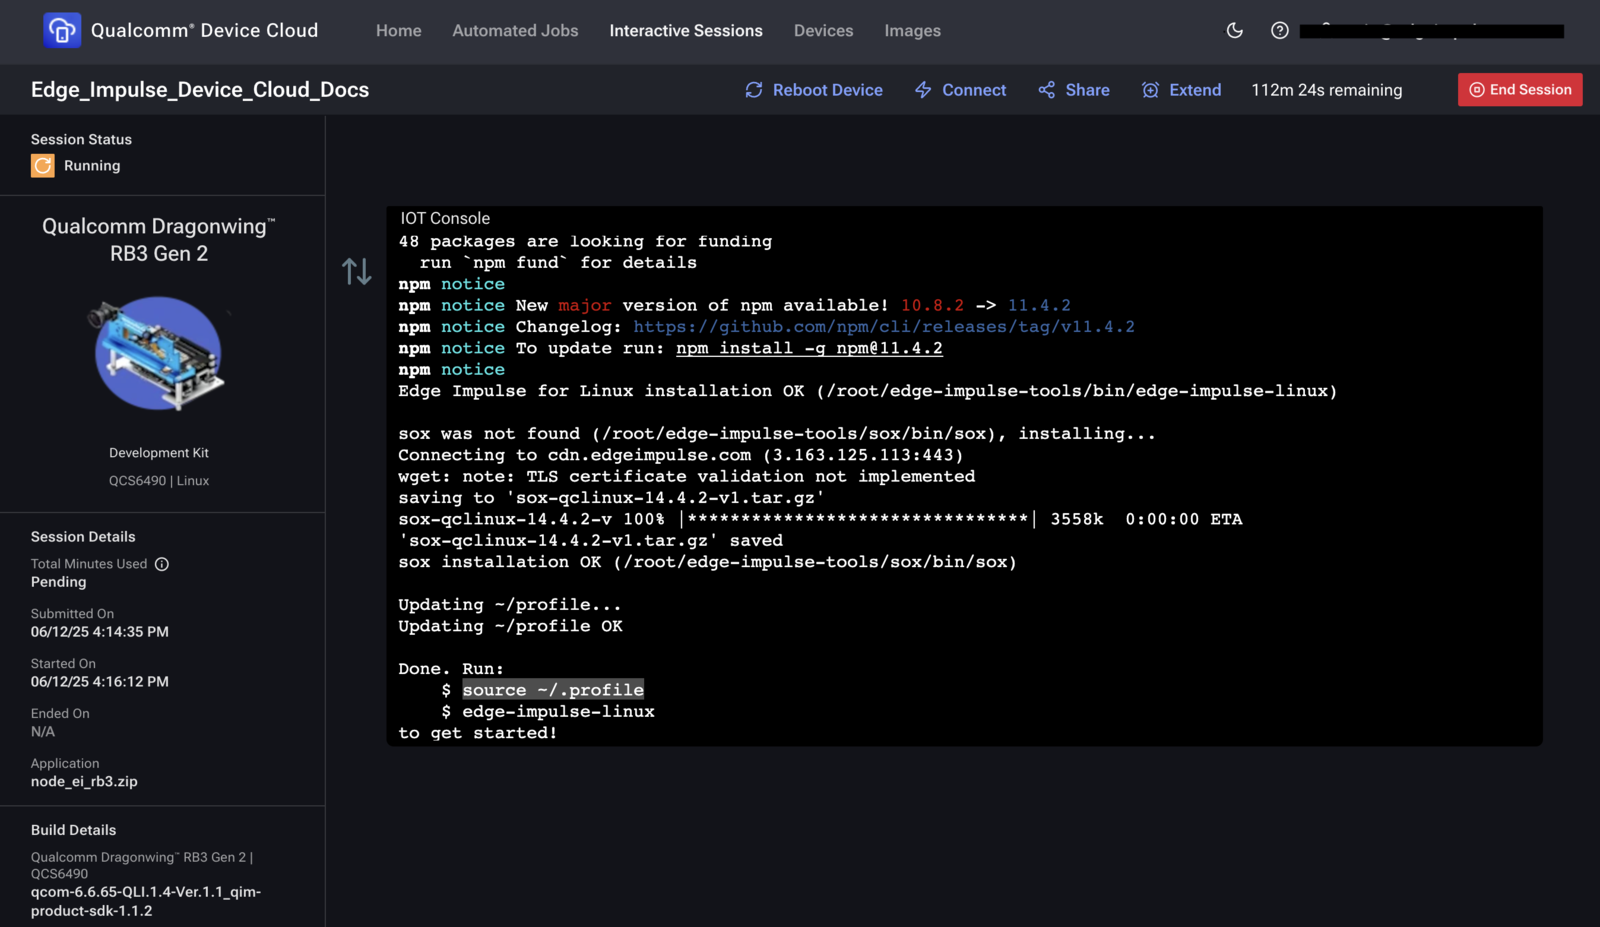
CLI sourced
4. Connect the board to Edge Impulse Studio
- Paste the one-time authentication key from Studio > Devices > Connect.
- Select or create a project.
- Camera prompt: Choose None – we will use a static image.
Device connected
5. Run inference on a static image
5.1 Upload a test image
Uploading a test image
example.jpg (or any JPEG/PNG) to /data/local/tmp on the board, then move it to your home directory:
5.2 Classify the image
Summary
You now have access to a virtual RB3 Gen 2 in Qualcomm Device Cloud, installed the Edge Impulse CLI, connected the board to Edge Impulse Studio, and ran AI inference on a static test image without physical hardware on your desk.Next steps
From virtual RB3 to QNN acceleration
The virtual RB3 Gen 2 in Device Cloud is a perfect way to validate your Edge Impulse model before you move to a physical Snapdragon device and enable hardware acceleration. In the companion tutorial, QNN Hardware Acceleration on Android, we take the same kind of object detection model and run it on a Snapdragon device with the Qualcomm AI Engine Direct (QNN) TFLite delegate. On a Dragonwing RB3 Gen 2, we measured:
Once you’re happy with your model in Device Cloud, you can flash it to a physical RB3 (or other Snapdragon dev kit) and follow the QNN guide to unlock this extra performance on the Hexagon NPU.
Now you can explore more advanced scenarios, such as streaming live camera data or running inference on a physical RB3 Gen 2 board.