This guide walks you through deploying an Edge Impulse Zephyr module and running inference on the STM32 side.
west support for the UNO Q is still experimental. Debugging requires ADB port forwarding.See the official Zephyr documentation for the latest details:
https://docs.zephyrproject.org/latest/boards/arduino/uno_q/doc/index.html
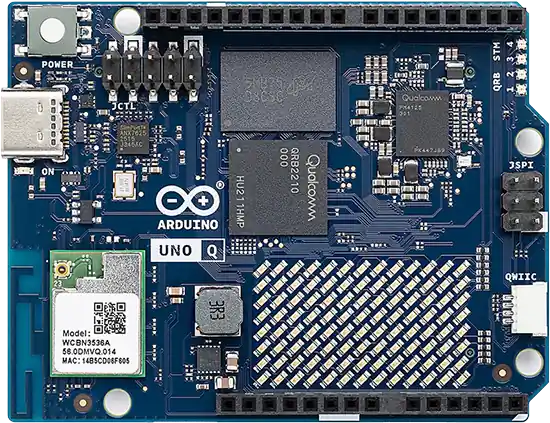
UNO Q
Overview
The UNO Q consists of:- Qualcomm QCS2210 – Runs Linux Debian (host logic, logging, cloud, UI).
- STMicroelectronics STM32U585 Microcontroller – Runs Zephyr RTOS (real-time sensor IO + ML inference).
Prerequisites
- Edge Impulse Zephyr Module installed
https://docs.edgeimpulse.com/hardware/deployments/run-zephyr-module - ADB (Android Debug Bridge) installed:
- Optional: OpenOCD or Segger J-Link (SWD debugging)
For IMU-based inference examples, you can use:
- X-NUCLEO-IKS02A1 - STMicroelectronics industrial motion MEMS sensor expansion board with ISM330DHCX 6-axis IMU. Connects via Arduino headers or I2C.
- Arduino UNO R4 WiFi IMU Shield with the LSM6DSOX sensor via the ESLOV connector.
- SparkFun Qwiic 6DoF IMU (LSM6DSO)
- SparkFun Triple Axis Accelerometer (ADXL345)
- Grove 3-axis Accelerometer (ADXL335) with a Grove to Qwiic adapter
Step 1: Verify ADB Connection
First, verify your UNO Q is connected via USB and visible to ADB:ADB communicates with the Linux side of the UNO Q. Keep this connection active throughout development - the Linux side acts as the bridge for debugging the STM32 MCU.
Step 2: Initialize the Example Project with Edge Impulse Zephyr Module
See our Edge Impulse Zephyr Module for the latest deployment instructions Create and initialize your Zephyr workspace:All subsequent
west commands (build, flash, debug) should be run from ~/zephyrproject/example-standalone-inferencing-zephyr-module unless otherwise specified.- Zephyr core RTOS
- Edge Impulse Zephyr Module (edge-impulse-sdk-zephyr)
- Example app sources under src/
Step 3: Deploy Your Model from Edge Impulse Studio
In Edge Impulse Studio, go to Deployment > Zephyr Module Click Build Download the .zip file (e.g. my_model-zephyr.zip) Extract it into your project:Step 4: Add Model Path to CMakeLists.txt
Edit the project CMake file: add the following line to the end of CMakeLists.txt:Step 5: Configure UNO Q Board for Zephyr Build
Open .west/config and set the board:The UNO Q shares its STM32U585 Microcontroller architecture with the UNO Q, so arduino_uno_q is a working target until official uno_q Zephyr support is merged. See Zephyr docs for the latest here
Step 6: Build the Firmware
From the~/zephyrproject/example-standalone-inferencing-zephyr-module directory, build the firmware:
Step 7: Flash and Debug the UNO Q
The UNO Q requires a two-step process for flashing and debugging the STM32 MCU.Start the Debug Bridge
In Terminal 1, start the ADB port forwarding and OpenOCD server:Keep this terminal running. It bridges your development machine to the on-board OpenOCD server.