- Public Project Link: https://studio.edgeimpulse.com/public/1131788/live
- Github repository: https://github.com/haziqa5122/QDC-VENTUNO
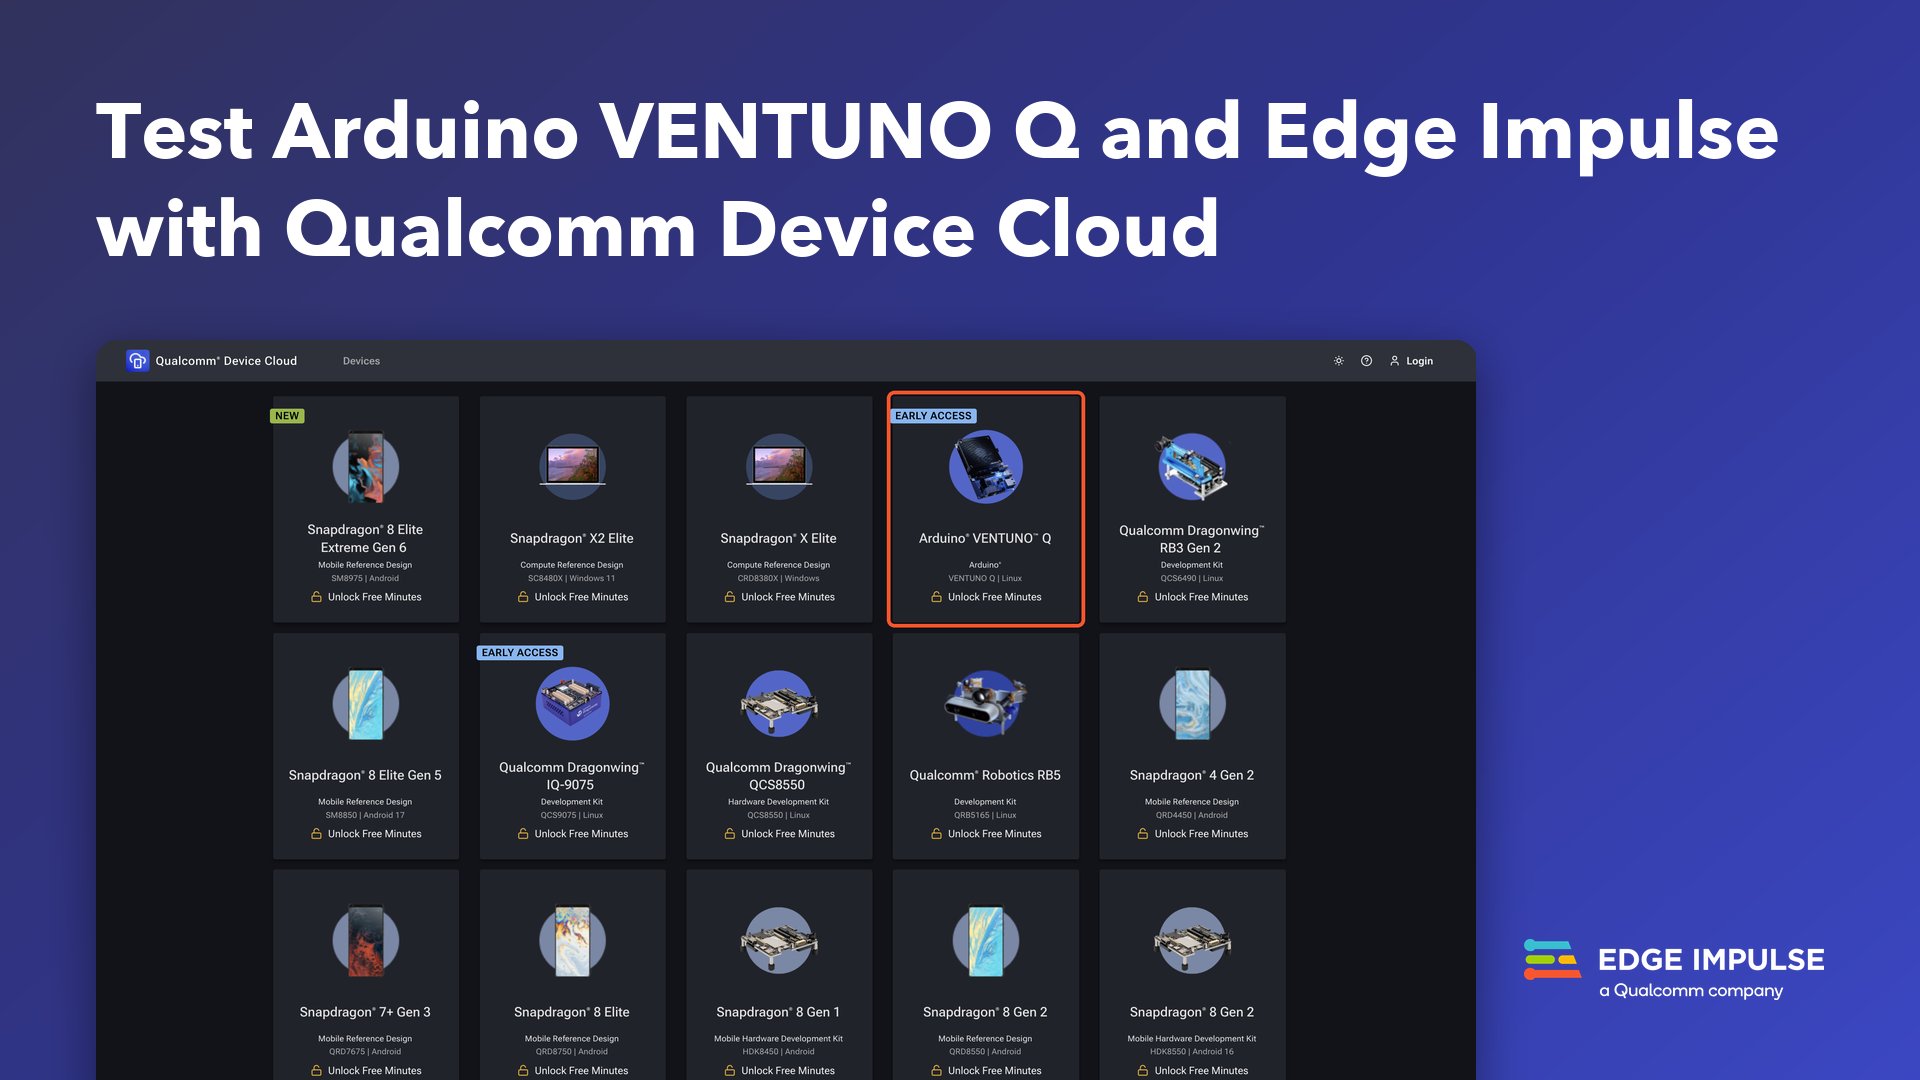
How the no-hardware workflow splits
The workflow uses three environments, each with a different role. Your computer stores and labels the dataset and prepares the files for upload. Edge Impulse Studio generates features and trains the classifier using cloud compute. Qualcomm Device Cloud (QDC) provides the timed hardware session for deploying the model and running inference on the VENTUNO Q. You’ll need an Edge Impulse account and a Qualcomm ID to access these services. Node.js on your computer is only required if you use the optional packaging or scoring helpers. The board setup script installs Node.js and the Edge Impulse Linux CLI during the device session. Because setup and model downloads consume QDC minutes, complete dataset preparation and training before opening the device session.Collecting and preparing the dataset
We used daisies, roses, and sunflowers from TensorFlow Flowers for this build. You can use a different dataset. Choose labels that match what you want the model to recognize. The examples below show the three flower classes used in our classifier.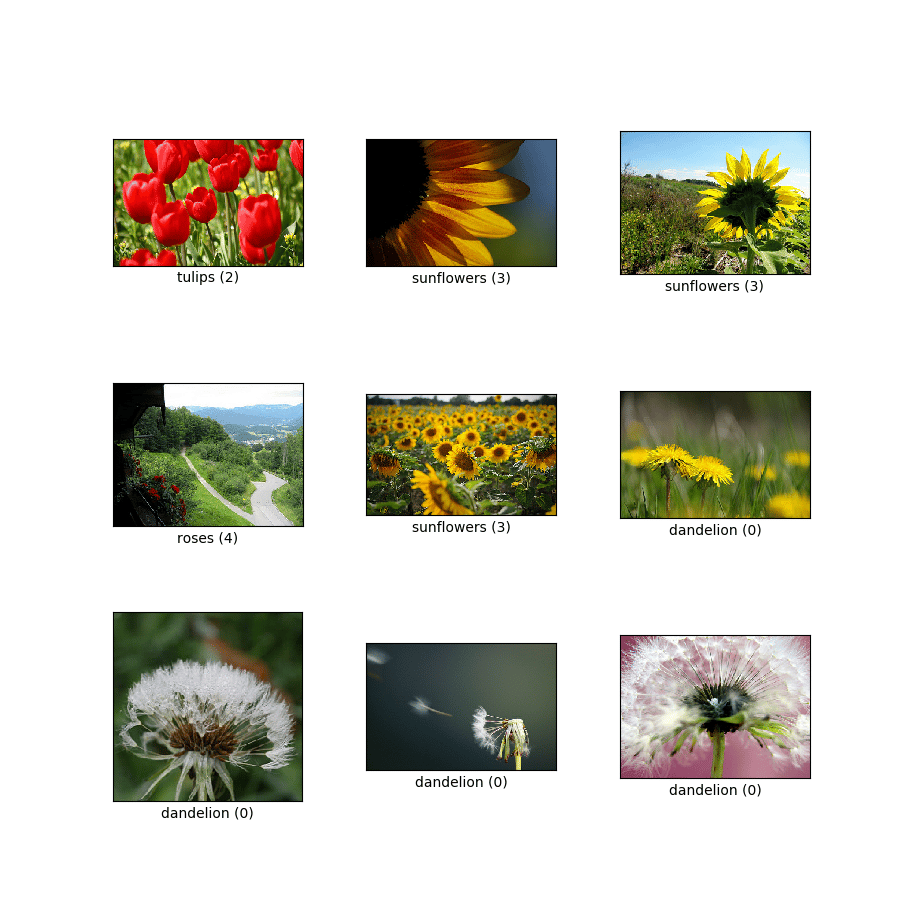
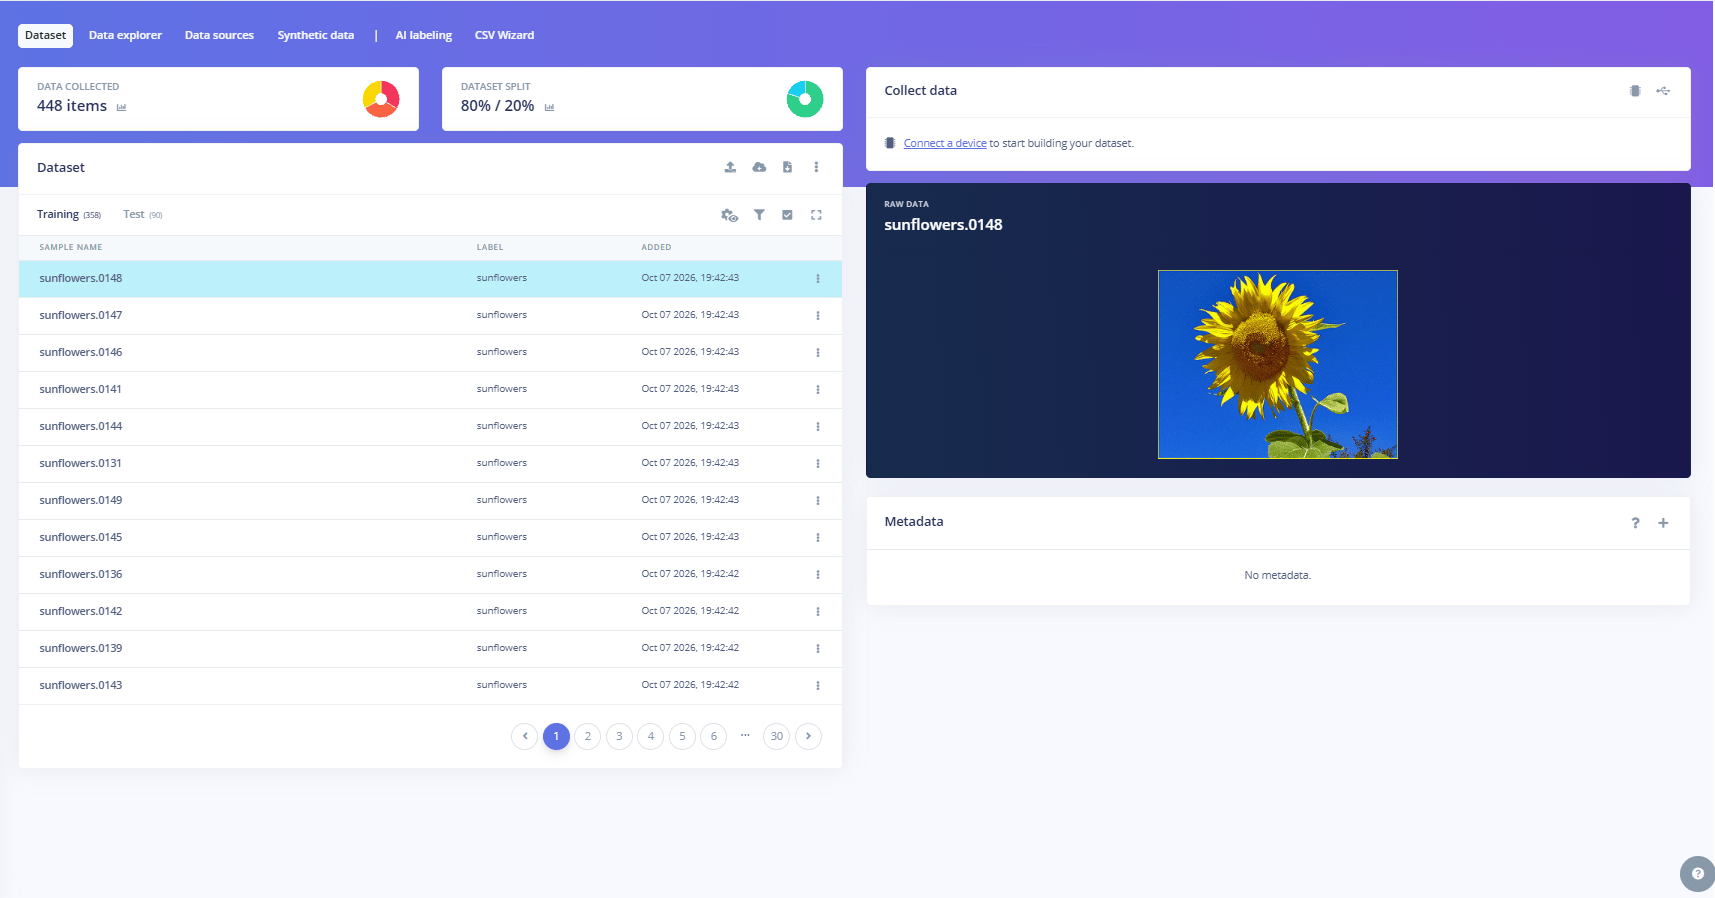
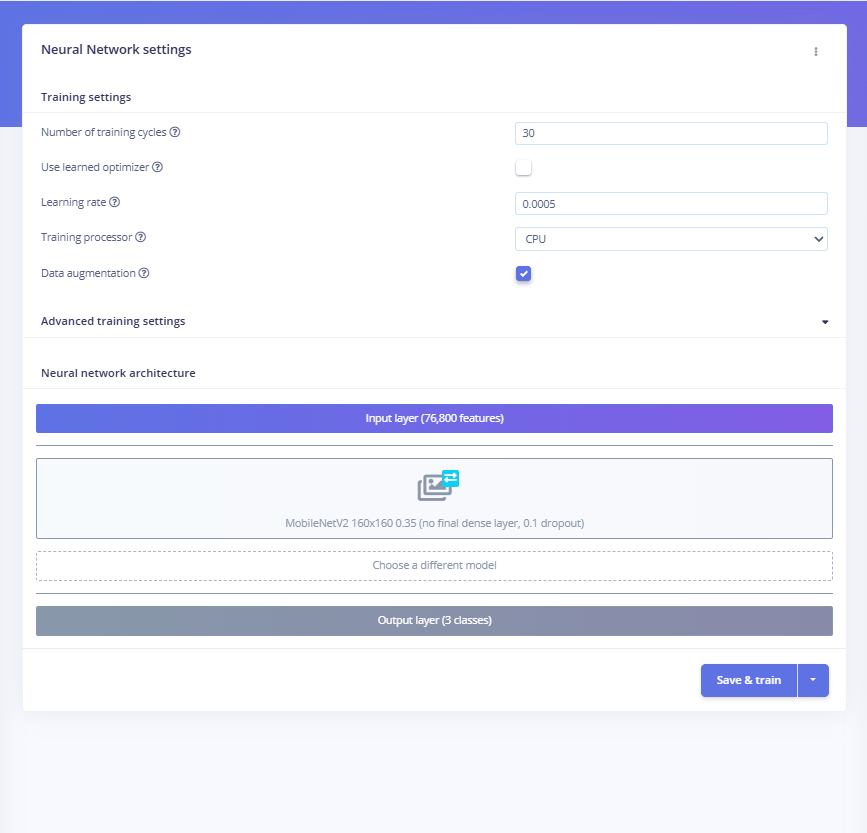
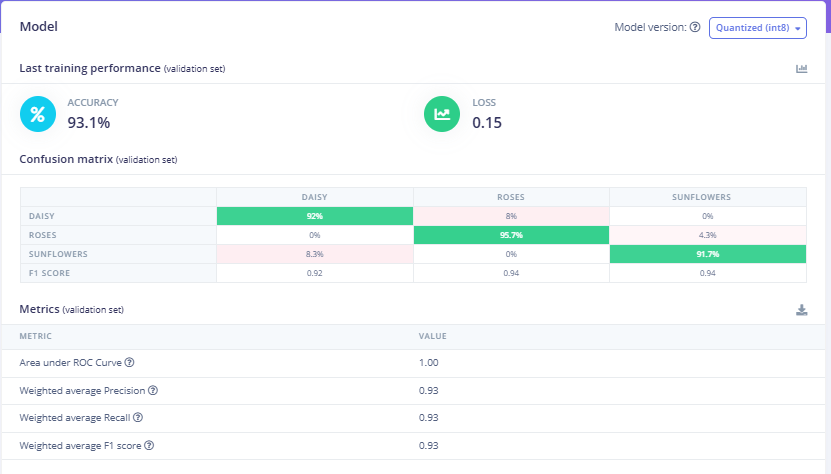
Building and training the model in Studio
Set the target device to Arduino VENTUNO Q, shown in our Studio dropdown as Qualcomm QCS8275. The selector below shows the target used for this project.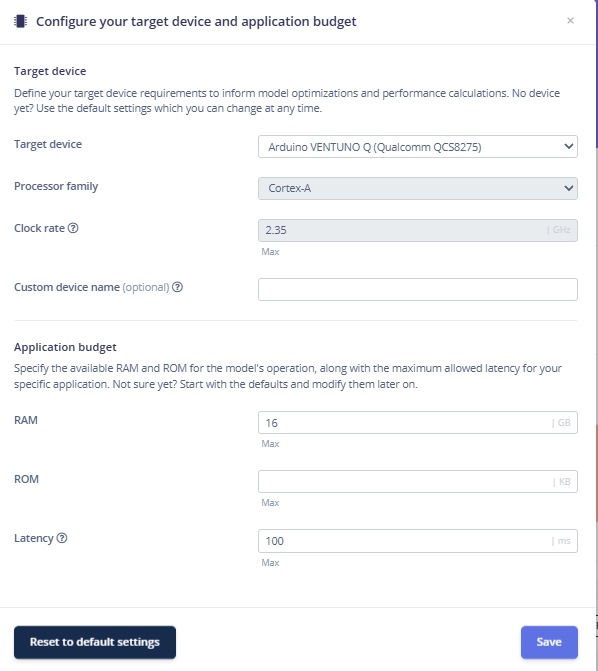
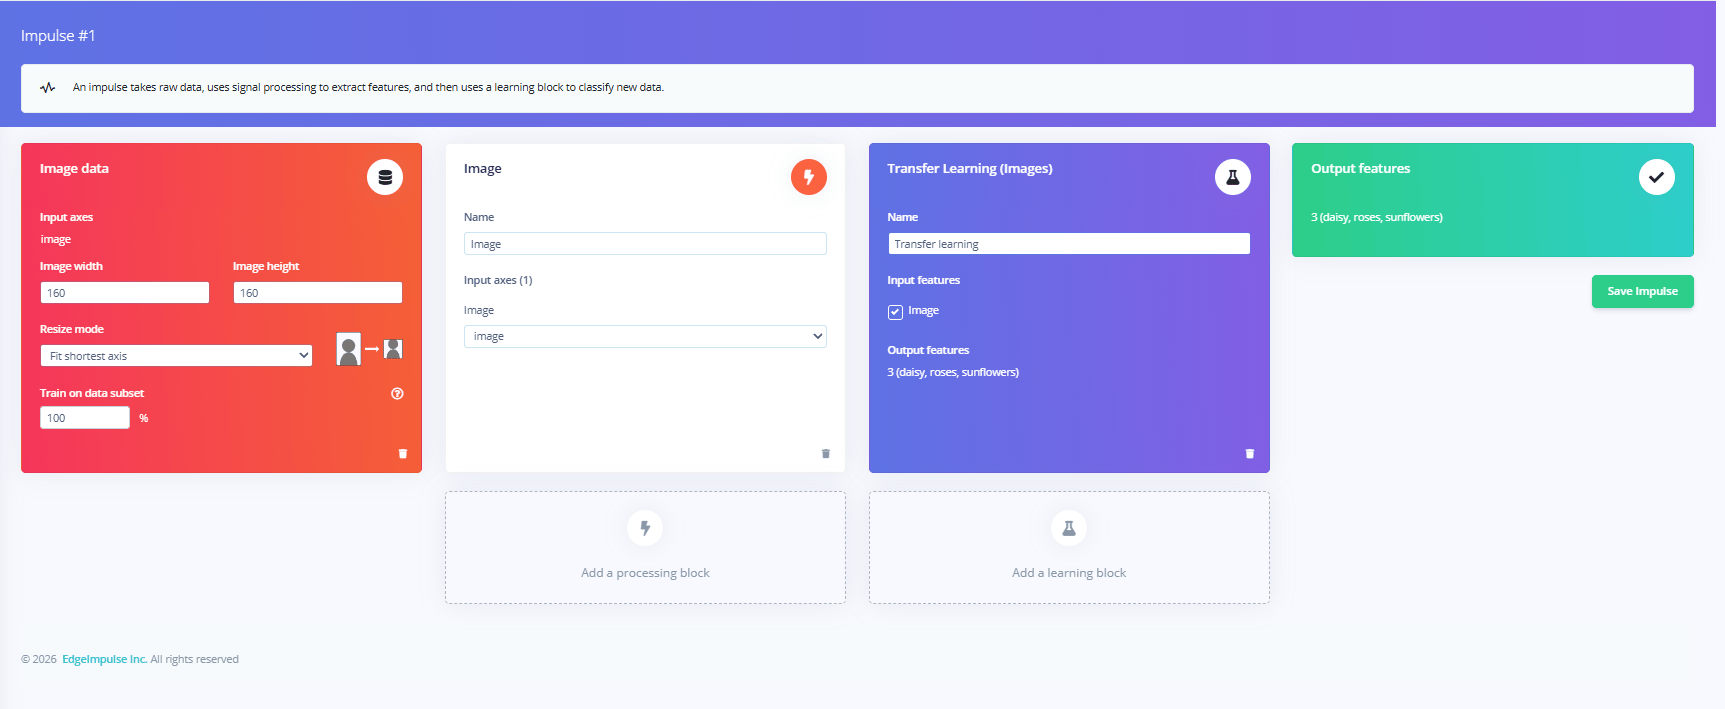
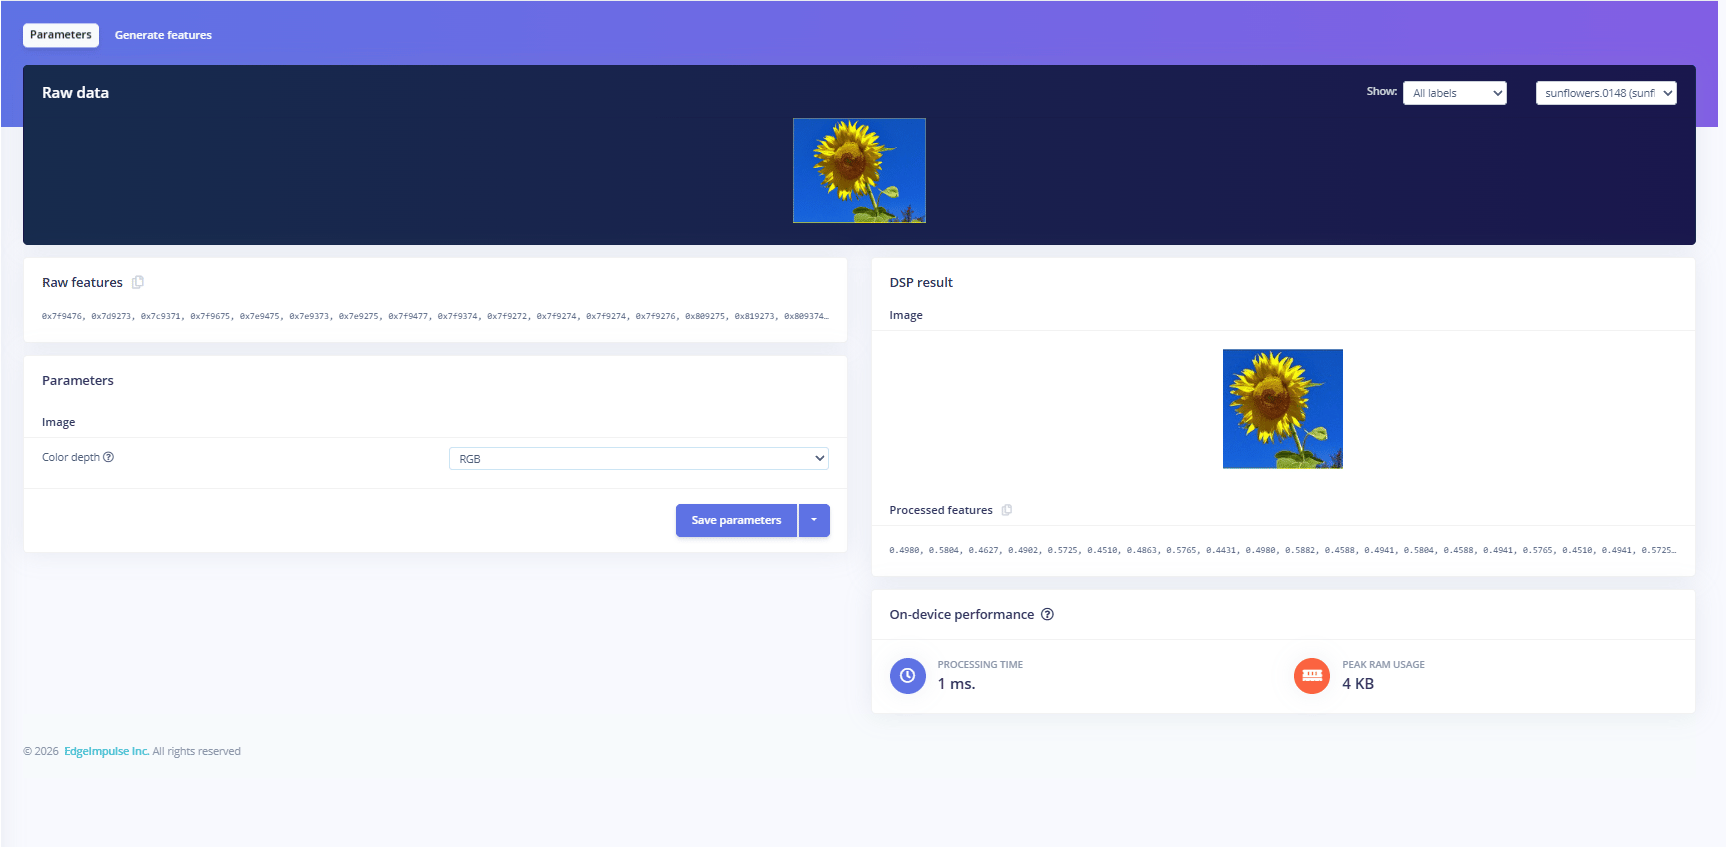
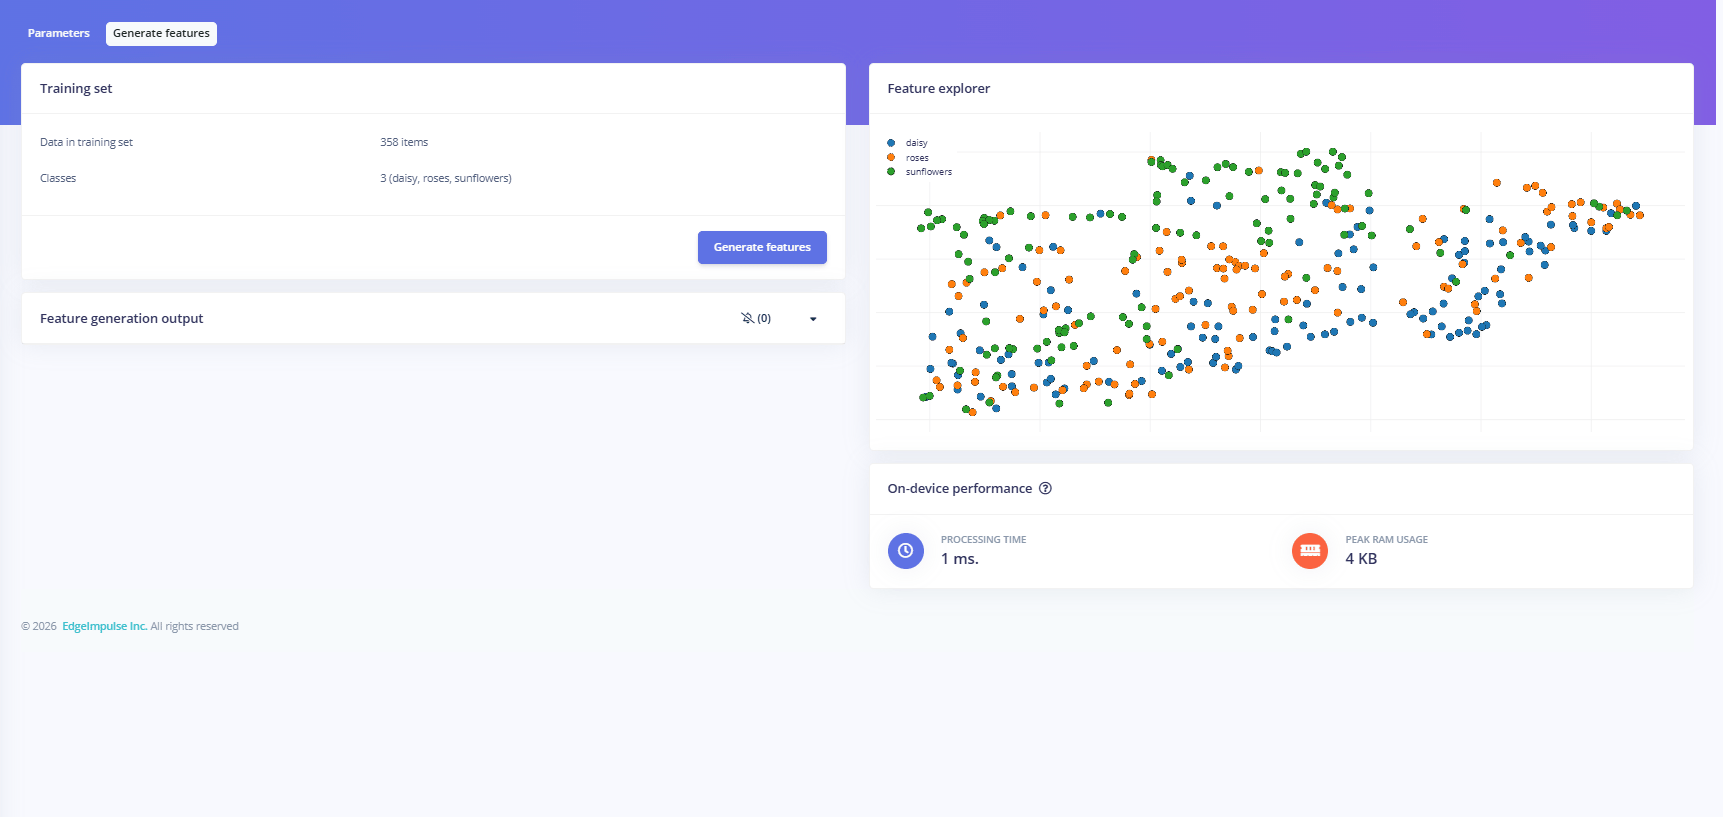
Spinning up the remote Arduino VENTUNO Q
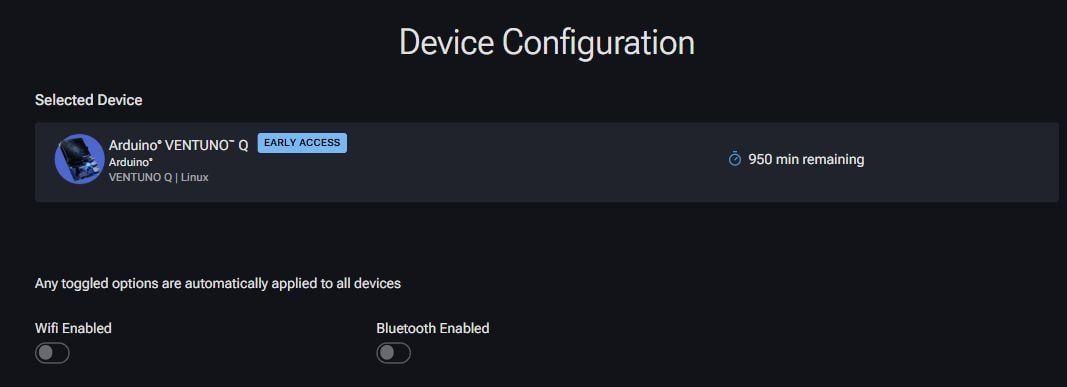
Sign in to Qualcomm Device Cloud and find Arduino VENTUNO Q in the device catalog. VENTUNO Q is currently in Early Access on QDC, so request access before planning your device session. The catalog entry below shows its Early Access label and the available device minutes.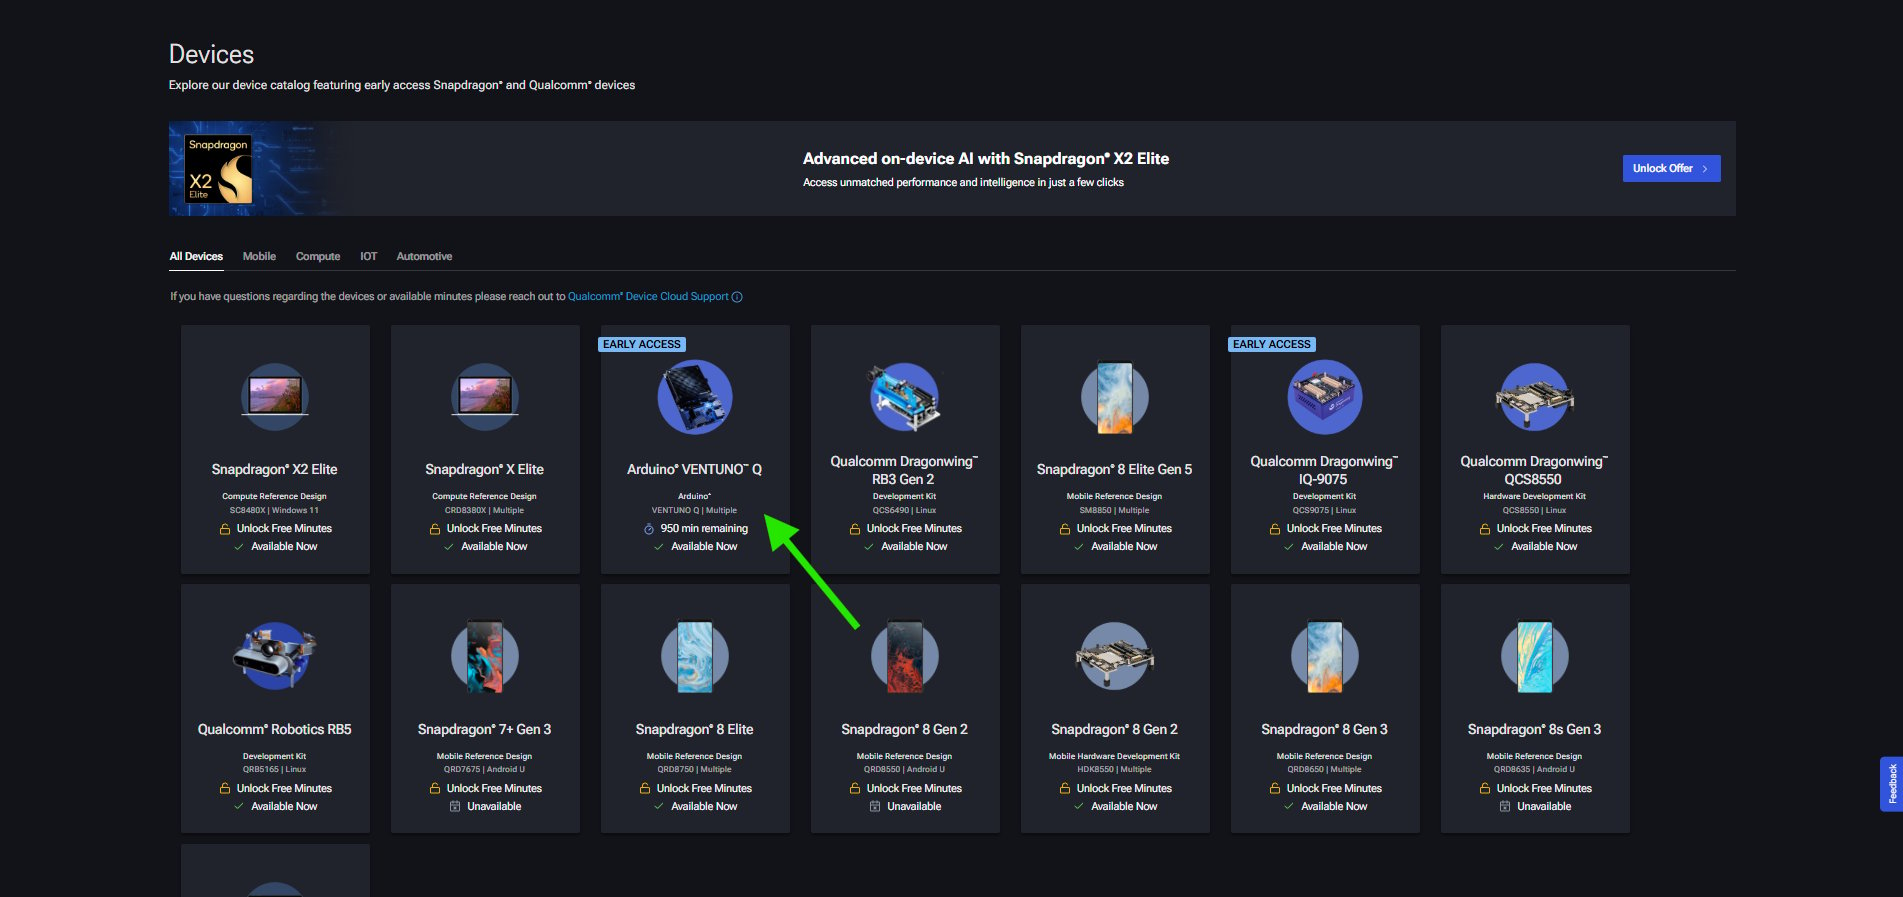
board/ contains four scripts:
00-ledger.sh: Records setup and inference timestamps.01-setup.sh: Installs board dependencies and the Edge Impulse CLI.02-connect.sh: Downloads the compiled model from Studio.03-batch-infer.sh: Classifies the test images and saves results and timings.
test-images/ folder contains your held-out images. The compiled model is downloaded separately during the device session.
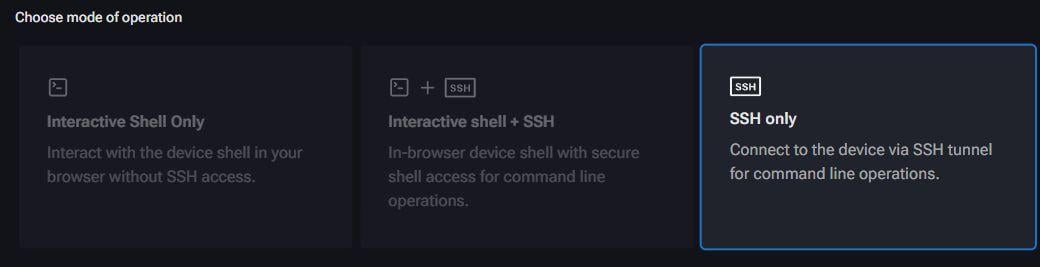
Open Interactive Sessions and click New Interactive Session. Next, add your ZIP through Package Upload. The Test Configuration screen below brings together the session time limit, connection mode, SSH key, upload package, and selected device.
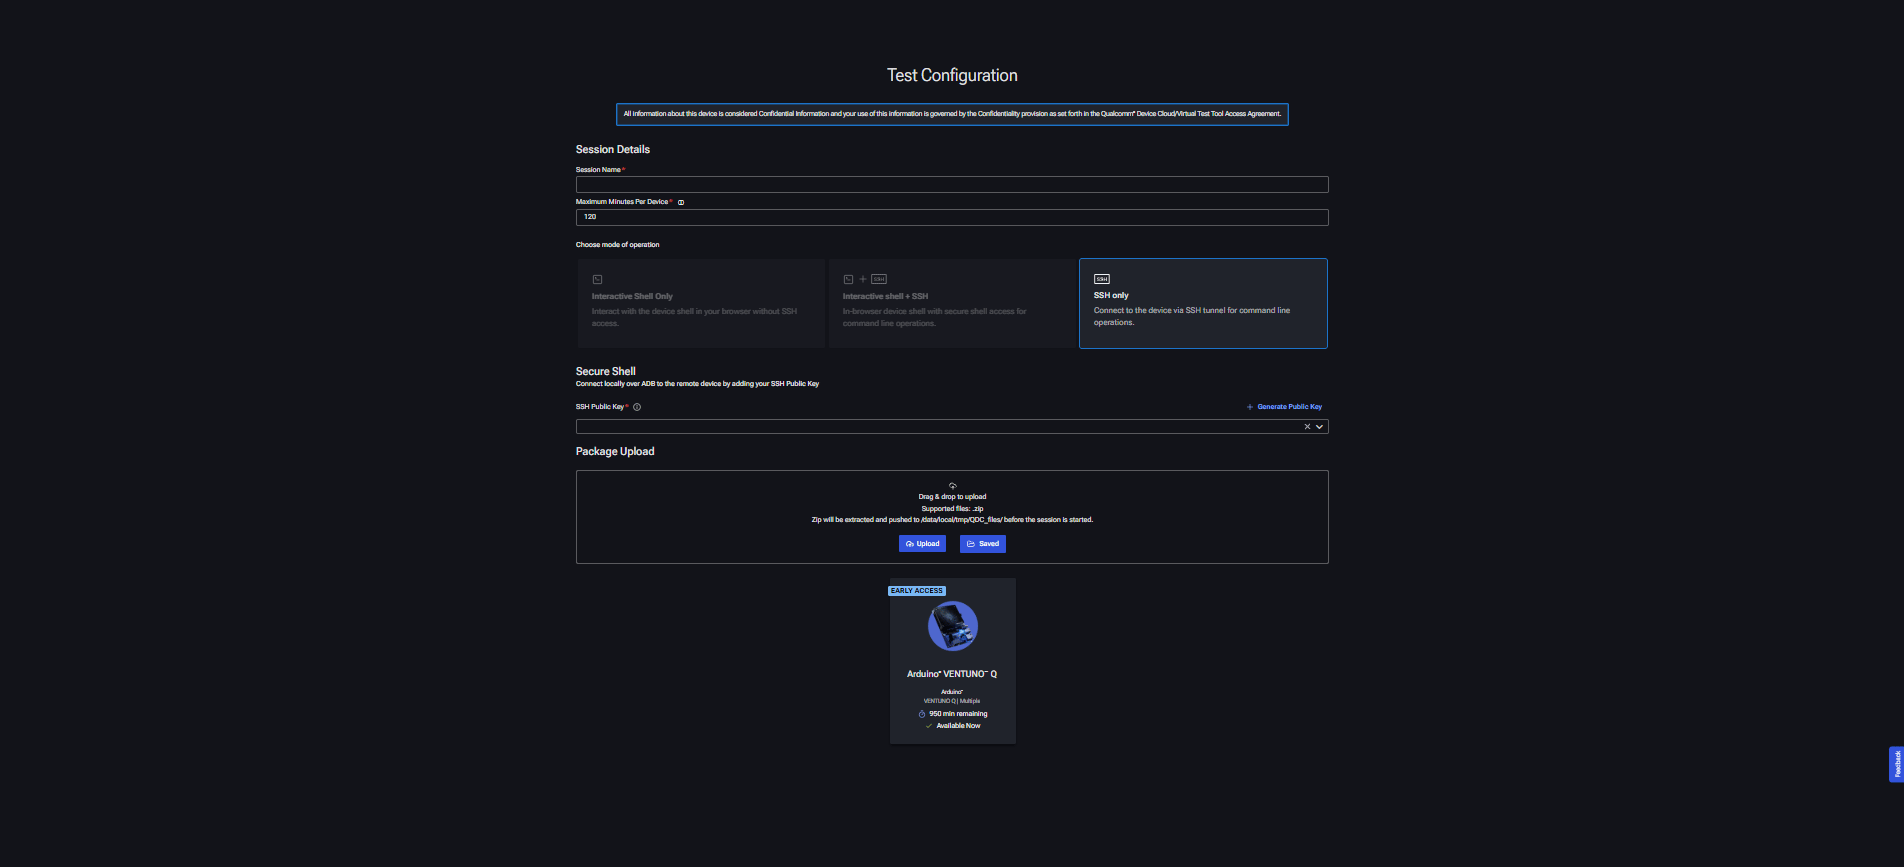
Qualcomm’s FAQ says waiting for a device and platform setup aren’t counted. Charging starts when the session starts. Once running, connection troubleshooting and your own package installation use session time.
Click Connect and follow the generated commands in two terminals. Keep the tunnel open in the first and log in through it in the second. Use the session’s displayed credentials and host details. On Windows, restrict the downloaded private key’s permissions if OpenSSH rejects it, and replace /dev/null with NUL in the generated command.
Plan to collect the results and click End Session as soon as the run finishes. Closing your terminal leaves the QDC session running until you end it or its limit expires.
Installing the Edge Impulse CLI on the board
The remote VENTUNO Q runs Ubuntu, so the setup follows the Edge Impulse VENTUNO Q dependency instructions: apt packages, Node.js 20, then the Edge Impulse Linux CLI through npm. Our setup script checks for an existing install and installs the missing dependencies. Once the SSH connection is open, run the following commands in the remote VENTUNO Q’s shell. They prepare a working folder, record setup time, and install the Edge Impulse CLI. First, create ~/qdc, copy the uploaded package into it, and enter its board/ folder. Check the upload folder in QDC’s file browser and adjust the copy path if necessary.00-ledger.sh into the current shell and record session_start. The leading dot makes its ledger command available; the timestamps go into ~/qdc/ledger.csv so we can measure setup time.
01-setup.sh to check for an existing CLI installation and install the board dependencies if needed. On Ubuntu, it installs the system packages, Node.js 20, and the Edge Impulse Linux CLI through npm. Then reload ~/.profile so the current shell picks up the tools, and print the CLI version to verify the installation.
Connecting the board and downloading the model
The runner needs your project API key to download the compiled model from Studio. For static-image inference, you can use the runner without configuring a camera for data collection. In Studio, Arduino VENTUNO Q (QCS8275) was selected as the hardware target; for this run, the model was deployed as Linux (AARCH64 with Qualcomm QNN). These selections serve different purposes: the former identifies the board, while the latter specifies a Linux deployment using Qualcomm’s QNN backend. Edge Impulse also documents Arduino App Lab as a deployment route for VENTUNO Q.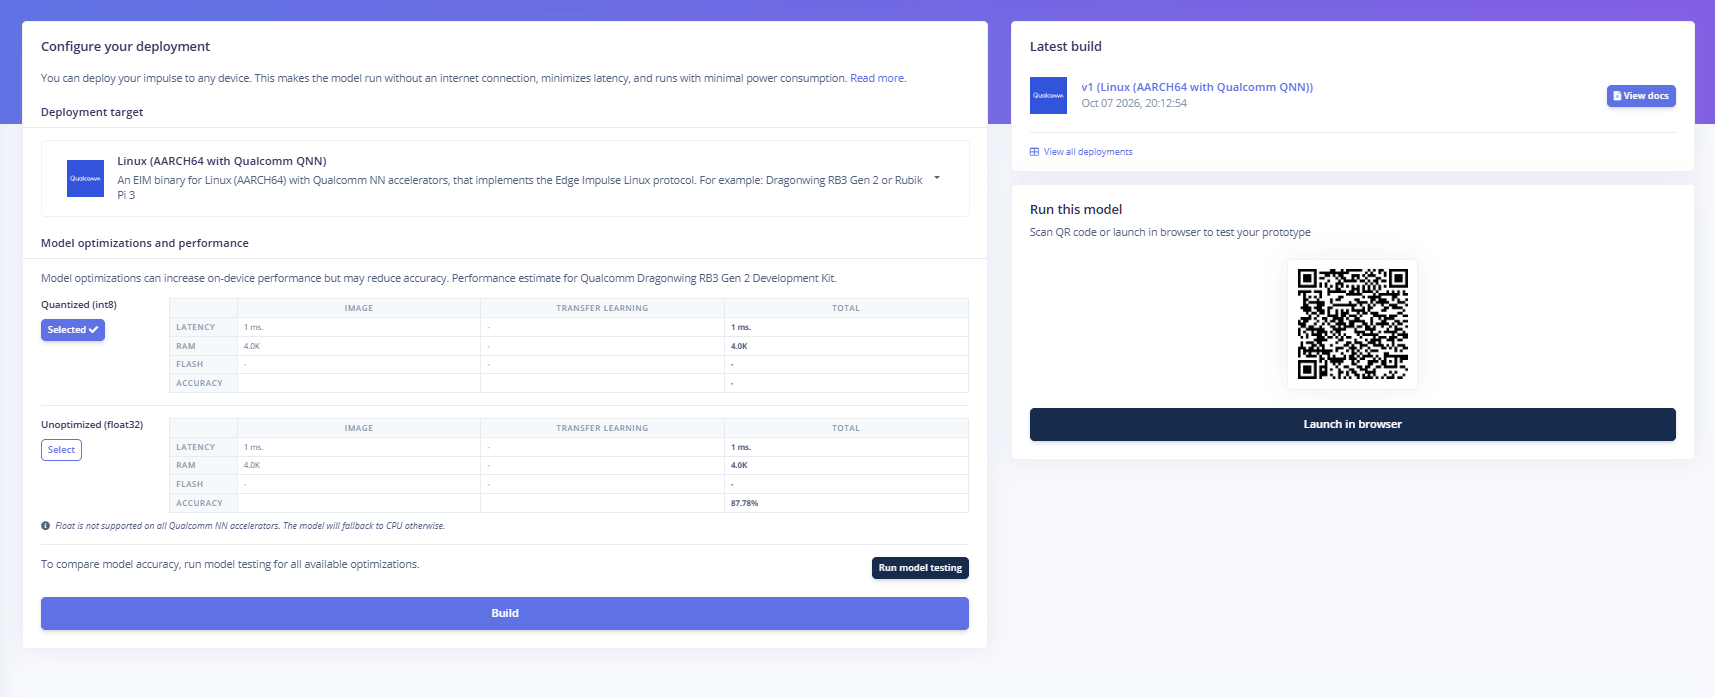
Quantized (int8) when prompted. The script saves the model as ~/qdc/model.eim, built for the board’s Linux target. Download and build took about 1.5 minutes in our recorded run.
Keep ~/qdc/model.eim for the session and use it for each inference request. Confirm the download has finished before starting the test loop.
Running inference on images
Use the held-out images you tested in Studio. Upload them with your session package or QDC’s file browser and place them in ~/qdc/test-images/. Start the runner’s HTTP server on the board to load the model once:results.txt and ledger.csv from ~/qdc to your computer, then click End Session in QDC. The ledger command records time. It does not end the session.
Our 90-image run took 13 seconds and classified 80 images correctly (88.9%). Classification took about 2 ms per image; the complete HTTP request had a median of 120 ms.
Studio scored 87.8% using float32 and a confidence threshold. The board used int8 and the highest-scoring label, so the two accuracy figures are not directly comparable.
Where the workflow breaks down
Training stays in Edge Impulse Studio. The remote VENTUNO Q runs the trained model, letting you check predictions and measure inference on real hardware. A local webcam can supply images for remote inference. Capture JPEG frames on your computer and send them to the runner’s image endpoint through the QDC tunnel. This requires a capture client and port forwarding in addition to the static-image steps above. QDC devices are cleaned after ordinary sessions, so prepare to install dependencies, upload your images, and download the model again. Keep the setup package ready before starting the session. Remote inference confirms whether the compiled model runs on VENTUNO Q and measures its accuracy and speed on the supplied images. Camera quality, peripheral integration, and behavior under your application’s real operating conditions still need separate testing.What 1,000 minutes actually buys
Our VENTUNO Q access came with 1,000 free minutes, or 16 hours and 40 minutes of session time. Check the balance shown for your device before planning a run. Qualcomm allocates minutes at the user or organization level, so the allowance available to you may differ. The meter tracks session duration, so setup competes with inference for the same allowance. Our saved ledger covered 8.8 minutes of board setup and inference; allow extra session time for the tunnel and login. The measured breakdown was: