> ## Documentation Index
> Fetch the complete documentation index at: https://docs.edgeimpulse.com/llms.txt
> Use this file to discover all available pages before exploring further.
# Porting Zephyr Projects Between Boards
> Learn how to port Edge Impulse Zephyr applications between different hardware platforms
This guide demonstrates porting an Edge Impulse Zephyr application from the **Nordic nRF7002 DK** to the **Silicon Labs EFR32xG24**. The same principles apply to any Zephyr-supported boards.
This tutorial assumes you've already set up a Zephyr project with the Edge Impulse SDK module and deployed your model. If not, follow the [Edge Impulse Zephyr Module Deployment](/hardware/deployments/run-zephyr-module) guide first.
# Ideal for porting
Because Zephyr standardizes:
* GPIO
* UART
* I2C/SPI
* Threads + timing
* Logging
* Build system
## Prerequisites
* Existing Zephyr project with Edge Impulse integration
* Target board hardware and datasheet
* [Zephyr SDK](https://docs.zephyrproject.org/latest/develop/getting_started/index.html) installed
* [West](https://docs.zephyrproject.org/latest/develop/west/index.html) meta-tool installed
## Hardware Comparison
Understanding the differences between your source and target boards is crucial for successful porting:
| Feature | Nordic nRF7002 DK | Silicon Labs xG24 |
| ------------------- | ------------------------------ | ---------------------------------- |
| MCU | nRF5340 (dual-core Cortex-M33) | EFR32MG24 (single-core Cortex-M33) |
| Wireless | Wi-Fi (nRF7002) | BLE/Zigbee |
| Flash | 1 MB | 1 MB |
| RAM | 512 KB | 256 KB |
| GPIO Notation | P0.xx, P1.xx | PAxx, PBxx, PCxx |
| Devicetree Bindings | `nordic,nrf-*` | `silabs,gecko-*` |
## Step 1: Update Build Target
The first step is changing your board identifier:
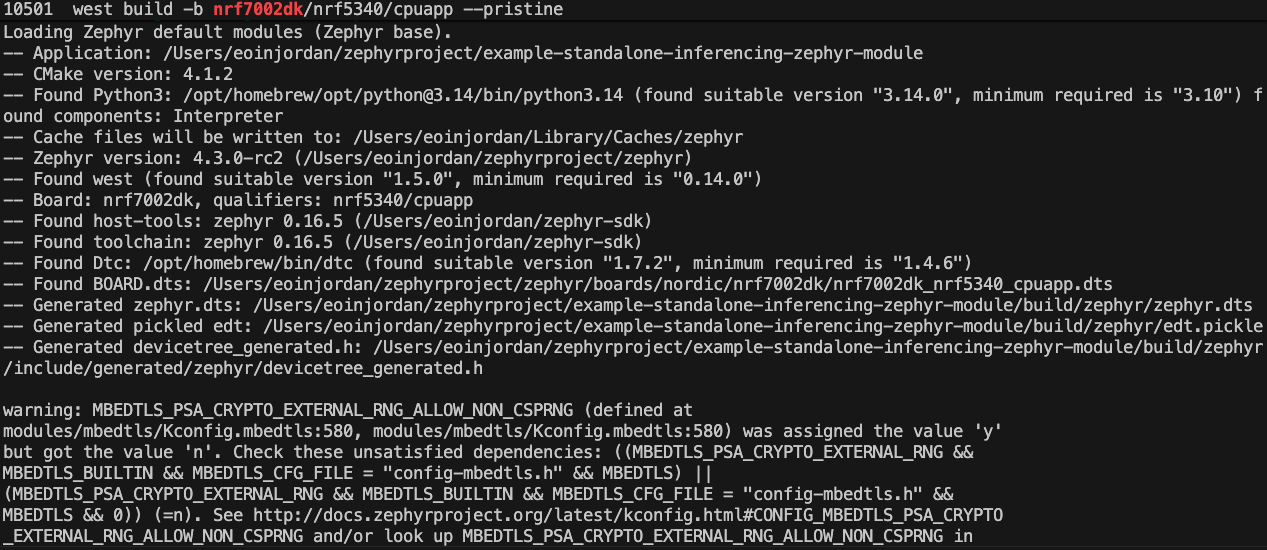 I'm using pristine builds to ensure no residual artifacts interfere.
```bash Nordic (Original) theme={"system"}
west build -b nrf7002dk/nrf5340/cpuapp --pristine
```
```bash Silicon Labs (New) theme={"system"}
west build -b xg24_dk2601b/efr32mg24b310f1536im48 --pristine
```
You can also update `.west/config` to make this permanent:
```ini theme={"system"}
[build]
board = xg24_dk2601b/efr32mg24b310f1536im48
```
## Step 2 : Flash and Test
For specific programmers:
```bash theme={"system"}
# J-Link
west flash --runner jlink
# OpenOCD
west flash --runner openocd
# pyOCD
west flash --runner pyocd
```
west flash to flash the new board:
```bash theme={"system"}
west flash
```
### Verify Operation
Monitor the serial output to confirm successful boot and inference:
Here I already flashed the Silicon Labs EFR32xG24 board, so the output shows no work needed:
I'm using pristine builds to ensure no residual artifacts interfere.
```bash Nordic (Original) theme={"system"}
west build -b nrf7002dk/nrf5340/cpuapp --pristine
```
```bash Silicon Labs (New) theme={"system"}
west build -b xg24_dk2601b/efr32mg24b310f1536im48 --pristine
```
You can also update `.west/config` to make this permanent:
```ini theme={"system"}
[build]
board = xg24_dk2601b/efr32mg24b310f1536im48
```
## Step 2 : Flash and Test
For specific programmers:
```bash theme={"system"}
# J-Link
west flash --runner jlink
# OpenOCD
west flash --runner openocd
# pyOCD
west flash --runner pyocd
```
west flash to flash the new board:
```bash theme={"system"}
west flash
```
### Verify Operation
Monitor the serial output to confirm successful boot and inference:
Here I already flashed the Silicon Labs EFR32xG24 board, so the output shows no work needed:
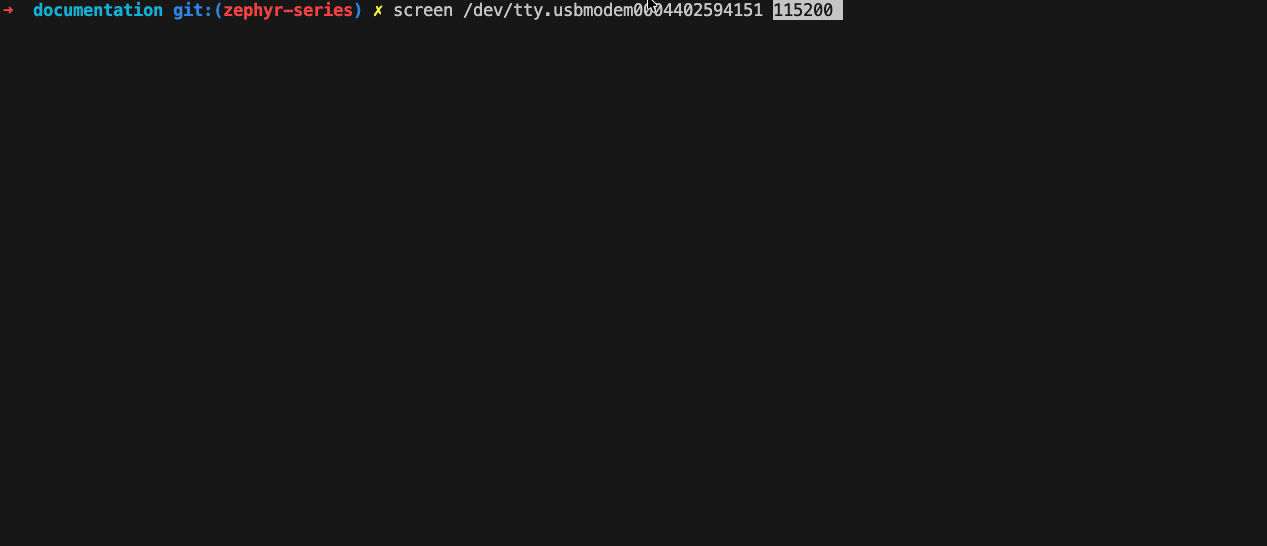
 Verify serial output to confirm successful boot to inference:
```bash theme={"system"}
ls /dev/tty.* # Find your device
screen /dev/tty.usbmodem0004402594151 115200
```
Verify serial output to confirm successful boot to inference:
```bash theme={"system"}
ls /dev/tty.* # Find your device
screen /dev/tty.usbmodem0004402594151 115200
```
 Monitor for successful boot messages:
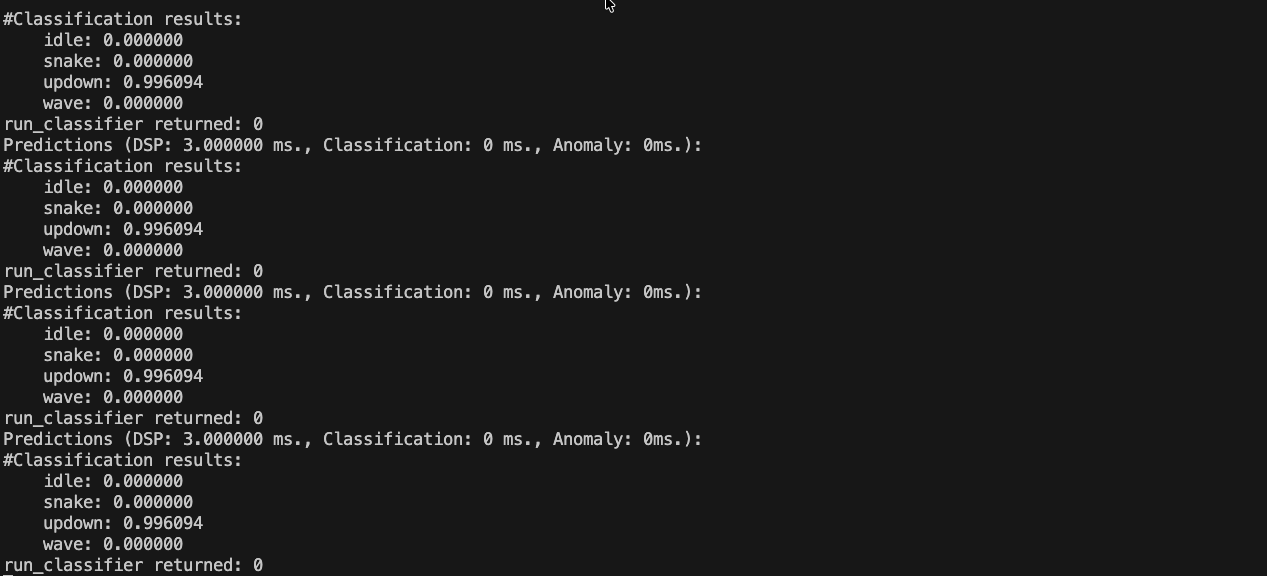 If everything works, congratulations! Your application has been successfully ported. If not, make sure you have the correct board selected and that your Zephyr environment is properly set up.
## Summary
Porting Zephyr applications between boards is straightforward due to Zephyr's hardware abstraction. By updating the build target and flashing the new board, you can quickly adapt your Edge Impulse applications to different hardware platforms.
## Next Steps
For more advanced porting, consider:
* Adjusting pin configurations in `prj.conf` or `boards/.dts`
* Modifying peripheral initializations as needed
* Testing sensor integrations specific to the new hardware
For more examples and tutorials,
see the [Zephyr series overview](/tutorials/topics/zephyr/zephyr-module-series) for more in-depth tutorials on working with sensors and peripherals in Zephyr projects as we continue to expand this series!
If everything works, congratulations! Your application has been successfully ported. If not, make sure you have the correct board selected and that your Zephyr environment is properly set up.
## Summary
Porting Zephyr applications between boards is straightforward due to Zephyr's hardware abstraction. By updating the build target and flashing the new board, you can quickly adapt your Edge Impulse applications to different hardware platforms.
## Next Steps
For more advanced porting, consider:
* Adjusting pin configurations in `prj.conf` or `boards/.dts`
* Modifying peripheral initializations as needed
* Testing sensor integrations specific to the new hardware
For more examples and tutorials,
see the [Zephyr series overview](/tutorials/topics/zephyr/zephyr-module-series) for more in-depth tutorials on working with sensors and peripherals in Zephyr projects as we continue to expand this series!