> ## Documentation Index
> Fetch the complete documentation index at: https://docs.edgeimpulse.com/llms.txt
> Use this file to discover all available pages before exploring further.
# Collect image data using Studio
> Collect labeled image data directly into Edge Impulse Studio using a connected development board with an integrated camera.
This page is part of [Image classification](/tutorials/topics/data/collect-image-data-openmv-h7-plus) and describes how you can use development boards with an integrated camera to import image data into Edge Impulse.
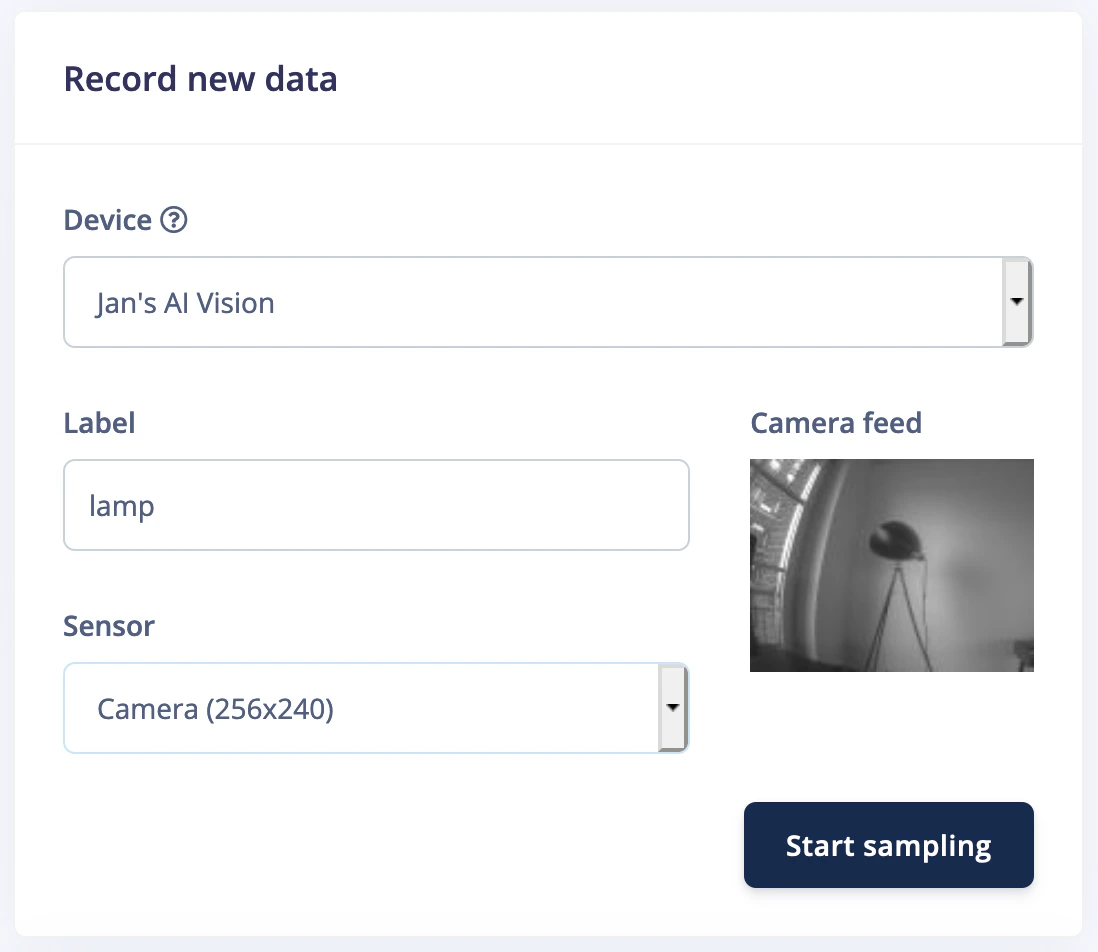
First, make sure your device is connected on the **Devices** page in the Edge Impulse Studio. Then, head to **Data acquisition**, and under 'Record new data', set a label and select 'Camera' as a sensor (most devices have multiple resolutions). This shows you a nice preview of the camera. Then click **Start sampling**.
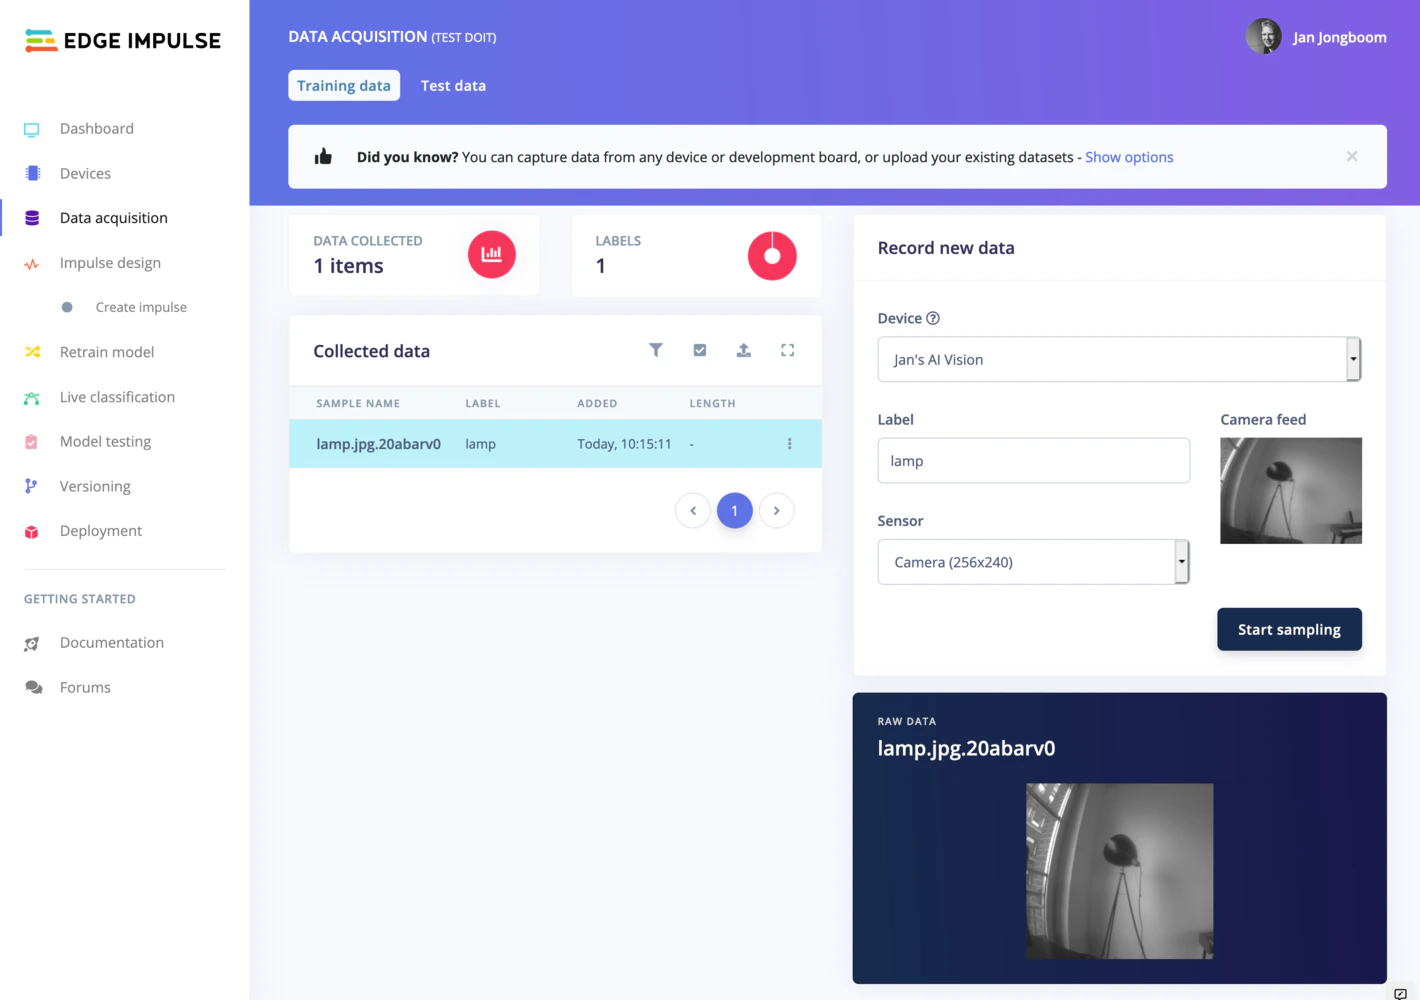
 A few moments later - depending on the speed of the development board and the resolution - you'll now have an image collected!
 Do this until you have captured 30 images per class from a variety of angles. Also make sure to vary the things you capture for the unknown class.