> ## Documentation Index
> Fetch the complete documentation index at: https://docs.edgeimpulse.com/llms.txt
> Use this file to discover all available pages before exploring further.
# Collect image data using a mobile phone
> Collect and import labeled image data into Edge Impulse using your mobile phone as a wireless camera.
This page is part of [Image classification](/tutorials/topics/data/collect-image-data-openmv-h7-plus) and describes how you can use your mobile phone to import image data into Edge Impulse.
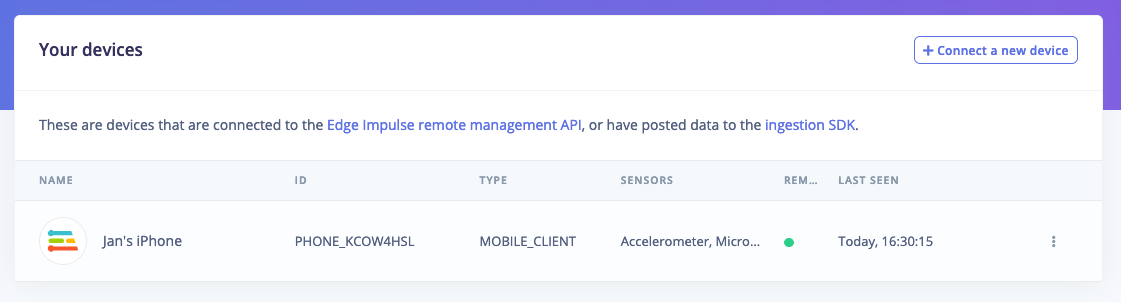
To add your phone to your project, go to the **Devices** page, select **Connect a new device** and select **Use your mobile phone**. A QR code will pop up. Scan this code with your phone and your phone will pop up on the devices screen.
 ### 1. Collecting images
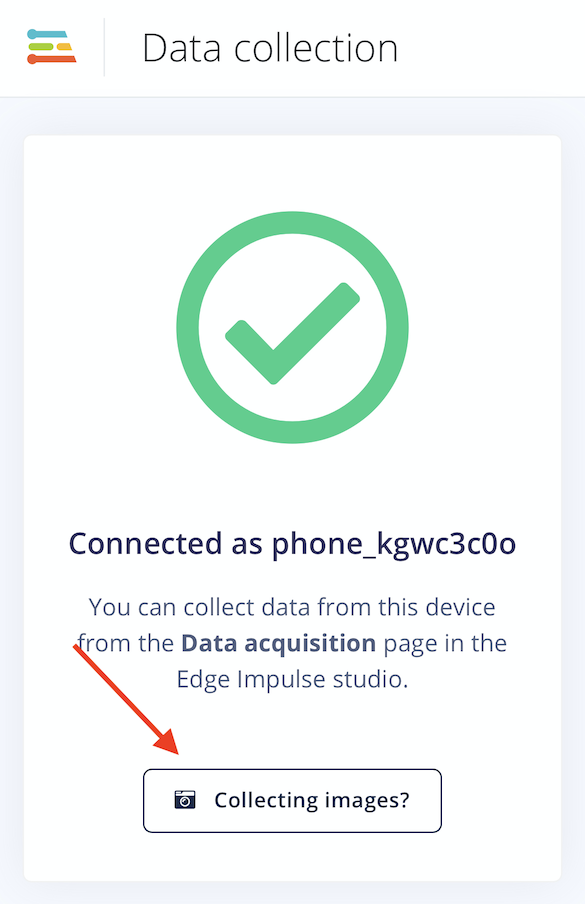
With your phone connected to your project, it's time to start capturing some images and build our dataset. We have a special UI for collecting images quickly, on your phone choose **Collecting images?**.
### 1. Collecting images
With your phone connected to your project, it's time to start capturing some images and build our dataset. We have a special UI for collecting images quickly, on your phone choose **Collecting images?**.
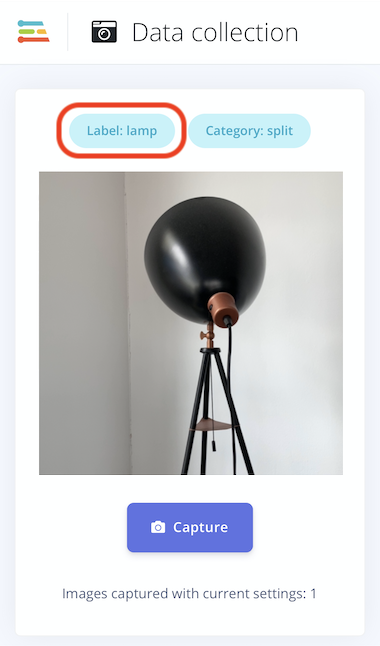
 On your phone a permission prompt will show up, and then the viewfinder will be displayed. Set the label (in the top corner) to 'lamp', point your camera at your lamp and press **Capture**.
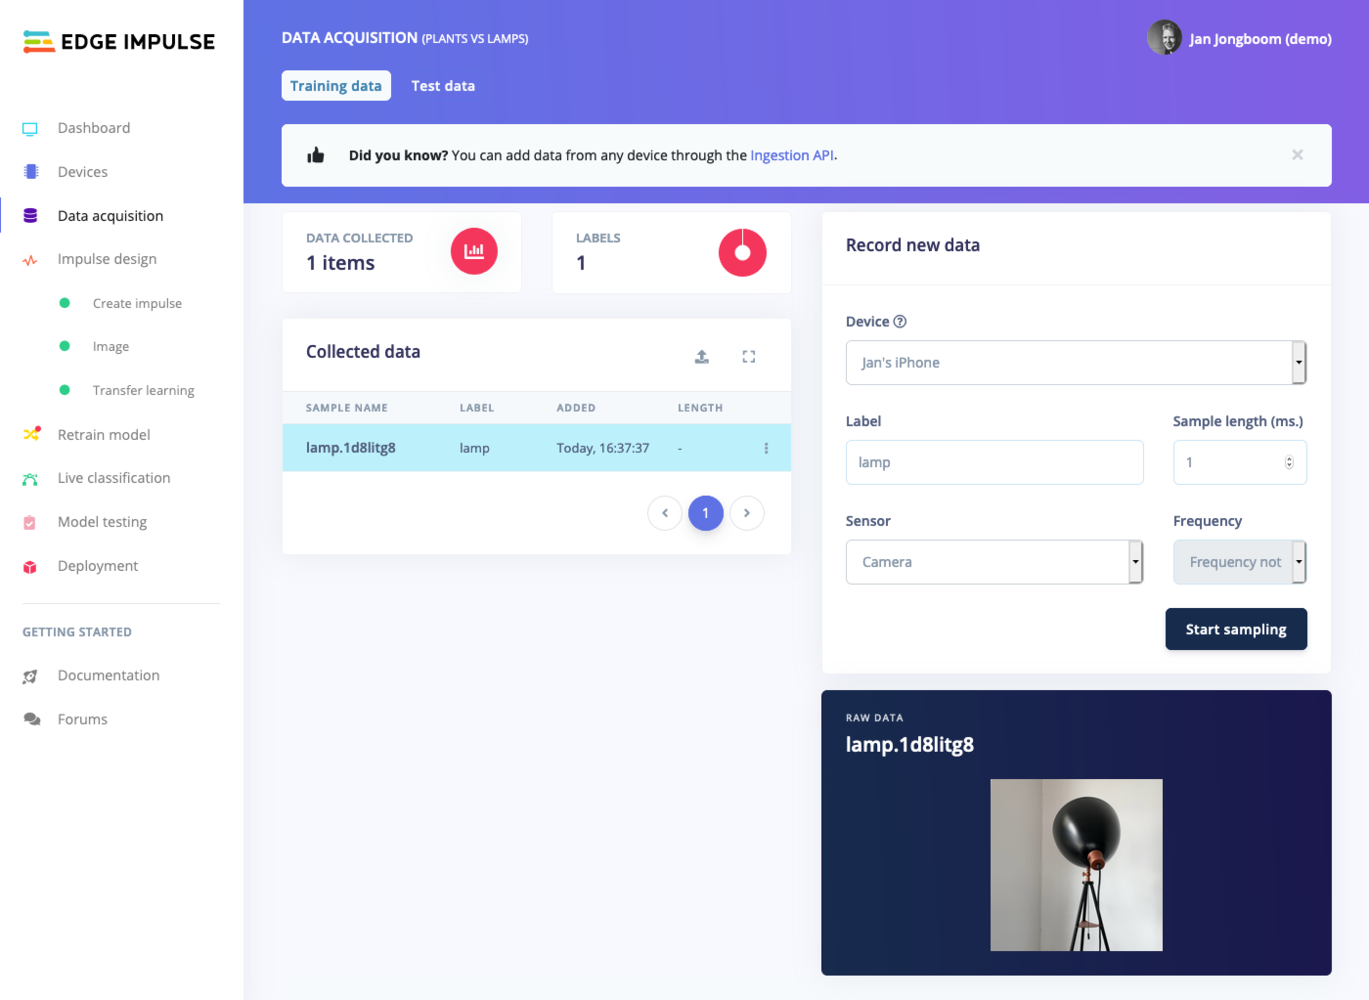
 Afterwards the photo shows up in the studio on the **Data acquisition** page.
 Do this until you have captured 30 images per class from a variety of angles. Also make sure to vary the things you capture for the unknown class.
### 2. Alternative: upload data directly
Alternatively you can also capture your dataset directly through a different app, and then upload the data directly to Edge Impulse There are both options to do this visually (click the 'Upload' icon on the data acquisition screen), or via the CLI. You can find instructions here: [Uploader](/tools/clis/edge-impulse-cli/uploader). In this case it's highly recommended to you use square images, as the transfer learning model expects these; and you probably want to resize these images before uploading them to make sure training remains fast.
Do this until you have captured 30 images per class from a variety of angles. Also make sure to vary the things you capture for the unknown class.
### 2. Alternative: upload data directly
Alternatively you can also capture your dataset directly through a different app, and then upload the data directly to Edge Impulse There are both options to do this visually (click the 'Upload' icon on the data acquisition screen), or via the CLI. You can find instructions here: [Uploader](/tools/clis/edge-impulse-cli/uploader). In this case it's highly recommended to you use square images, as the transfer learning model expects these; and you probably want to resize these images before uploading them to make sure training remains fast.