> ## Documentation Index
> Fetch the complete documentation index at: https://docs.edgeimpulse.com/llms.txt
> Use this file to discover all available pages before exploring further.
# Run OpenMV library or firmware
Impulses can be deployed as an optimized OpenMV library or firmware. This packages all your signal processing blocks, configuration and learning blocks up into a single package. You can include this package in your own application to run the impulse locally. In this tutorial, you'll export an impulse and run the application on one of the OpenMV compatible boards.
### Prerequisites
Make sure you followed either the [Image classification](/tutorials/end-to-end/image-classification/) or the [FOMO: Object detection for constrained devices](/studio/projects/learning-blocks/blocks/object-detection/fomo) tutorials, have a trained impulse, and can have the **latest** [**OpenMV IDE v2.9.0**](https://openmv.io/pages/download) **or above**.
### Compatible camera-boards
* OpenMV Cam M7
* OpenMV Cam H7
* [OpenMV Cam H7 Plus](/hardware/boards/openmv-cam-h7-plus)
* OpenMV Pure Thermal
* [Arduino Portenta H7 + Vision shield](/hardware/boards/arduino-portenta-h7)
* Arduino Nicla Vision
* OpenMV Cam RT1062
### Deploying your impulse as an OpenMV library
*This method only works on **small image classification models**, if you run into a memory issue, please head to* [*Deploying your impulse as an OpenMV firmware*](/hardware/deployments/run-openmv#deploying-your-impulse-as-an-openmv-firmware) *section (preferred method).*
Head over to your Edge Impulse project, and go to **Deployment**. From here you can create the full library which contains the impulse and all external required libraries. Select **OpenMV library** and click **Build** to create the library. Then download and extract the .zip file.
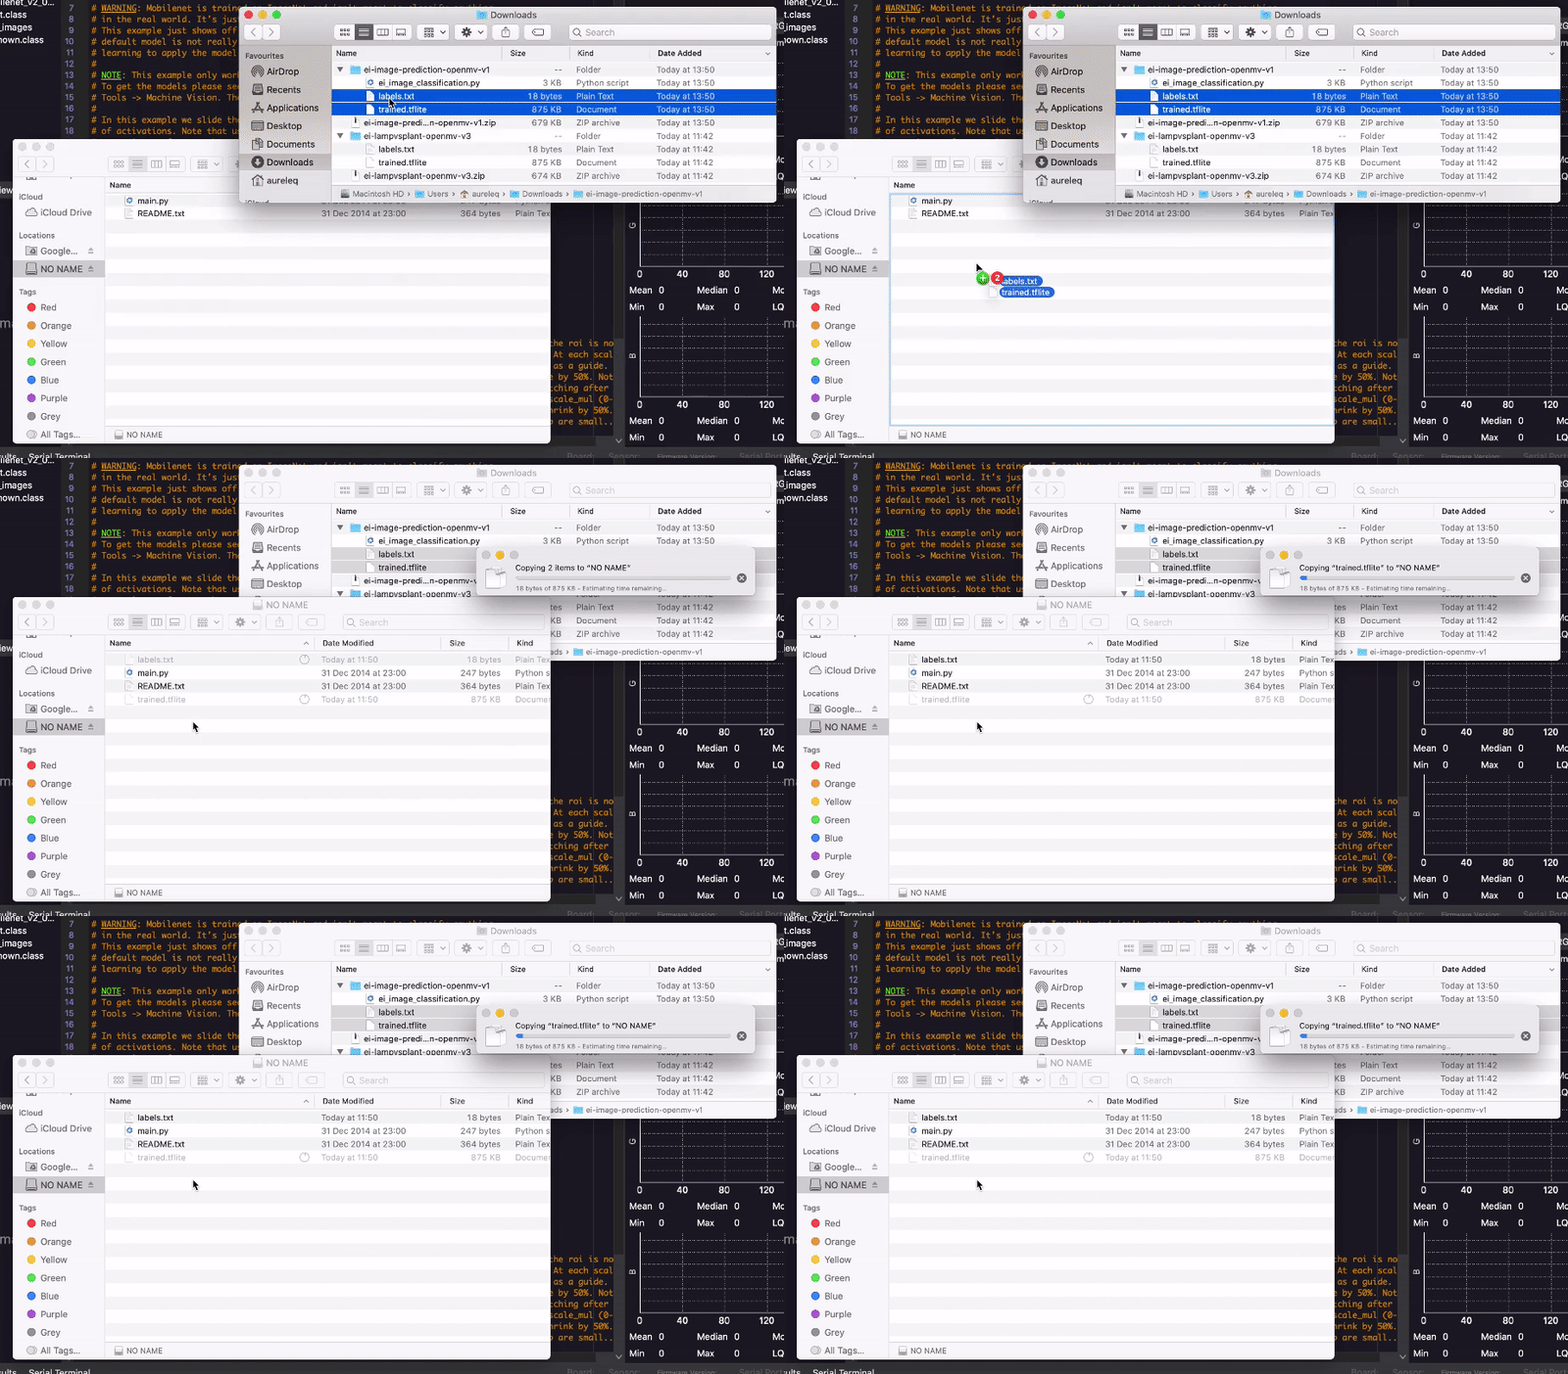
To add the model to your OpenMV camera copy the `trained.tflite` and `labels.txt` files to the 'OpenMV Cam' volume (like a USB drive).
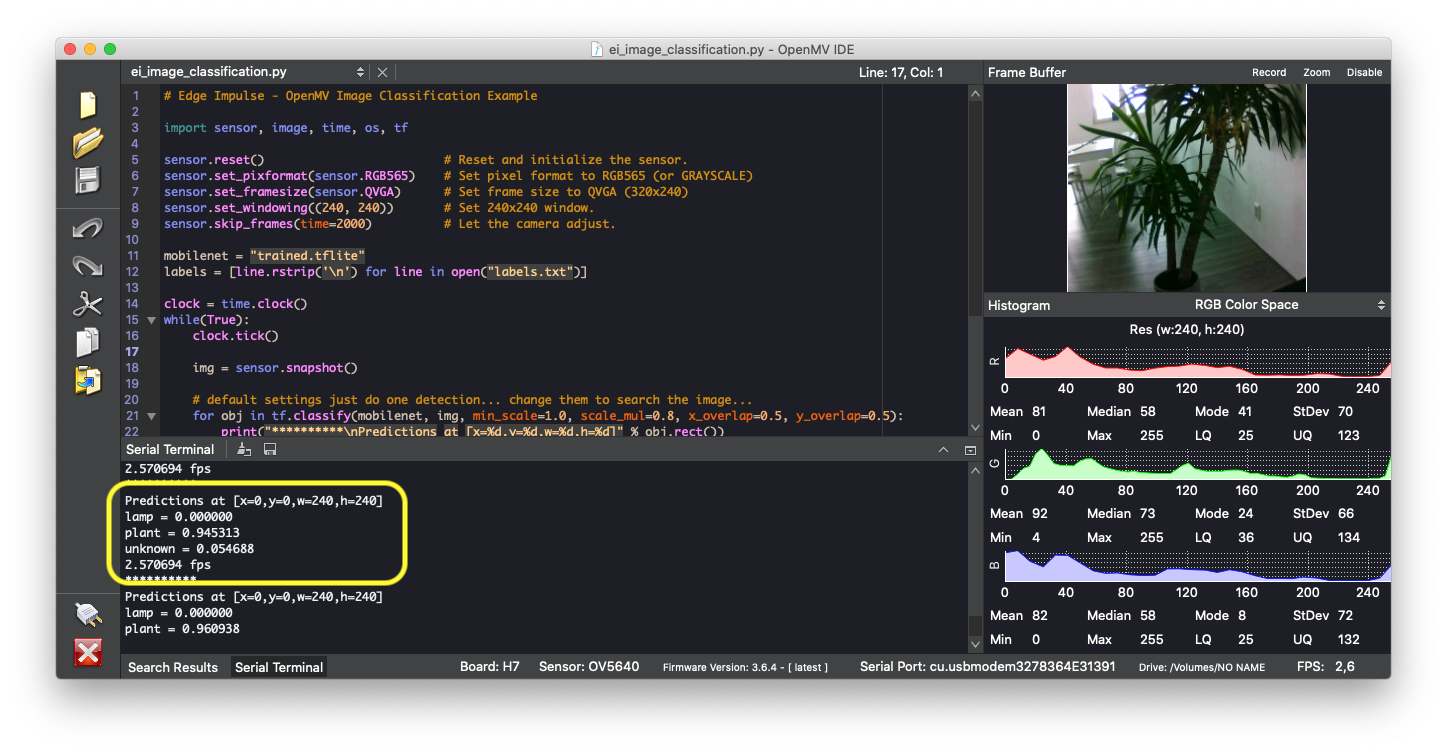
 Next, open the `ei_image_classification.py` file in the OpenMV IDE, and press the 'Play' icon to run the script.
 ### Deploying your impulse as an OpenMV firmware
*This method is preferred.*
In this section, we will flash a new firmware to the board that contains only what is necessary to run your impulse. This firmware includes your custom edge impulse model.
Head over to your Edge Impulse project, go to **Deployment**, click on **OpenMV firmware** and **Build**:
### Deploying your impulse as an OpenMV firmware
*This method is preferred.*
In this section, we will flash a new firmware to the board that contains only what is necessary to run your impulse. This firmware includes your custom edge impulse model.
Head over to your Edge Impulse project, go to **Deployment**, click on **OpenMV firmware** and **Build**:
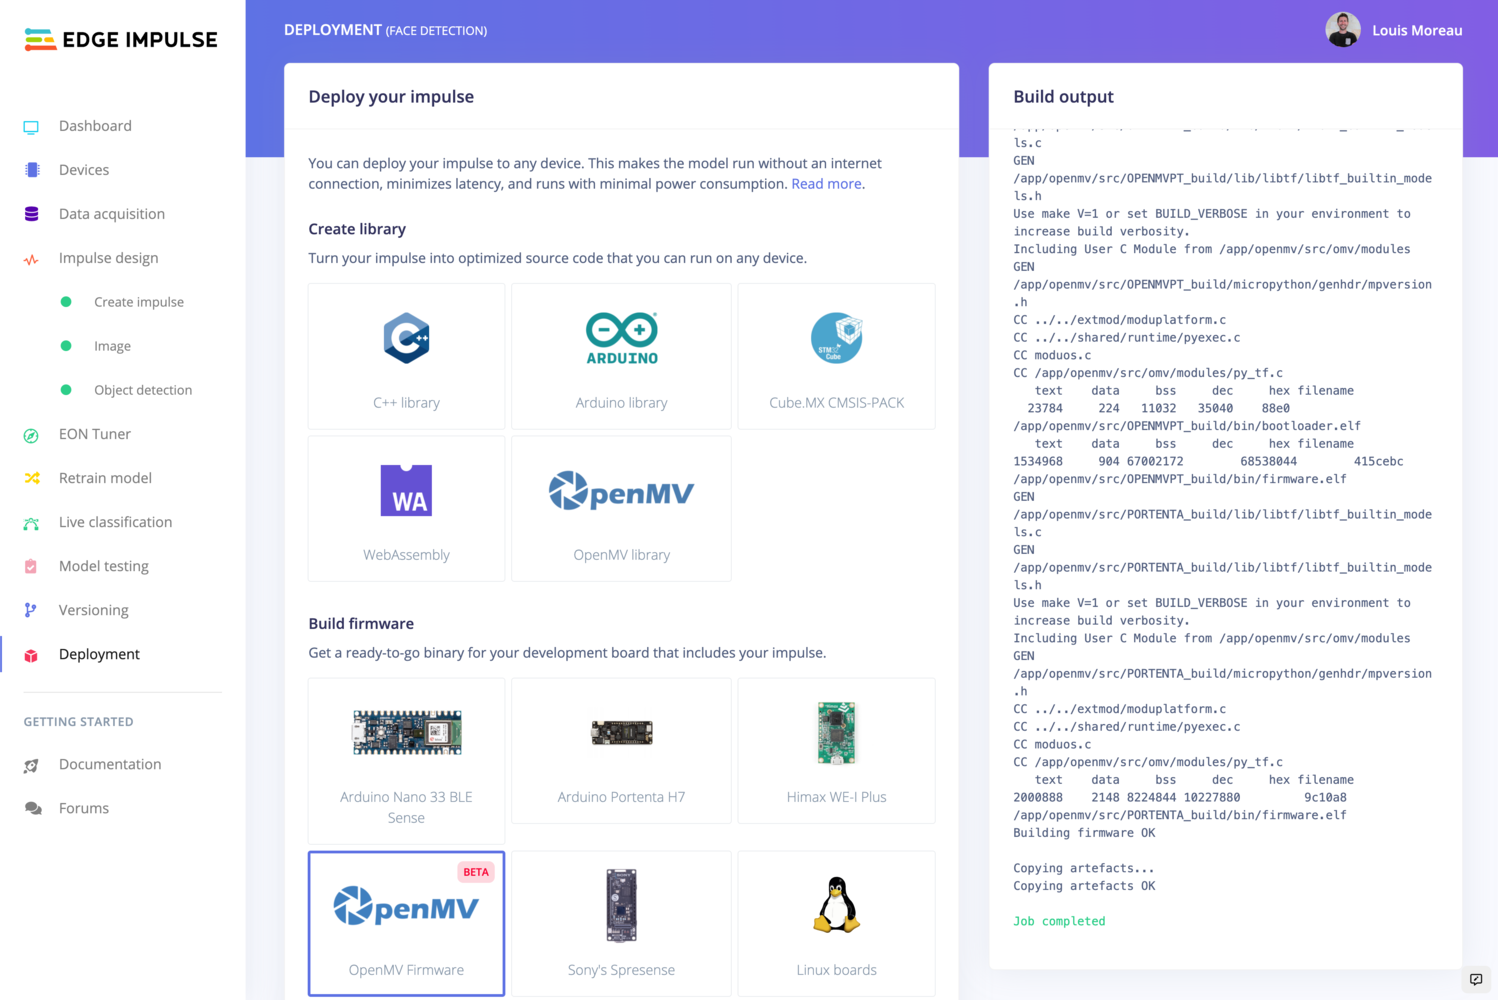 Save the generated .zip file, extract it and you should see the following structure:
```
.
├── edge_impulse_firmware_niclav.bin
├── edge_impulse_firmware_openmv3.bin
├── edge_impulse_firmware_openmv4.bin
├── edge_impulse_firmware_openmv4P.bin
├── edge_impulse_firmware_openmvPT.bin
├── edge_impulse_firmware_portenta.bin
├── edge_impulse_firmware_openmv_rt1060.bin
└── ei_object_detection.py
```
**Firmware naming**
The naming is likely to change soon to be more explicit. In the meantime, here is the firmware-board correspondence:
* NICLAV - Arduino Nicla Vision
* OPENMV3 - OpenMV Cam M7
* OPENMV4 - OpenMV Cam H7
* OPENMV4P - OpenMV Cam H7 Plus
* OPENMVPT - OpenMV Pure Thermal
* PORTENTA - Arduino Portenta
* RT1060 - OpenMV Cam RT1062
Plug your device into your computer. *Note: If you are using one of the Arduino boards, **double press on the RESET button**.*
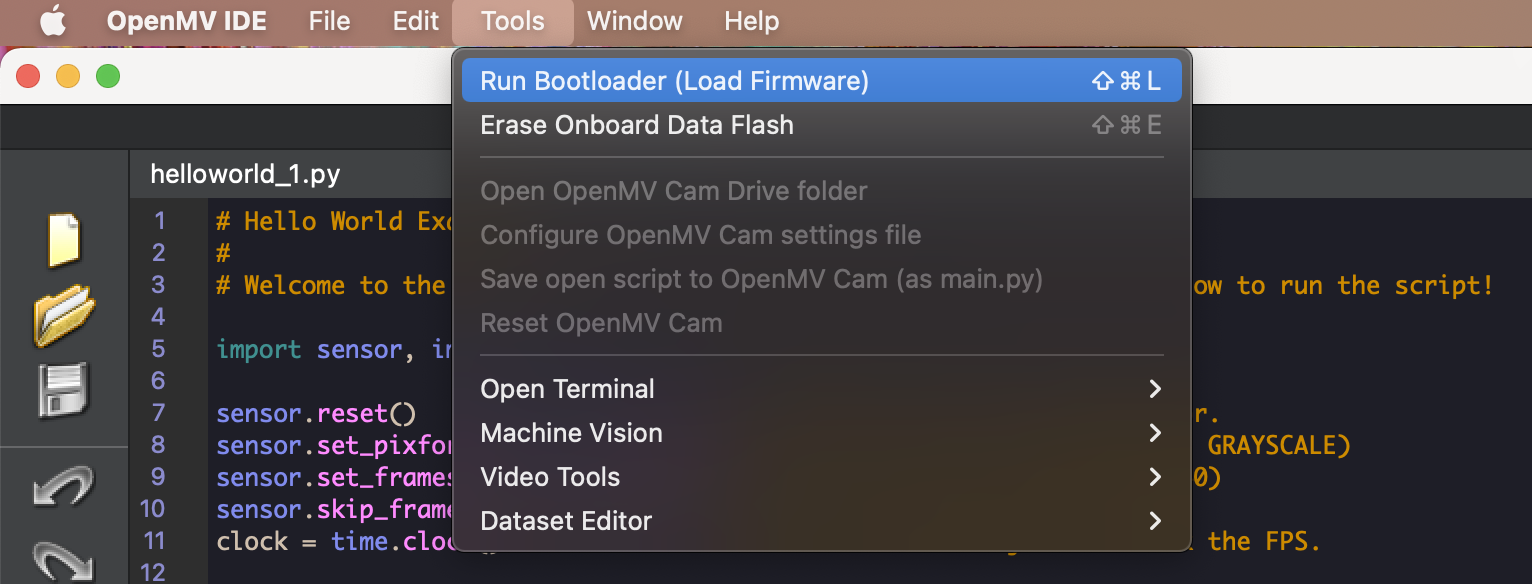
Then, on your OpenMV IDE, go to **Tools->Run Bootloader (Load Firmware)**.
Save the generated .zip file, extract it and you should see the following structure:
```
.
├── edge_impulse_firmware_niclav.bin
├── edge_impulse_firmware_openmv3.bin
├── edge_impulse_firmware_openmv4.bin
├── edge_impulse_firmware_openmv4P.bin
├── edge_impulse_firmware_openmvPT.bin
├── edge_impulse_firmware_portenta.bin
├── edge_impulse_firmware_openmv_rt1060.bin
└── ei_object_detection.py
```
**Firmware naming**
The naming is likely to change soon to be more explicit. In the meantime, here is the firmware-board correspondence:
* NICLAV - Arduino Nicla Vision
* OPENMV3 - OpenMV Cam M7
* OPENMV4 - OpenMV Cam H7
* OPENMV4P - OpenMV Cam H7 Plus
* OPENMVPT - OpenMV Pure Thermal
* PORTENTA - Arduino Portenta
* RT1060 - OpenMV Cam RT1062
Plug your device into your computer. *Note: If you are using one of the Arduino boards, **double press on the RESET button**.*
Then, on your OpenMV IDE, go to **Tools->Run Bootloader (Load Firmware)**.
 Select **Erase internal file system**:
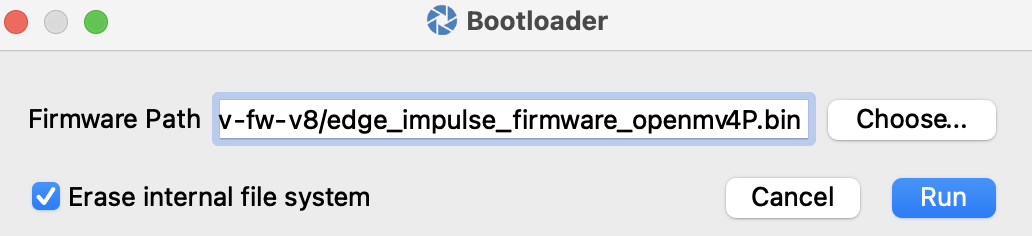 Click on **Run** and wait until the board's blue LED blinks. You should see one of the following screen:
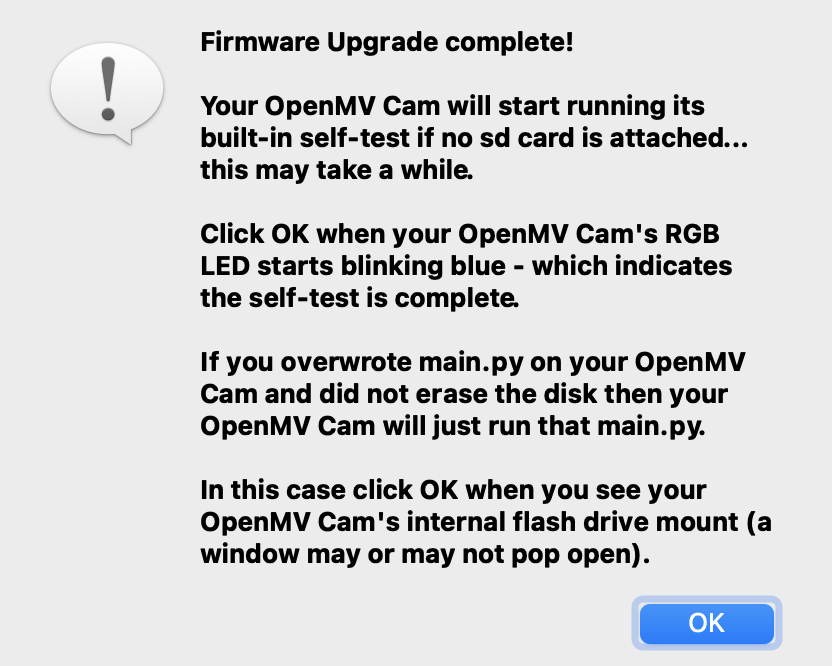 Click on **OK** and open **(File->Open File)** the `ei_image_classification.py` or `ei_object_detection.py` script provided in the downloaded .zip.
To run the script, click on the "Play" button on the bottom-left corner of the OpenMV IDE.
Click on **OK** and open **(File->Open File)** the `ei_image_classification.py` or `ei_object_detection.py` script provided in the downloaded .zip.
To run the script, click on the "Play" button on the bottom-left corner of the OpenMV IDE.
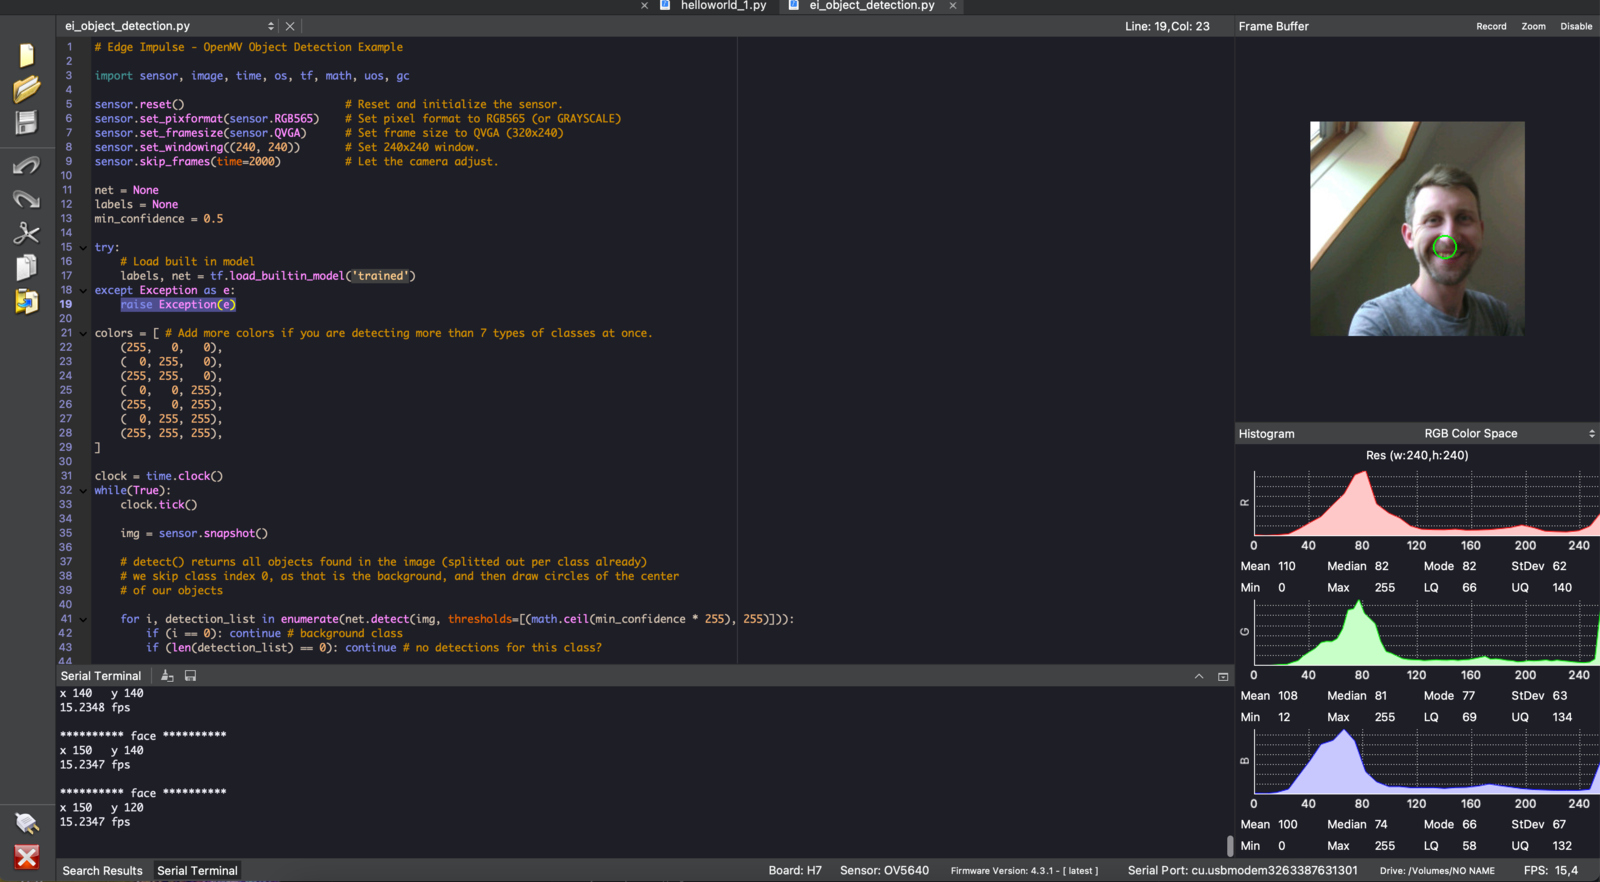 Voilà! You now have your impulse running on your OpenMV camera!
### Troubleshooting
#### Only quantized (int8) models are supported
Voilà! You now have your impulse running on your OpenMV camera!
### Troubleshooting
#### Only quantized (int8) models are supported
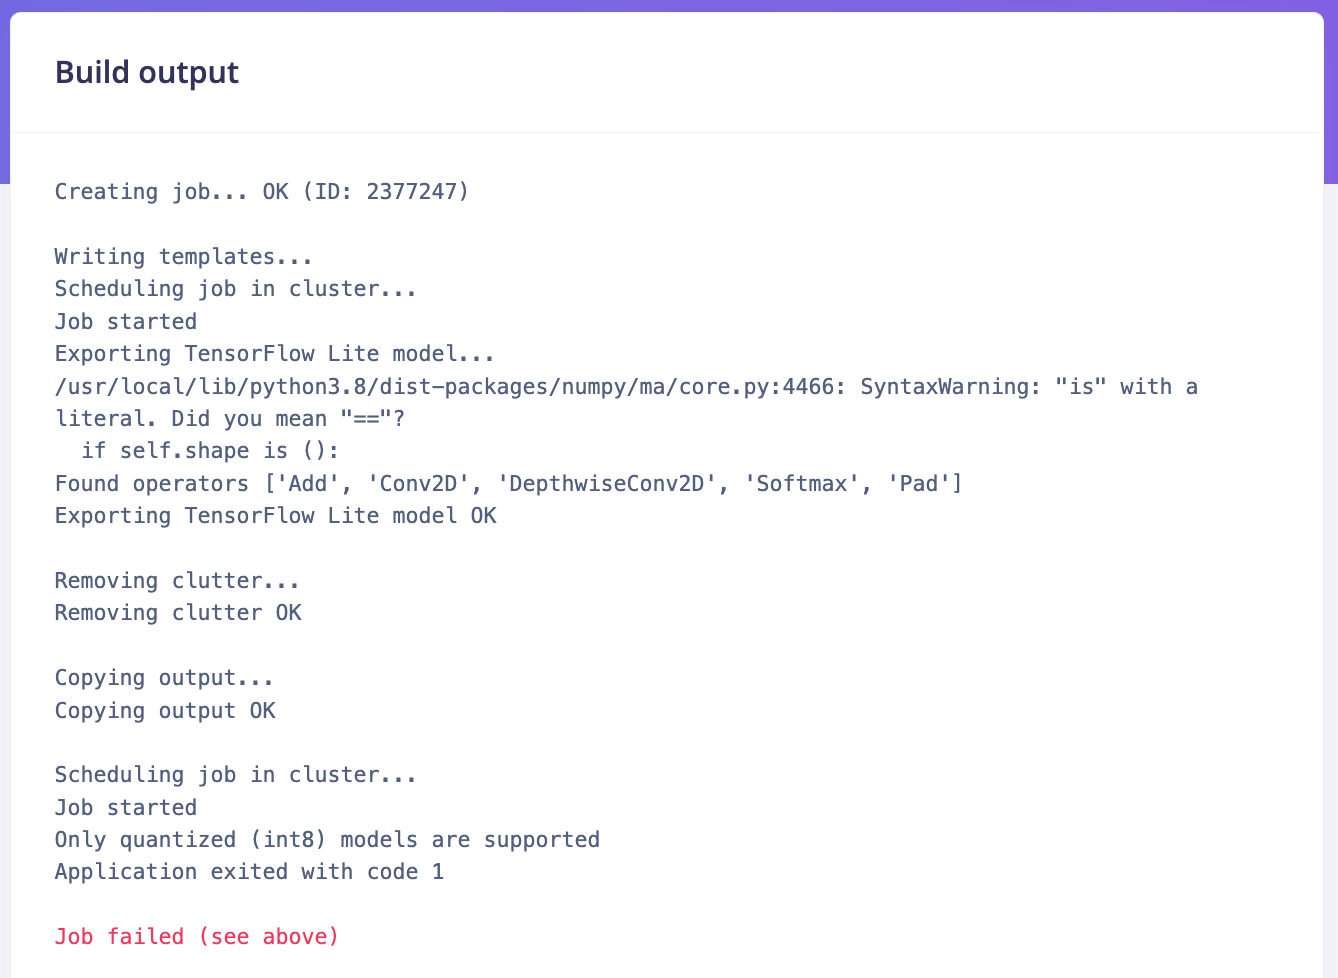 OpenMV only supports quantized models. However, if you encounter this issue, here is a quick fix: Click on C++ library, select Quantized (int8) at the bottom of the Deployment page and select again the OpenMV firmware to build again. This issue will be fixed in the next release, OpenMV deployment jobs will be forced to use int8 models.
#### No DFU settings for the selected board type!
OpenMV only supports quantized models. However, if you encounter this issue, here is a quick fix: Click on C++ library, select Quantized (int8) at the bottom of the Deployment page and select again the OpenMV firmware to build again. This issue will be fixed in the next release, OpenMV deployment jobs will be forced to use int8 models.
#### No DFU settings for the selected board type!
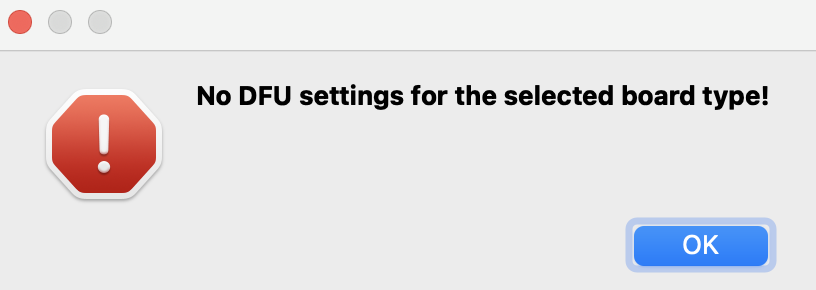 Your board has not been put in bootloader mode. This happens on Arduino boards if you have not **double press the RESET button** before uploading the firmware.
#### RuntimeError: Sensor control failed.
Your board has not been put in bootloader mode. This happens on Arduino boards if you have not **double press the RESET button** before uploading the firmware.
#### RuntimeError: Sensor control failed.
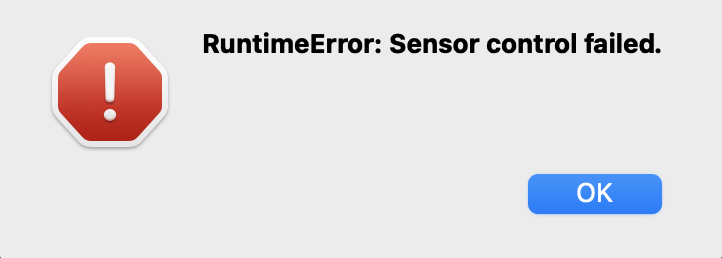 The Arduino Portenta only supports greyscale images, change:
```
sensor.set_pixformat(sensor.RGB565)
```
to
```
sensor.set_pixformat(sensor.GRAYSCALE)
```
The Arduino Portenta only supports greyscale images, change:
```
sensor.set_pixformat(sensor.RGB565)
```
to
```
sensor.set_pixformat(sensor.GRAYSCALE)
```